Drayton LP241 Thermostat Instruction Manual
Drayton LP241 Thermostat










Drayton LP241 Thermostat

Drayton LP241 Thermostat
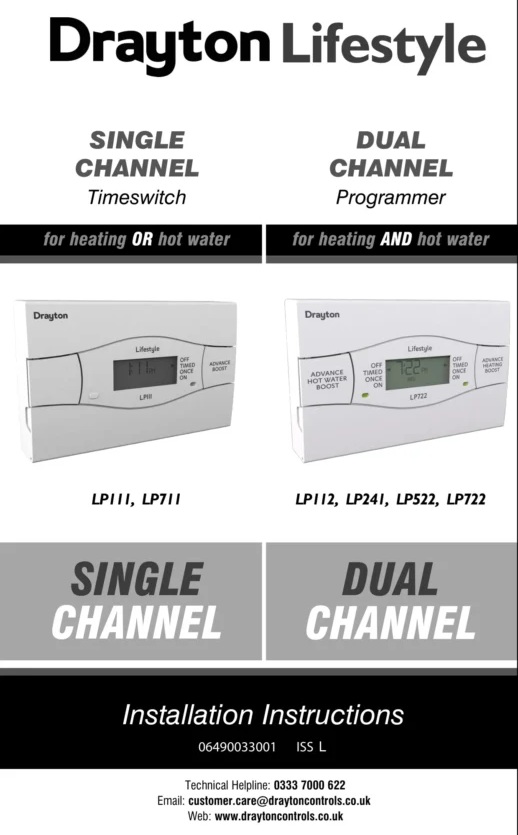
Drayton LP241 Thermostat Instructions
Here we offer the Drayton LP241 Thermostat manual completely free and in English. We have cataloged this manual in the Thermostats section on Manualverse, and it has been rated by 1 users with an average rating of 5. If you have any specific questions about Drayton LP241 Thermostat, we suggest checking the Frequently Asked Questions (FAQs) section of this manual.
Product Images
Drayton LP241 Thermostat Specifications
| Feature | Specification |
|---|---|
| Product type | Lifestyle 24-hour electronic programmer, dual channel (central heating and hot water) |
| Product part number | LP241: 25474 (LP241Si variant: 25490) |
| Program type | 24-hour program, same every day, with central heating and hot water timed independently |
| Timed periods per day | Up to 3 per channel (ON1/OFF1, ON2/OFF2, ON3/OFF3) |
| Operating modes | OFF, TIMED, ONCE, ON (selectable separately for each channel) |
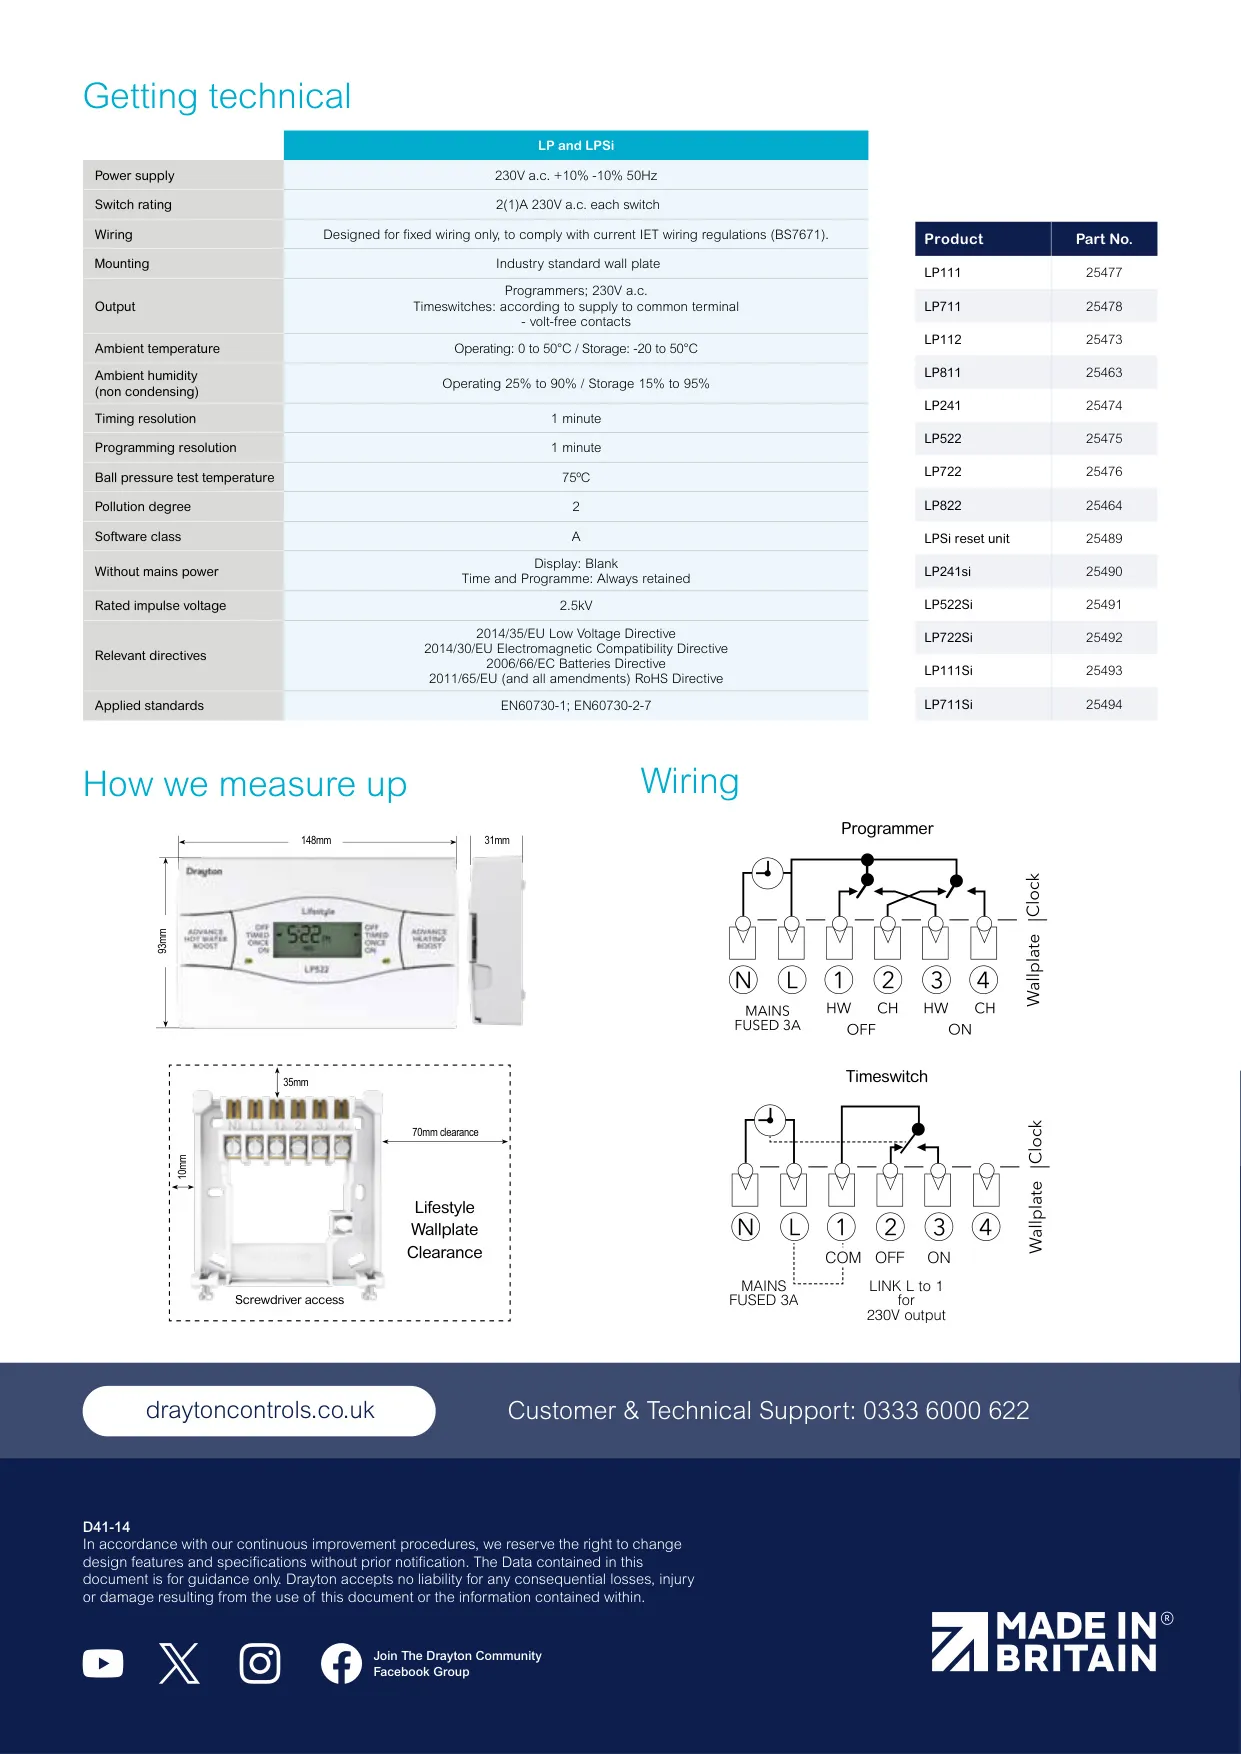
| Power supply | 230V a.c. +10% / -10%, 50Hz |
| Switch rating | 2(1)A 230V a.c. each switch |
| Output | 230V a.c. switched outputs |
| Mains fuse | 3A fused mains input required |
| Operating temperature | 0 to 45°C (installation instructions); 0 to 50°C (product data sheet) |
| Storage temperature | -20 to 50°C |
| Ambient humidity | Operating 25% to 90%; storage 15% to 95% (non-condensing) |
| Programming resolution | 1 minute |
| Timing resolution | 1 minute |
| Without mains power | Display blank; time and program always kept |
| Wiring | Fixed wiring only, to comply with current IET wiring regulations (BS7671) |
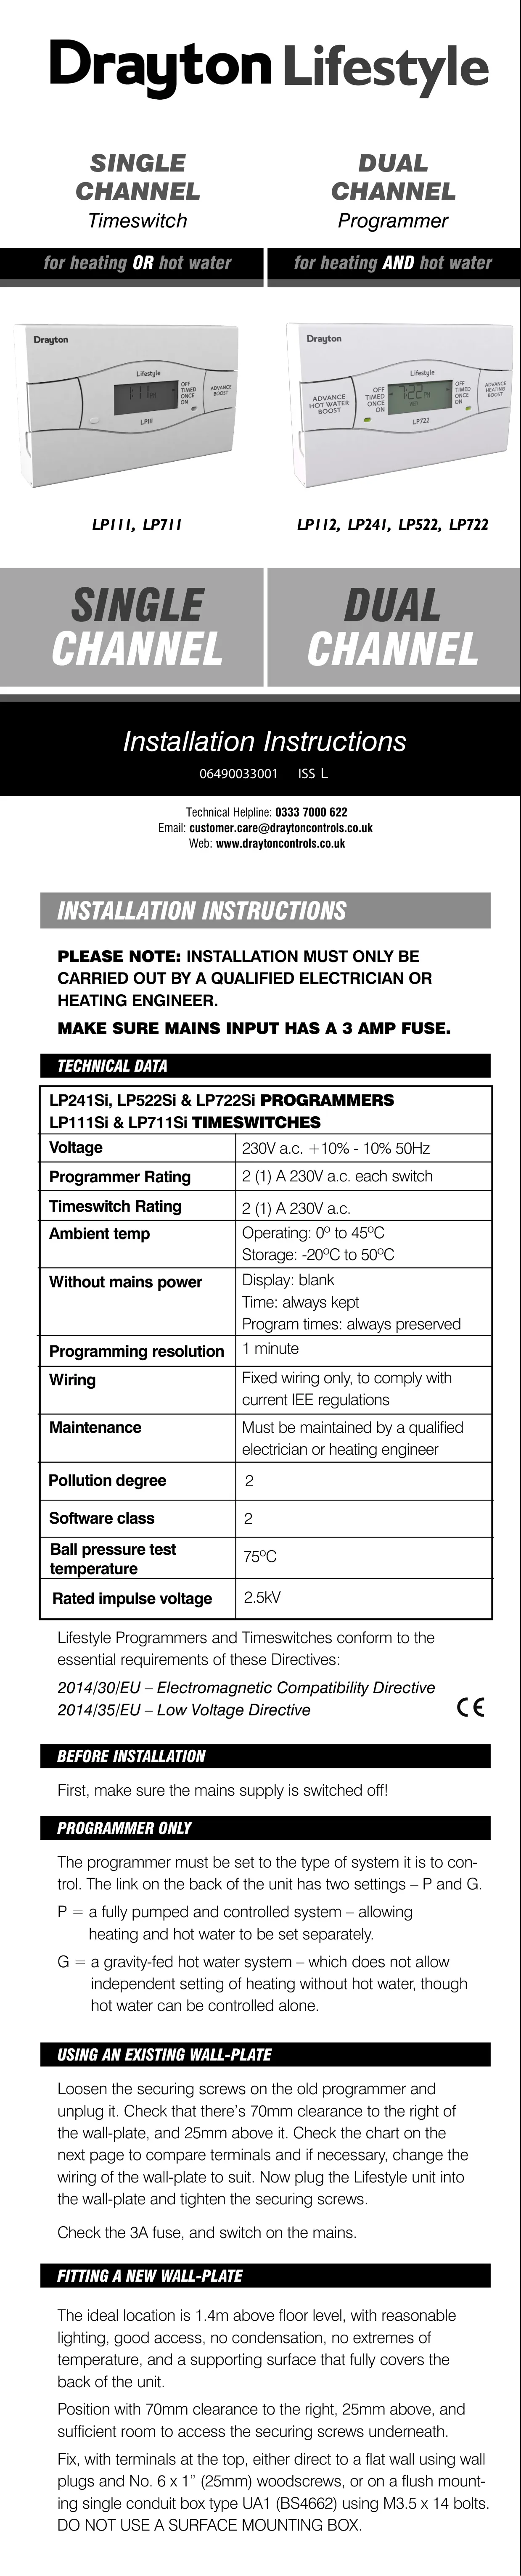
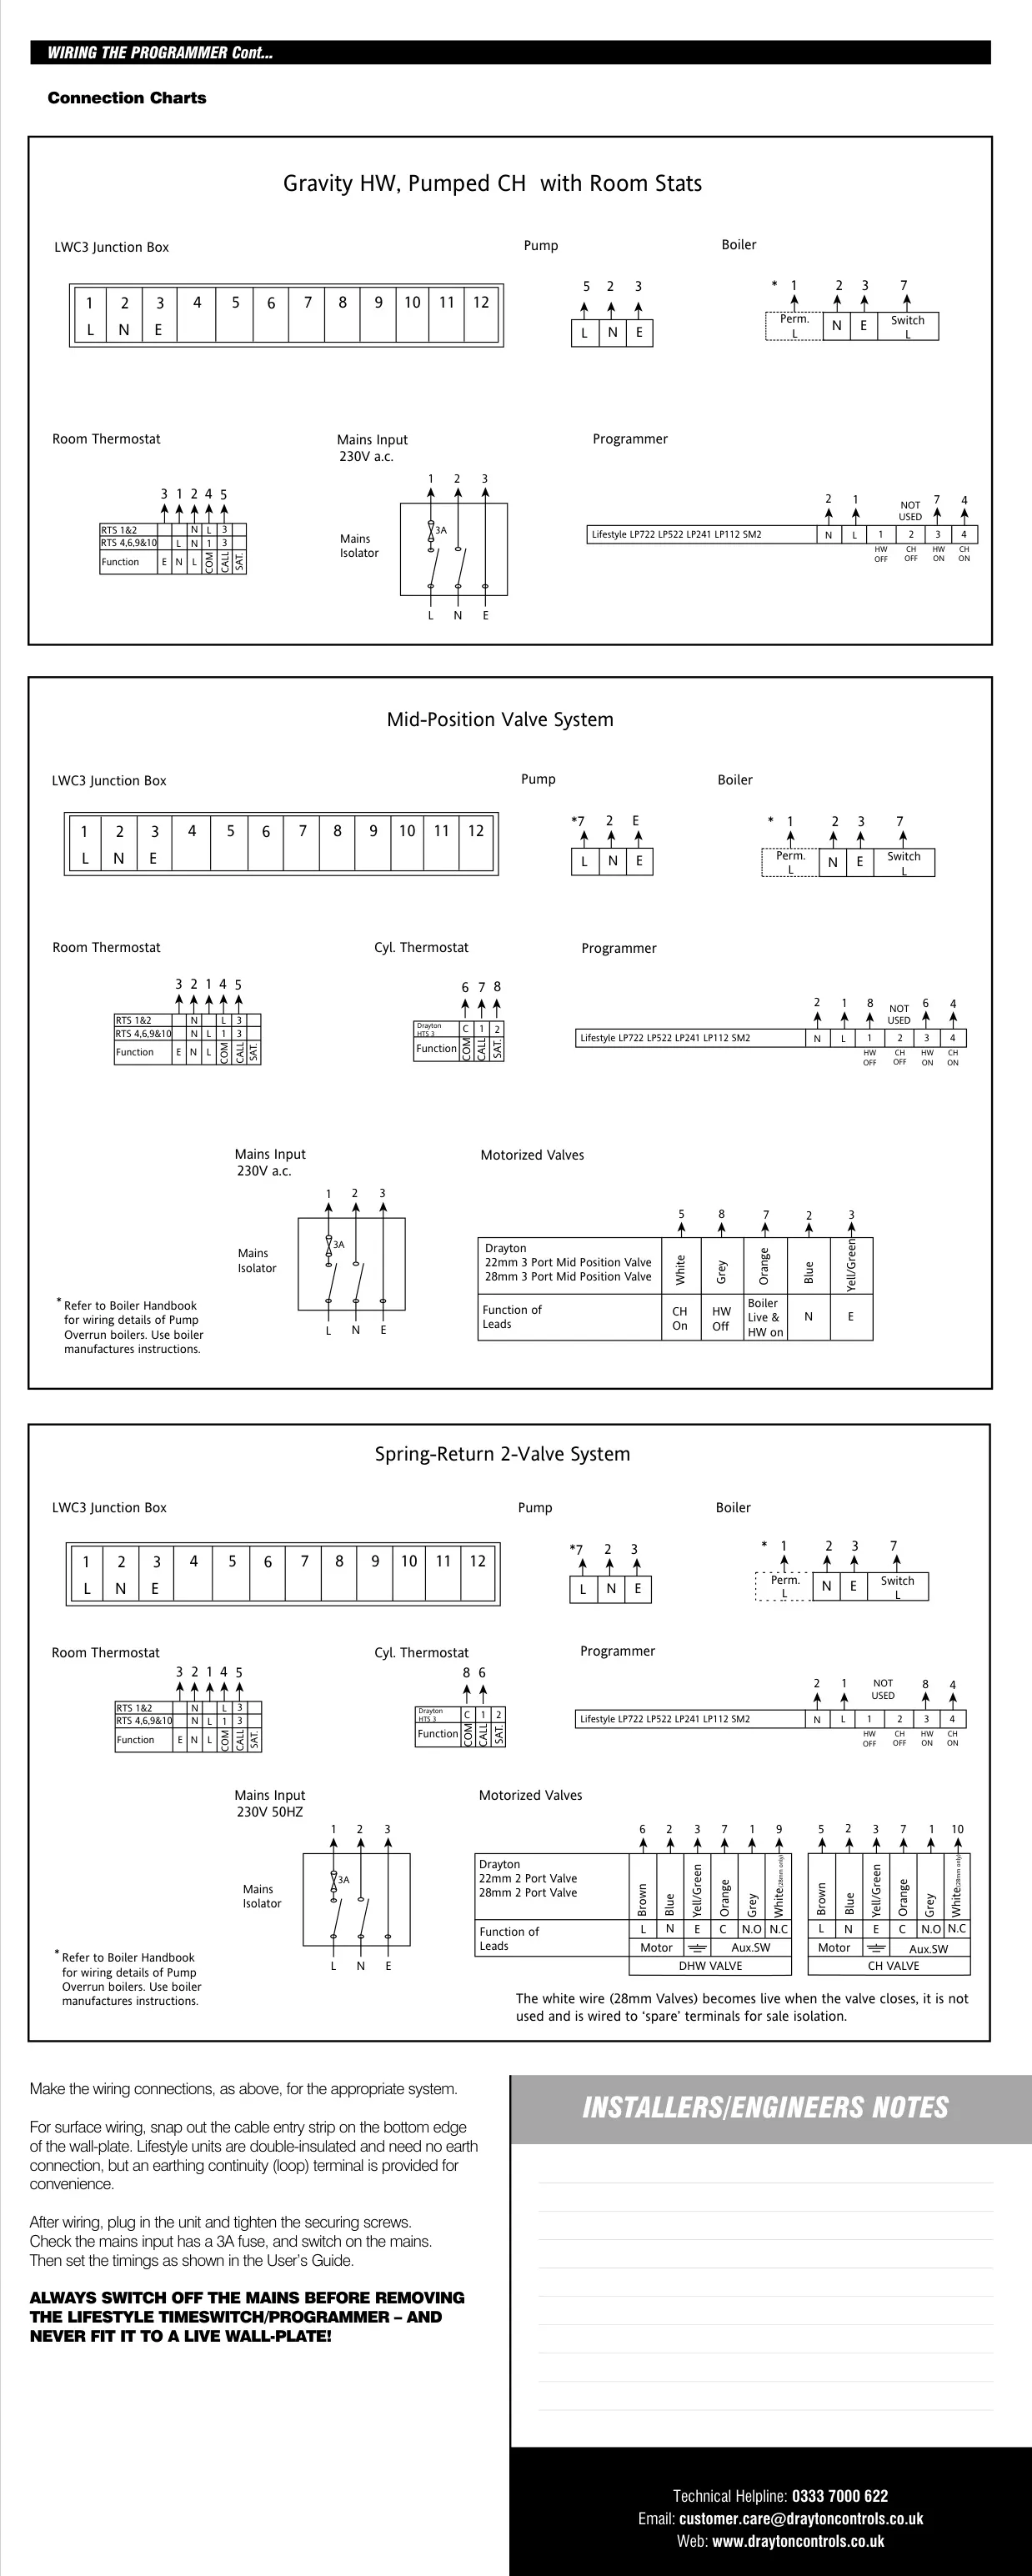
| Terminals | N, L, 1 (HW OFF), 2 (CH OFF), 3 (HW ON), 4 (CH ON) |
| System type link | P (fully pumped) or G (gravity-fed hot water) |
| Mounting | Industry-standard wall plate |
| Recommended mounting height | 1.4 m above floor level |
| Required clearance | 70 mm to the right, 25 mm above the wall plate |
| Wall fixing | No. 6 x 1" (25 mm) woodscrews with wall plugs, or a UA1 (BS4662) flush conduit box with M3.5 x 14 bolts; surface mounting box not allowed |
| Approximate dimensions | 148 mm x 93 mm, depth 31 to 35 mm (per dimension drawing) |
| Insulation | Double insulated; no earth needed (earth continuity terminal provided) |
| Pollution degree | 2 |
| Software class | 2 (installation instructions) / A (product data sheet) |
| Ball pressure test temperature | 75°C |
| Rated impulse voltage | 2.5kV |
| Applied standards | EN60730-1; EN60730-2-7 |
| Relevant directives | 2014/30/EU EMC; 2014/35/EU Low Voltage; 2006/66/EC Batteries; 2011/65/EU RoHS |
| Regulatory compliance | Part L compliant (Part J in Scotland) |
| Technical helpline | 0333 7000 622 |
Drayton LP241 Thermostat Details
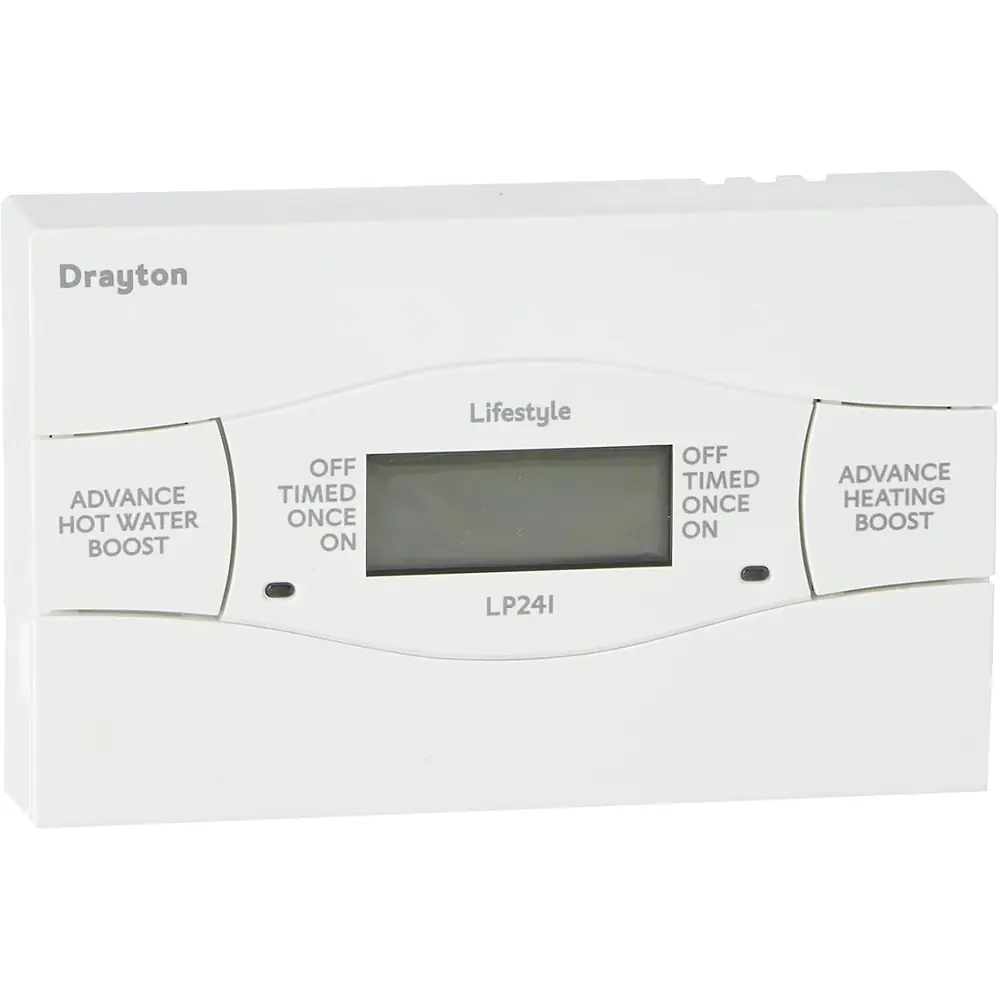
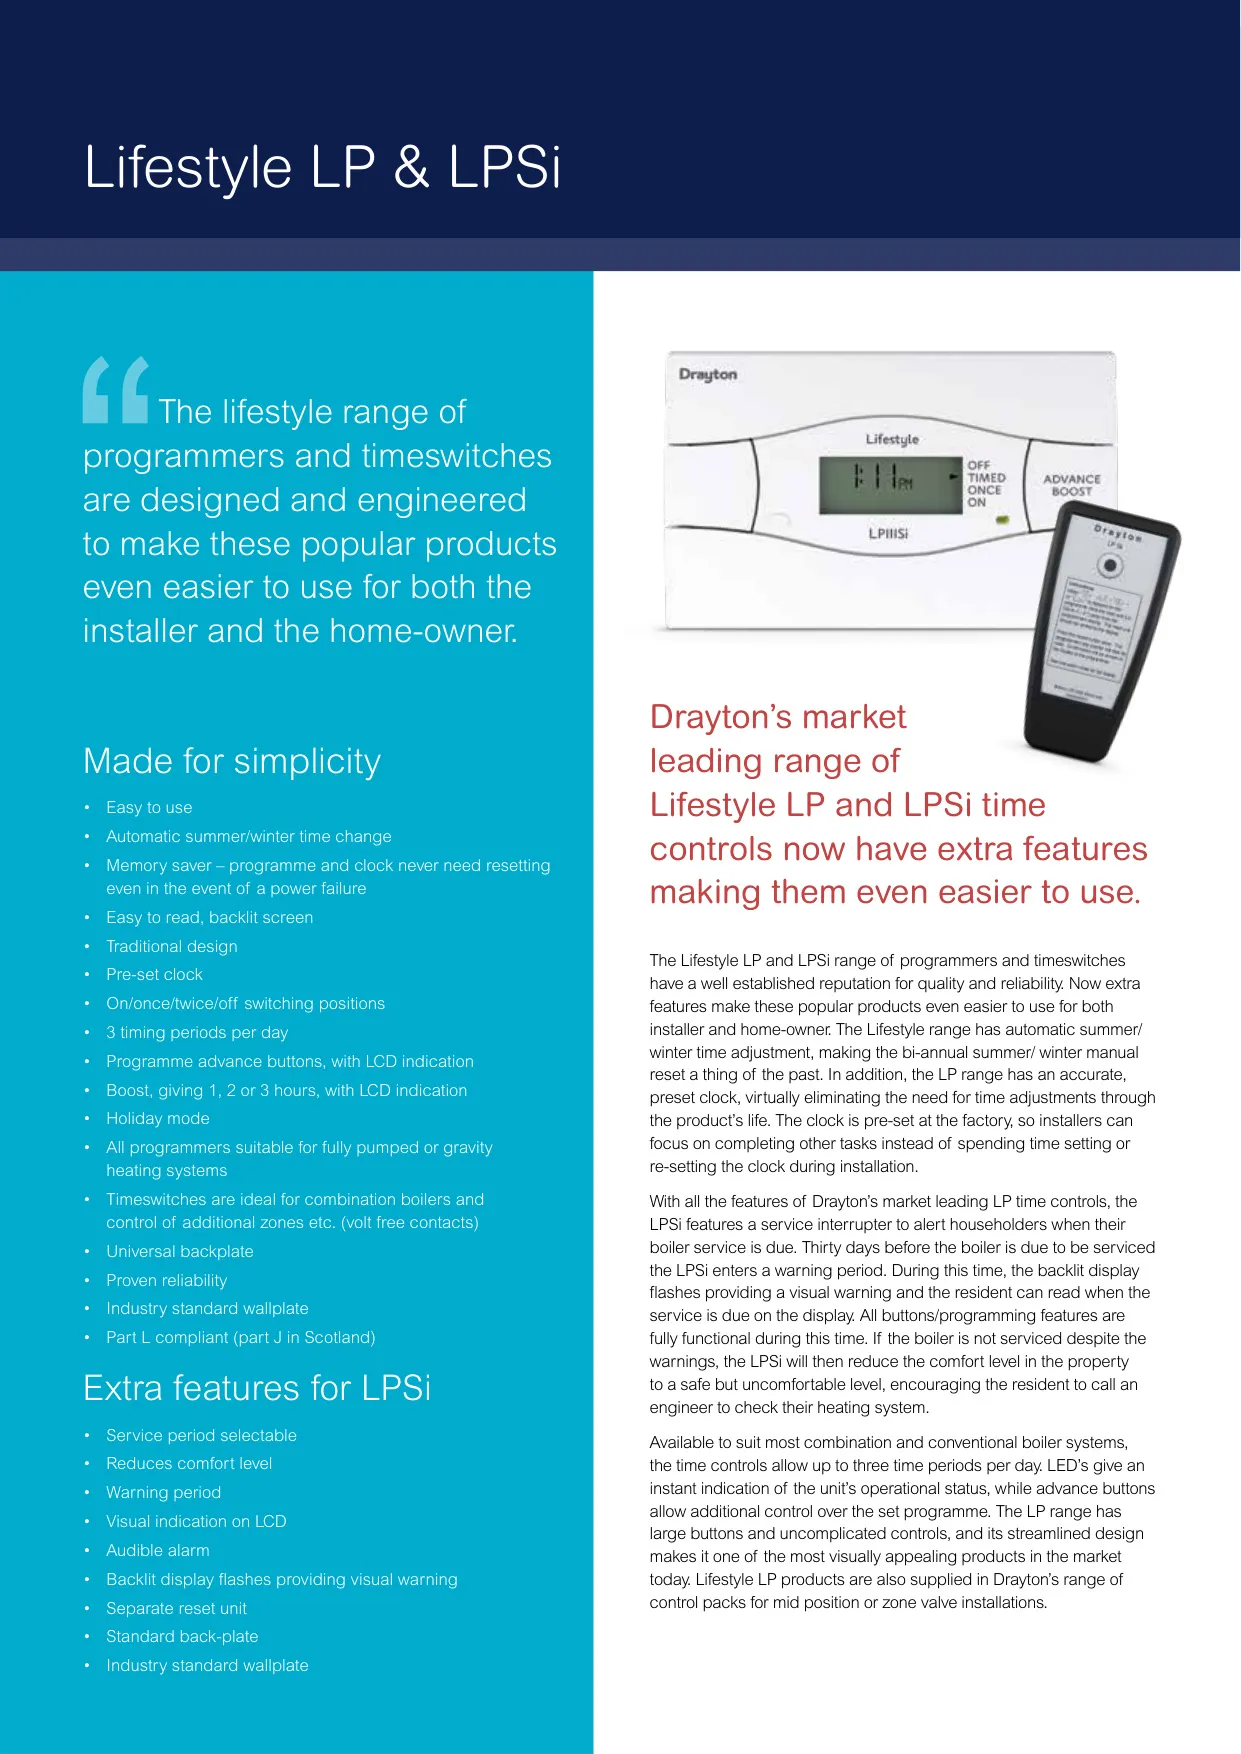
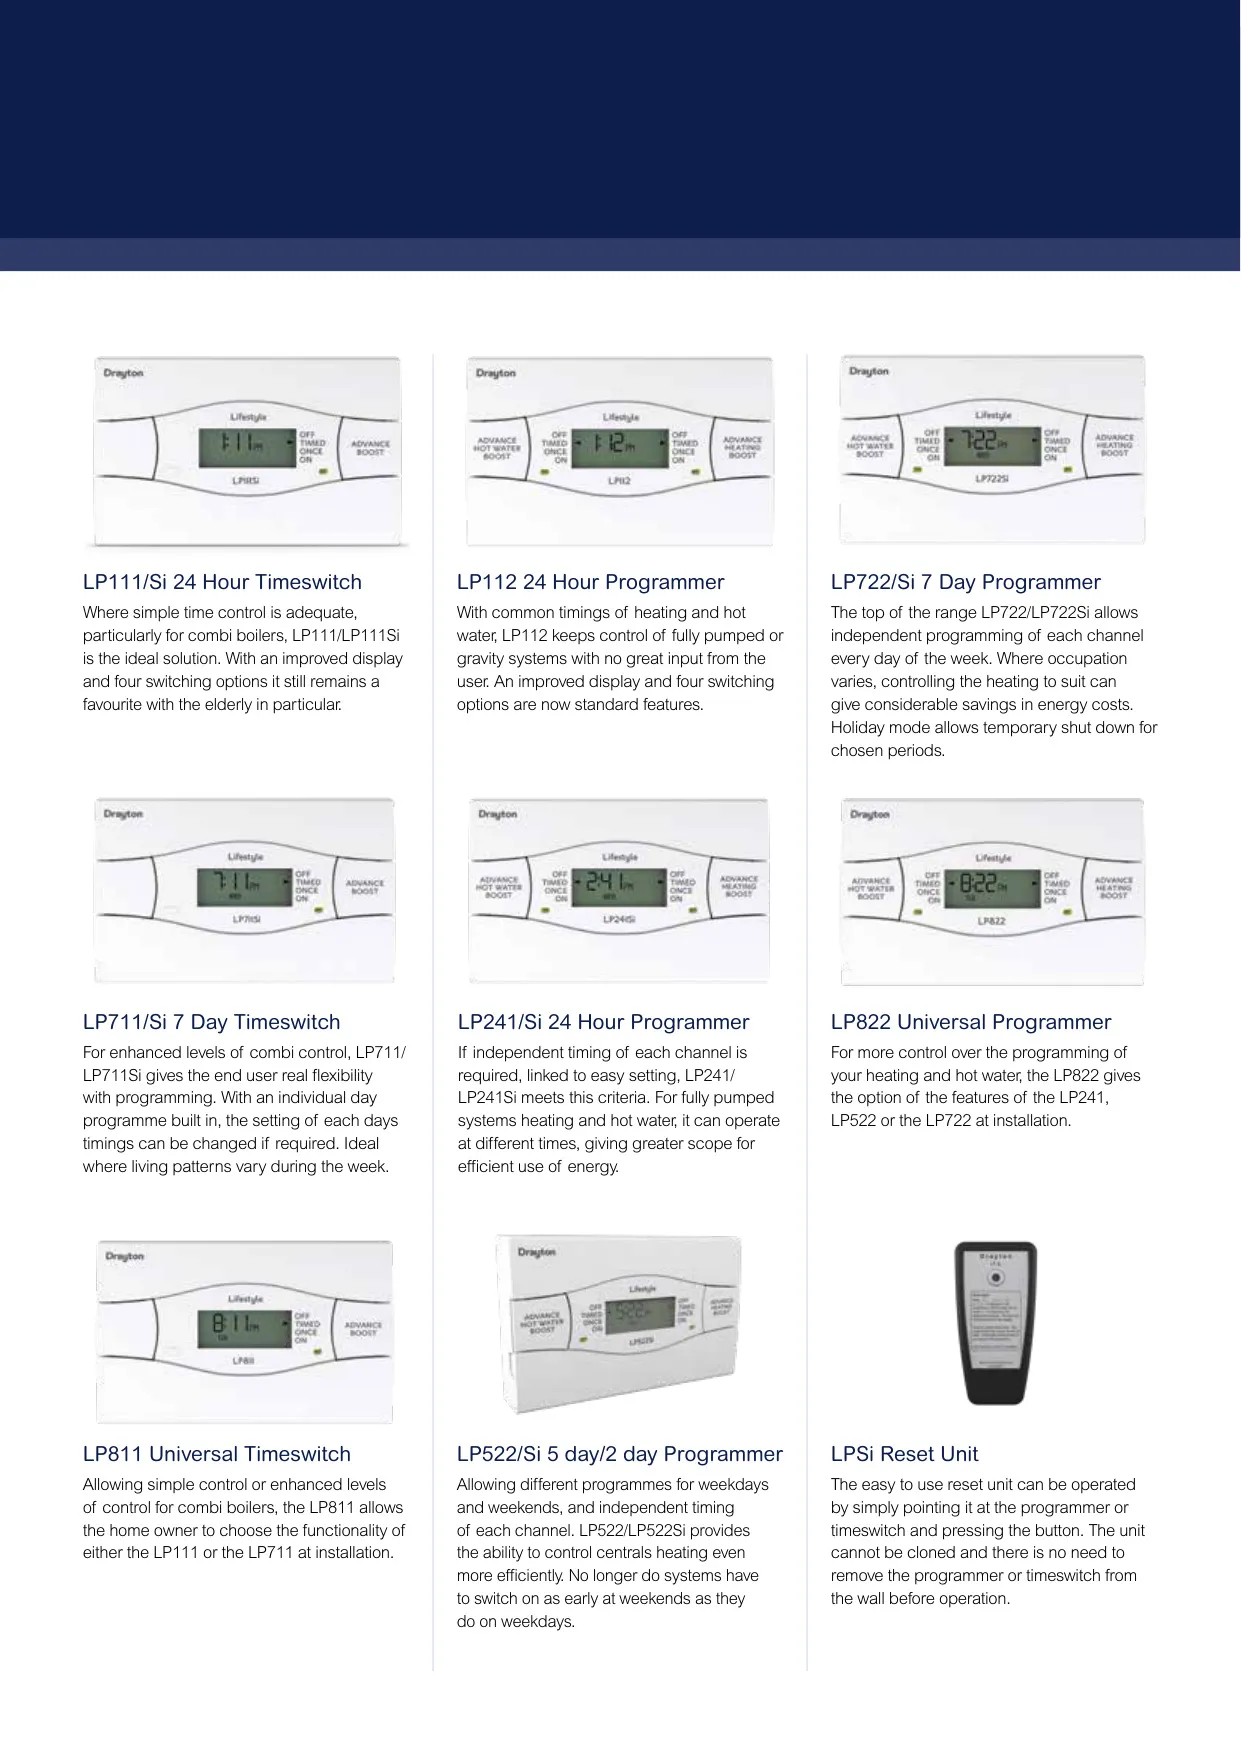
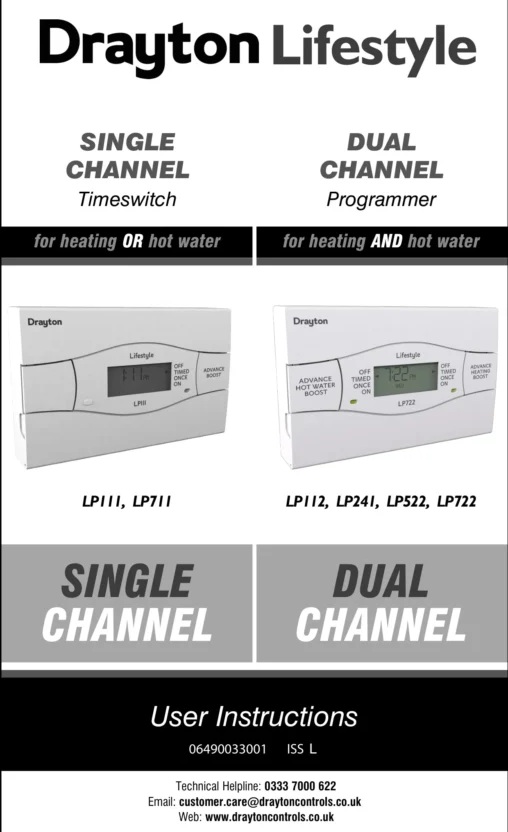
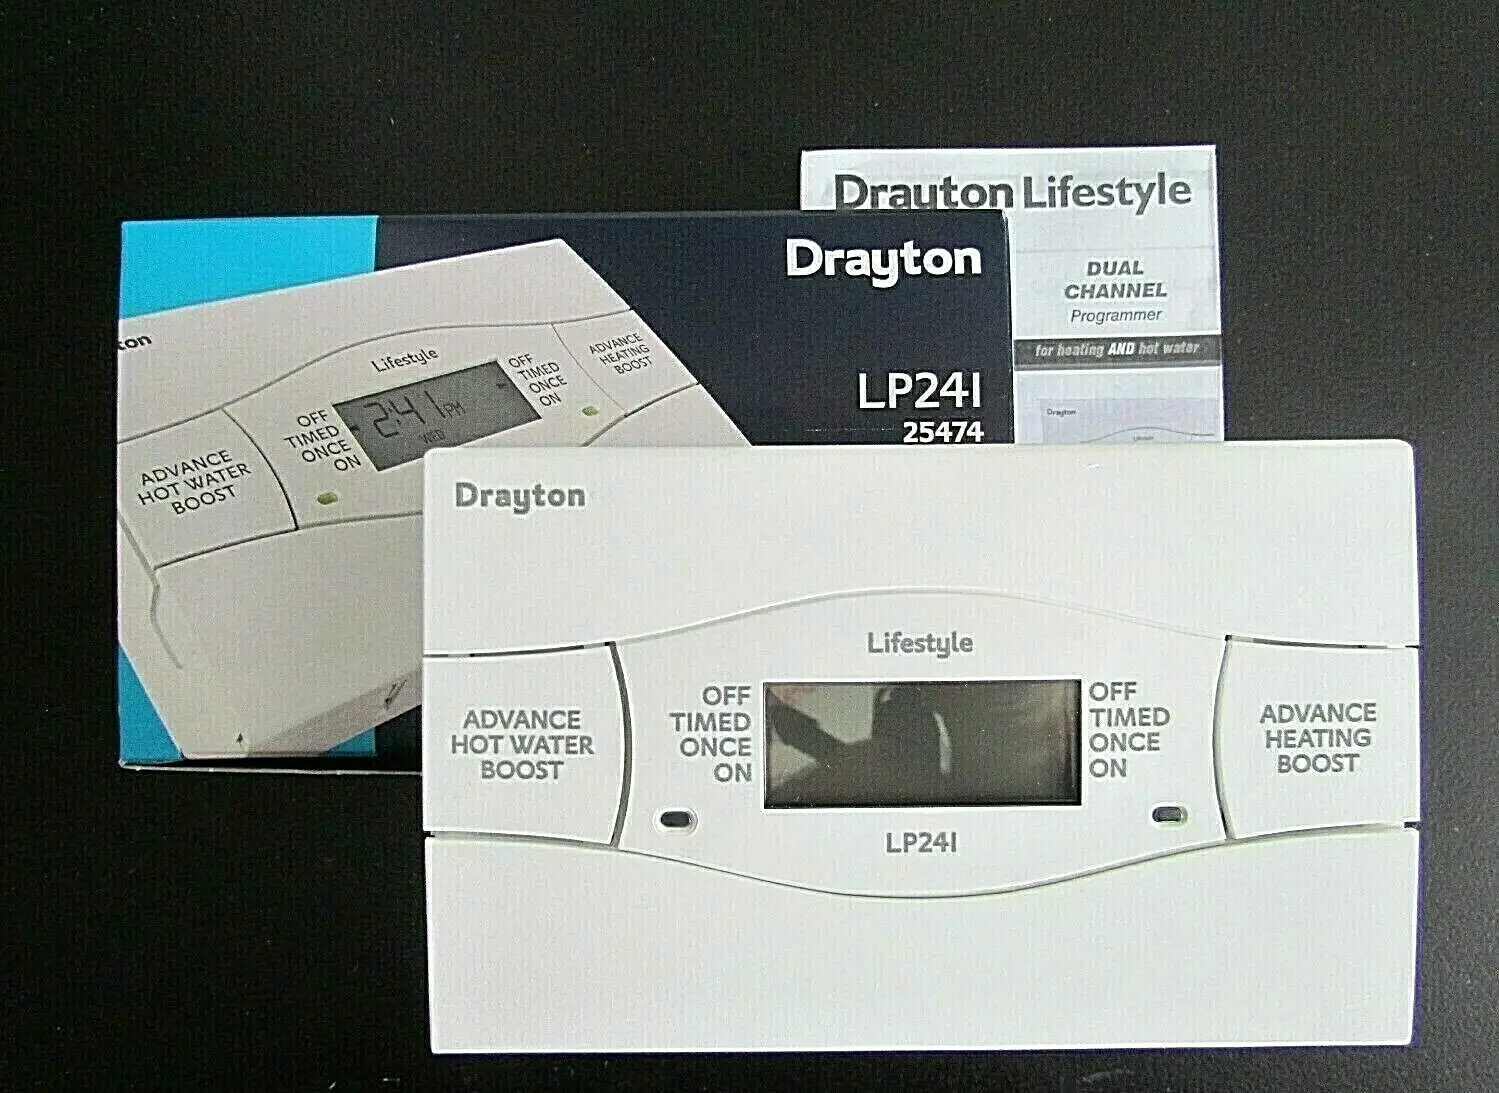
The Drayton LP241 is sold under the thermostat label, but it is a 24-hour dual-channel programmer from the Lifestyle range. It switches central heating and domestic hot water at the times you set. Each channel runs on its own schedule, so you can heat the water in the morning without running the radiators. Drayton recommends it for fully pumped systems where independent timing gives more room to save energy. A red light on the front shows when each channel is on.
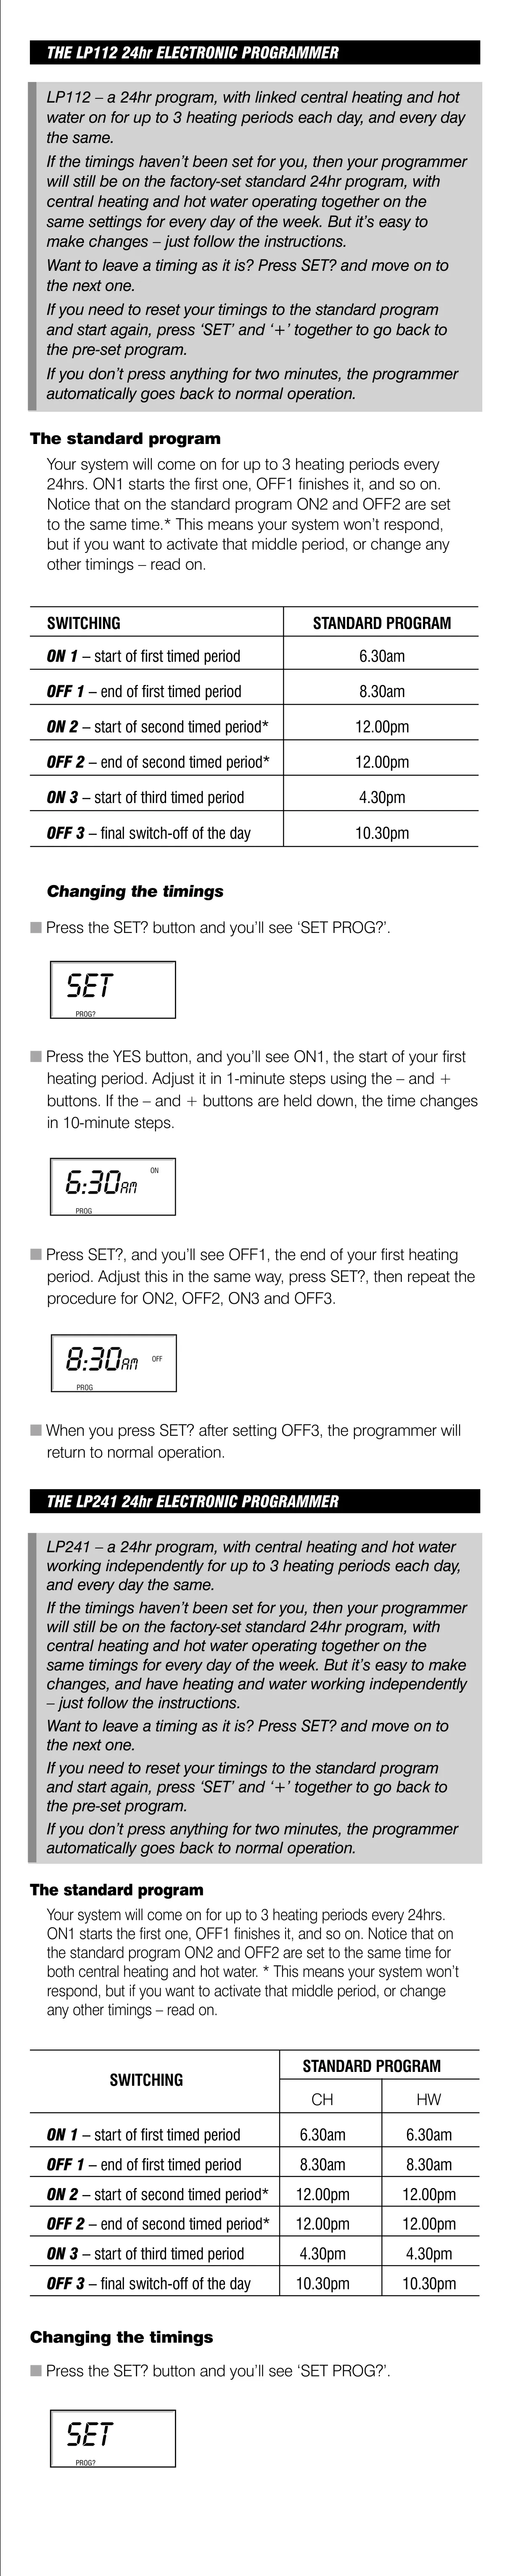
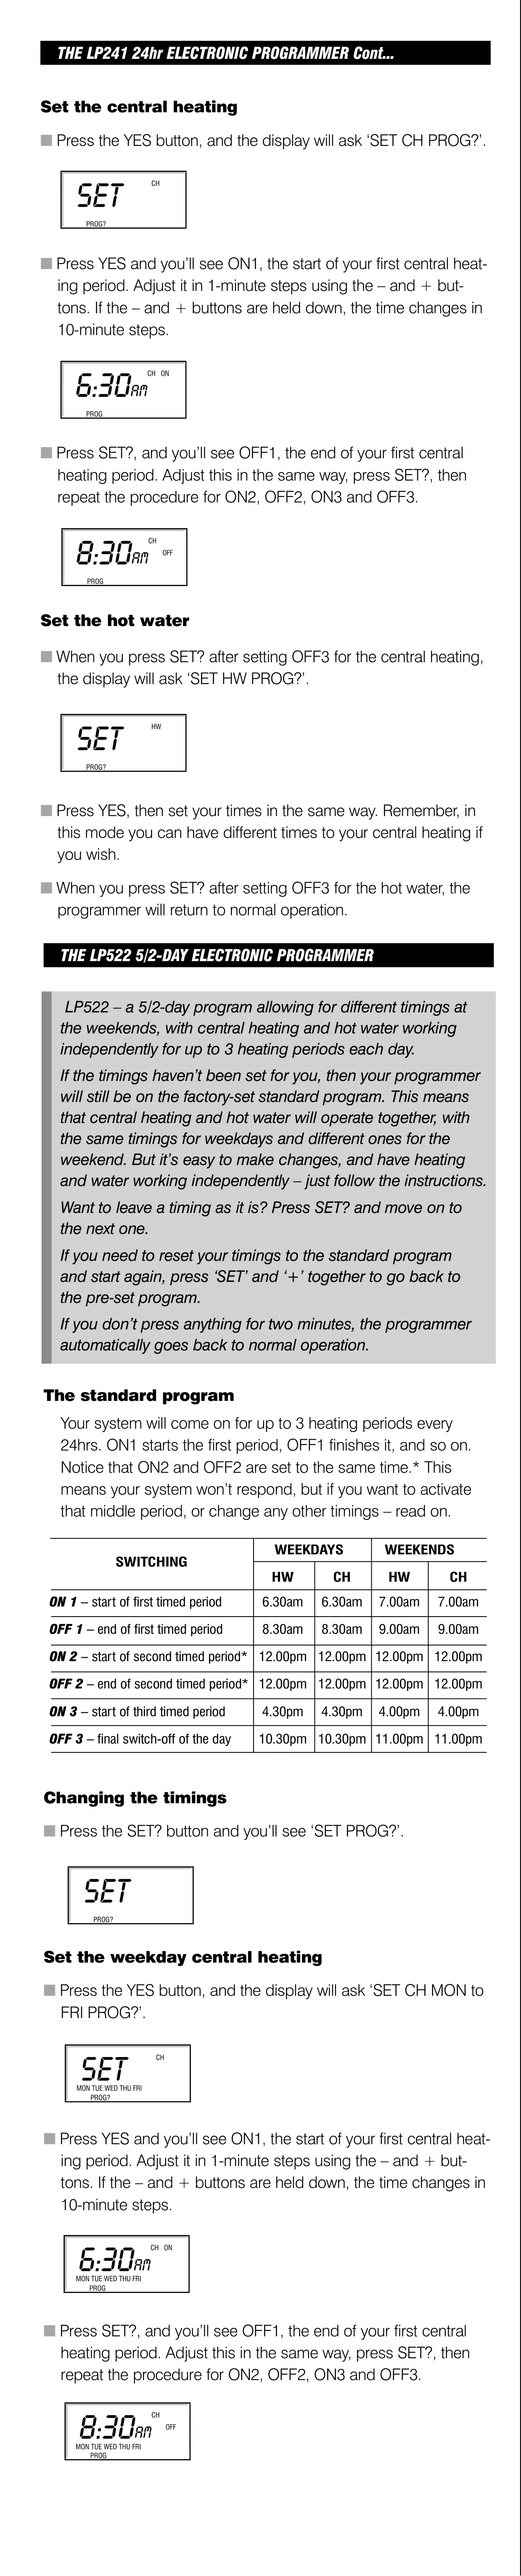
Out of the box, the LP241 runs a factory standard program with both channels on the same times every day. ON1 is at 6.30am and OFF1 at 8.30am. ON2 and OFF2 are both set to 12.00pm, so the middle period does nothing until you change it. ON3 is at 4.30pm and OFF3 at 10.30pm. To go back to these settings at any time, press SET and + together.
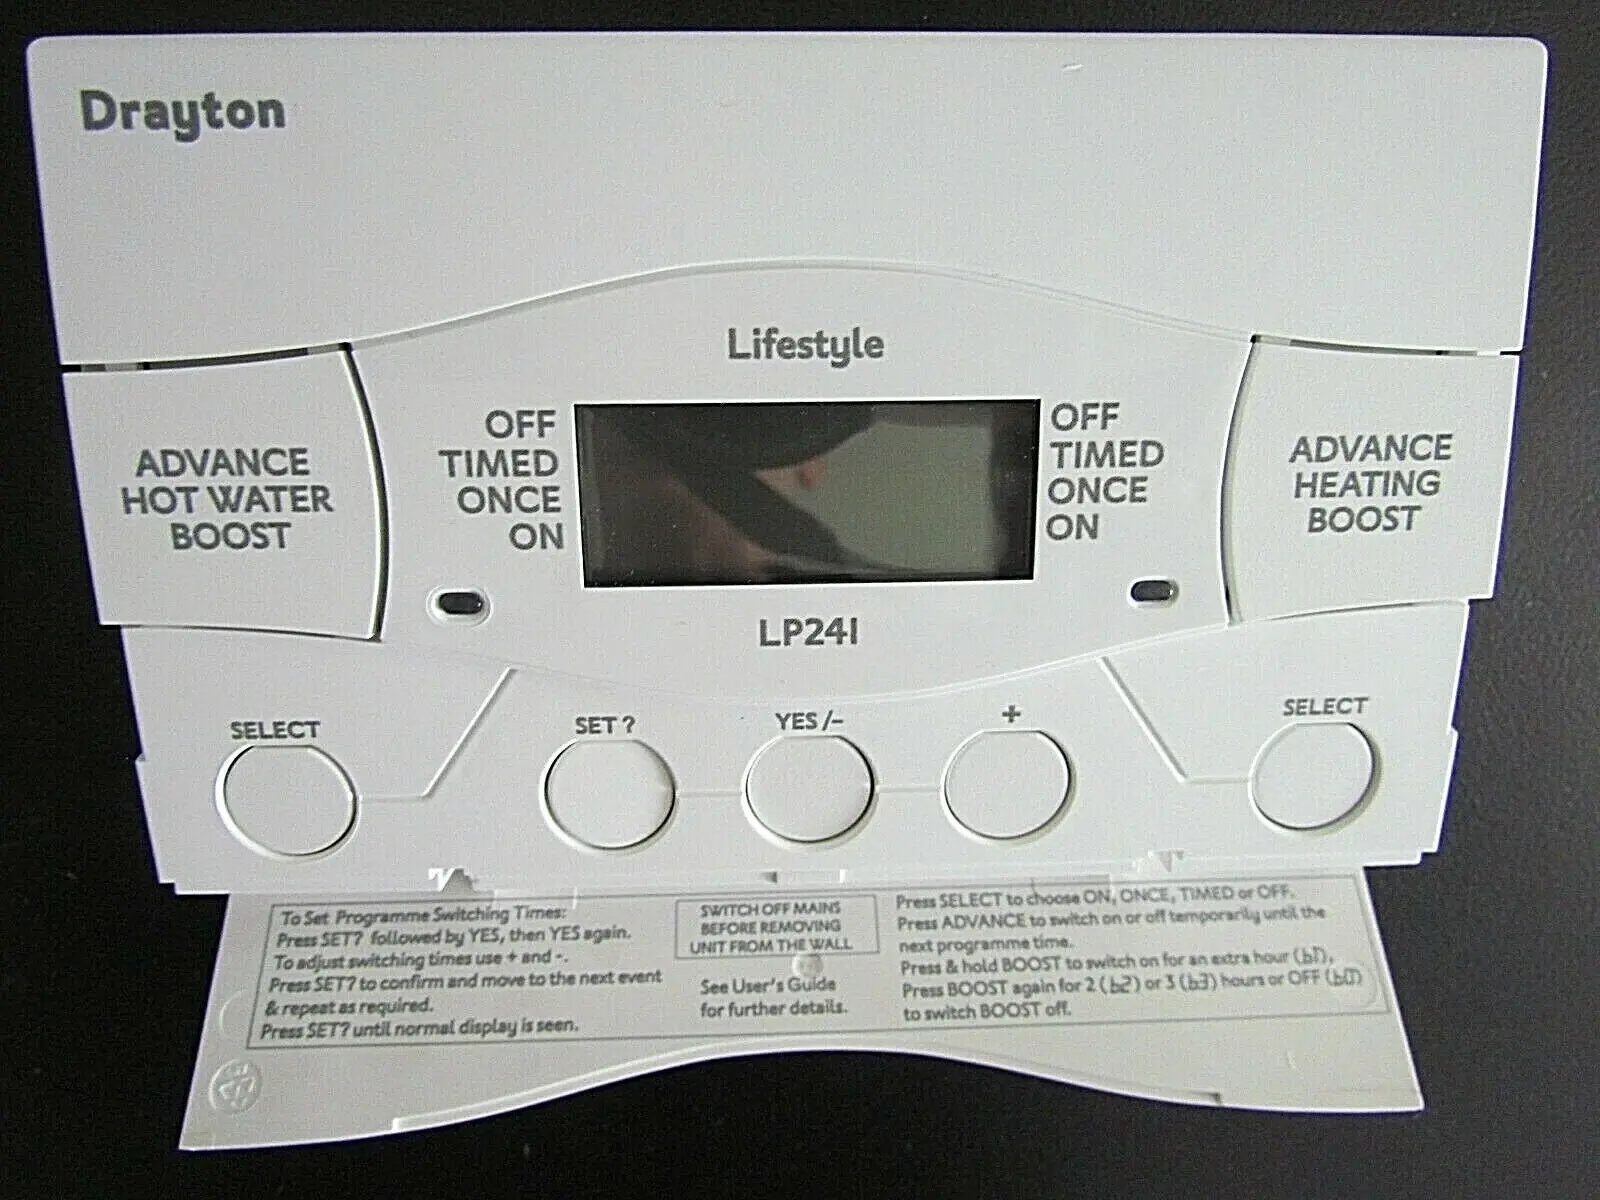
To program it, open the bottom flap and use the SET?, YES/- and + buttons. Press SET? to see SET PROG?, then press YES to reach SET CH PROG?. Each tap of - or + changes the time by 1 minute, and holding a button moves it in 10-minute steps. After OFF3 for heating, the display asks SET HW PROG? so you can set the hot water times. To keep a time as it is, just press SET? to move on. If you press nothing for two minutes, the unit returns to normal operation.
Times must be entered in order: ON1, OFF1, ON2, OFF2, ON3, OFF3. If they get out of order, the display flashes a warning. ON1 cannot be the last time before midnight. OFF3 can be after midnight, as long as it is no more than 23 hours 59 minutes after ON1. This lets evening heating run past midnight without a separate period.
For temporary changes there are two Advance/Boost buttons on the front, one per channel. A short press on Advance (ADV shown) switches the channel on until the end of the next period, or off until the next ON time. Advance only works in TIMED or ONCE mode. Pressing and holding Boost (BST shown) adds one hour. Press it again for two or three hours, and once more to cancel.
The mode selectors beside the display have immediate effect and do not erase your saved times. ONCE runs a single period from ON1 to OFF3. A holiday switch-off turns the system off for 1 or more days. Press SET? three times, choose SET H'DAY?, and set the number of days with + and -. The unit counts each pass through midnight as one day. For example, leaving on Saturday morning and wanting heat on Tuesday morning means setting 3 days.
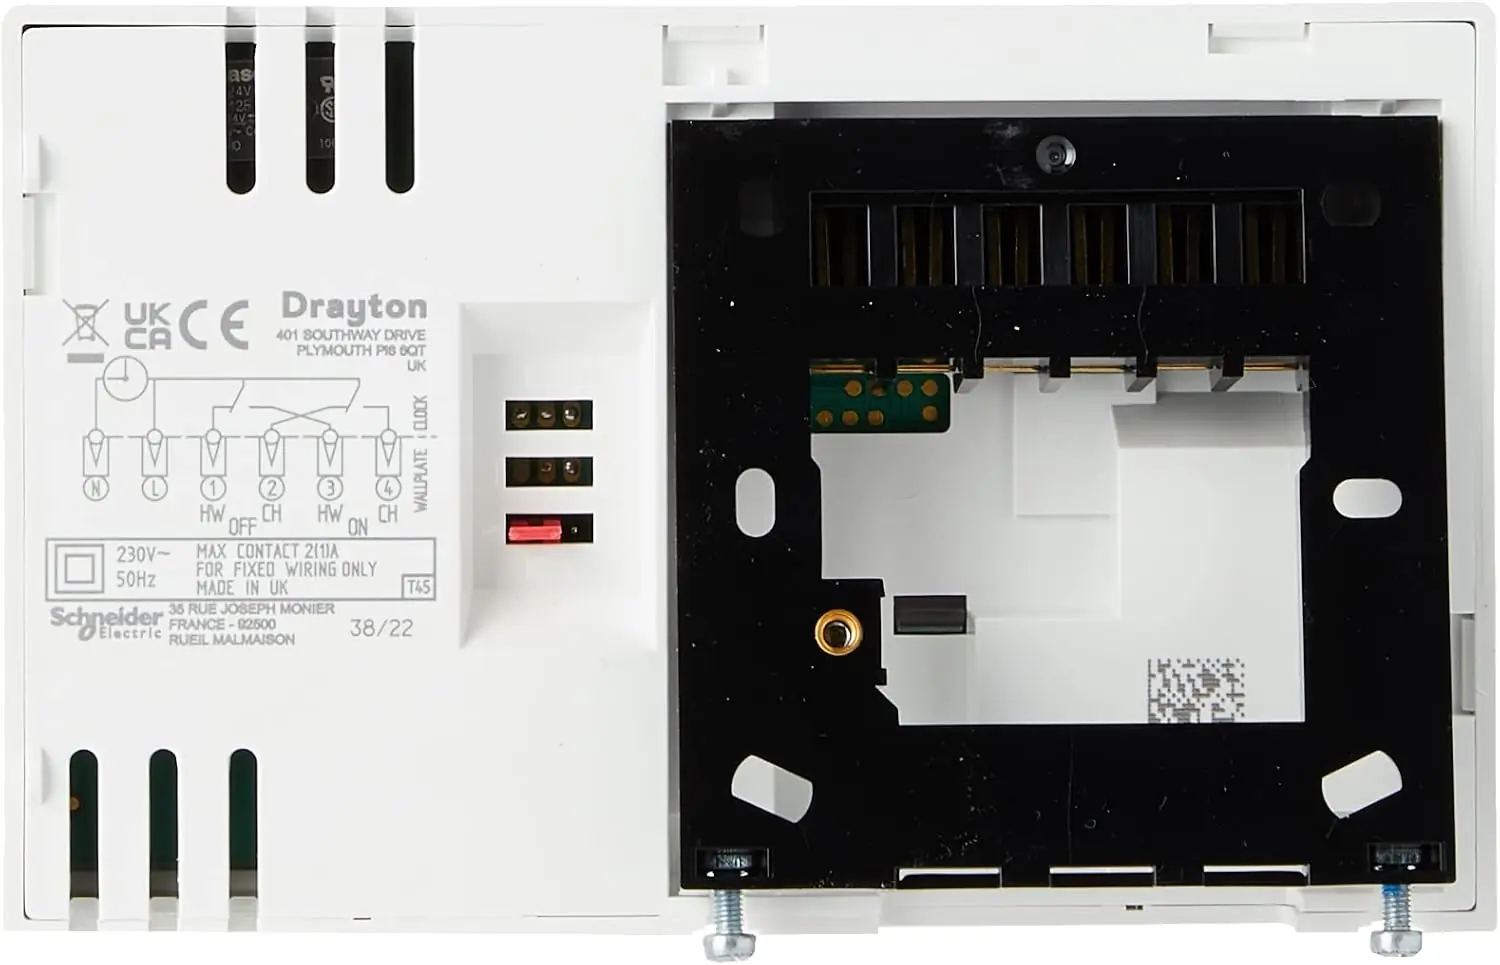
The clock is set at the factory and changes automatically for British Summer Time. You can still adjust the hour, minutes, year, month, day and daylight saving status from the SET CLOCK? and SET DATE? menus. The weekday is worked out from the date. For installation, set the rear link to P or G for the type of system. The unit fits many existing wall plates, and the surface cable entry strip snaps out. Never fit the unit to a live wall plate.
Frequently Asked Questions (FAQs)
Can't find the answer you need? Here are some frequently asked questions about the Drayton LP241 Thermostat, and we answer them below.