Drayton Digistat 1 Thermostat Instruction Manual

Drayton Digistat 1 Thermostat
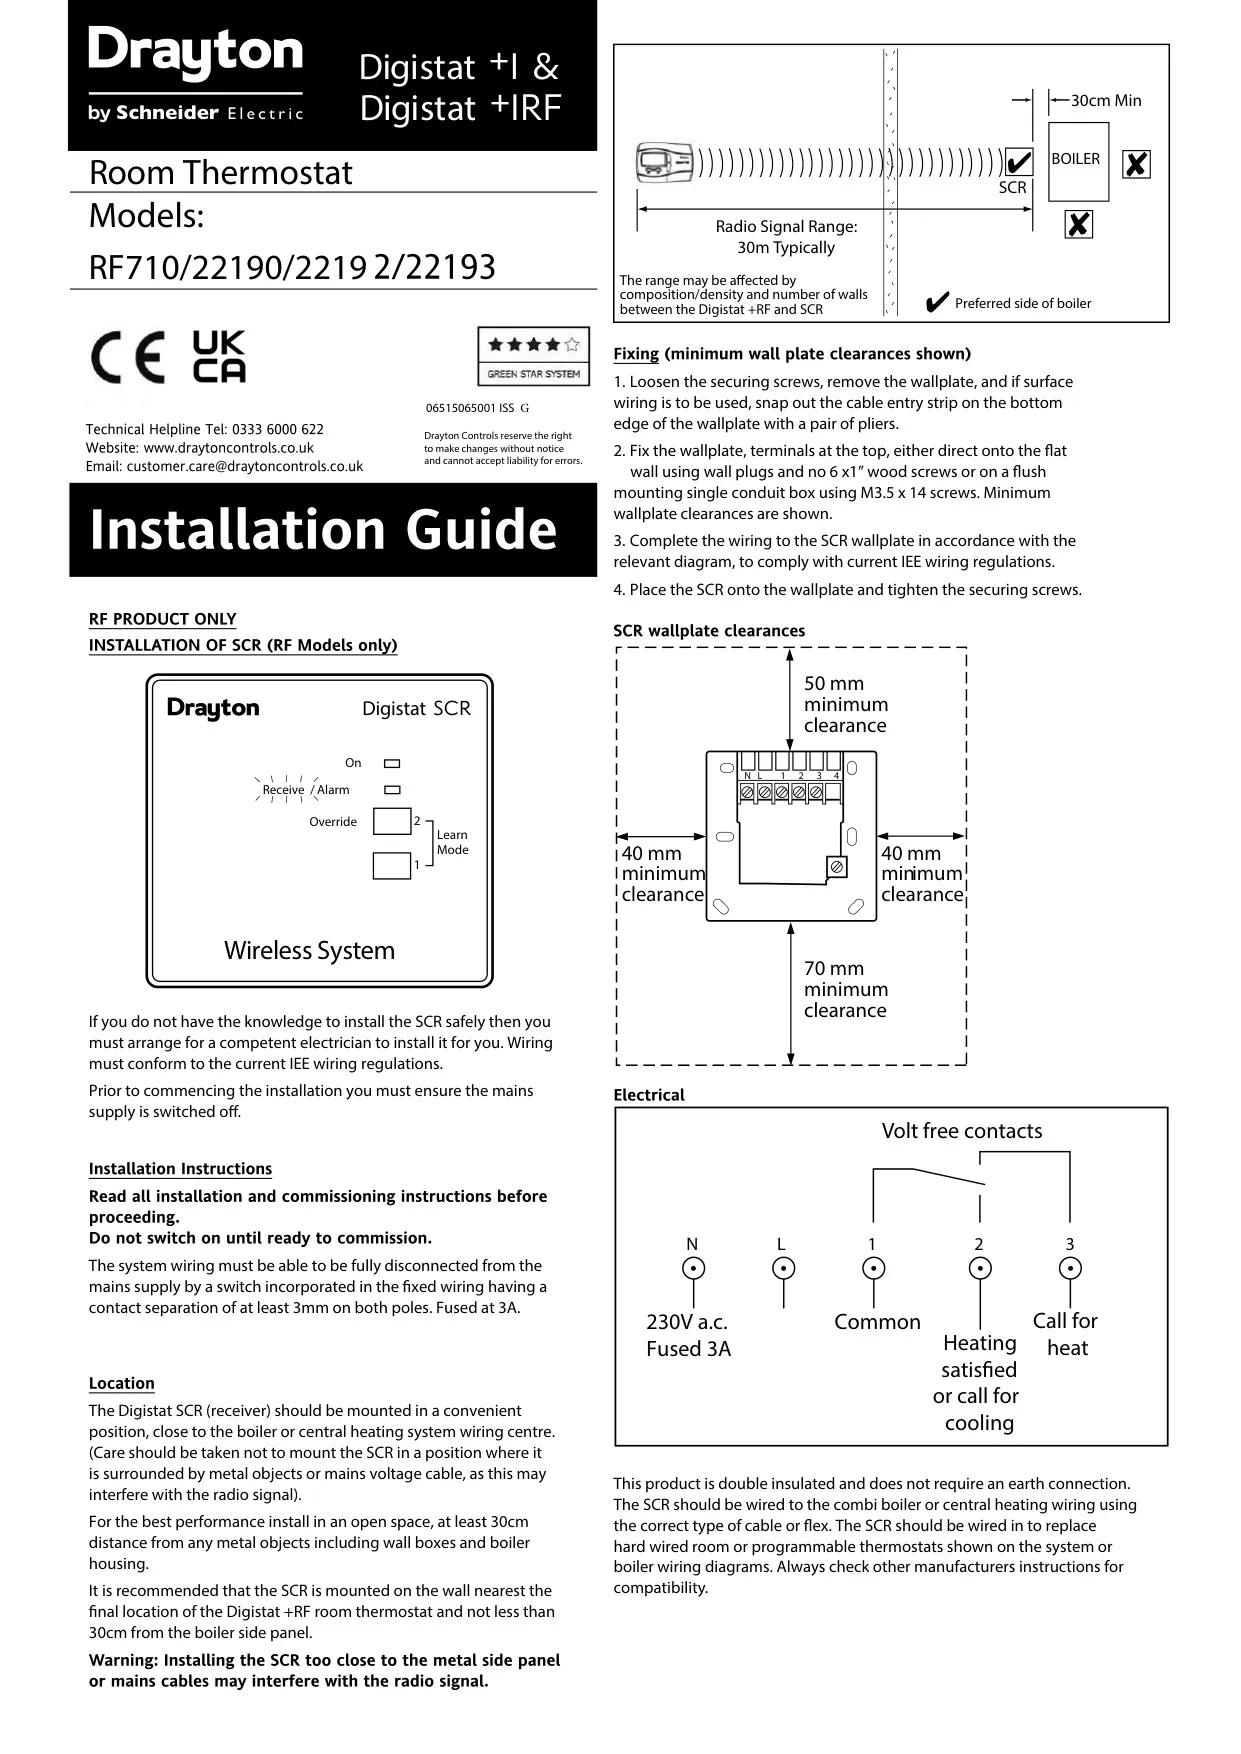
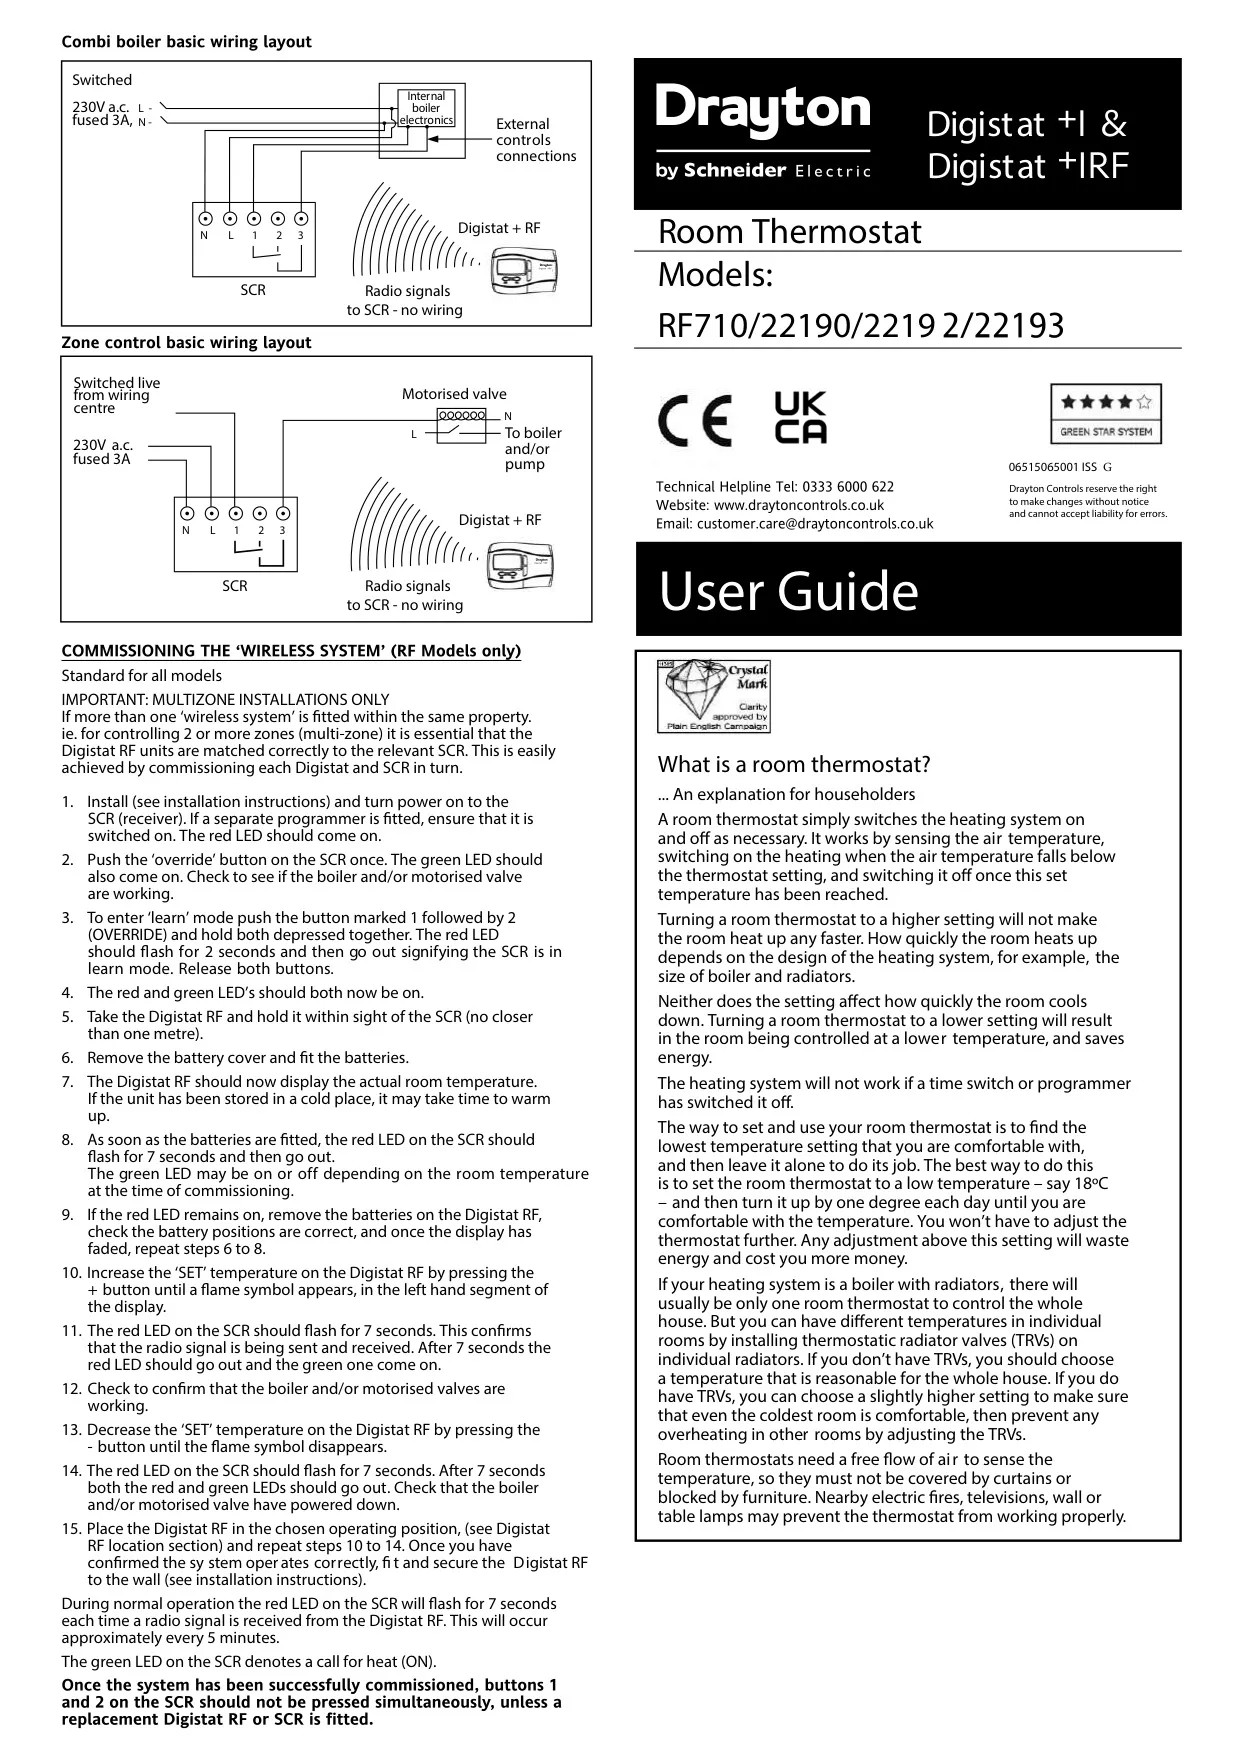
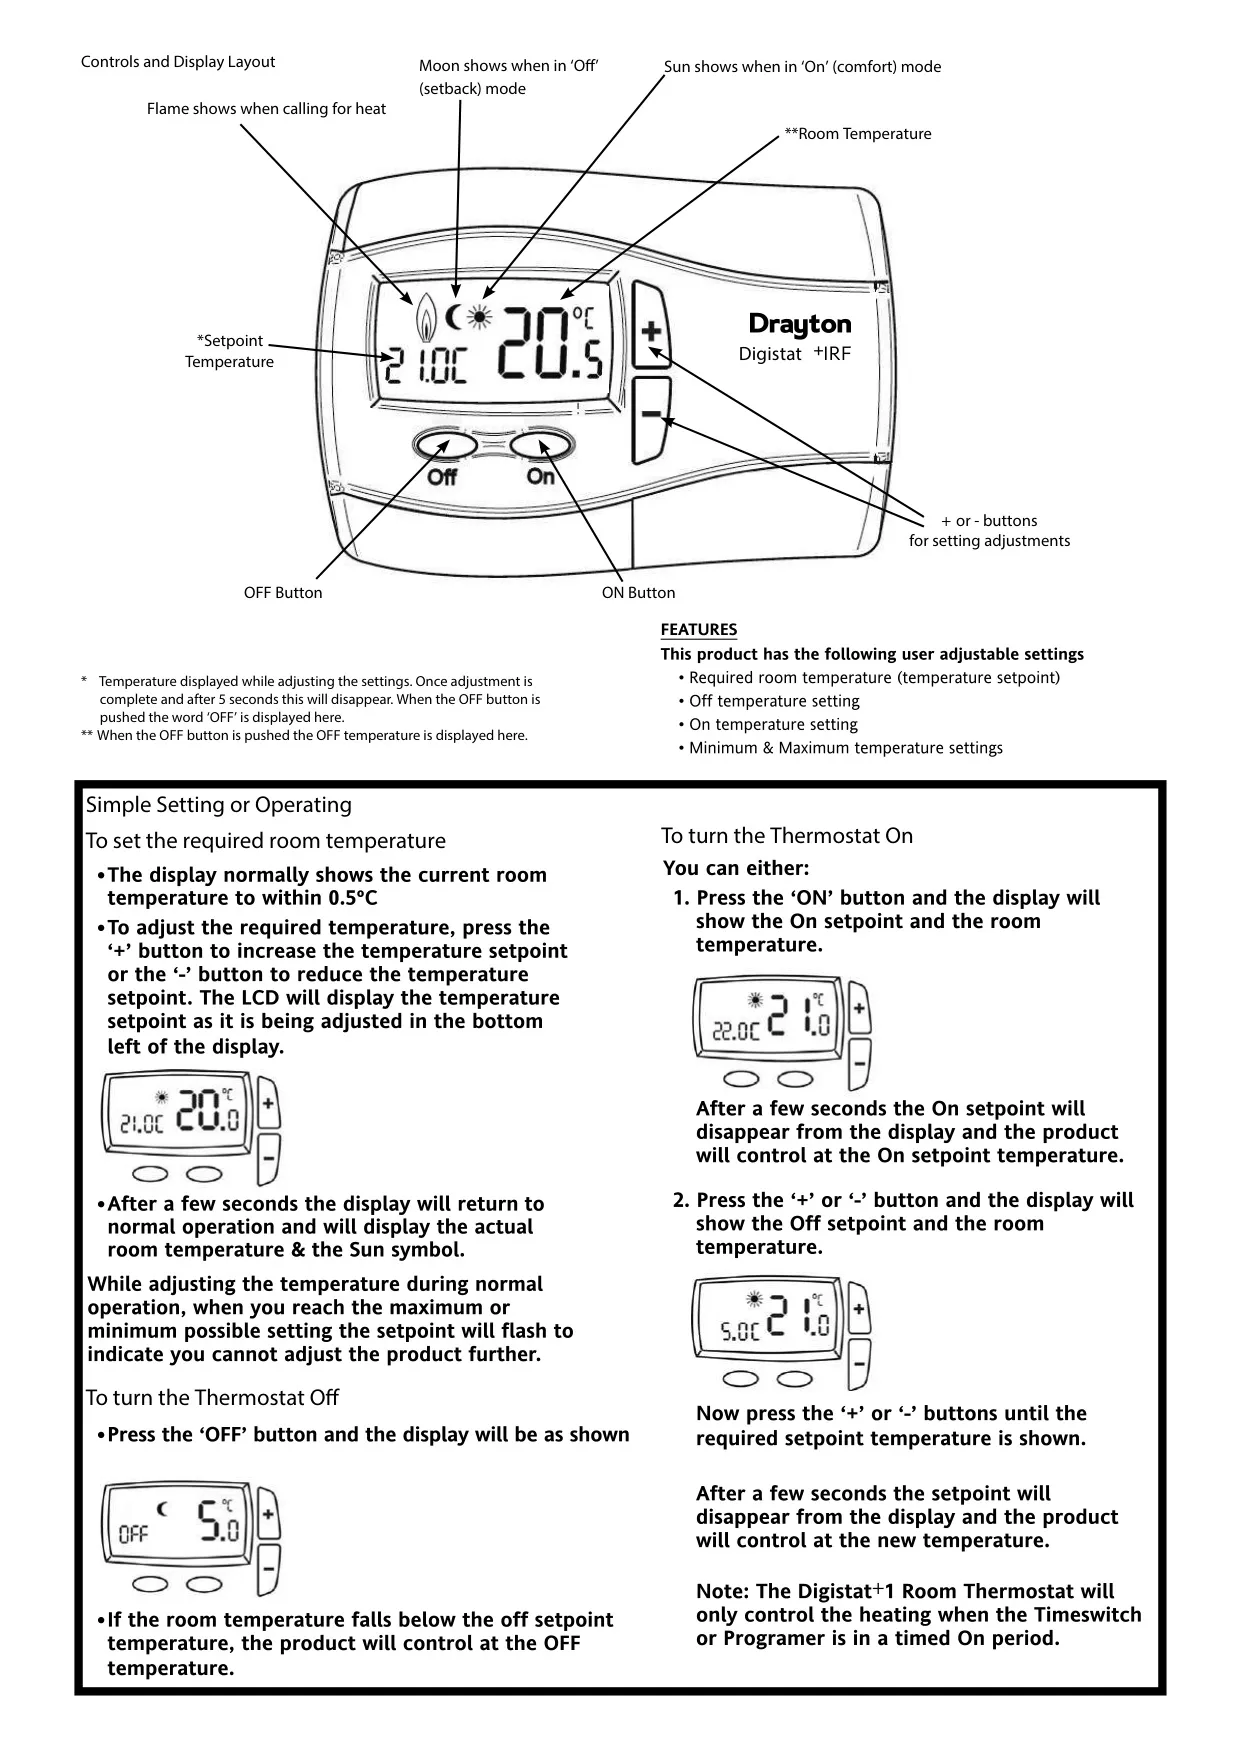
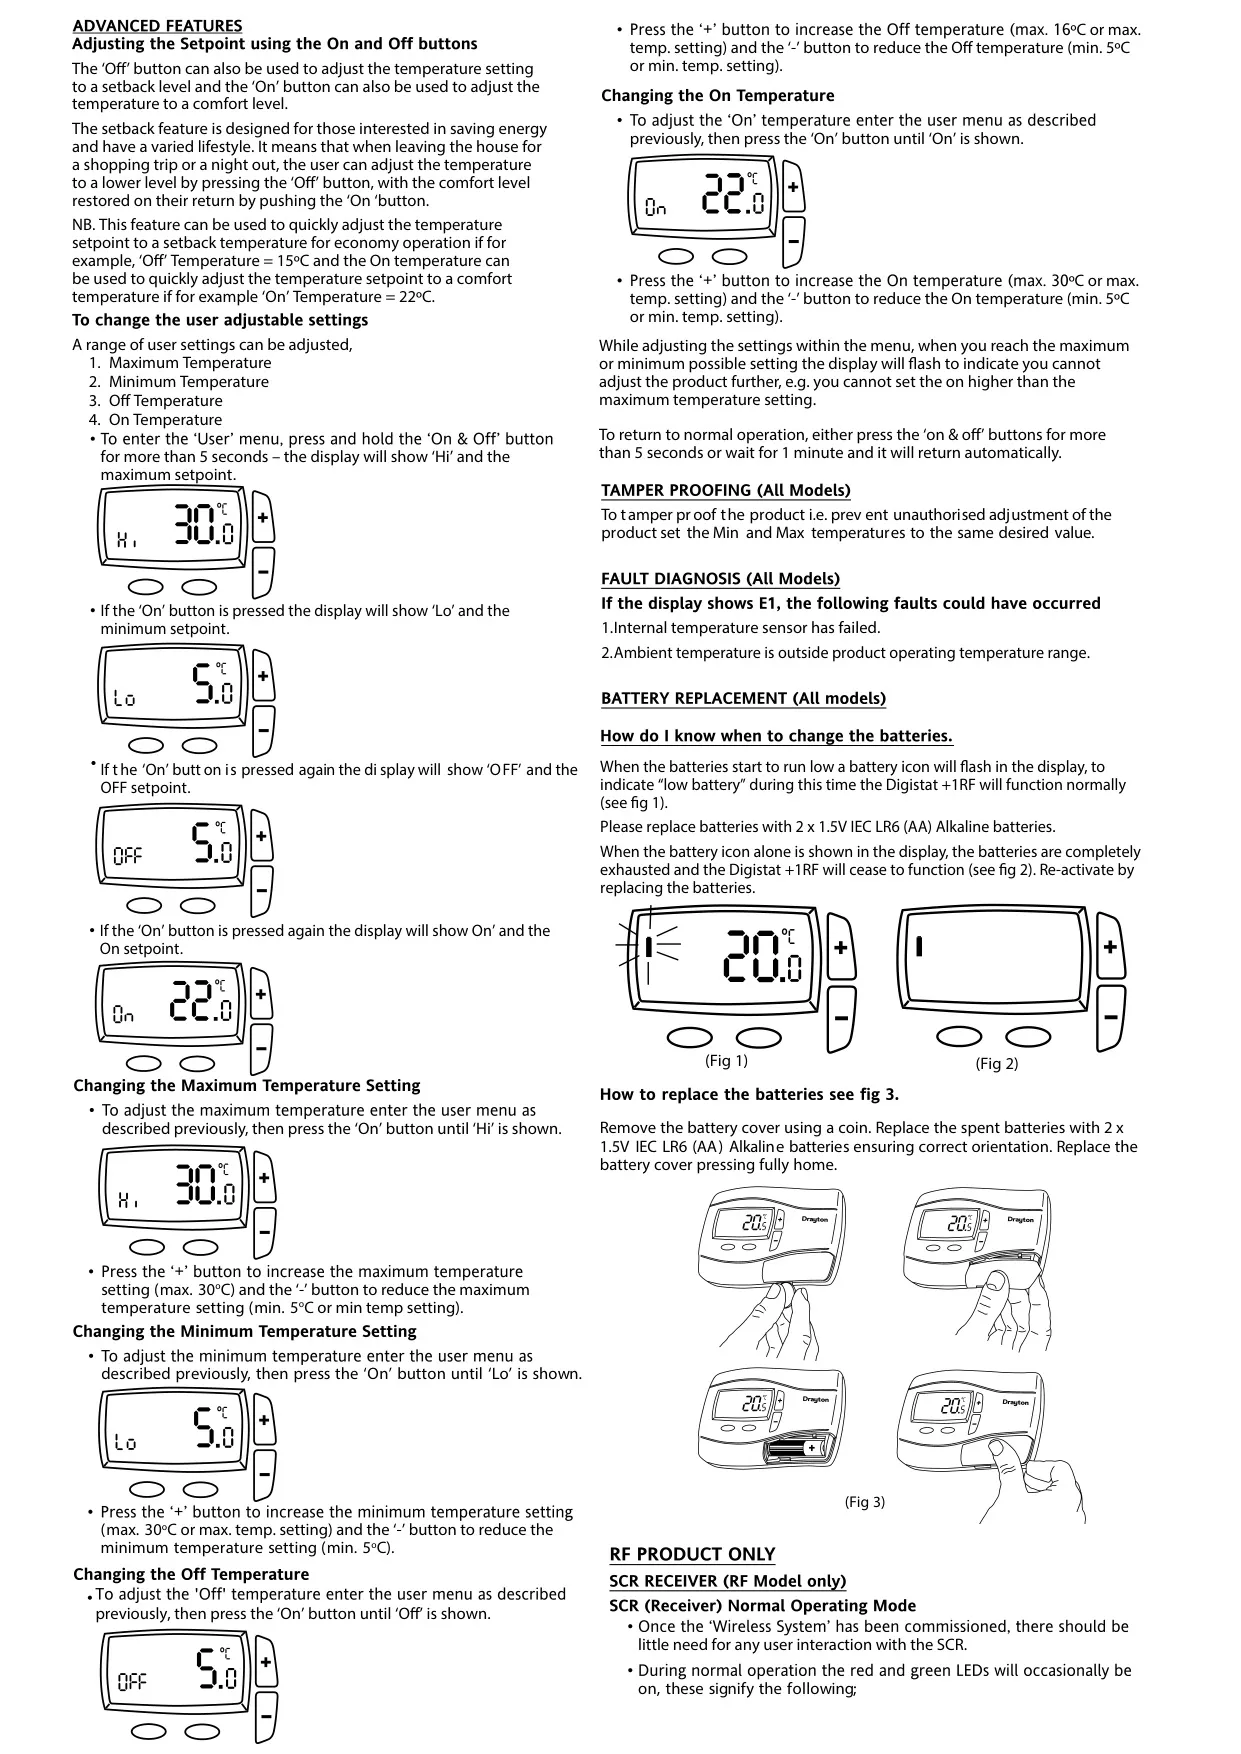


Drayton Digistat 1 Thermostat


Drayton Digistat 1 Thermostat Instructions
Here we offer the Drayton Digistat 1 Thermostat manual completely free and in English. We have cataloged this manual in the Thermostats section on Manualverse, and it has been rated by 1 users with an average rating of 5. If you have any specific questions about Drayton Digistat 1 Thermostat, we suggest checking the Frequently Asked Questions (FAQs) section of this manual.
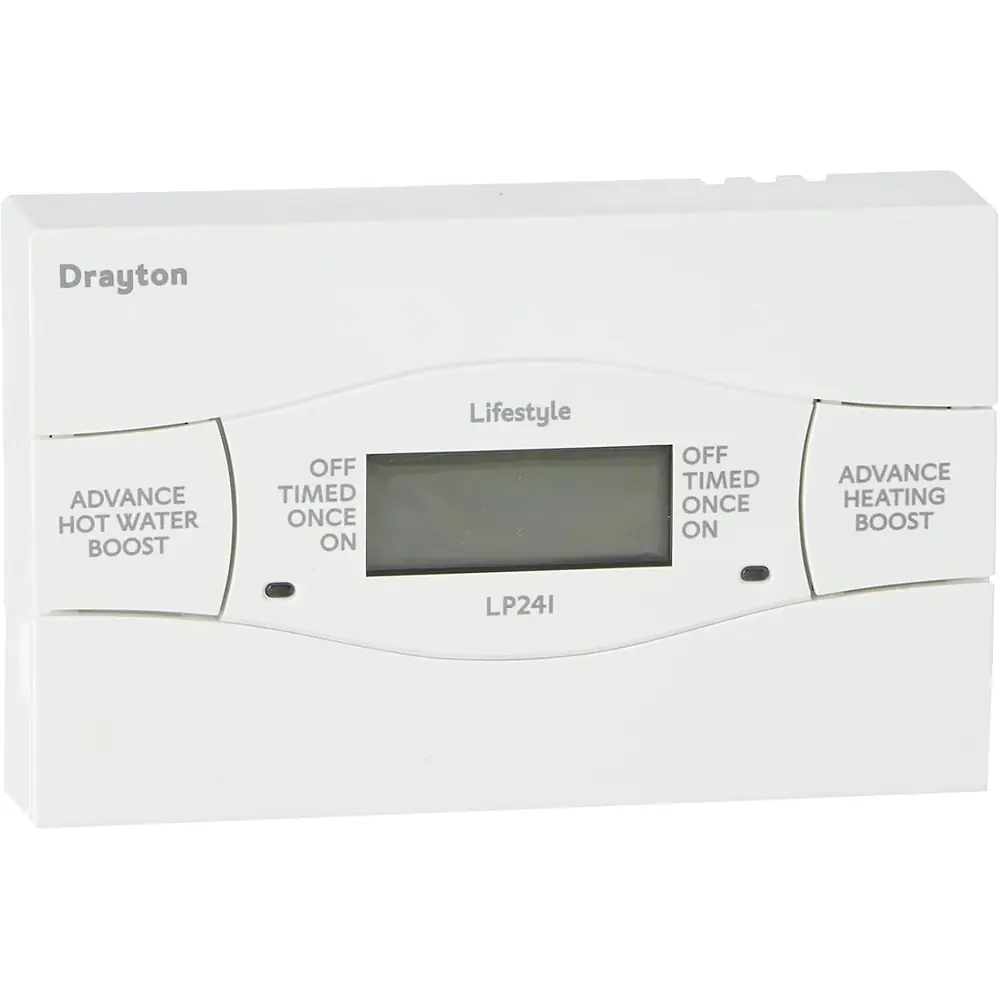
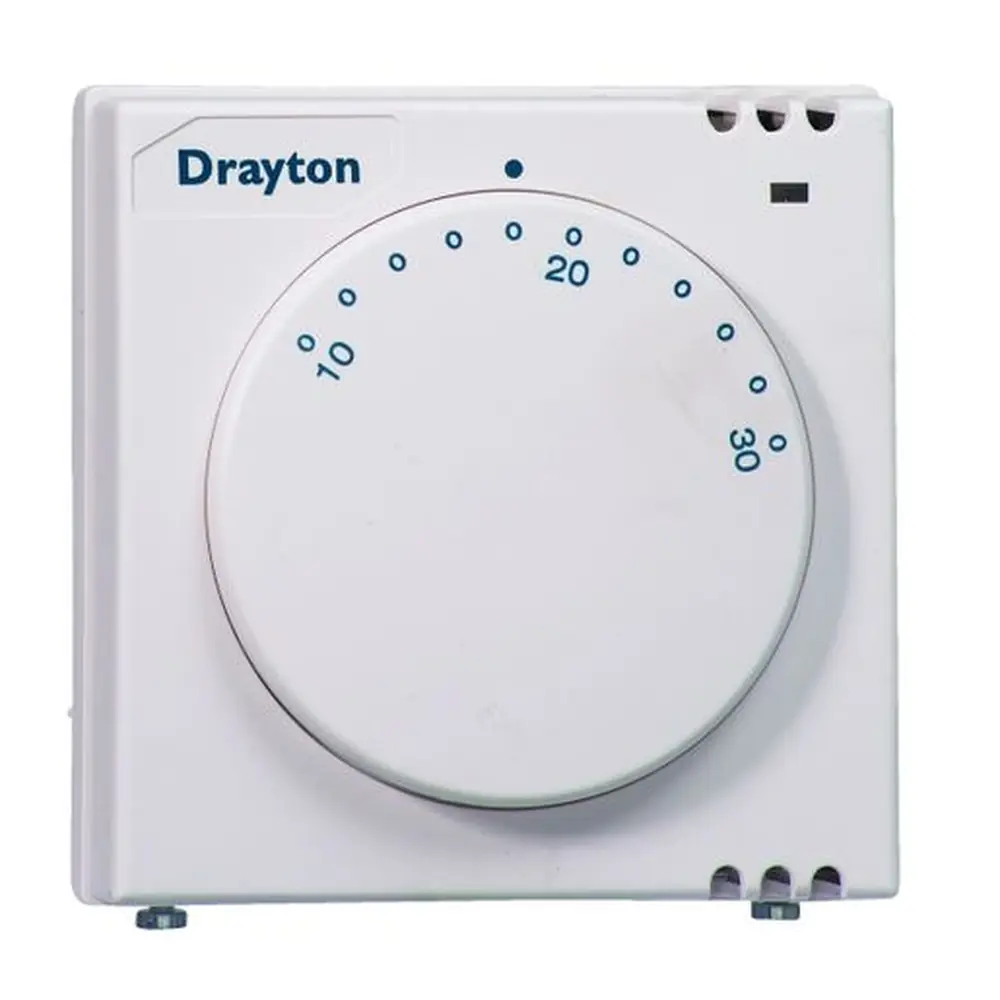
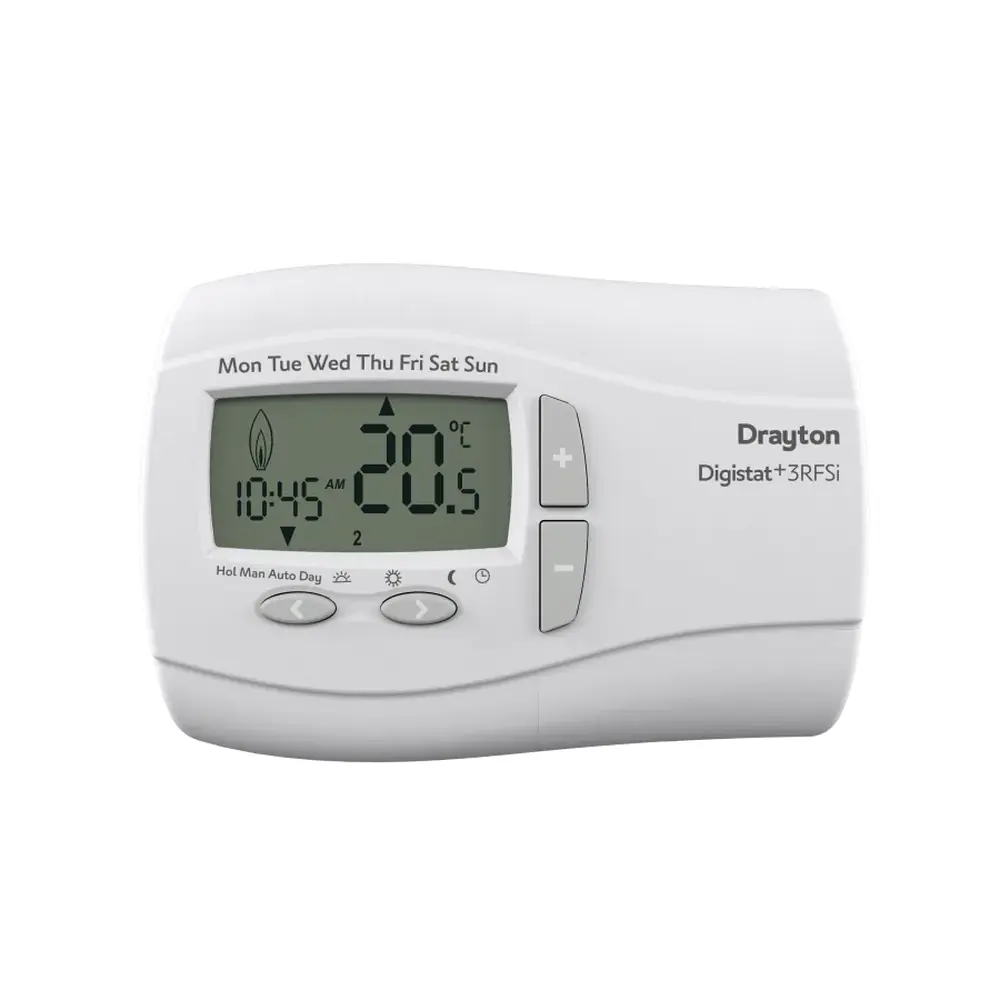
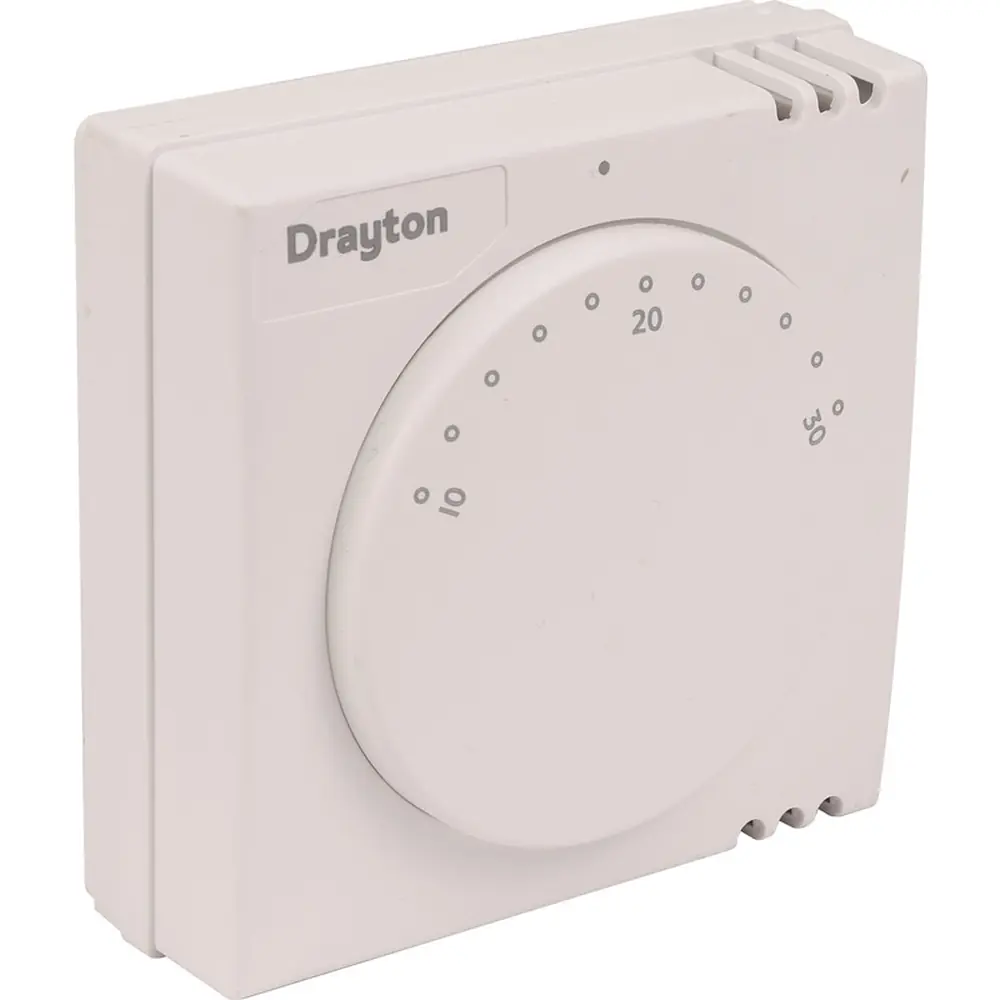
Product Images
Drayton Digistat 1 Thermostat Specifications
| Feature | Specification |
|---|---|
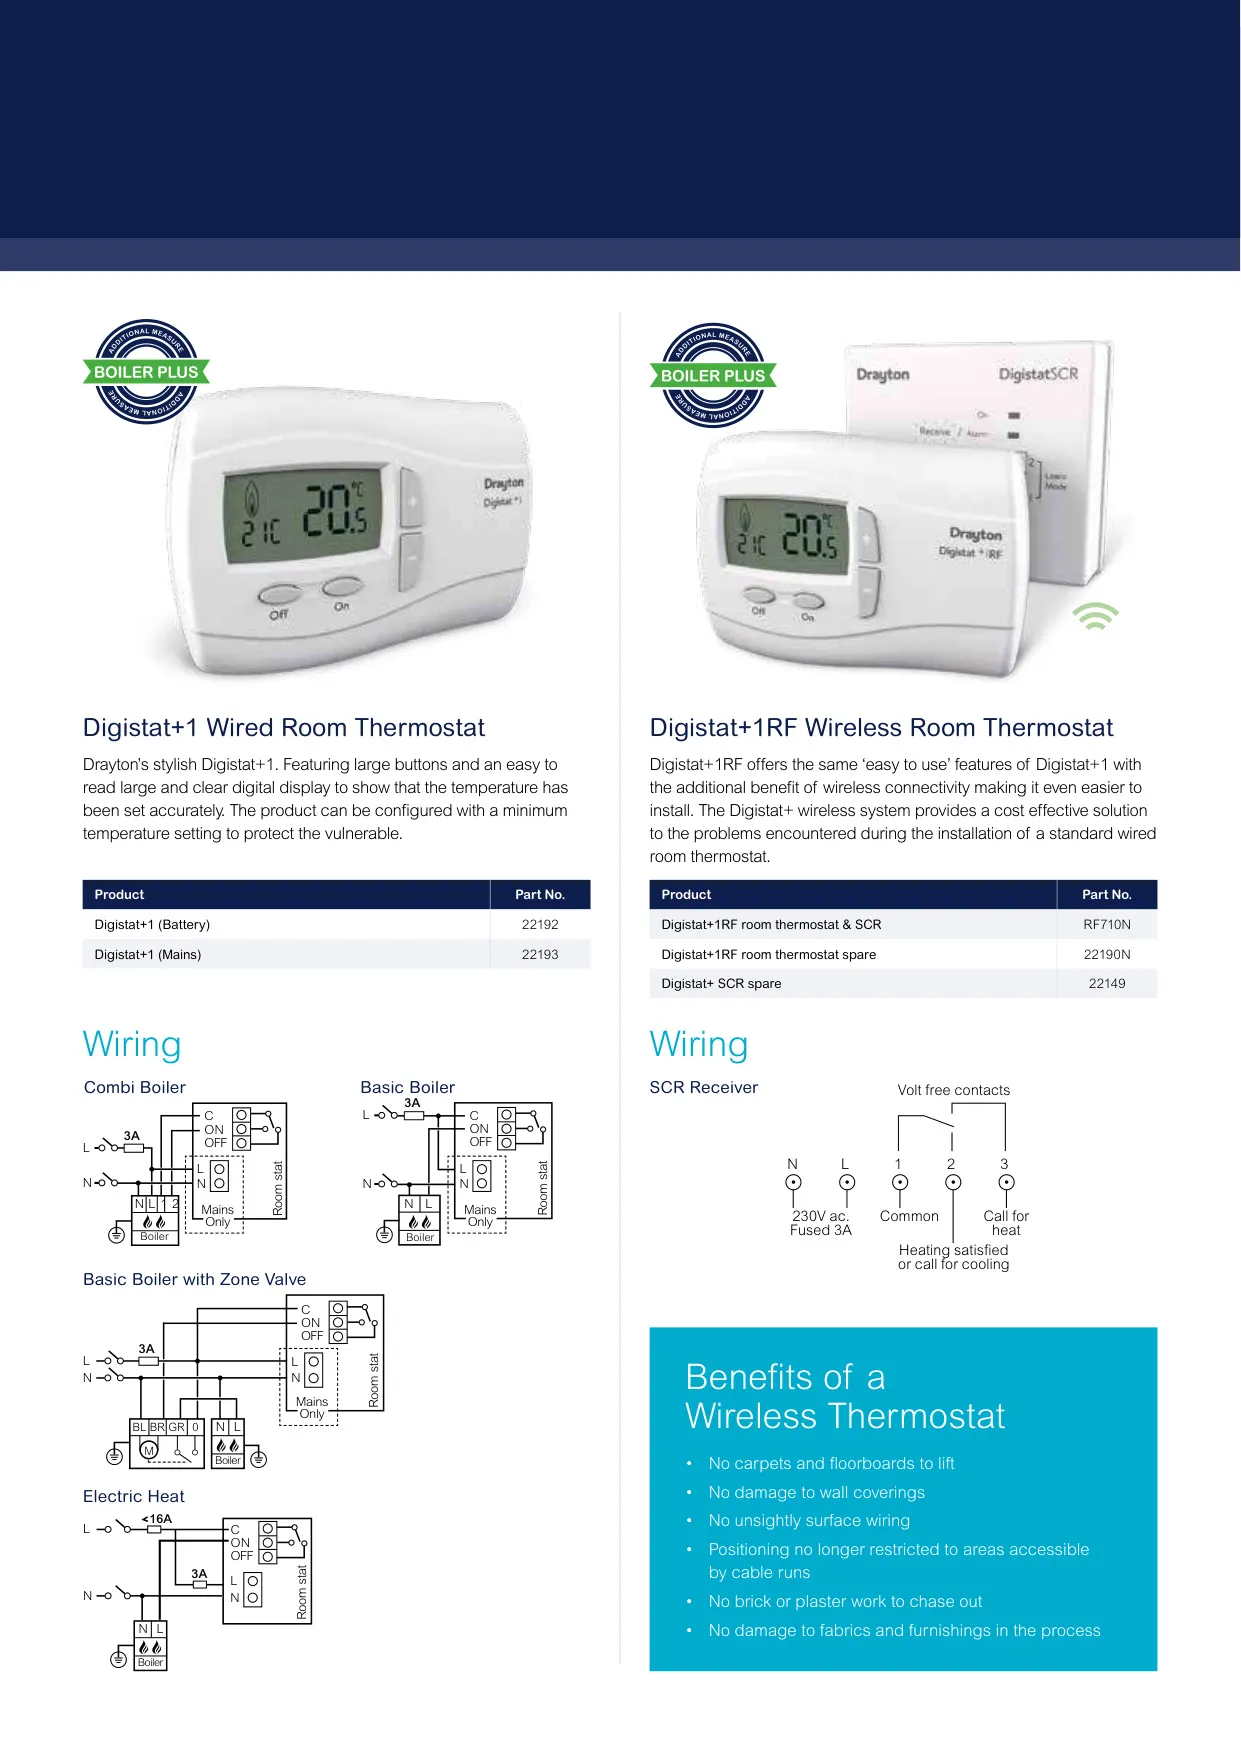
| Product Range | Digistat+1 (wired) and Digistat+1RF (wireless) room thermostats |
| Part Numbers | 22192 Digistat+1 (Battery), 22193 Digistat+1 (Mains), RF710N Digistat+1RF thermostat and SCR, 22190N Digistat+1RF thermostat spare, 22149 Digistat+ SCR spare |
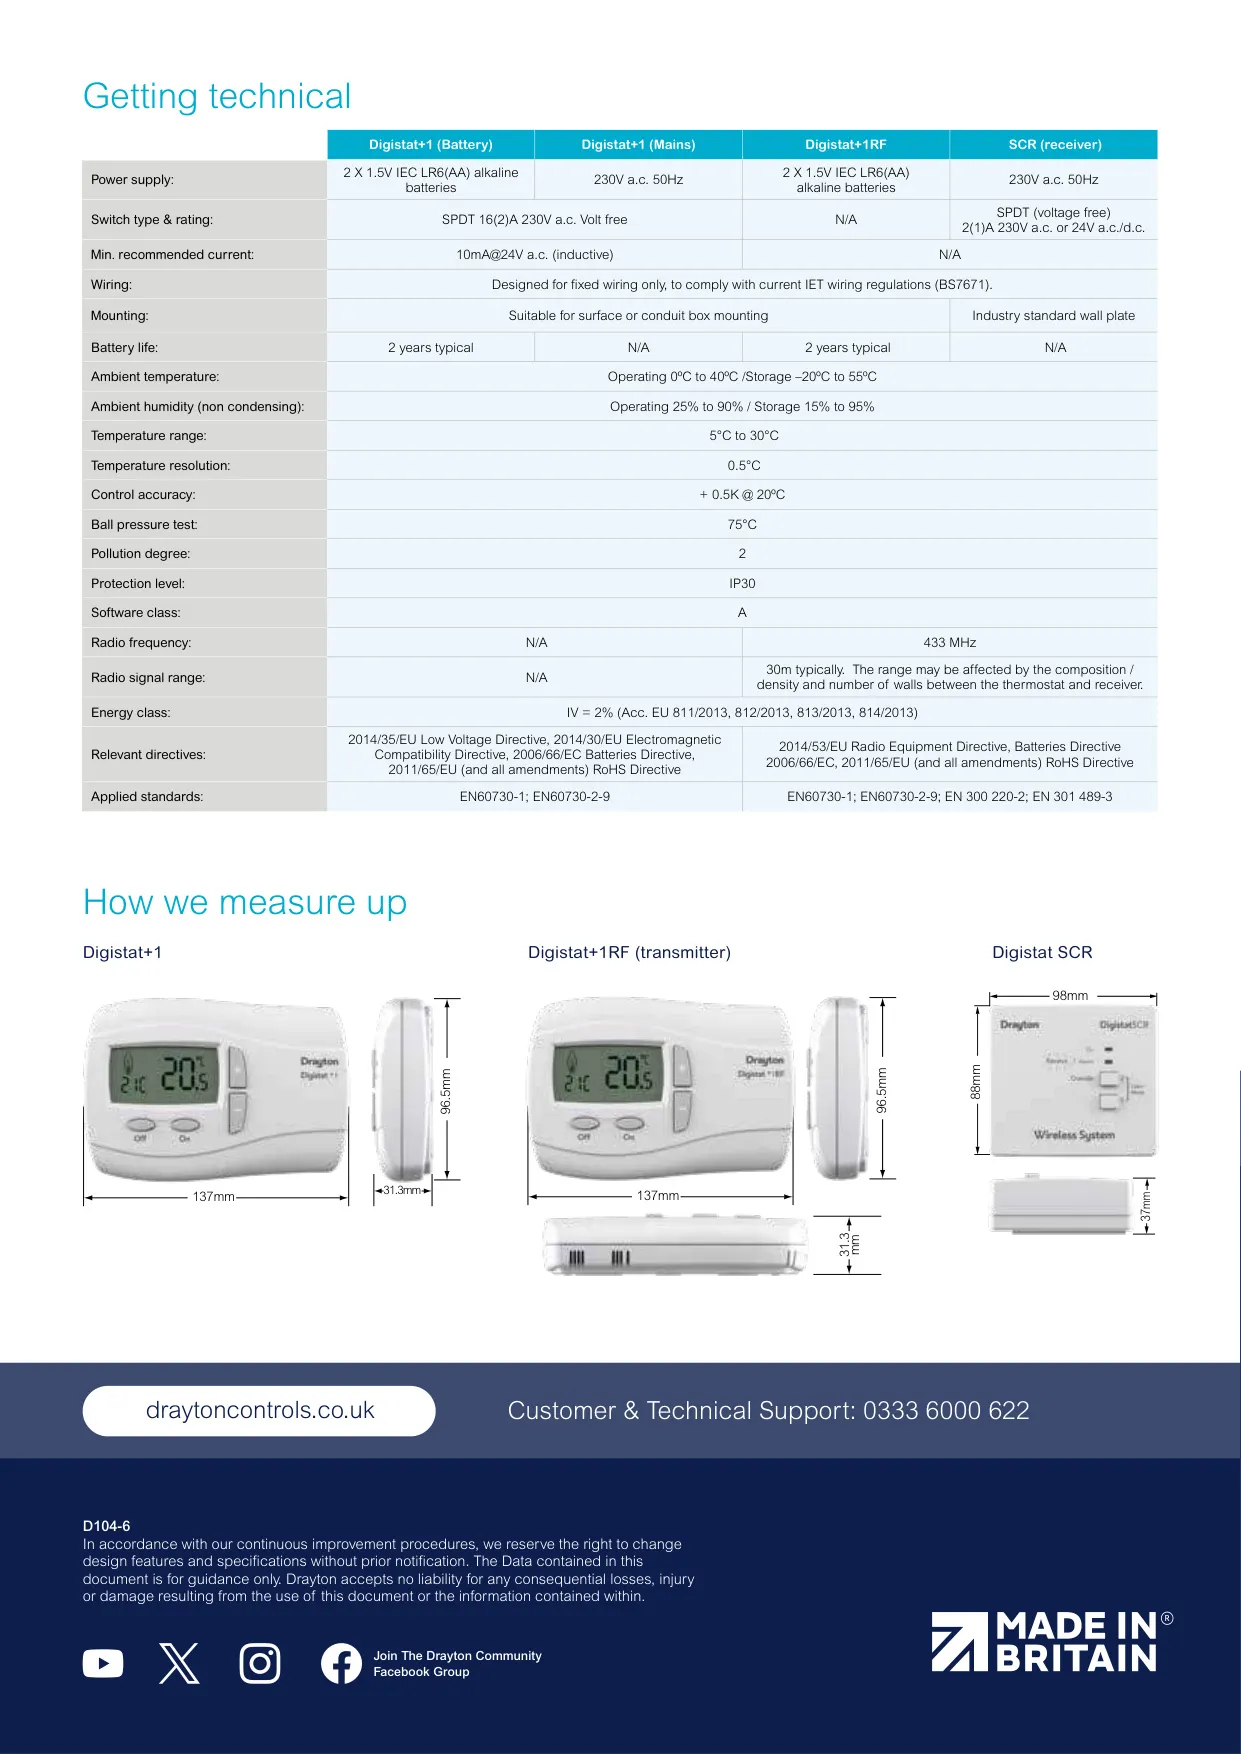
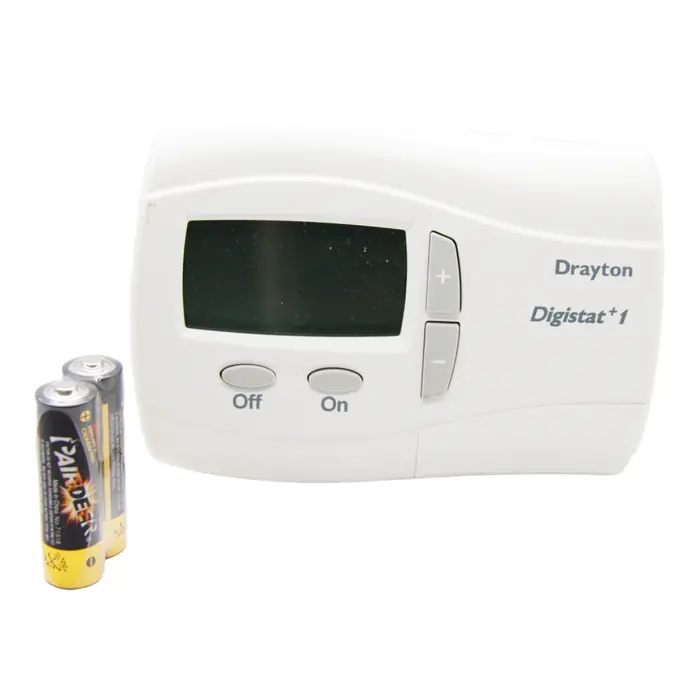
| Power Supply (Battery and RF Thermostat) | 2 x 1.5V IEC LR6 (AA) alkaline batteries |
| Power Supply (Mains Version and SCR Receiver) | 230V a.c. 50Hz, fused at 3A |
| Battery Life | 2 years typical |
| Switch Type and Rating (Wired Digistat+1) | SPDT 16(2)A 230V a.c., volt free |
| Minimum Recommended Current (Wired Digistat+1) | 10mA at 24V a.c. (inductive) |
| Switch Type and Rating (SCR Receiver) | SPDT (voltage free) 2(1)A 230V a.c. or 24V a.c./d.c. |
| Radio Frequency | 433 MHz |
| Radio Signal Range | 30m typically (depends on the composition, density and number of walls) |
| Temperature Setting Range | 5°C to 30°C |
| Temperature Resolution | 0.5°C |
| Control Accuracy | ±0.5K at 20°C |
| Operating Ambient Temperature | 0°C to 40°C |
| Storage Temperature | -20°C to 55°C |
| Ambient Humidity (Non-Condensing) | Operating 25% to 90%, Storage 15% to 95% |
| Protection Level | IP30 |
| Ball Pressure Test | 75°C |
| Pollution Degree | 2 |
| Software Class | A |
| Energy Class | IV = 2% (according to EU 811/2013, 812/2013, 813/2013, 814/2013) |
| Mounting | Thermostat: surface or conduit box mounting; SCR: industry standard wall plate |
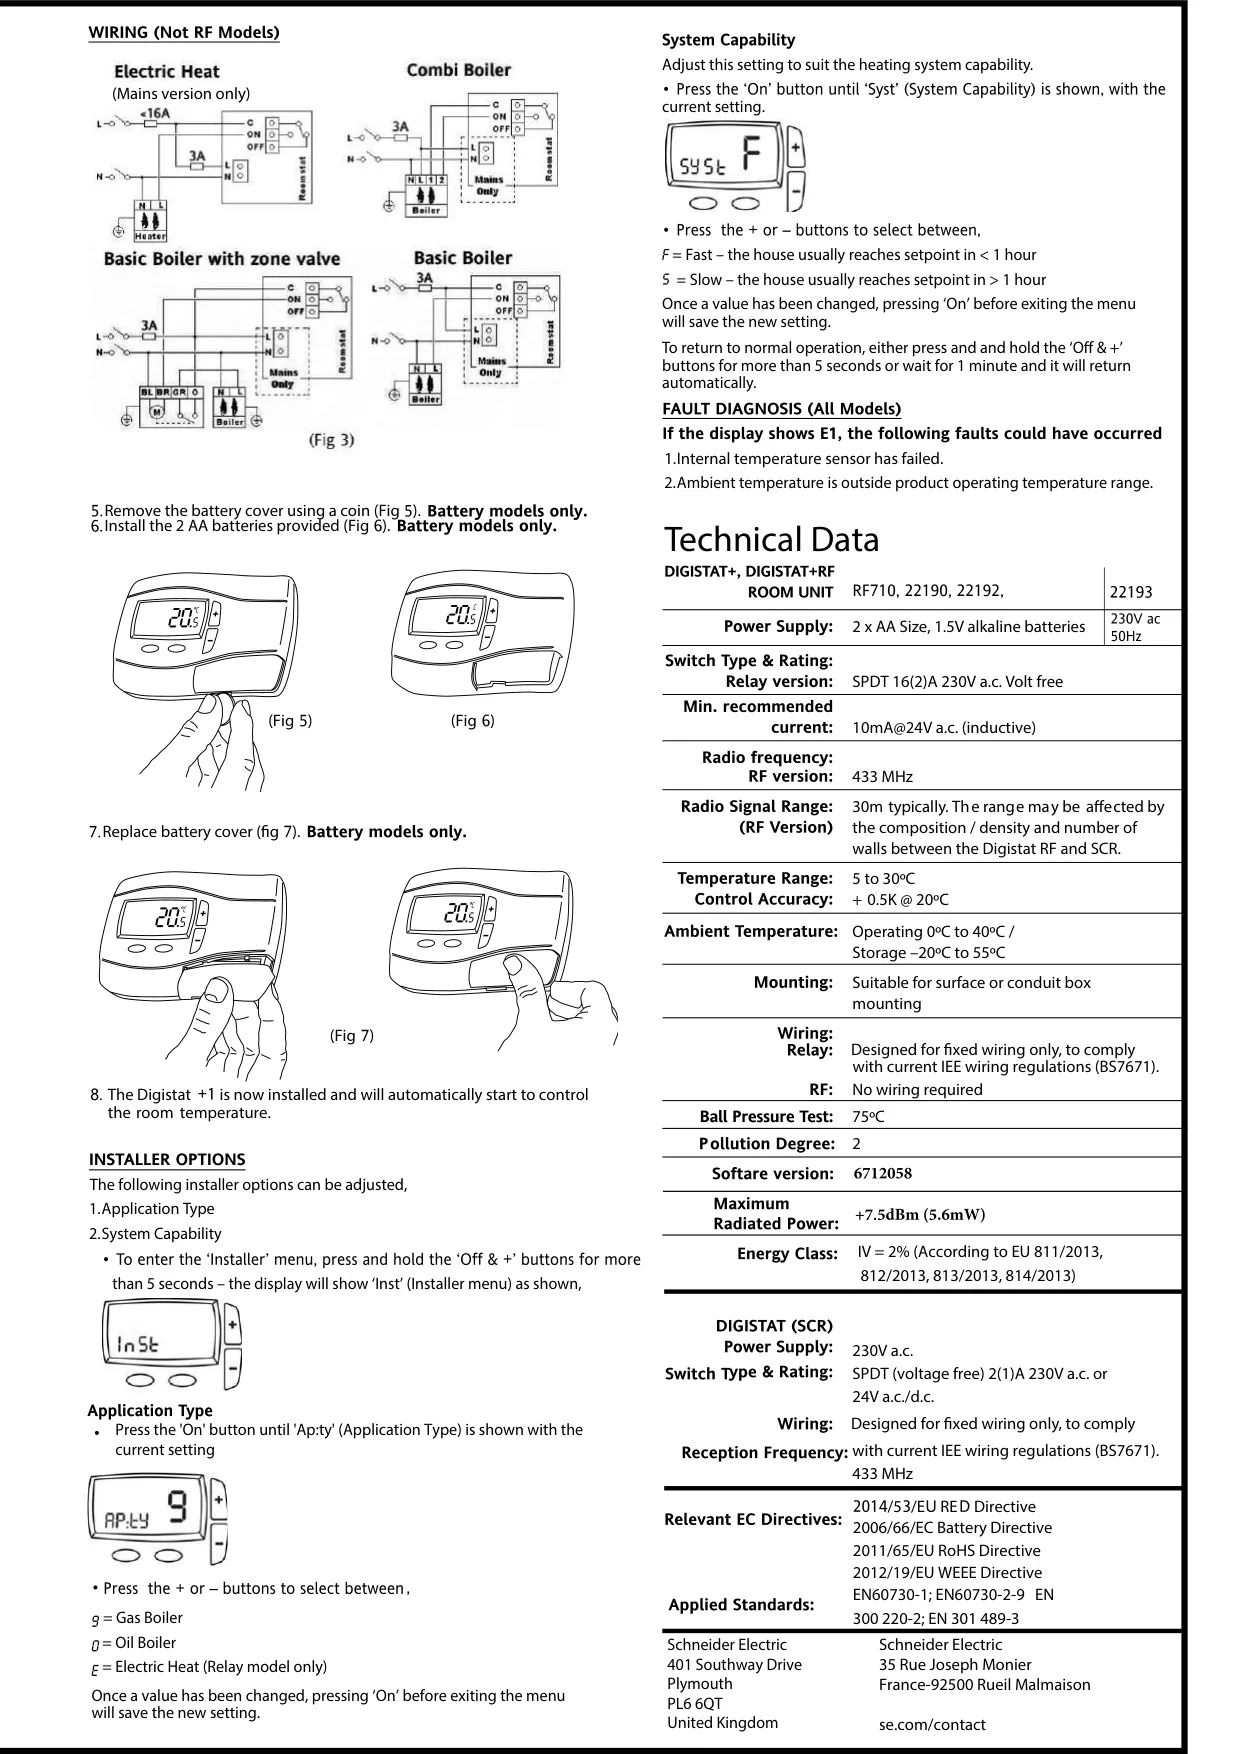
| Wiring | Designed for fixed wiring only, to comply with current IET wiring regulations (BS7671); no wiring required for the RF thermostat |
| Insulation | Double insulated, no earth connection required |
| SCR Terminals | N, L (230V a.c. fused 3A), 1 Common, 2 Call for heat, 3 Heating satisfied or call for cooling |
| Isolation Requirement | Double-pole switch with at least 3mm contact separation |
| Applied Standards | EN60730-1, EN60730-2-9, EN 300 220-2, EN 301 489-3 |
| Relevant Directives | 2014/35/EU LVD, 2014/30/EU EMC, 2014/53/EU RED, 2006/66/EC Batteries, 2011/65/EU RoHS, 2012/19/EU WEEE |
| Building Regulations | Part L compliant (Part J in Scotland) |
| Manufacturer | Drayton by Schneider Electric |
Drayton Digistat 1 Thermostat Details
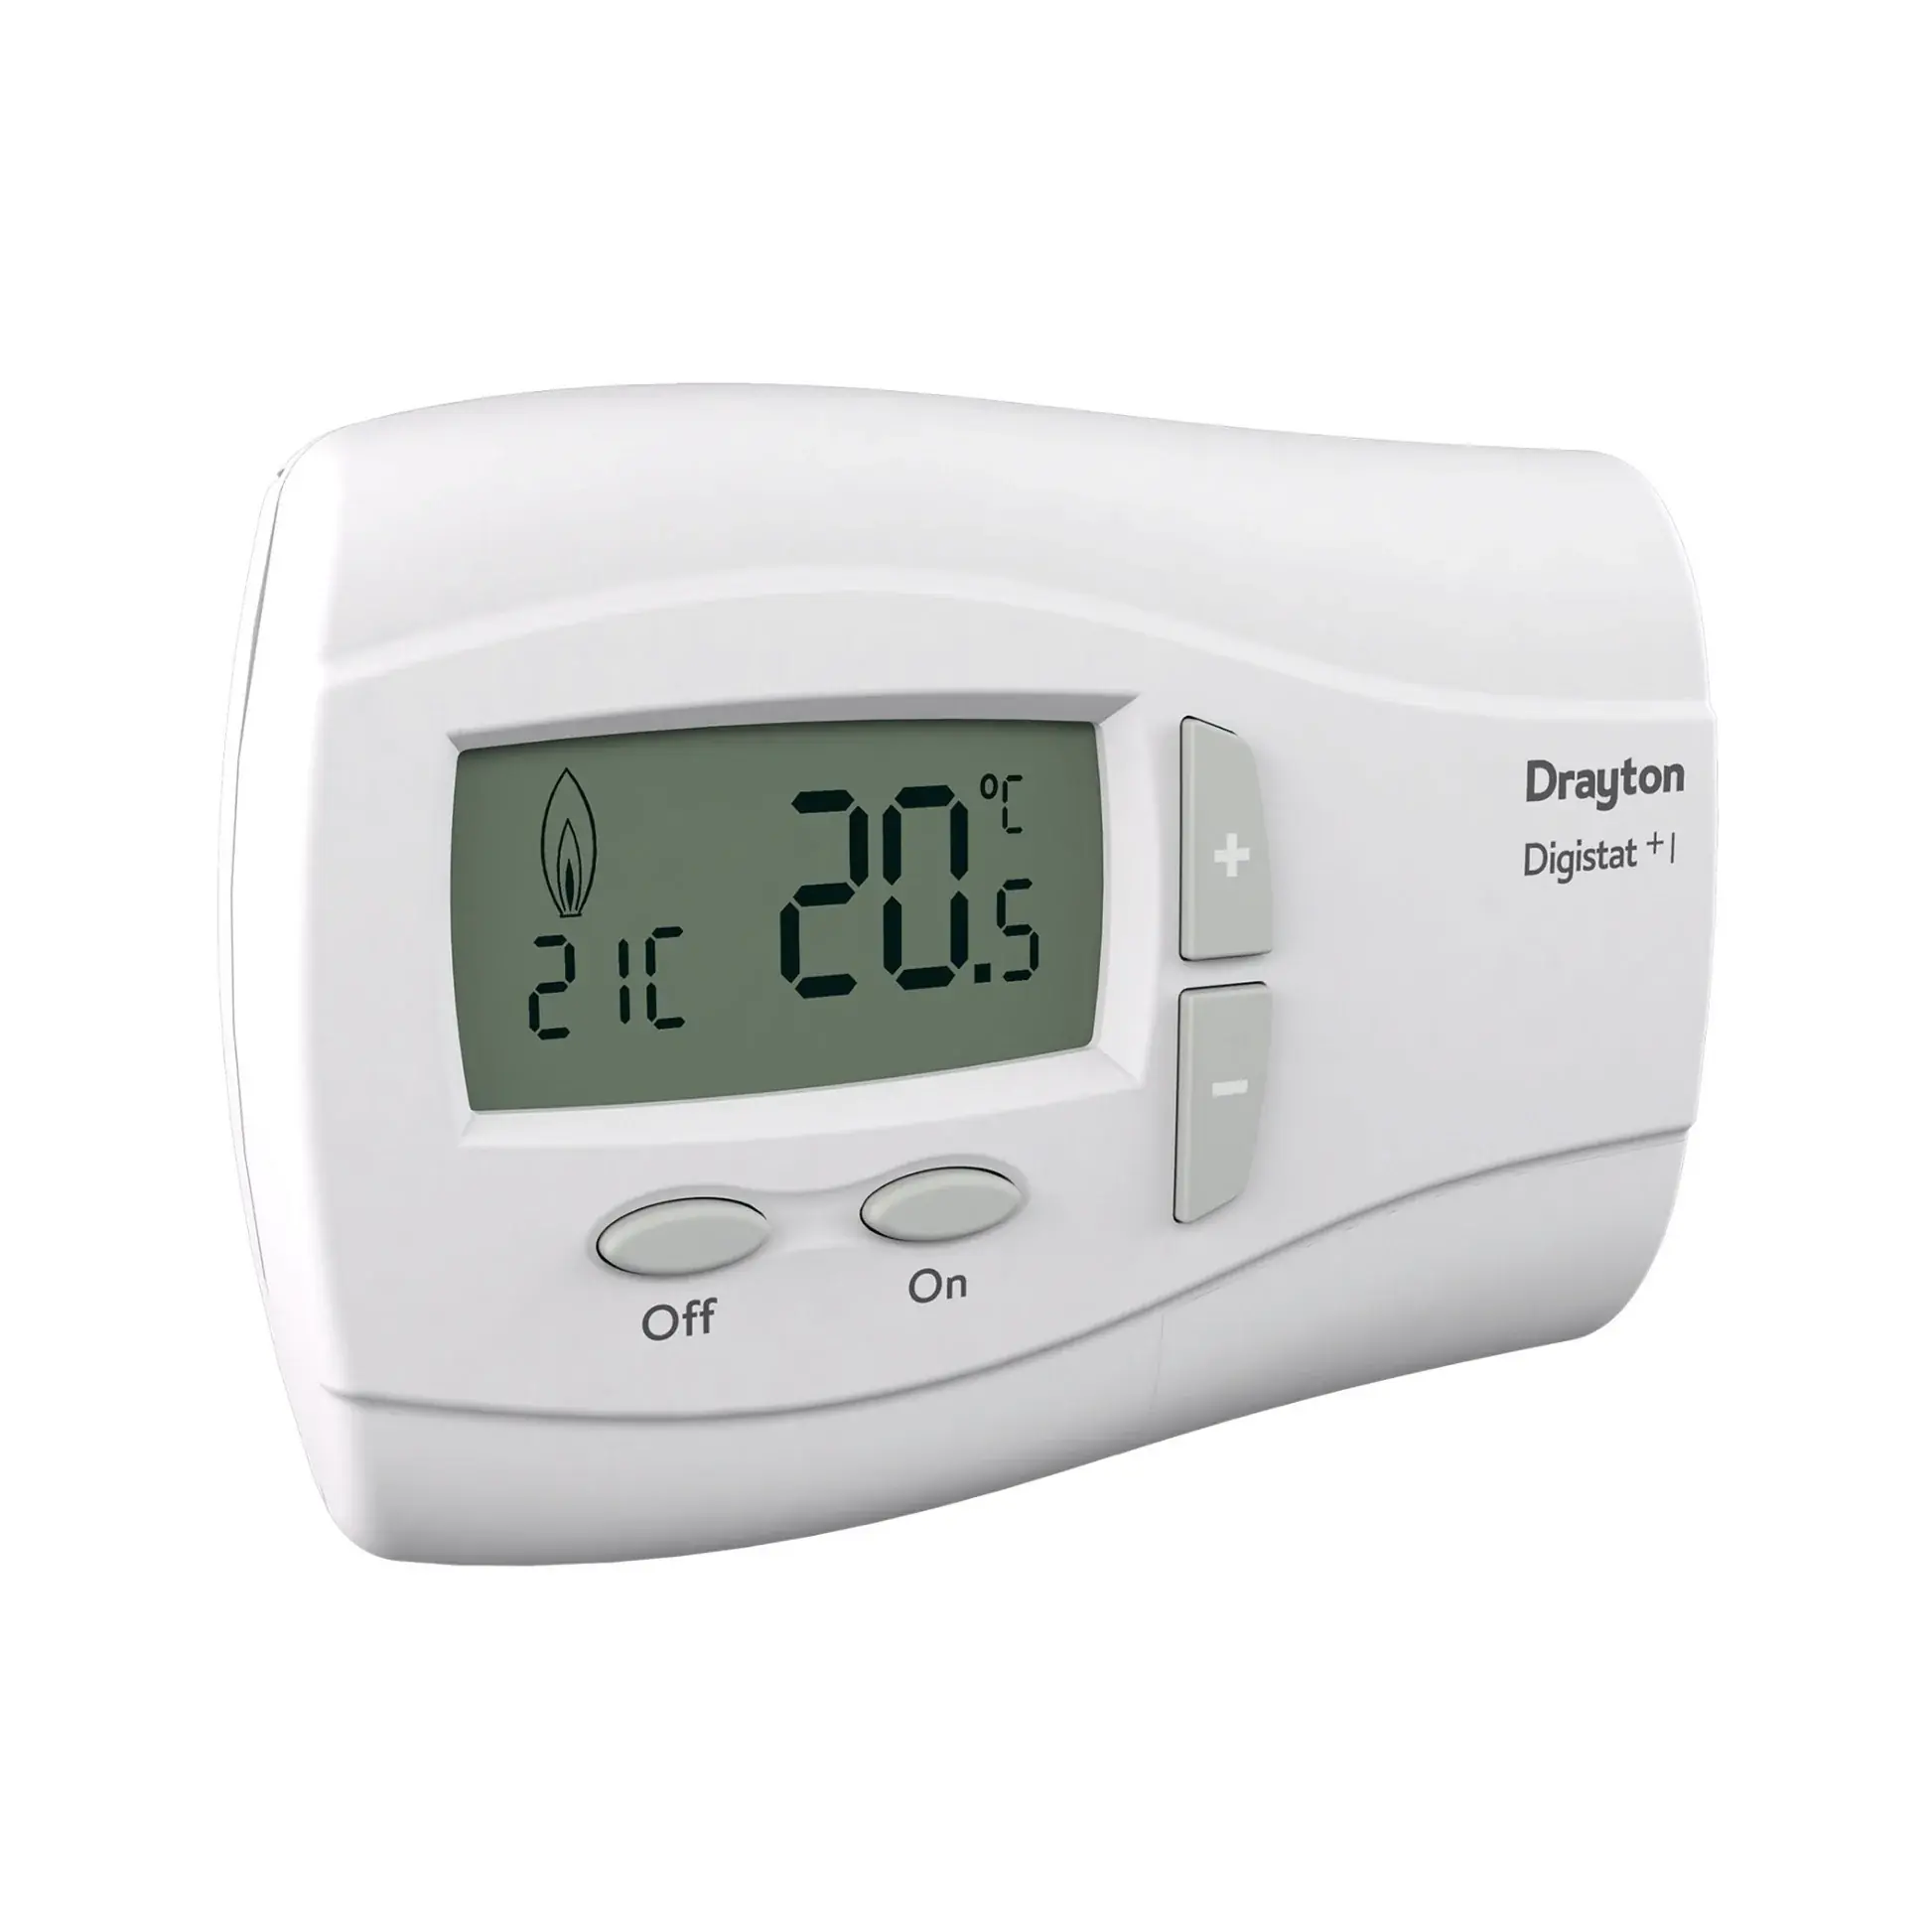
The Drayton Digistat+1 range is a simple room thermostat family with just four buttons: +, -, On and Off. A large digital display shows the room temperature and the setpoint, along with a sun icon for comfort mode, a moon icon for setback mode and a flame icon whenever the unit is calling for heat. The setpoint stays on screen while you adjust it and disappears five seconds after you finish.
The On and Off buttons double as quick comfort and setback presets. When you go out shopping or for the evening, pressing Off drops the setpoint to an economy level, for example 15°C, and pressing On when you get home restores the comfort level, for example 22°C. This gives energy savings for people with irregular routines, with no programming required.
Holding the buttons for more than five seconds opens the user menu, which shows Hi and the maximum setpoint first. Pressing On steps through Lo, OFF and On, so you can set the maximum, minimum, setback and comfort temperatures. The display flashes when a limit is reached. If you set Min and Max to the same value, the thermostat becomes tamper-proof, which is useful for protecting vulnerable occupants.
A separate installer menu, shown as Inst, sets the Application Type (gas boiler, oil boiler or electric heat on the relay model) and the System Capability. Fast suits homes that usually reach the setpoint in under an hour, and slow suits homes that take longer. Press On before you leave the menu to save your changes. The menu also closes on its own after one minute.
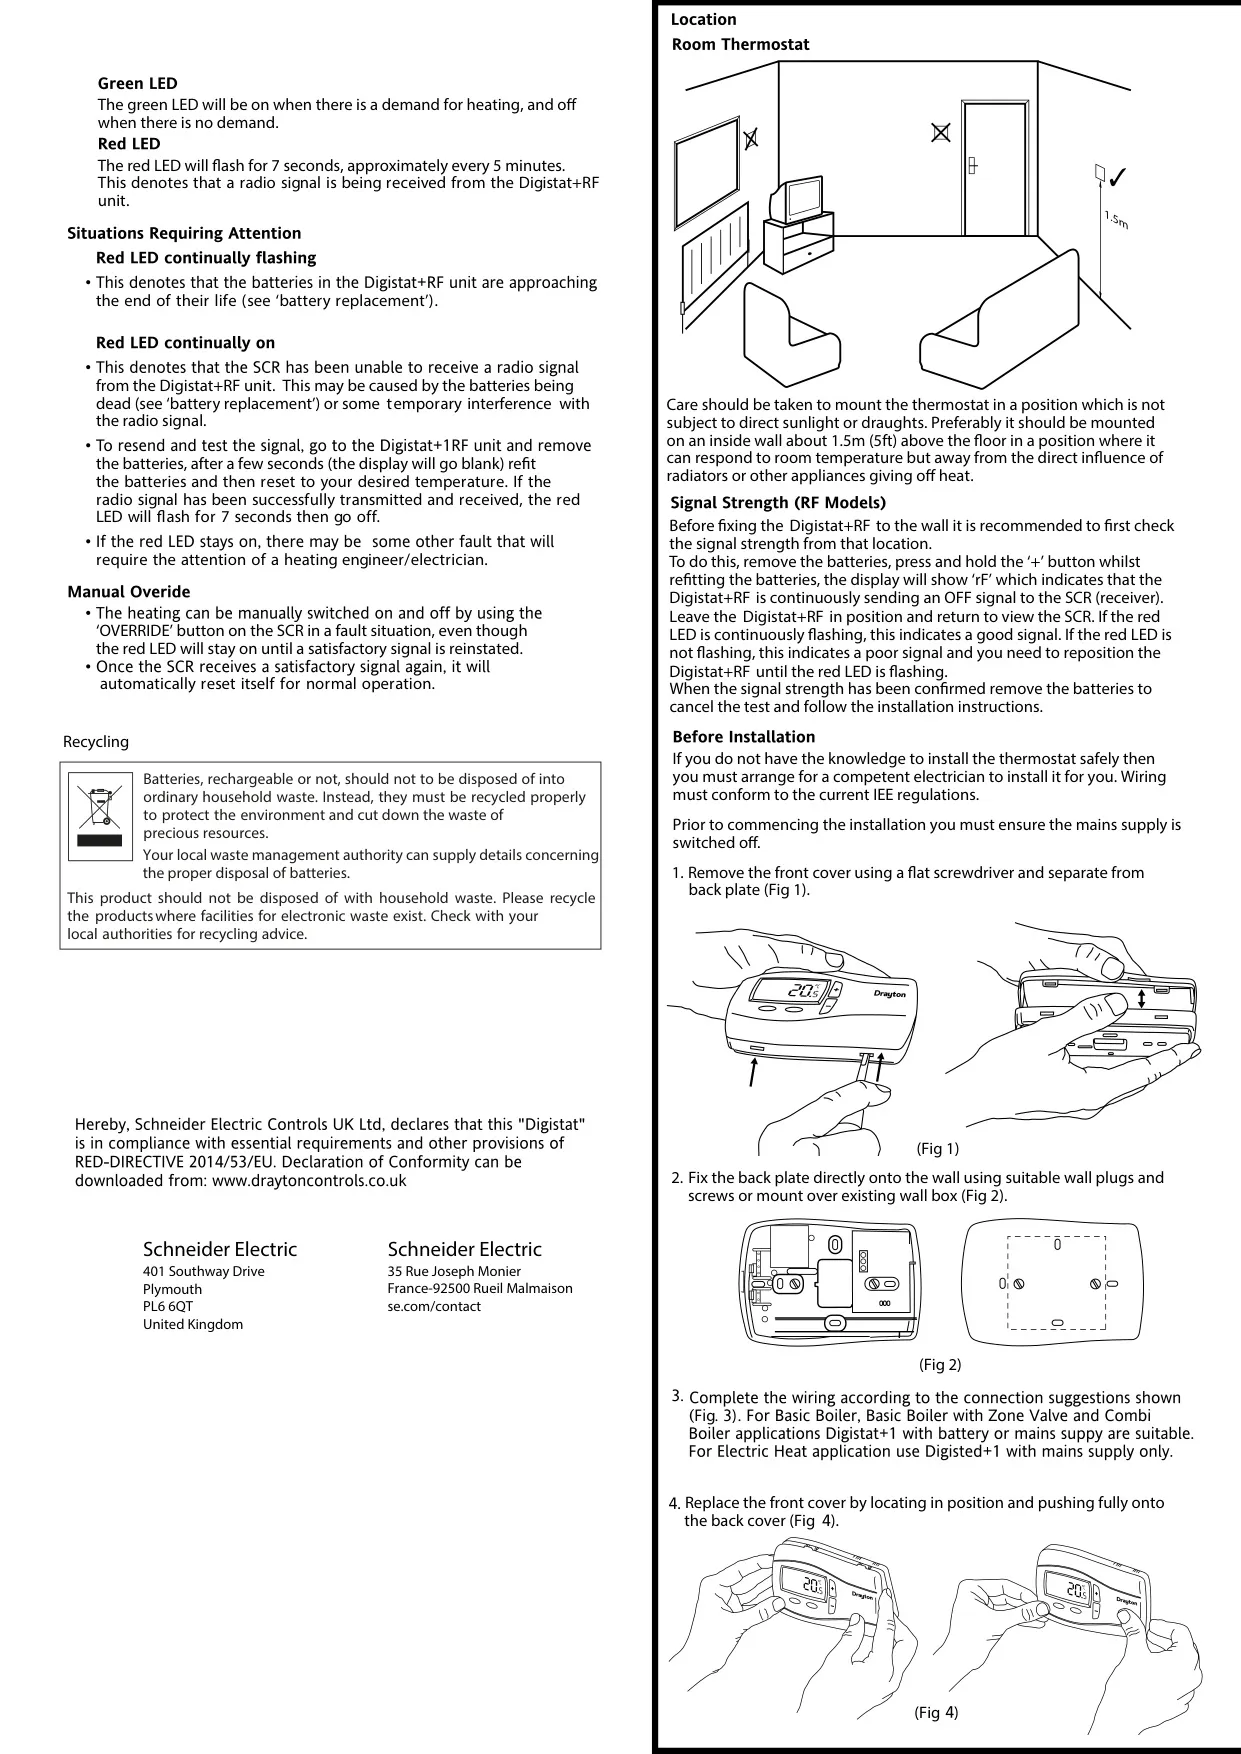
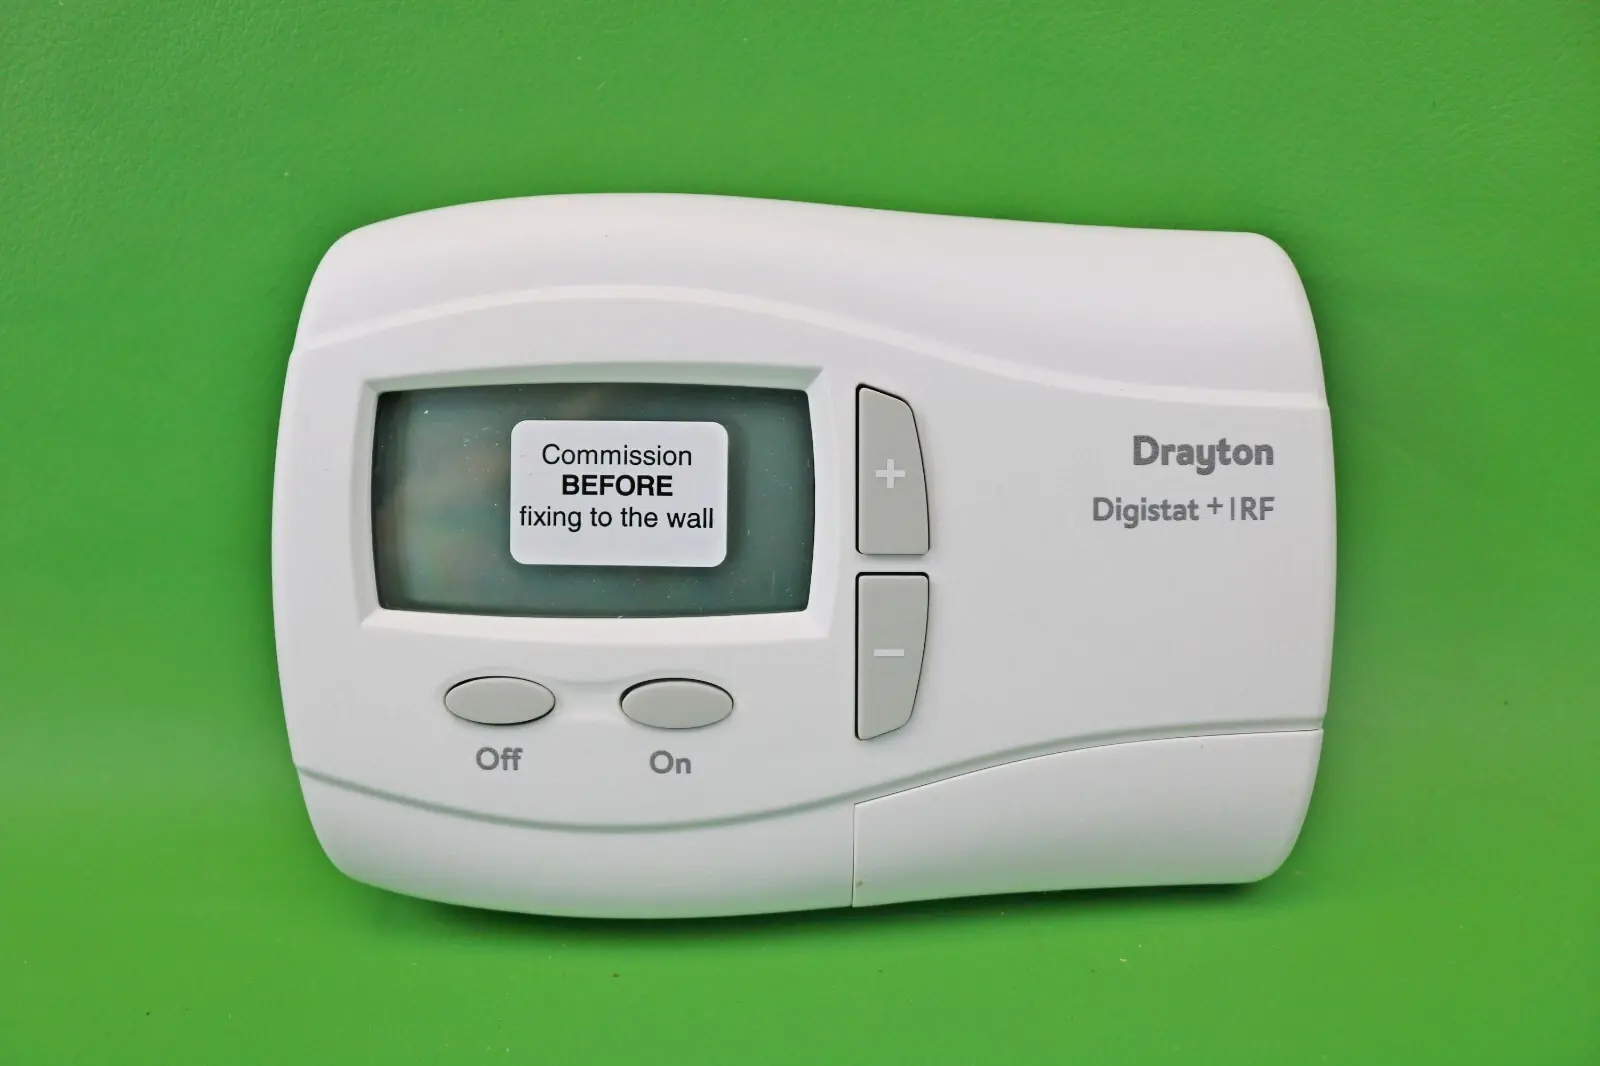
The wireless Digistat+1RF works with the SCR receiver, which should be mounted near the boiler or wiring centre. Keep it at least 30cm from metal objects and the boiler side panel, and away from mains cables. Leave minimum clearances of about 50mm above, 40mm on each side and 70mm below the wallplate. It fixes with No.6 x 1" wood screws or M3.5 x 14 screws onto a conduit box.
During commissioning, you enter learn mode by holding SCR buttons 1 and 2 together until the red and green LEDs both light. You then fit the thermostat batteries at least one metre from the receiver. In normal use, the red LED flashes for seven seconds roughly every five minutes when a signal arrives. The green LED shows a call for heat. In multi-zone homes, commission each pair in turn.
A built-in signal strength test helps you choose the mounting spot. Hold + while you refit the batteries and the display shows rF, which means the thermostat is sending OFF signals continuously. If the SCR red LED keeps flashing, the signal is good. Mount the thermostat on an inside wall about 1.5m above the floor, away from sunlight, draughts, radiators and other heat sources.
When the batteries are running low, a flashing battery icon appears and the thermostat keeps working as normal. When the battery icon is shown on its own, the batteries are exhausted and control stops. Open the cover with a coin and fit two new AA alkaline cells. In a fault, the SCR Override button can switch the heating on manually.
Frequently Asked Questions (FAQs)
Can't find the answer you need? Here are some frequently asked questions about the Drayton Digistat 1 Thermostat, and we answer them below.