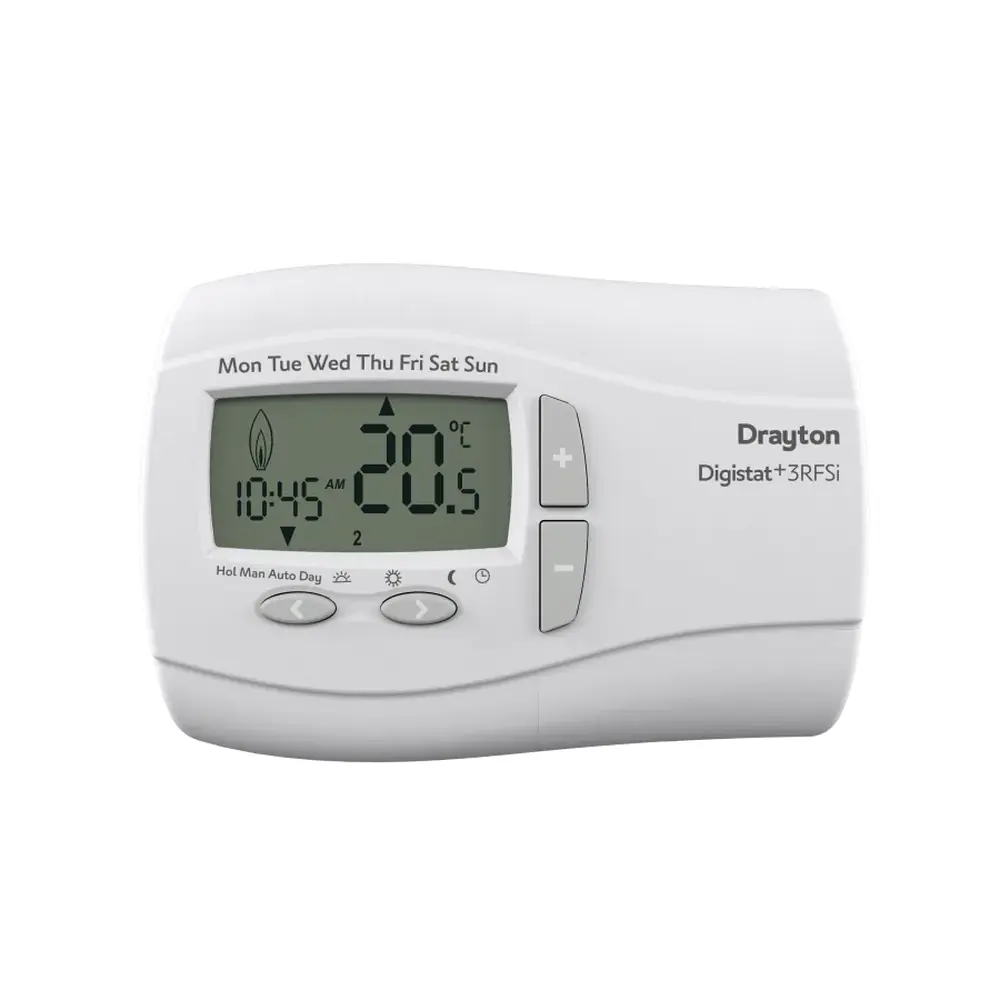
Drayton Digistat RF Thermostat Instruction Manual

Drayton Digistat RF Thermostat
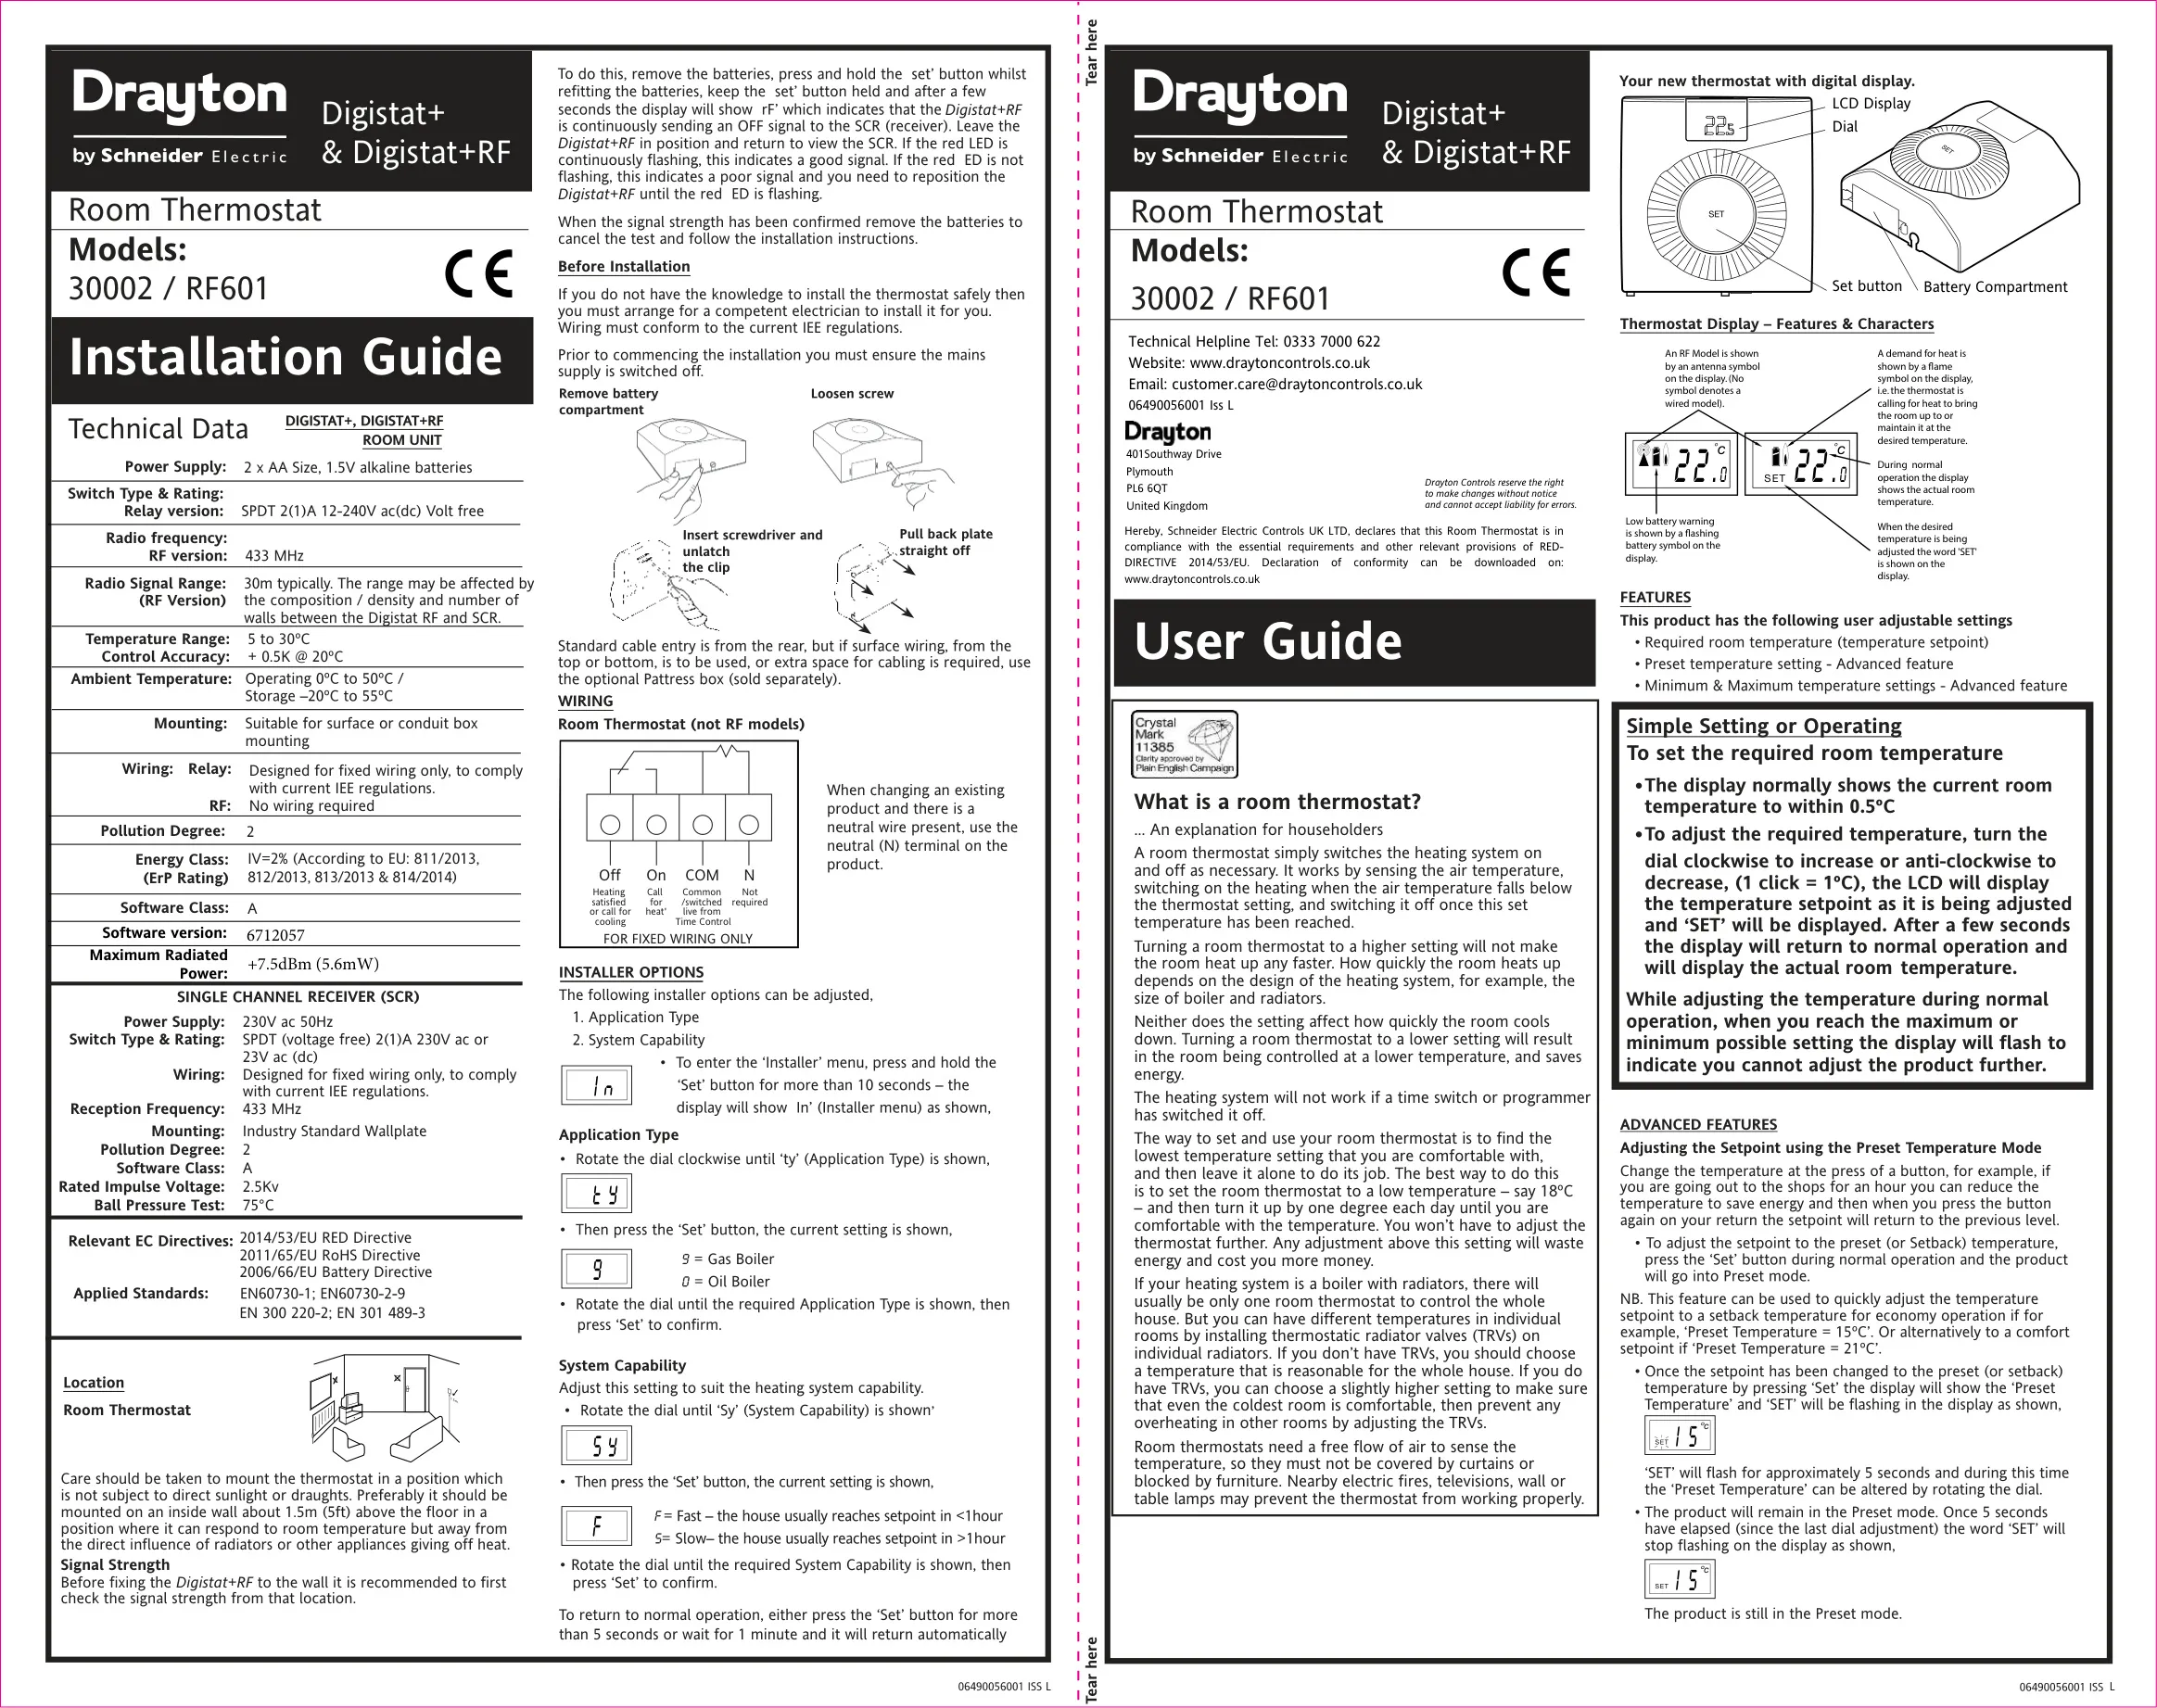
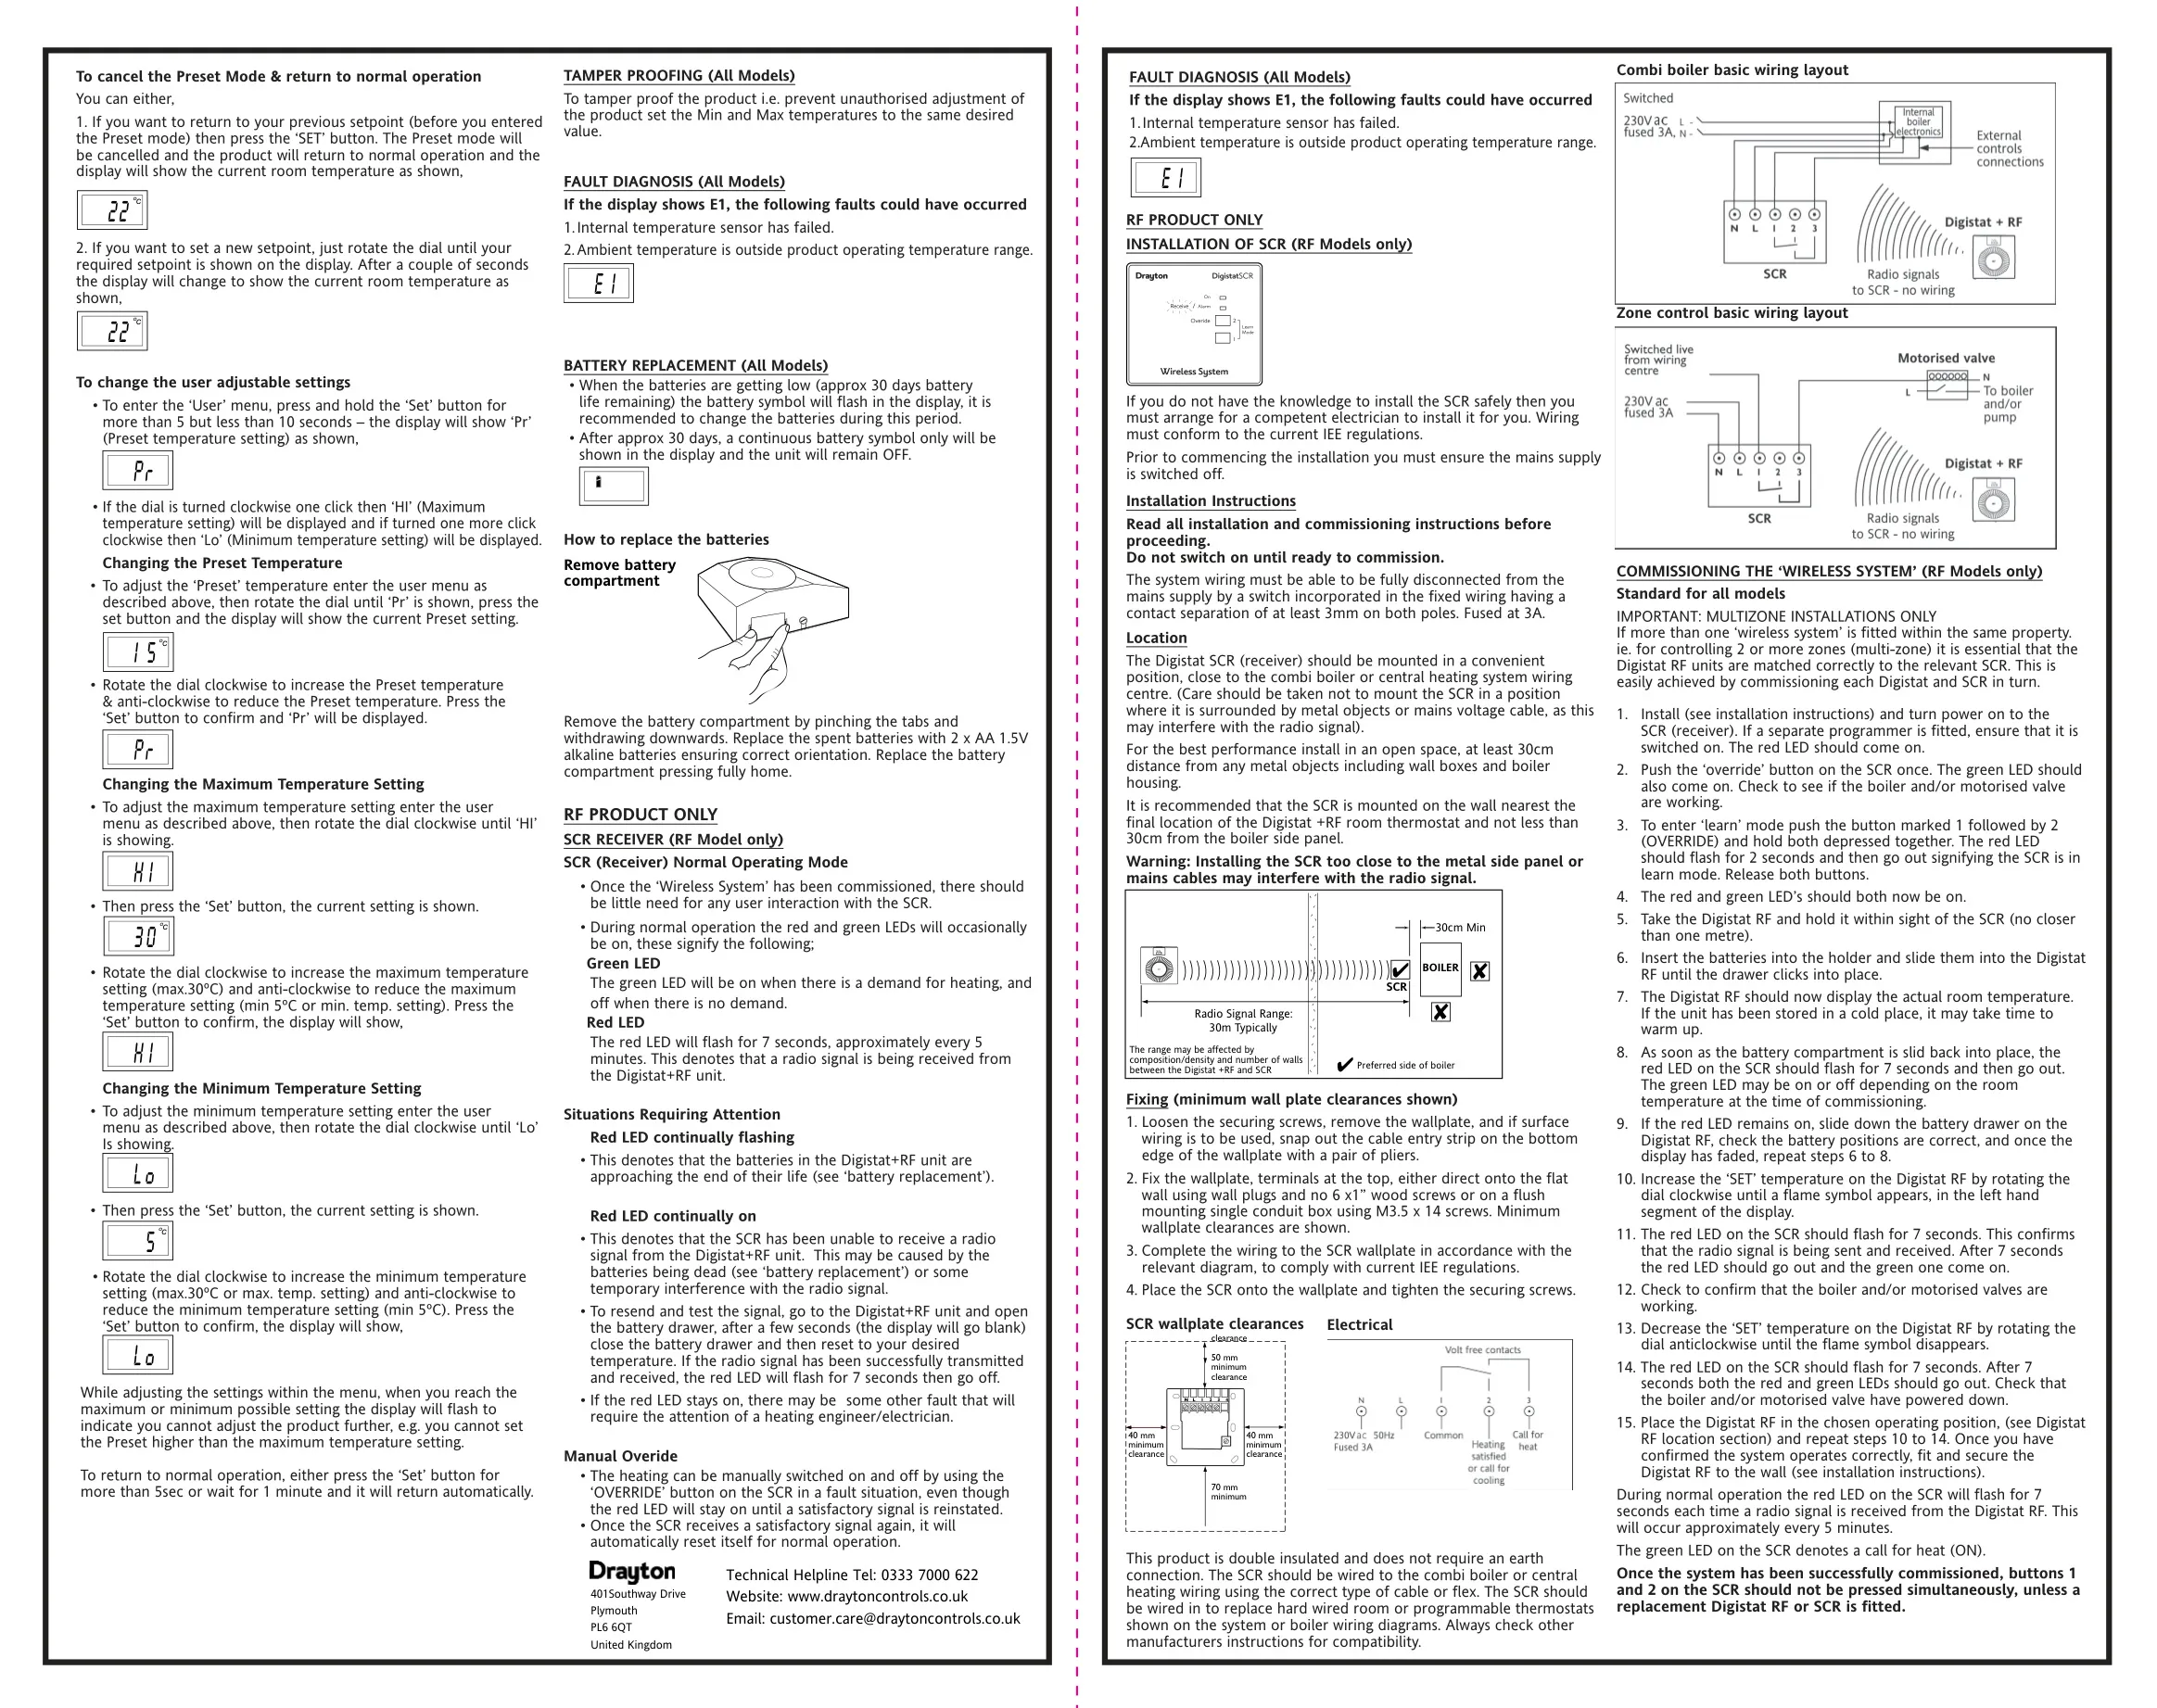


Drayton Digistat RF Thermostat
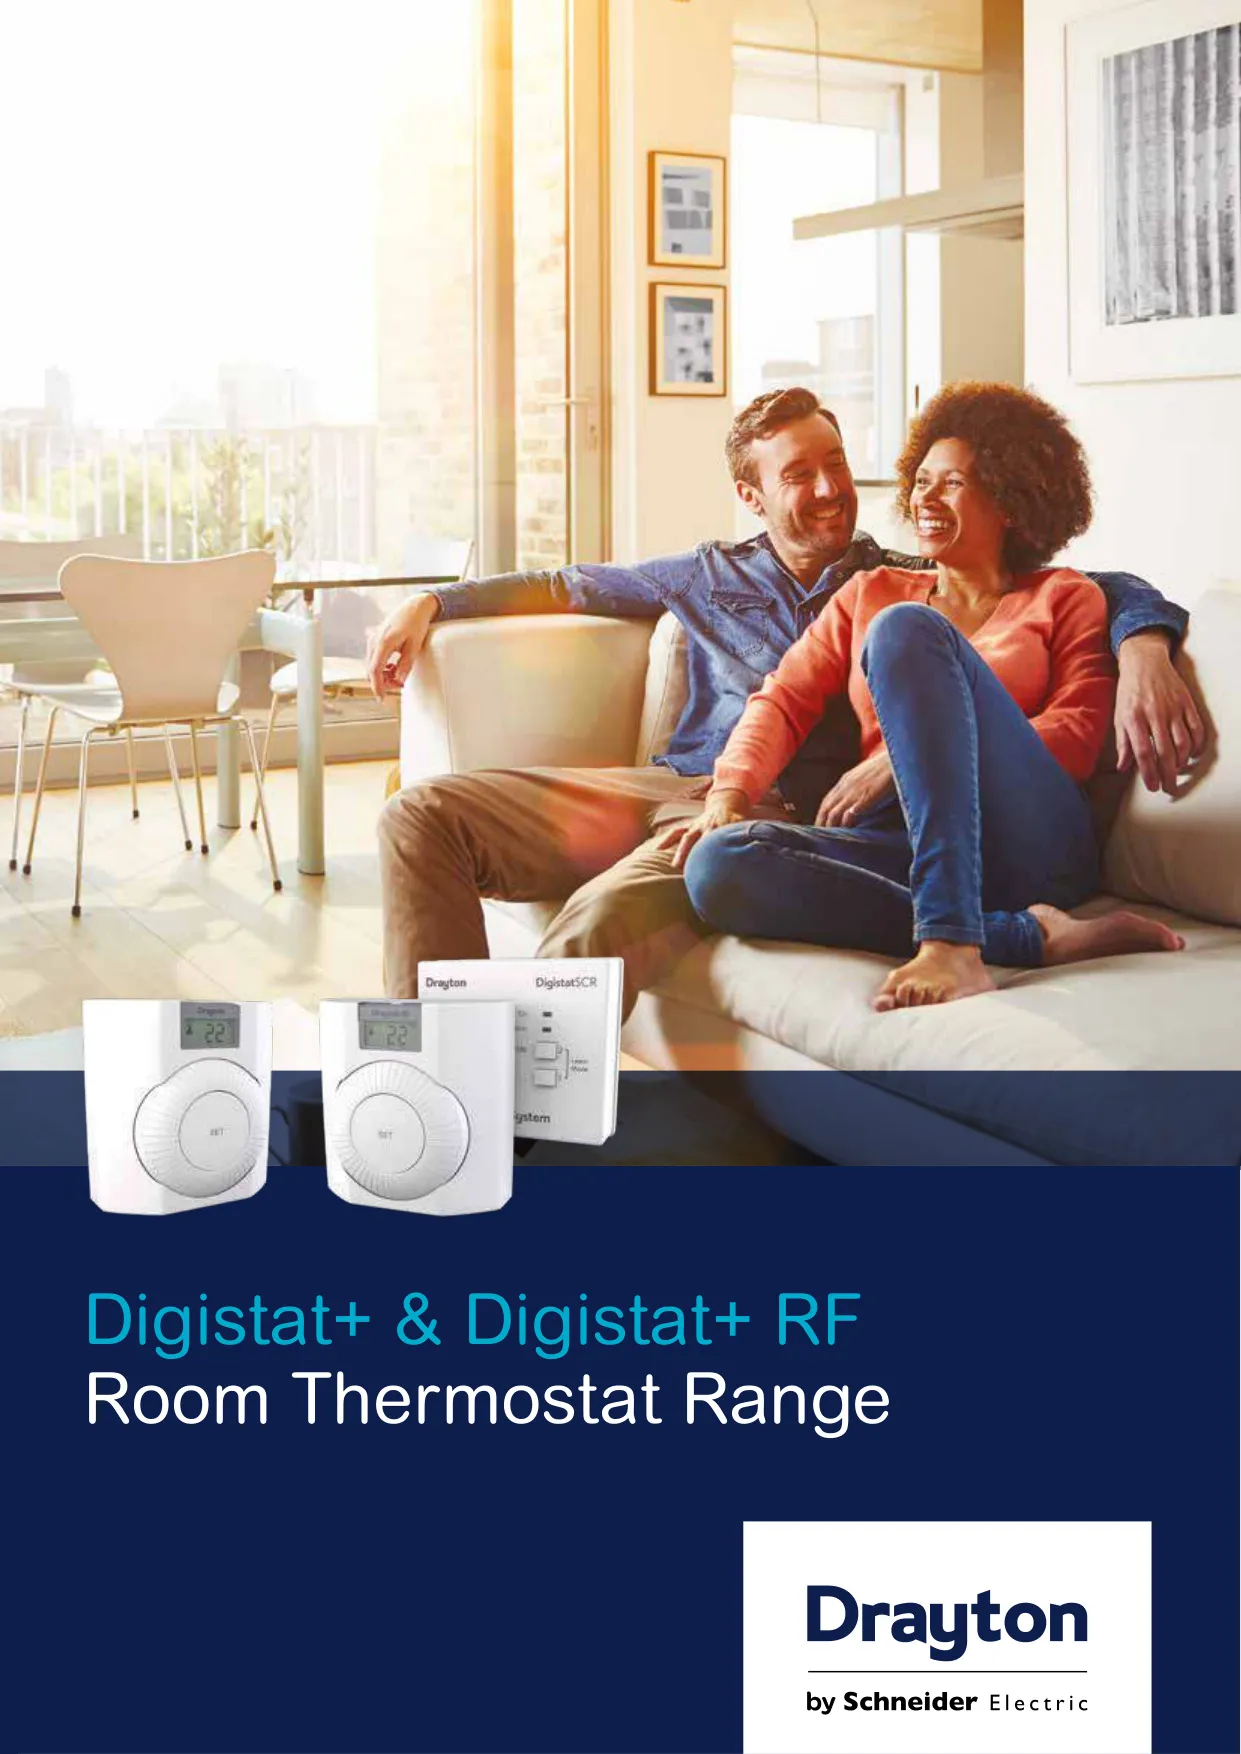

Drayton Digistat RF Thermostat
Drayton Digistat RF Thermostat Instructions
Here we offer the Drayton Digistat RF Thermostat manual completely free and in English. We have cataloged this manual in the Thermostats section on Manualverse, and it has been rated by 1 users with an average rating of 5. If you have any specific questions about Drayton Digistat RF Thermostat, we suggest checking the Frequently Asked Questions (FAQs) section of this manual.
Product Images
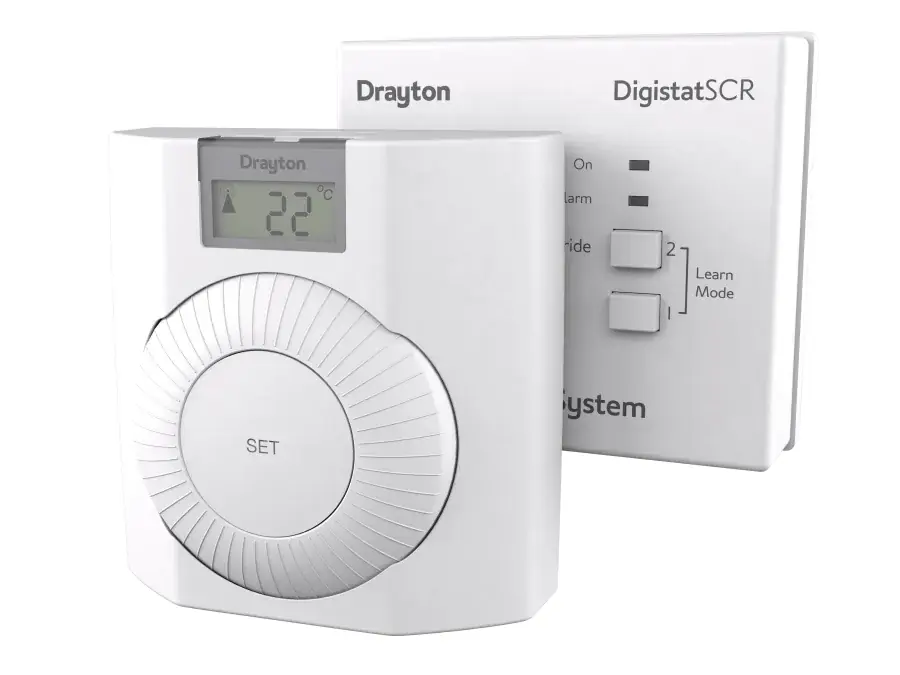
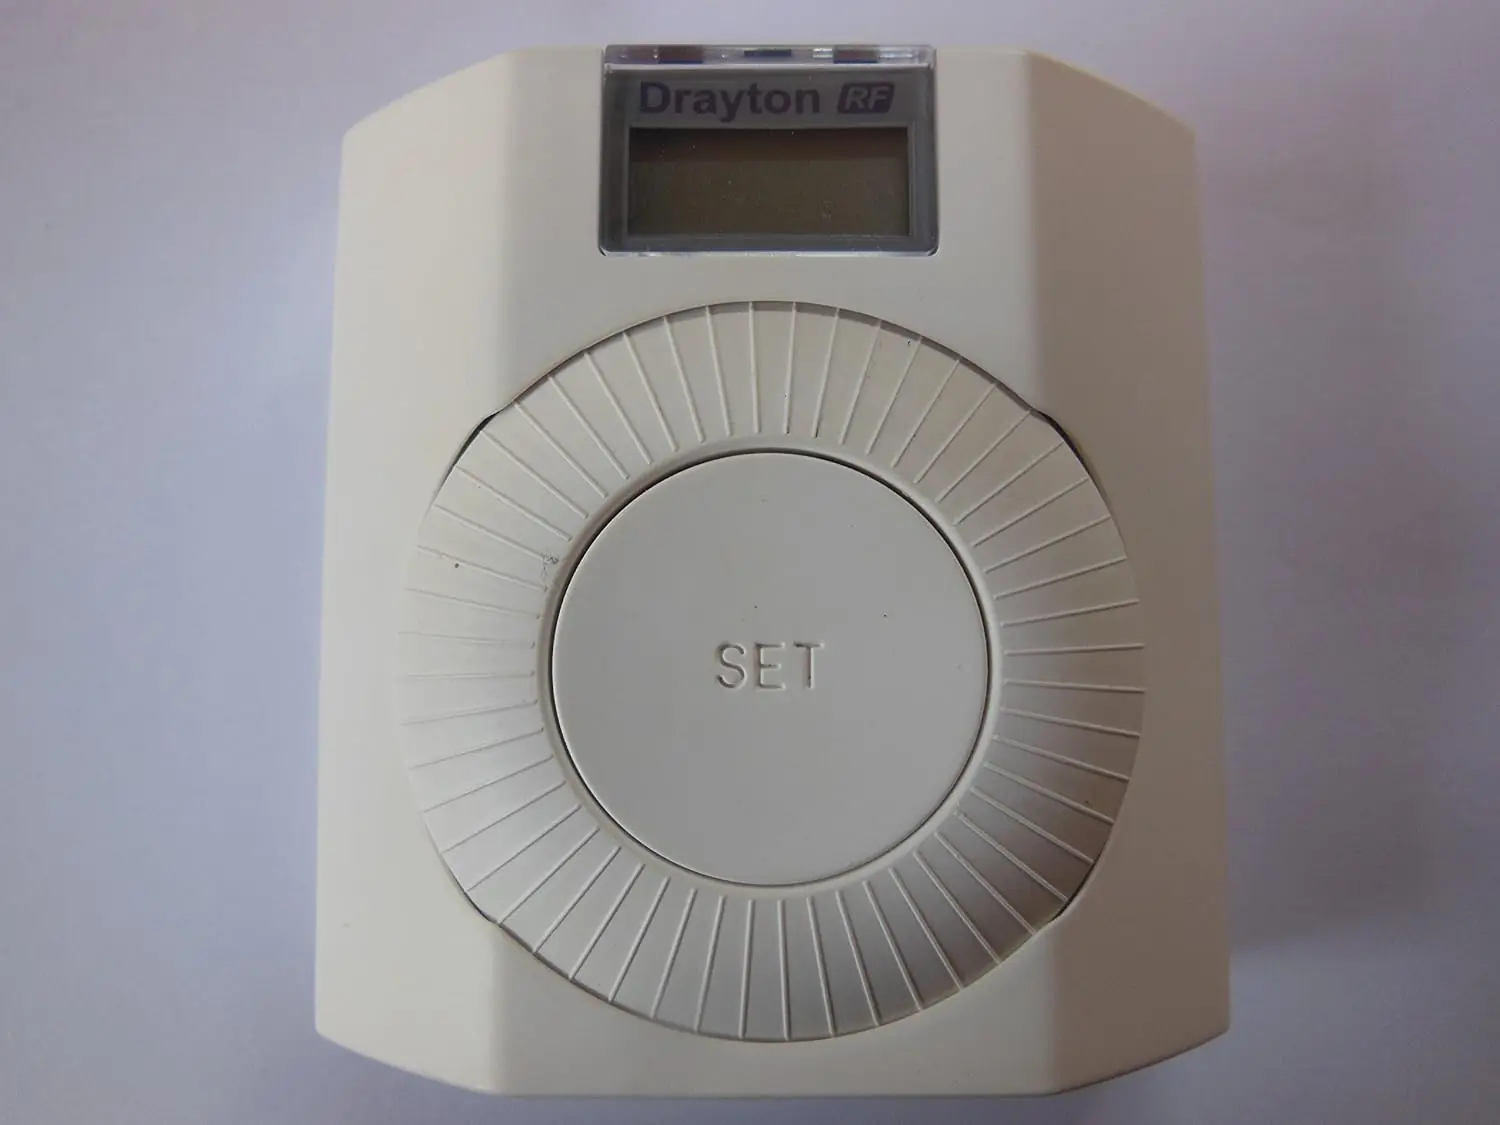
Drayton Digistat RF Thermostat Specifications
| Feature | Specification |
|---|---|
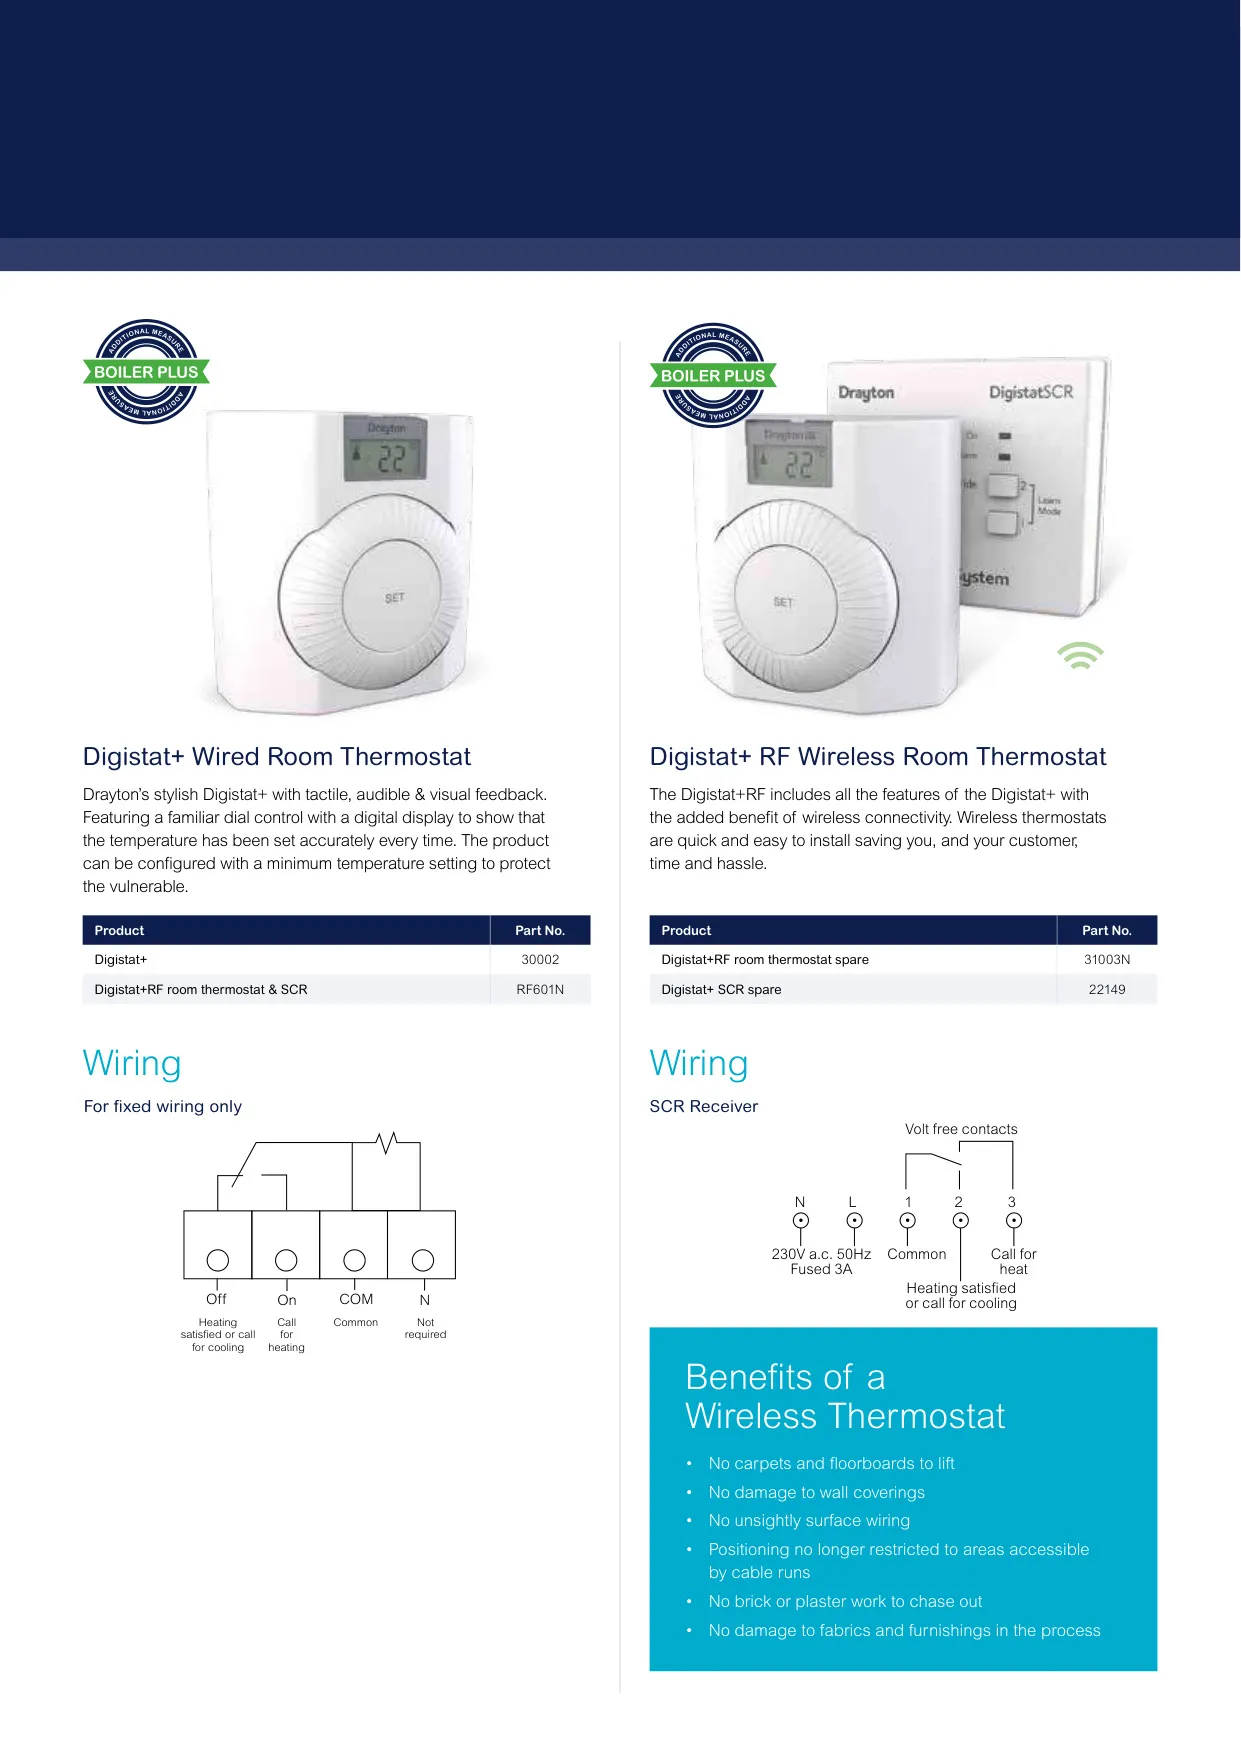
| Model | Digistat+RF Wireless Room Thermostat (RF601) |
| Part Number (thermostat and SCR receiver set) | RF601N |
| Spare Digistat+RF Room Thermostat Part Number | 31003N |
| Spare SCR Receiver Part Number | 22149 |
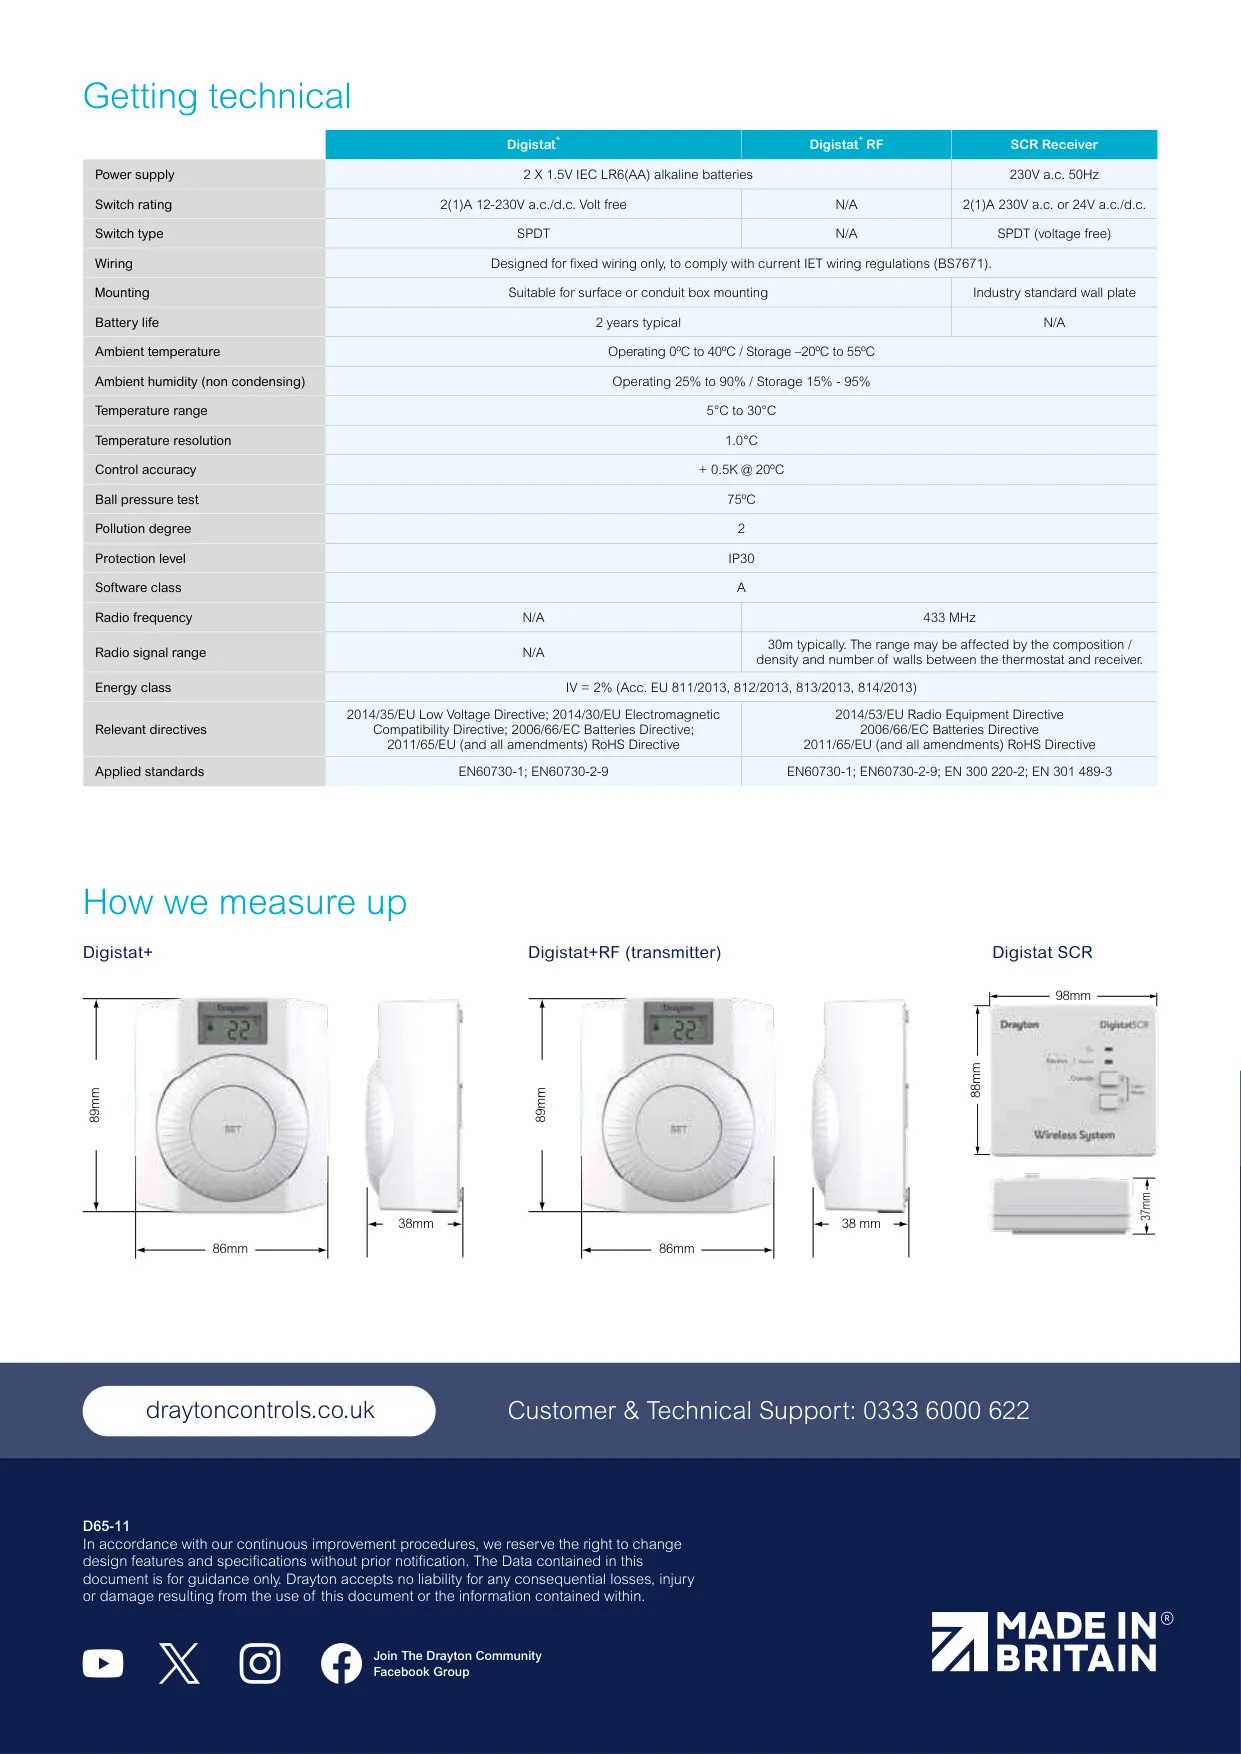
| Thermostat Power Supply | 2 x 1.5V IEC LR6 (AA) alkaline batteries |
| Typical Battery Life | 2 years |
| SCR Receiver Power Supply | 230V a.c. 50Hz, fused at 3A |
| SCR Switch Rating | 2(1)A 230V a.c. or 24V a.c./d.c. |
| SCR Switch Type | SPDT (voltage free) |
| Radio Frequency | 433 MHz |
| Radio Signal Range | 30 m typically (depends on the number of walls between units and what they are made of) |
| Maximum Radiated Power | +7.5 dBm (5.6 mW) |
| Temperature Setting Range | 5°C to 30°C |
| Temperature Resolution | 1.0°C (1°C setting steps) |
| Control Accuracy | ±0.5K @ 20°C |
| Operating Ambient Temperature | 0°C to 40°C |
| Storage Temperature | -20°C to 55°C |
| Operating Humidity (non-condensing) | 25% to 90% |
| Storage Humidity (non-condensing) | 15% to 95% |
| Protection Level | IP30 |
| Pollution Degree | 2 |
| Software Class | A |
| Software Version | 6712057 |
| Rated Impulse Voltage | 2.5 kV |
| Ball Pressure Test | 75°C |
| Energy Class (ErP Rating) | IV = 2% (according to EU 811/2013, 812/2013, 813/2013, 814/2013) |
| Thermostat Wiring | None required (wireless) |
| SCR Wiring | Fixed wiring only, to IET wiring regulations (BS7671) |
| SCR Mounting | Industry standard wallplate |
| Digistat+RF Transmitter Dimensions | 86 x 89 x 38 mm |
| SCR Receiver Dimensions | 98 x 88 x 37 mm |
| Relevant Directives | 2014/53/EU Radio Equipment Directive; 2006/66/EC Batteries Directive; 2011/65/EU RoHS Directive |
| Applied Standards | EN60730-1; EN60730-2-9; EN 300 220-2; EN 301 489-3 |
Drayton Digistat RF Thermostat Details
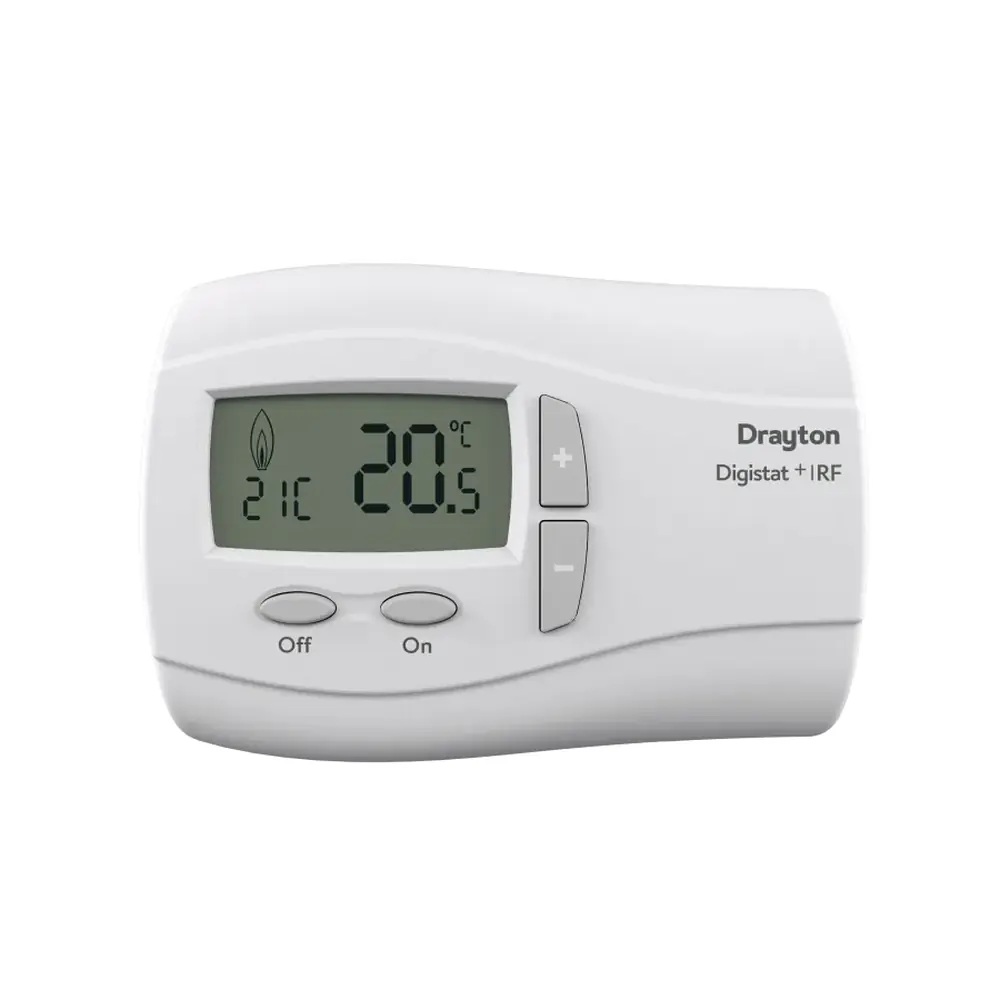
The Drayton Digistat+RF is a wireless room thermostat made by Drayton (Schneider Electric). It has all the features of the wired Digistat+ and adds a radio link to a separate SCR receiver that switches the boiler. You set the temperature with a dial that clicks at each step, so you can feel and hear each change. A digital display above the dial confirms the setpoint. This makes the thermostat easy to use for people who prefer a traditional dial but still want accurate digital control.
The LCD shows several symbols. An antenna symbol means it is the RF model. A flame symbol means the thermostat is calling for heat. During normal operation the display shows the actual room temperature. While you turn the dial, the word SET appears. If you try to go past the highest or lowest allowed setting, the display flashes. A flashing battery symbol means the batteries are running low. The manual recommends replacing both AA cells while this warning is showing.
A Preset Temperature Mode (set-back feature) lets you lower the setpoint with one press of the button, for example when you leave the house for an hour. Press the button again and the previous setpoint comes back. You can also leave preset mode by turning the dial to a new setpoint. In the installer menu you can change the preset value and set HI (maximum) and Lo (minimum) limits. A minimum limit helps keep vulnerable occupants warm. Setting the maximum and minimum to the same value makes the thermostat tamper-proof.
The SCR receiver has two LEDs. The green LED is on whenever there is a demand for heat. The red LED flashes for about 7 seconds roughly every 5 minutes, which shows that a radio signal is arriving from the thermostat. If the red LED stays on, the signal has been lost. This can be caused by flat batteries or temporary interference. Once a good signal returns, the system resets itself. An E1 error code means the internal sensor has failed or the room temperature is outside the operating range.
Where you install each unit affects performance. Mount the thermostat on an inside wall about 1.5 m above the floor, away from radiators, lamps, televisions and curtains. Check the signal strength before fixing it to the wall. Keep the SCR at least 30 cm from metal objects, wall boxes and the boiler side panel. Leave at least 50 mm clearance above the SCR wallplate, 40 mm on each side and 70 mm below it. The SCR is double insulated and does not need an earth. It must be connected through a double-pole isolating switch with at least 3 mm contact separation.
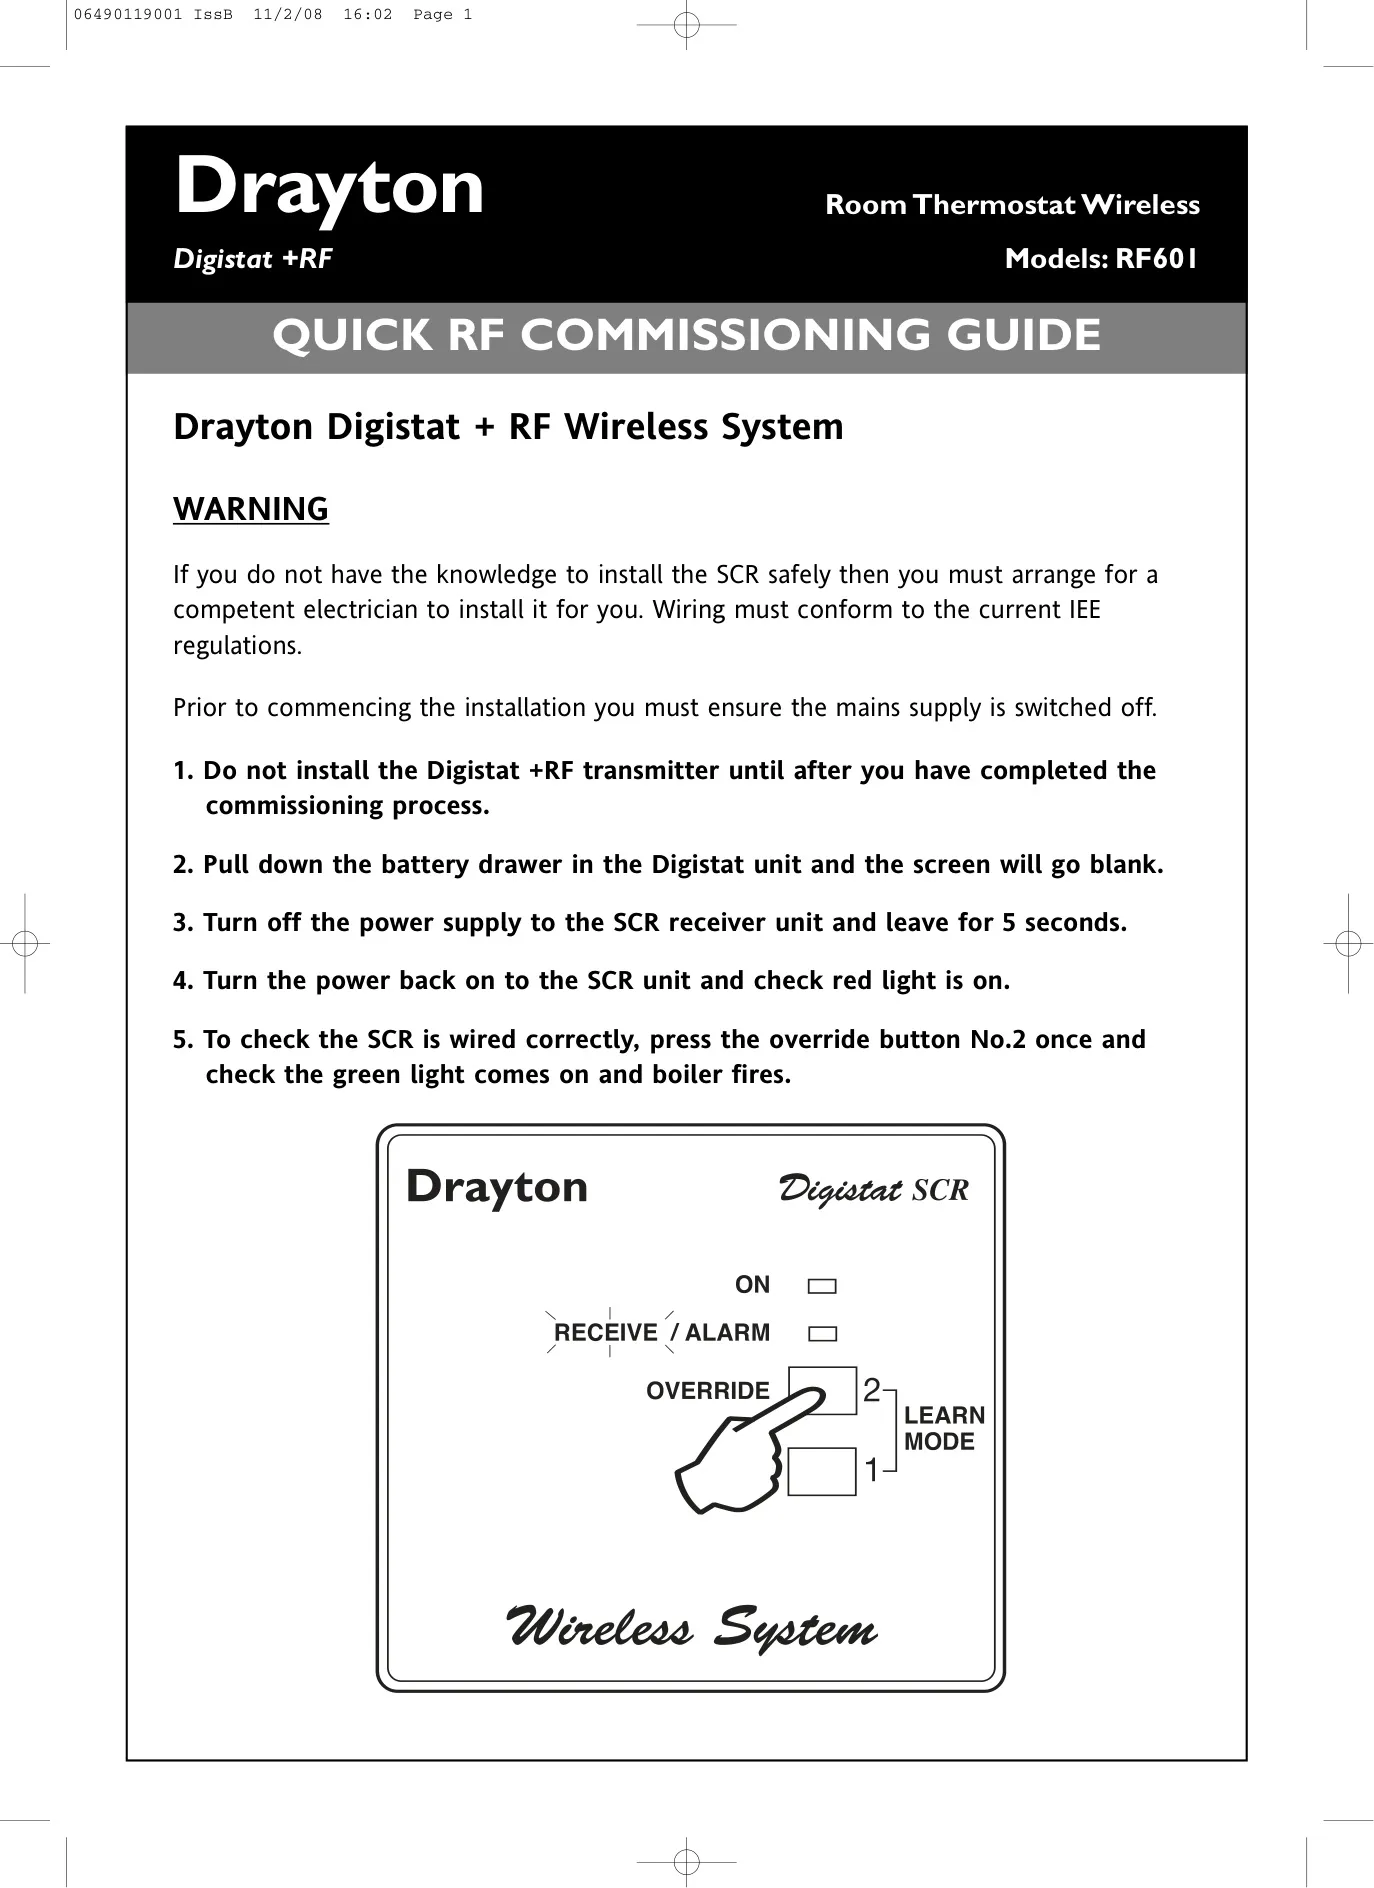
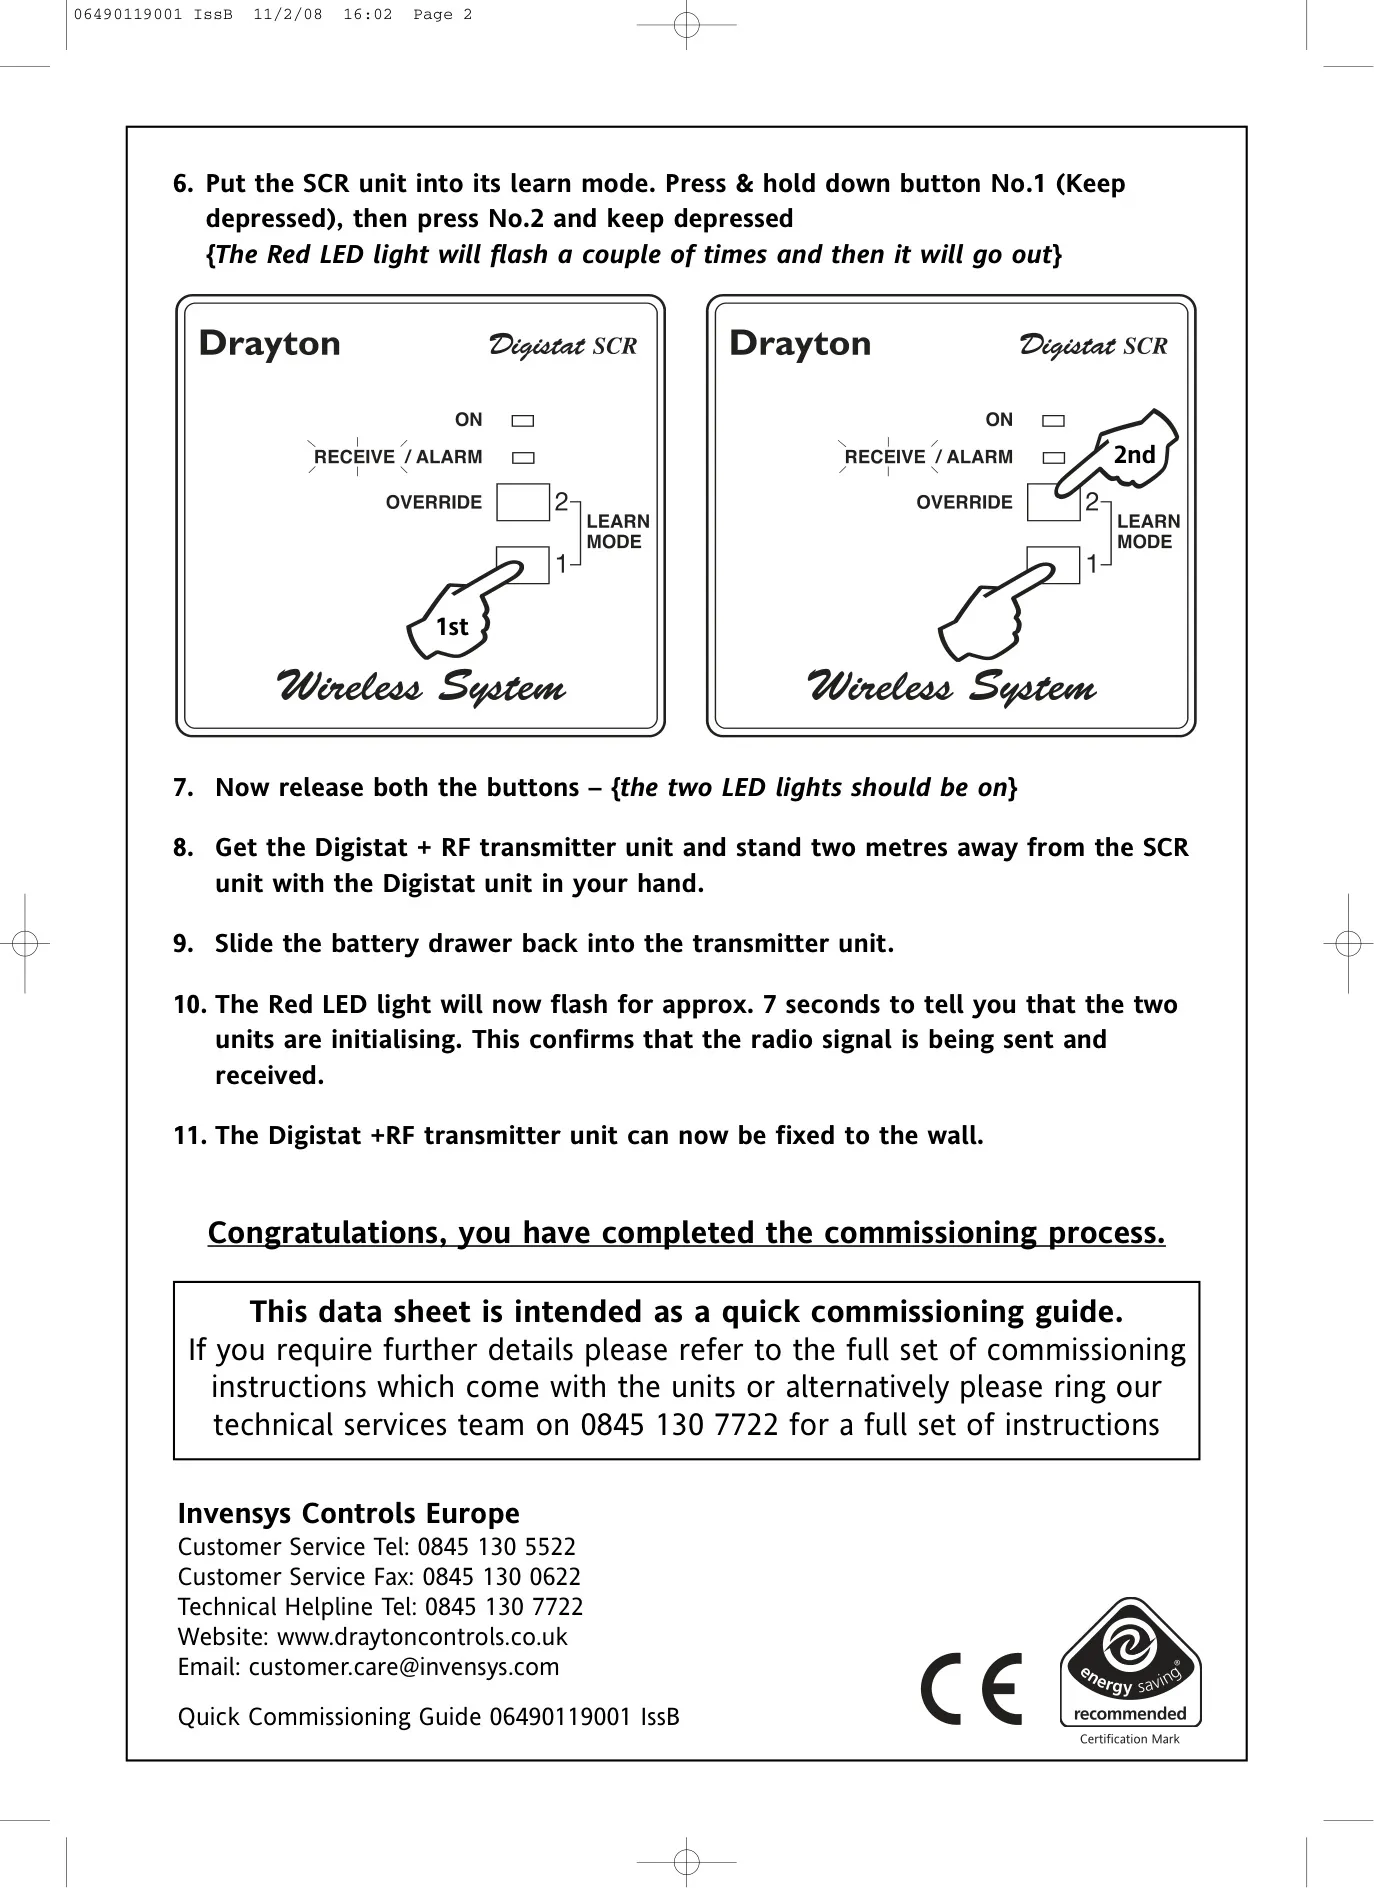
Commissioning means pairing the thermostat with the receiver using a learn mode. On the SCR, hold button 1, then press button 2. When you release both, the red and green LEDs stay on. Standing about two metres away, slide the battery drawer back into the thermostat. A 7-second red flash confirms that the two units have paired. To test, turn the dial up until the flame appears and check that the boiler fires. Then turn it down and check that the boiler stops. Because it is wireless, you do not need to lift floorboards, chase out walls or run cable across the surface.
Frequently Asked Questions (FAQs)
Can't find the answer you need? Here are some frequently asked questions about the Drayton Digistat RF Thermostat, and we answer them below.