Innova 5568 Timing Light Instruction Manual
Innova 5568 Timing Light









Innova 5568 Timing Light Instructions
Here we offer the Innova 5568 Timing Light manual completely free and in English. We have cataloged this manual in the Timing Lights section on Manualverse, and it has been rated by 1 users with an average rating of 5. If you have any specific questions about Innova 5568 Timing Light, we suggest checking the Frequently Asked Questions (FAQs) section of this manual.
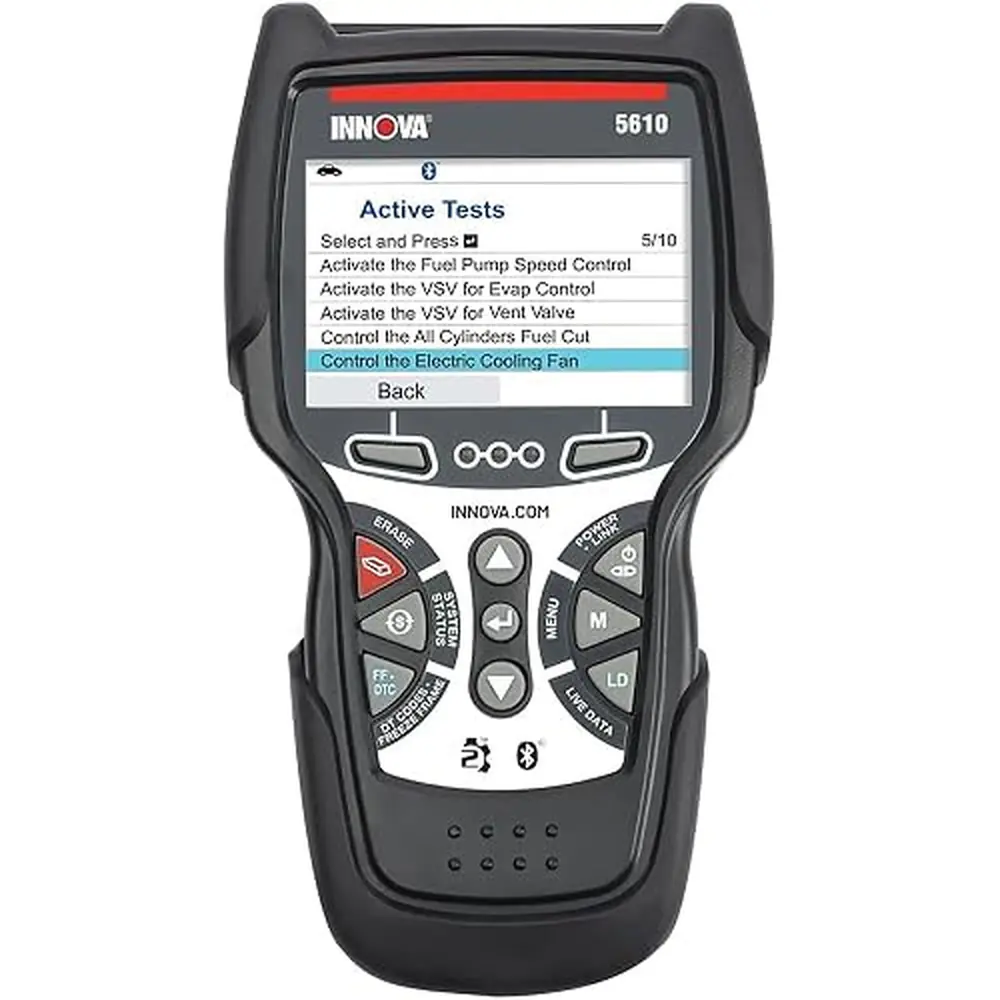
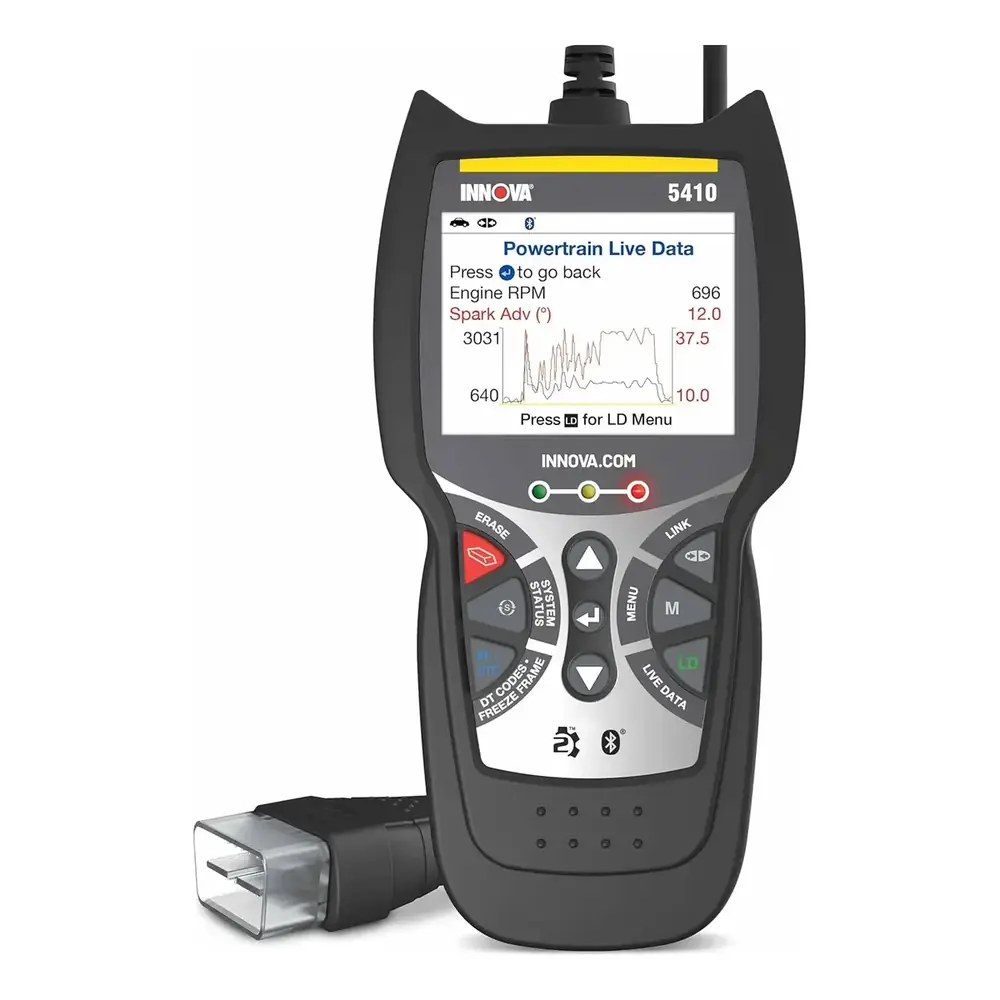
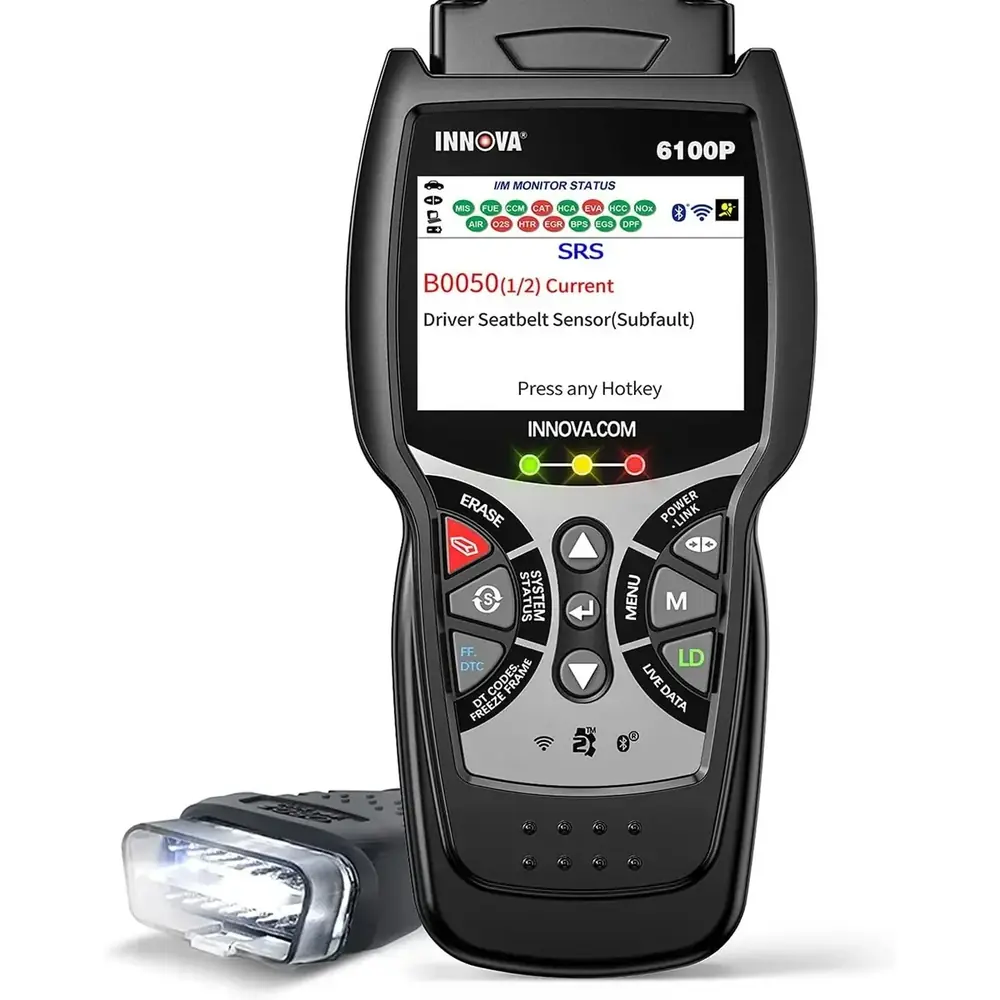
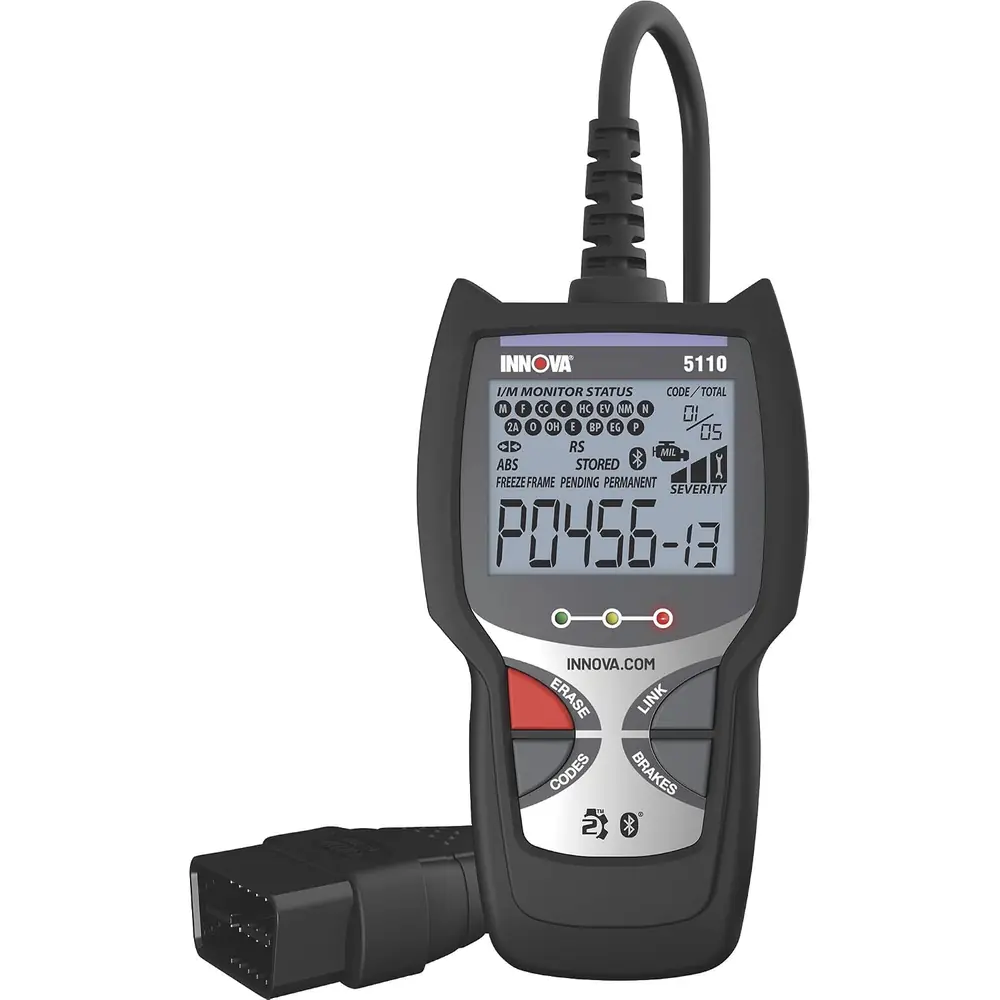
Product Images
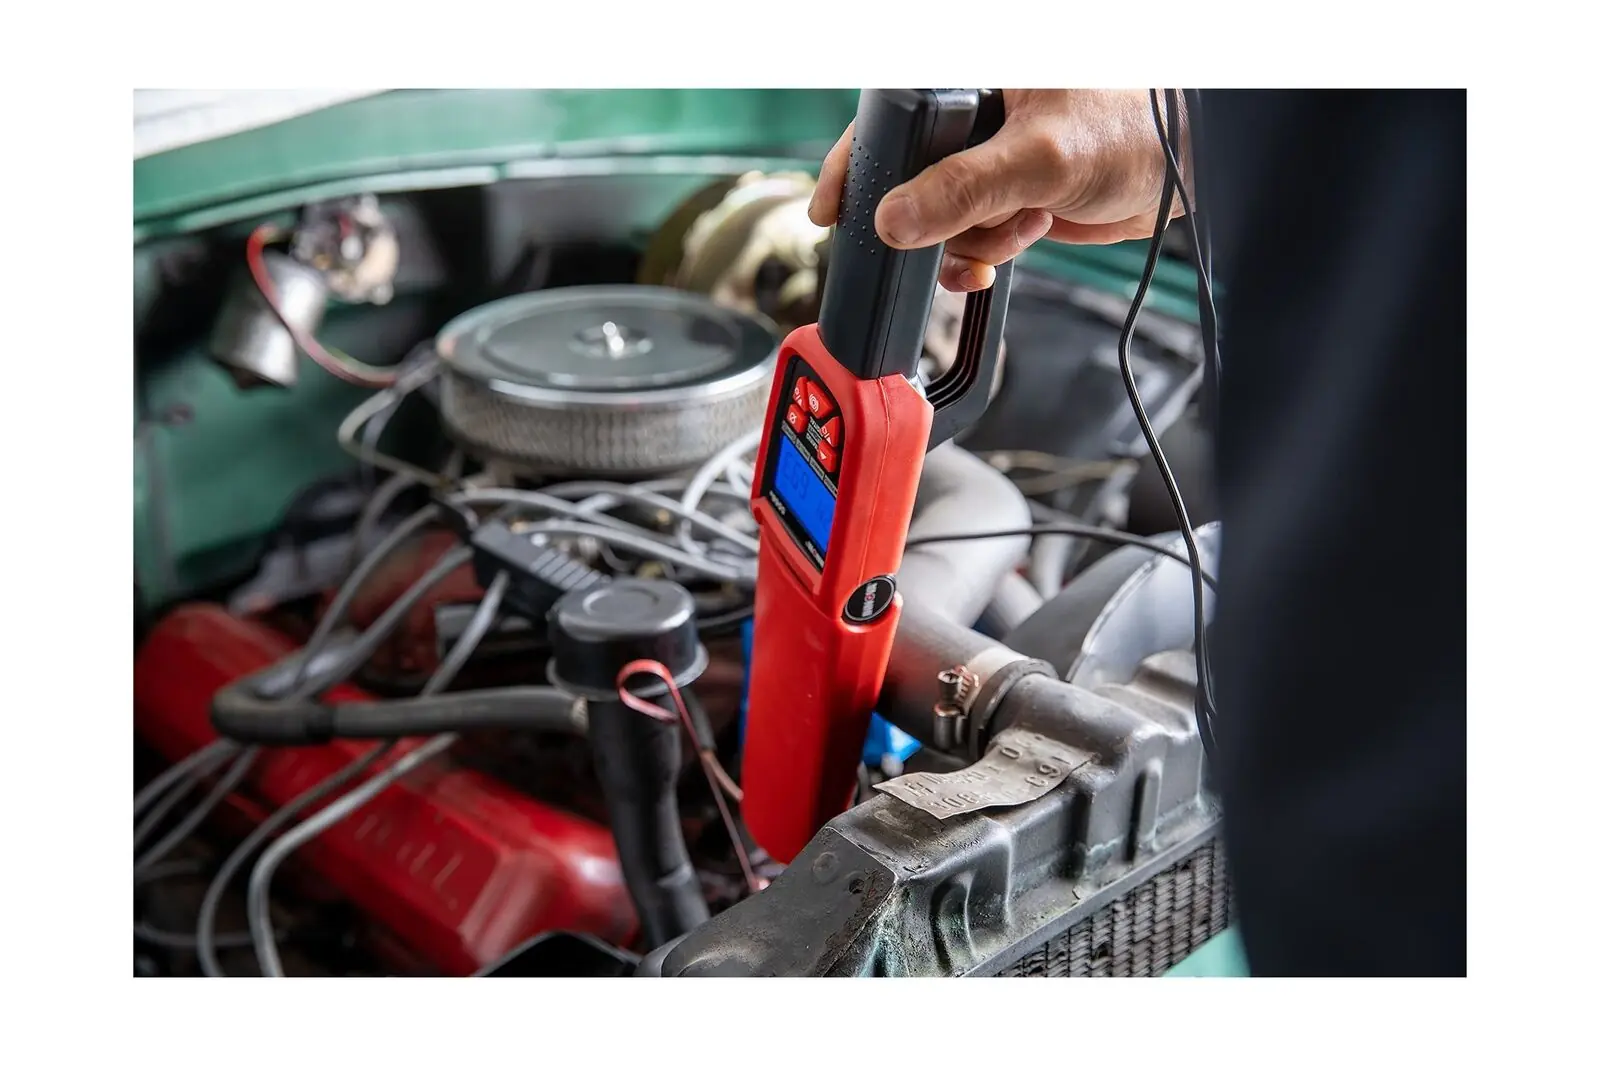
Innova 5568 Timing Light Specifications
| Feature | Specification |
|---|---|
| Product Type | Digital Timing Light |
| Vehicle Compatibility | All 12-volt negative-ground vehicles |
| Ignition Systems Supported | Conventional, electronic and DIS (distributorless ignition systems) |
| Power Requirements | 10 to 16 volts DC |
| Operating Temperature | 32 to 122°F (0 to 50°C) |
| Tachometer Range | 240 to 9,990 RPM |
| Timing Advance Range | 0 to +90° |
| Light Source | Xenon bulb |
| Swiveling Head Rotation | Approximately 90° |
| Display | LCD, backlit in soft blue light |
| Displayed Parameters | Engine speed (rpm), advance (degrees), dwell angle (degrees), battery and charging system voltage |
| Operating Modes | Battery voltage, voltage/rpm, advance, dwell |
| Ignition Mode Selection | 2-cycle (DIS) or 4-cycle |
| Pickup Type | Inductive pickup clip (No. 1 spark plug cable) |
| Leads | Detachable: red battery clip, black battery clip, inductive pickup clip, green DWELL clip |
| Warranty | Limited one year, original purchaser, non-transferable |
| Service/Repair Time | 3 to 4 weeks |
| Support Phone (USA & Canada) | (800) 544-4124, 9:00-4:00 Monday-Friday PST |
| Support Phone (All Others) | (714) 241-6802, 9:00-4:00 Monday-Friday PST |
| Fax | (714) 432-7910 (24 hr.) |
Innova 5568 Timing Light Details
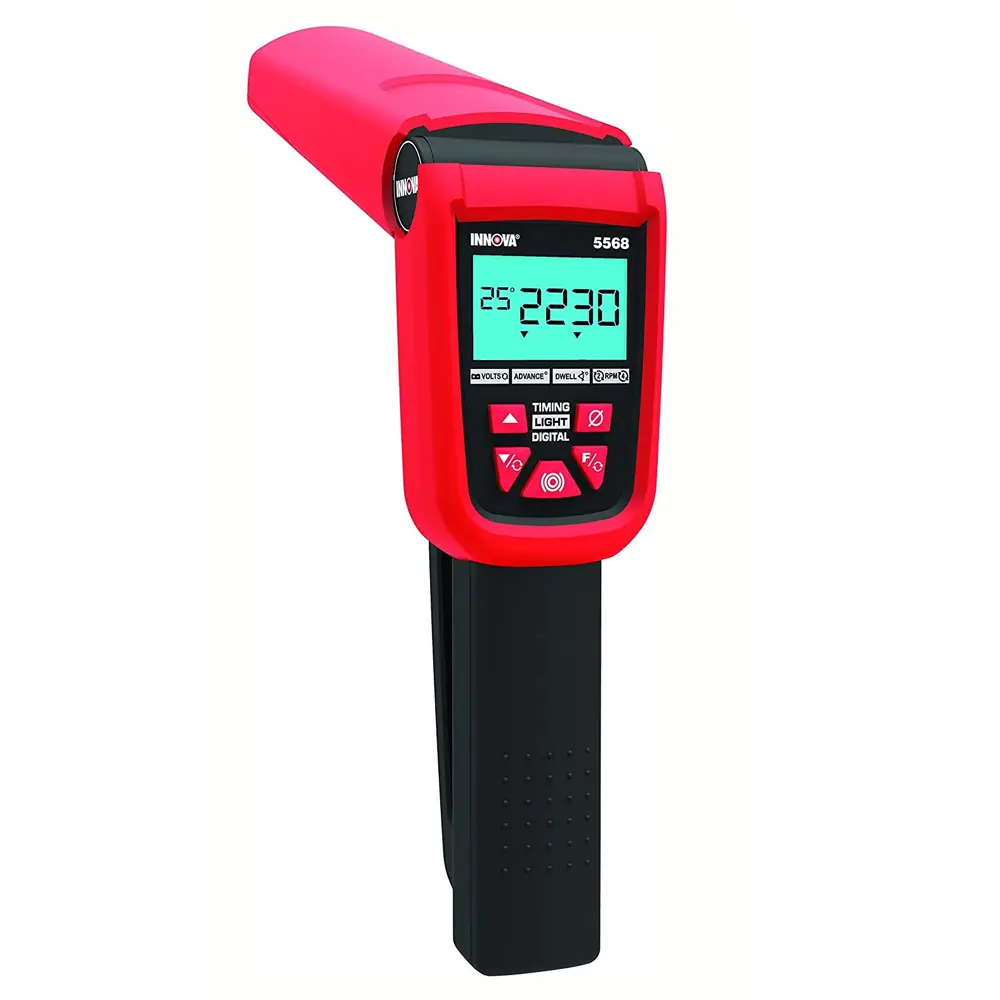
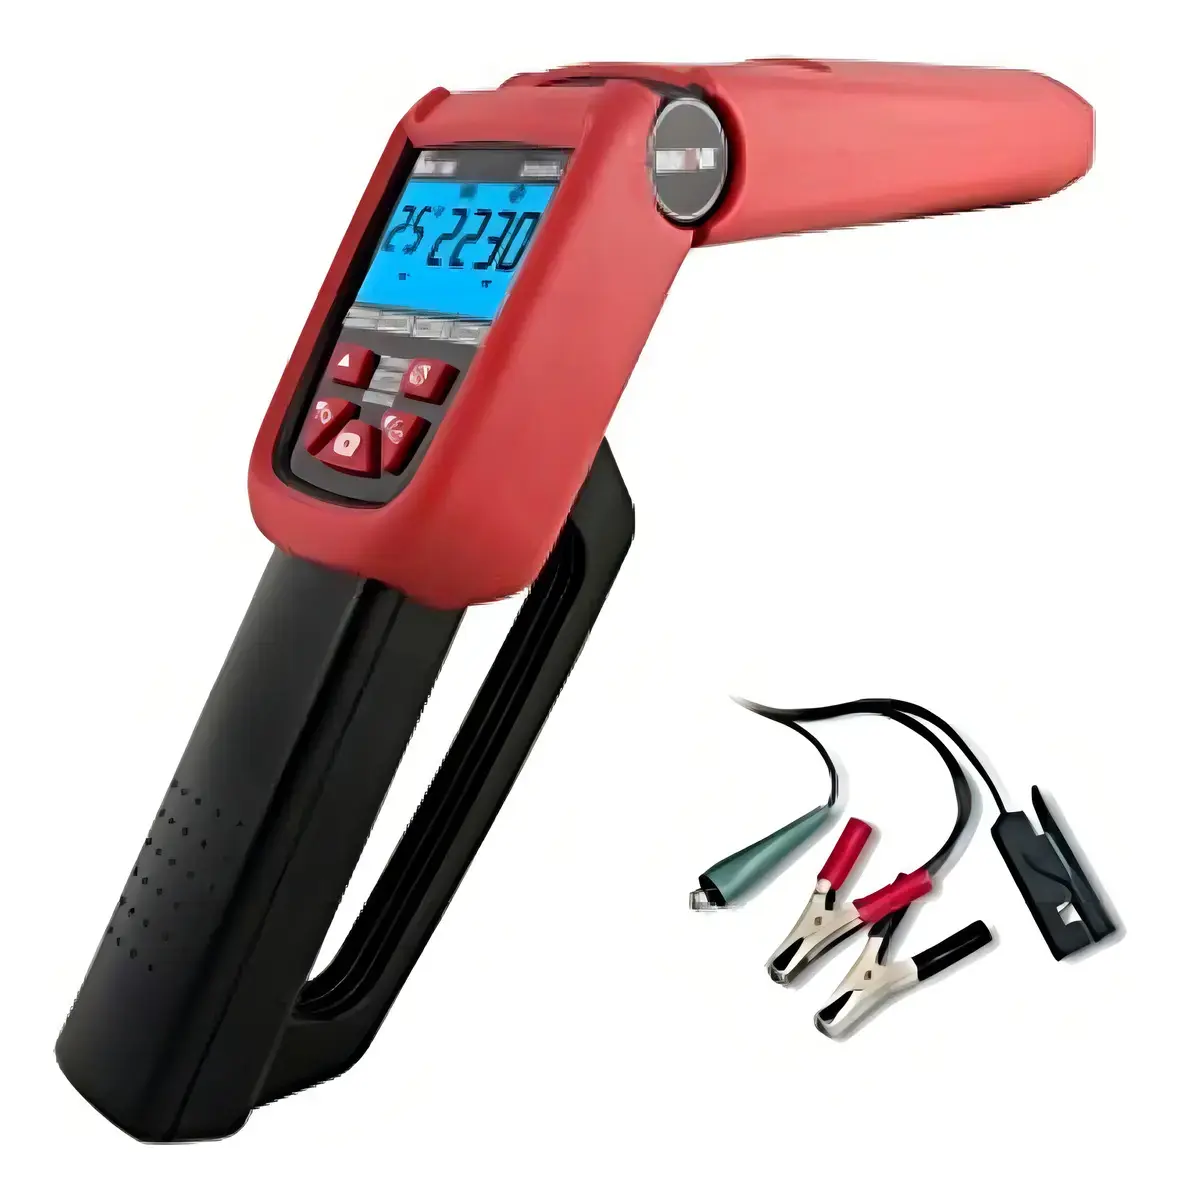
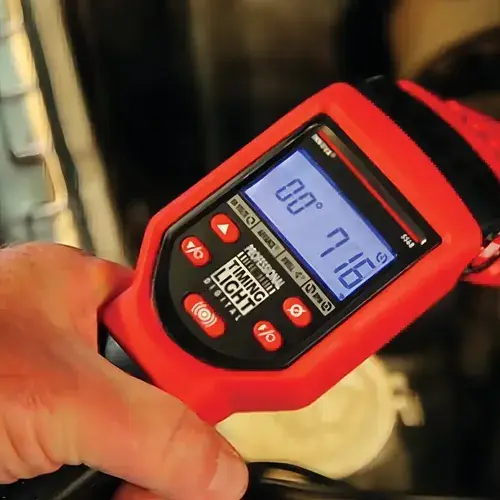
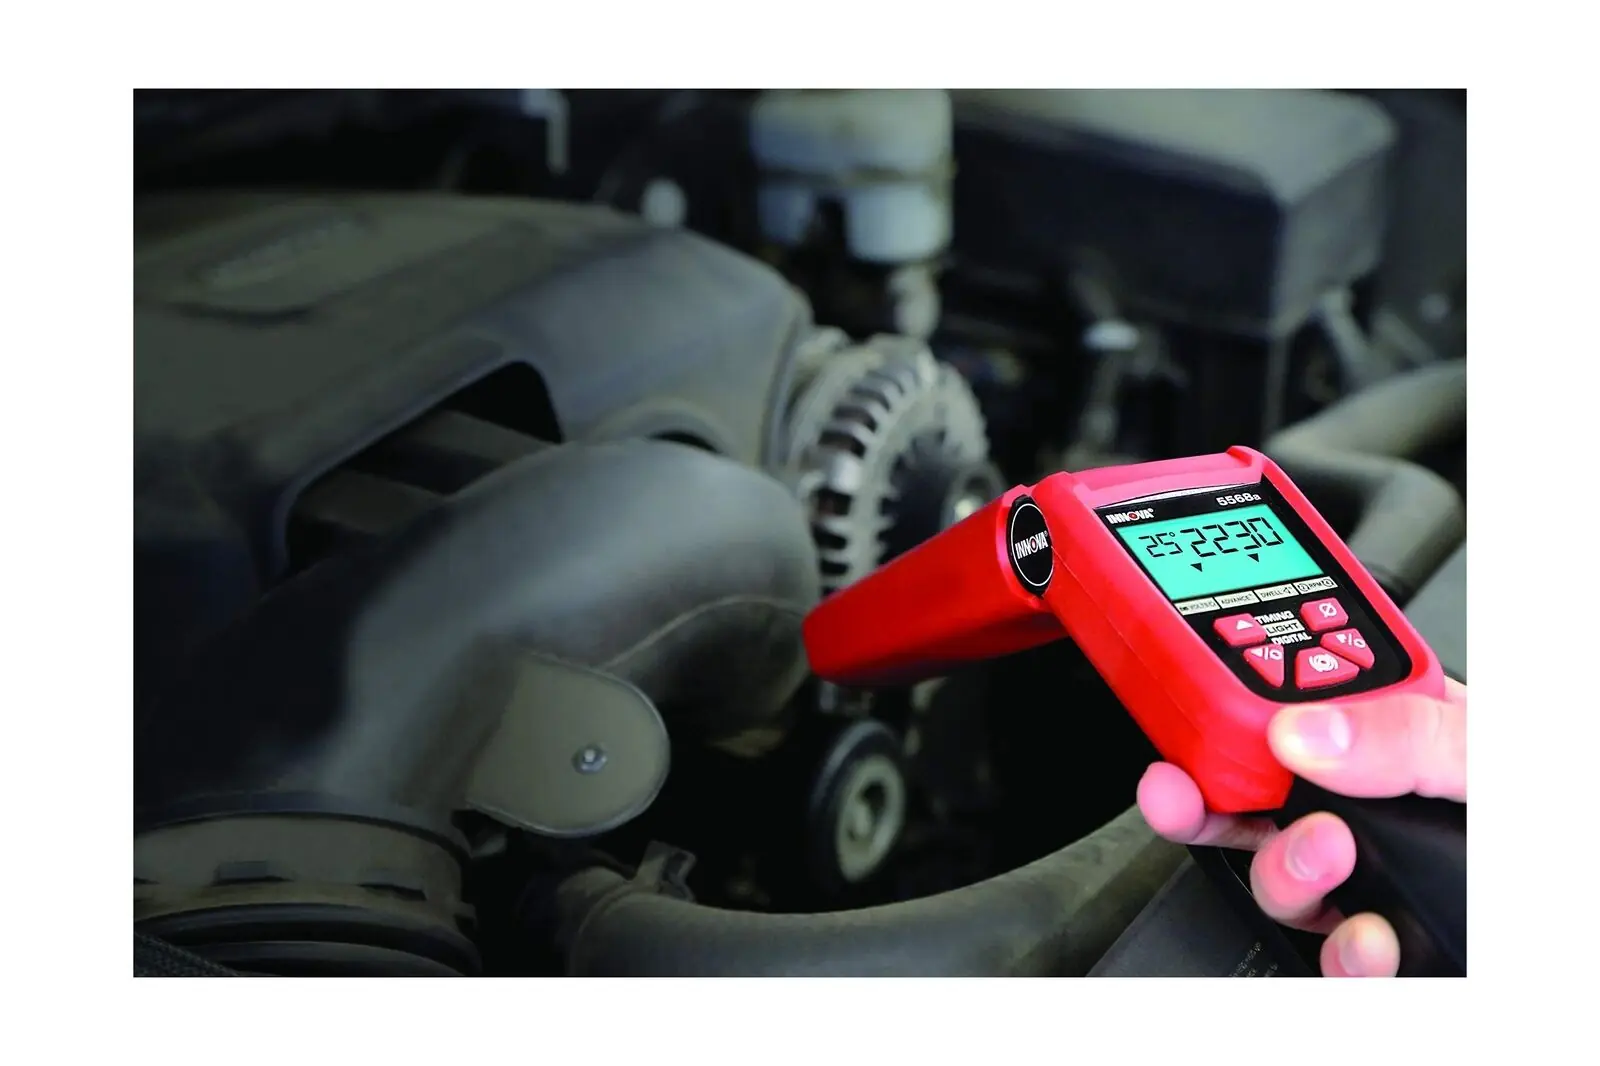
The Innova 5568 combines a strobe timing light, a tachometer, a dwell meter and a voltmeter in one handheld tool. Everything is run from a compact control panel. The Flash switch turns the strobe on and off. The Function (F) switch moves between voltage/rpm, advance and dwell modes. To choose 2-cycle (DIS) or 4-cycle operation, you press the Function switch and the Cylinder/Advance Decrement switch at the same time. An Ignition Mode symbol then shows which setting is active.
The Cylinder/Advance Increment and Decrement switches do different jobs in different modes. In dwell mode they step through the cylinder settings. In advance mode they raise or lower the advance degrees. A separate Zeroing switch sets the advance reading back to zero. The LCD shows a set of indicators and symbols, including Battery VOLTS, Charging System VOLTS, DWELL, ADVANCE, volt, battery, cylinder and dwell angle. The flash symbol blinks while the strobe is firing.
Setup follows a set order. With the ignition off, clamp the inductive pickup around the No. 1 spark plug wire so the arrow points toward the plug. If the vehicle needs it, connect the green clip to the negative (tach) side of the coil. Then attach the red and black clips to the battery and plug the leads into the bottom of the handle. With the engine off, the unit reads battery voltage. Once the engine starts, it switches to voltage/rpm mode on its own.
The dwell check is for conventional and electronic ignition systems. Warm the engine up to normal operating temperature, select dwell mode and set the number of cylinders. Then compare the reading with the manufacturer's specification. On vehicles with distributor points, check dwell and correct it before you check timing. The manual also advises checking battery and charging voltage before any timing test so the results are reliable.
For advance checks, the manual gives general procedures for centrifugal/mechanical advance and vacuum advance. After you confirm initial timing, bring the engine to the specified rpm and select advance mode. Keep the light on the timing marks and press the Increment switch until the marks line up again. The degrees shown on the display are the measured advance. The vacuum advance test also needs a vacuum pump with a gauge.
Electronic advance/retard systems follow the vehicle manufacturer's own instructions. On some of these systems, you set the advance display to zero and read timing directly from the engine's timing marks. The manual points out that some computer-controlled engines are classed as non-adjustable. It also says you should never try to adjust timing without the manufacturer's specifications.
The troubleshooting section covers EMI/RFI interference. Solid-core, racing and off-road plug wires, as well as some aftermarket ignition systems, can cause erratic readings. Fitting an OE-style wire on cylinder No. 1 may solve this. If the display locks up, disconnect and reconnect the positive battery clip to reset the unit. Other checks include clip polarity, clean ferrite cores and a working No. 1 spark plug.
Maintenance is minimal. Wipe the inside surfaces of the pickup clip regularly with a soft cloth, because dirt or grease can cause erratic flashing. The detachable leads make storage easier, and replacement sets are available from dealers or the service center.
Frequently Asked Questions (FAQs)
Can't find the answer you need? Here are some frequently asked questions about the Innova 5568 Timing Light, and we answer them below.