Salus RT510RF Thermostat Instruction Manual
Salus RT510RF Thermostat


Salus RT510RF Thermostat Instructions
Here we offer the Salus RT510RF Thermostat manual completely free and in English. We have cataloged this manual in the Thermostats section on Manualverse, and it has been rated by 1 users with an average rating of 5. If you have any specific questions about Salus RT510RF Thermostat, we suggest checking the Frequently Asked Questions (FAQs) section of this manual.
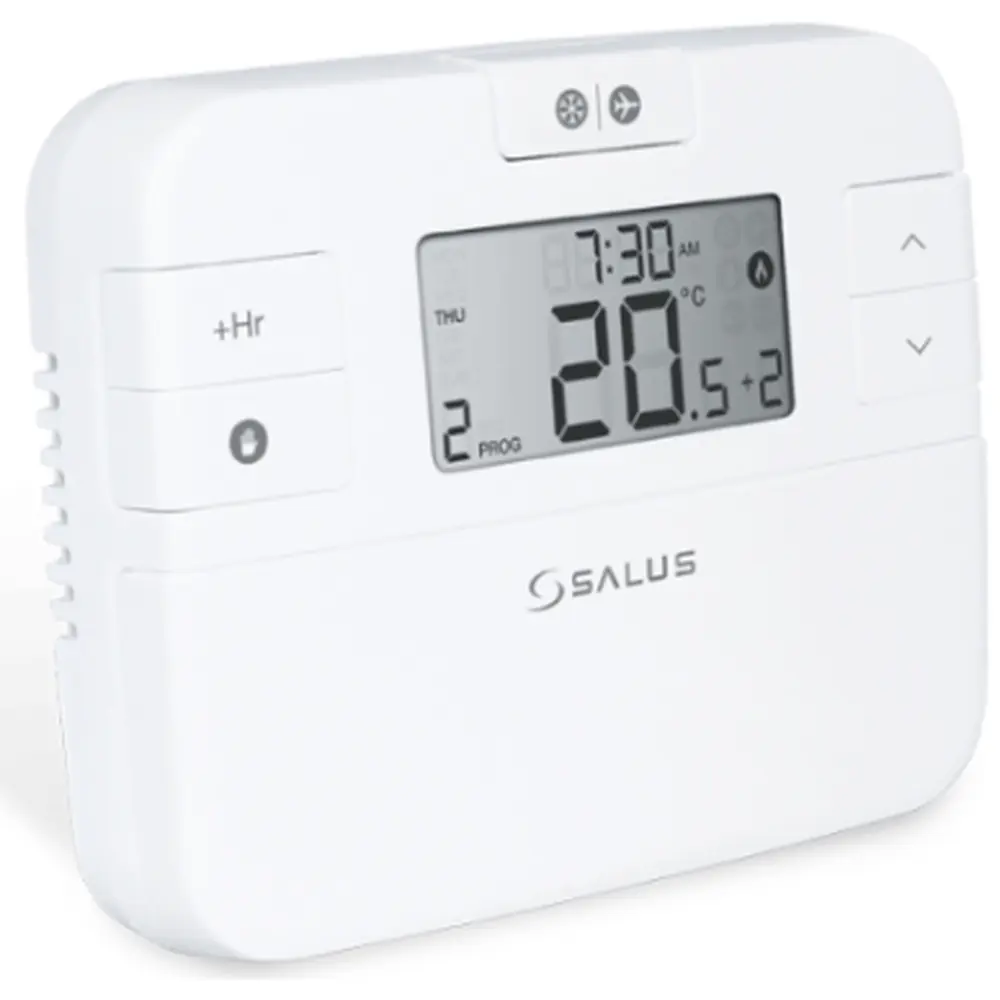
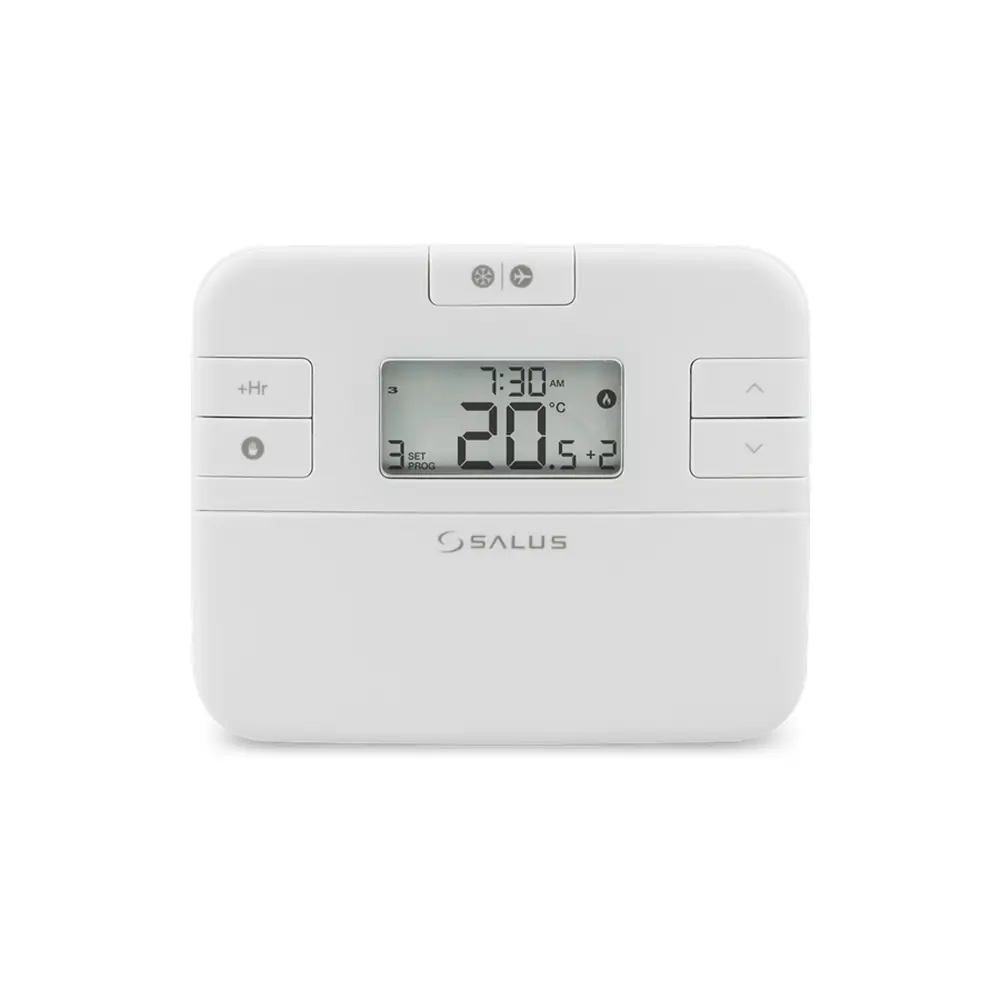
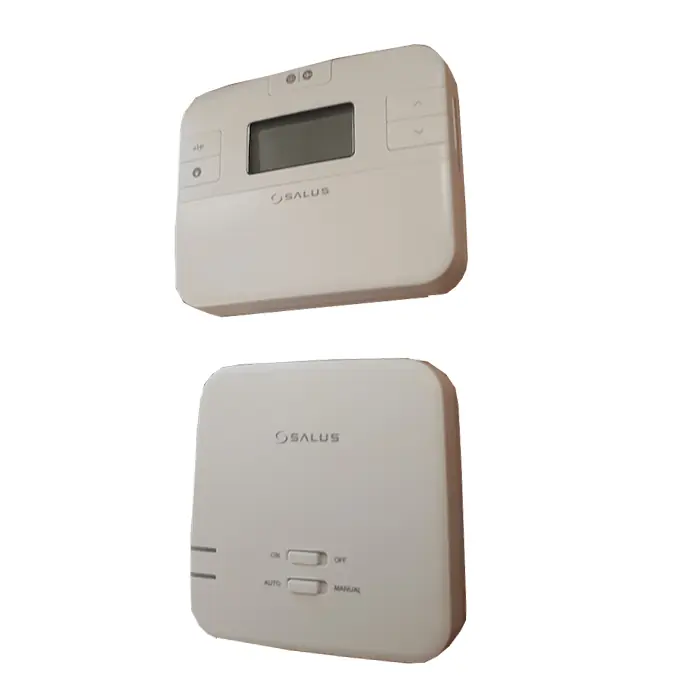
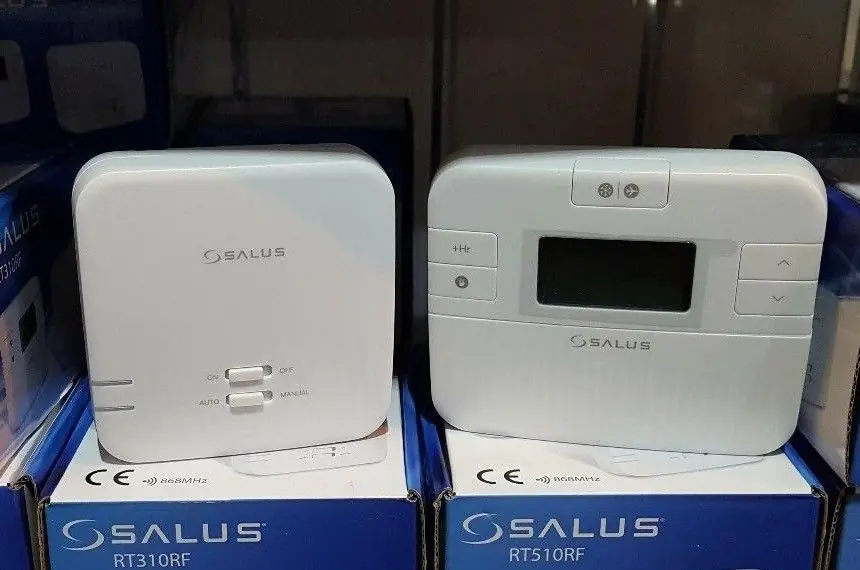
Product Images
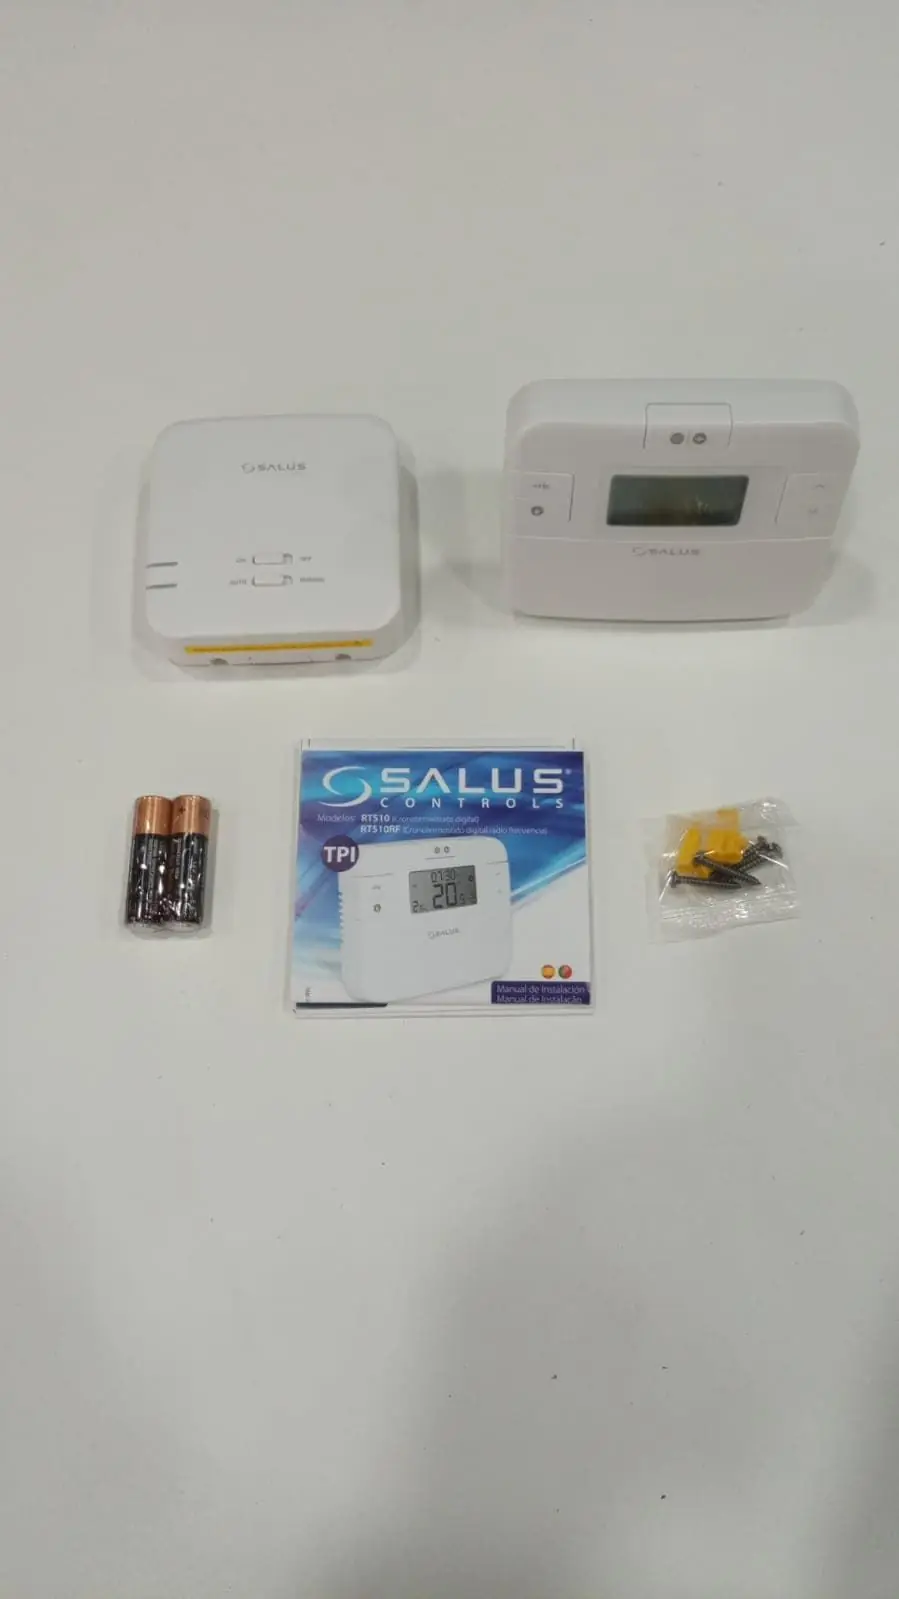
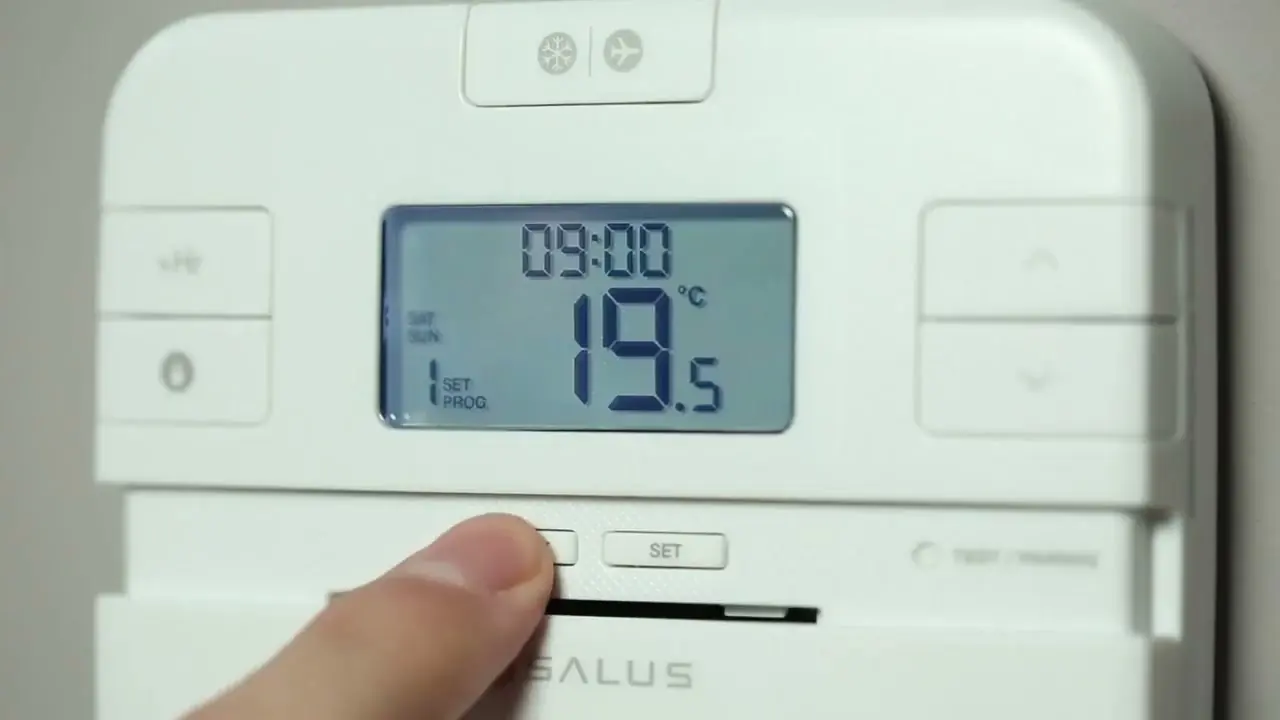
Salus RT510RF Thermostat Specifications
| Feature | Salus RT510TX+ Thermostat (Wireless Unit) | Salus RXRT510+ Receiver (Boiler Control Unit) |
|---|---|---|
| Supply | 2 x AA alkaline batteries | 230 V AC |
| Rating Max | - (Controls Receiver) | 16 (5) A |
| Outputs | - (Wireless Signal) | Voltage free NO / COM terminals |
| Temperature Range | 5 - 35°C | - (Controls Heating) |
| Temperature Accuracy | 0.1°C or 0.5°C | - |
| Control Algorithm | ITLC / SPAN ± 0.5 °C | - |
| Radio Frequency | 868 MHz | 868 MHz |
| Dimensions [mm] | 120x96x27 | 96x96x27 |
Salus RT510RF Thermostat Details
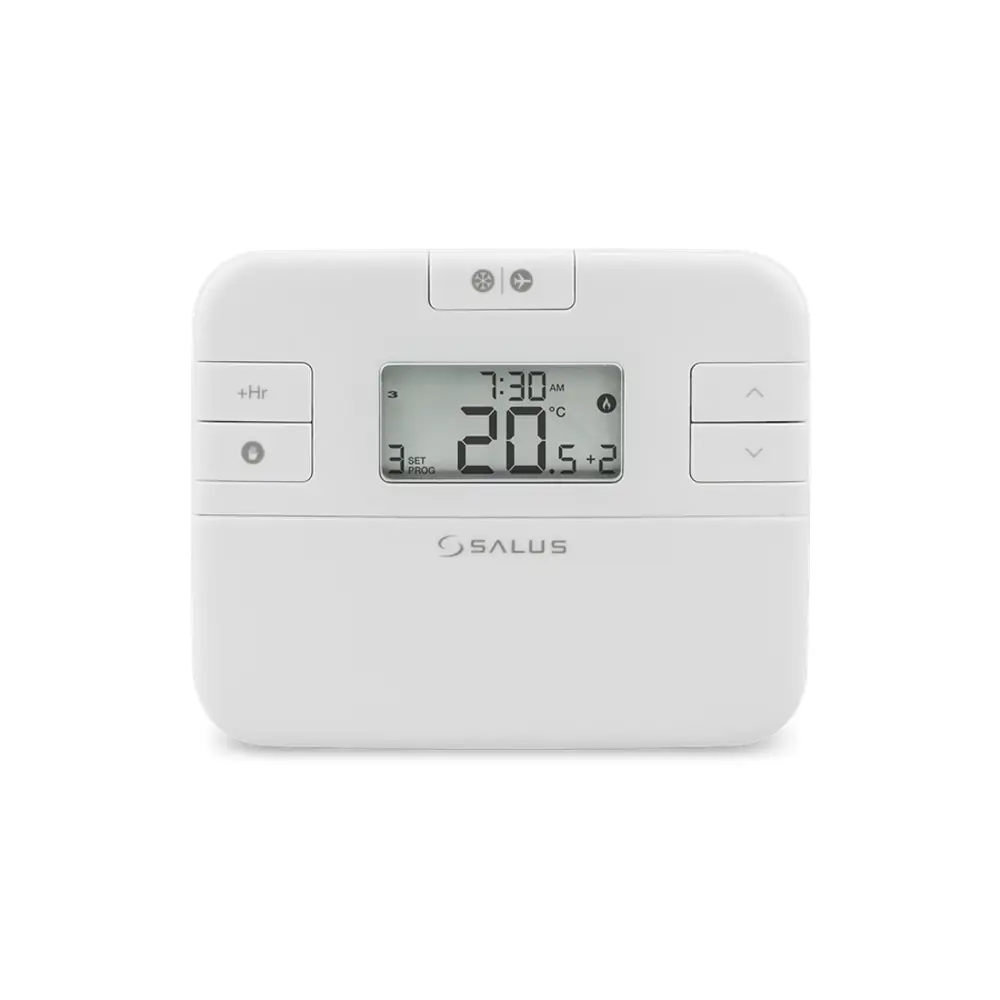
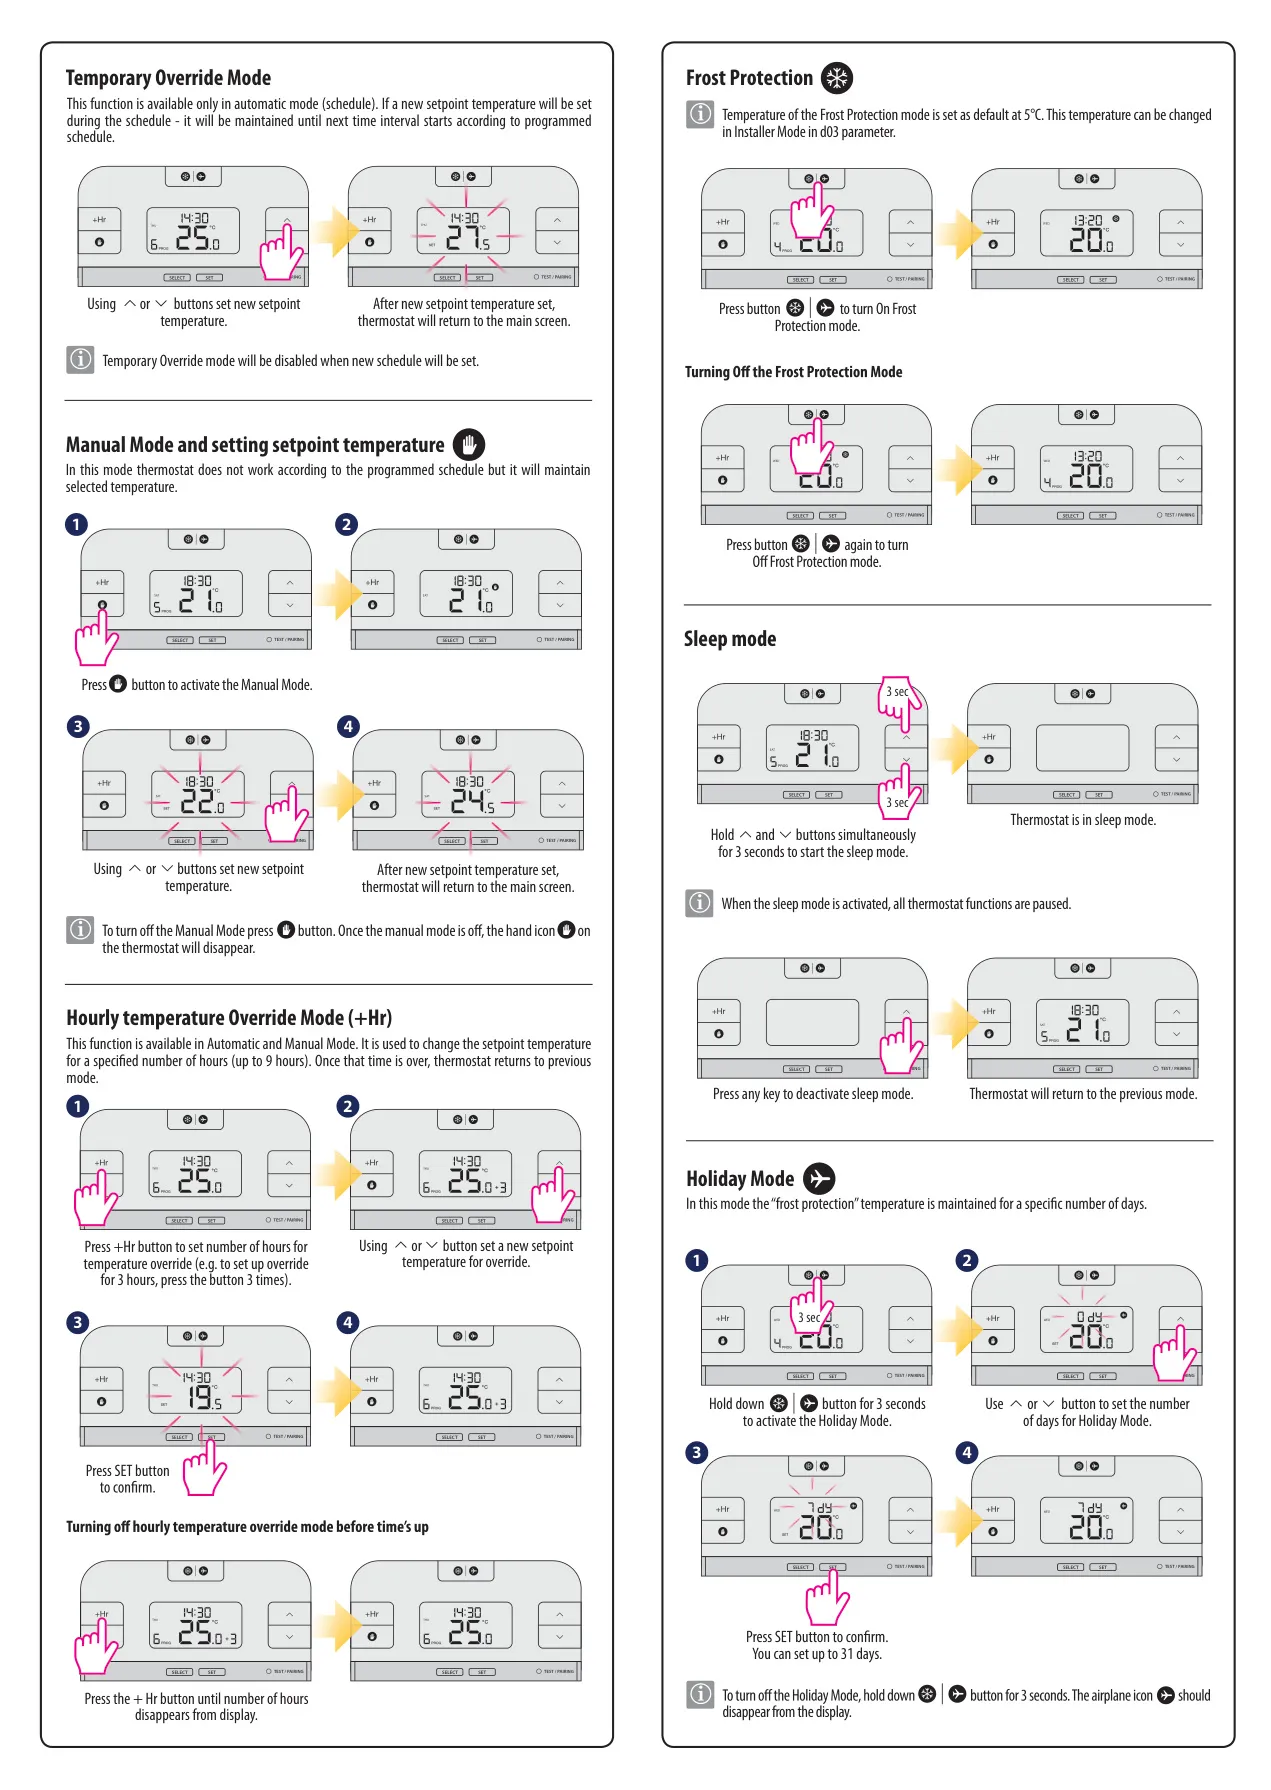
The Salus RT510RF+ is an advanced programmable room thermostat system designed for precise temperature control, comprising the RT510TX+ wireless thermostat and the RXRT510+ receiver. This system efficiently manages your heating by wirelessly launching the boiler system, with all actions and crucial information clearly displayed on its LCD. It offers a range of operational modes including automatic (time schedules), manual control, frost protection, and a convenient holiday mode to suit various user needs.
Ensuring both performance and safety, the RT510RF+ system complies with essential EU Directives such as GPSR 2023/988/EU, EMC 2014/30/EU, RED 2014/53/EU, and RoHS 2015/863/EU. It operates within the 868.0-868.6MHz radio frequency band, ensuring reliable wireless communication with power less than 13dBm. Users are advised to adhere to national and EU regulations, using the device as intended and maintaining it in dry conditions for optimal and safe operation.
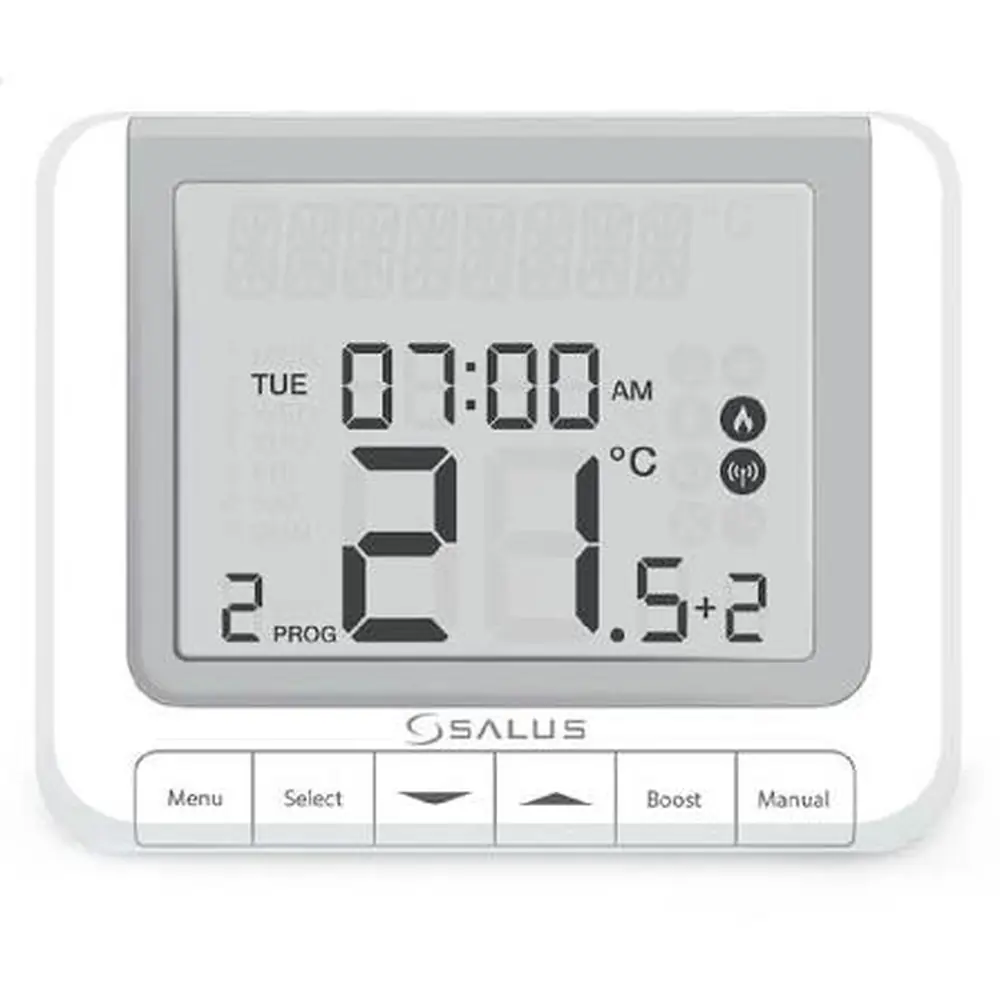
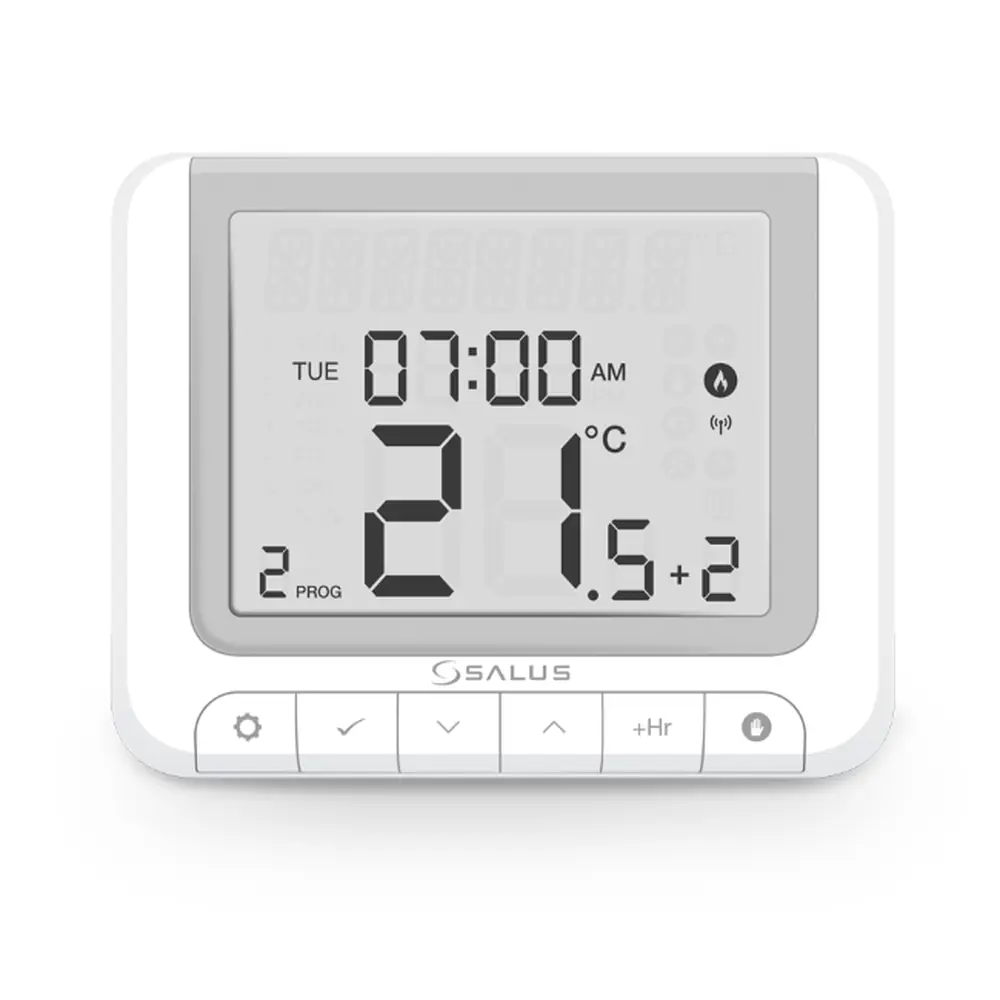
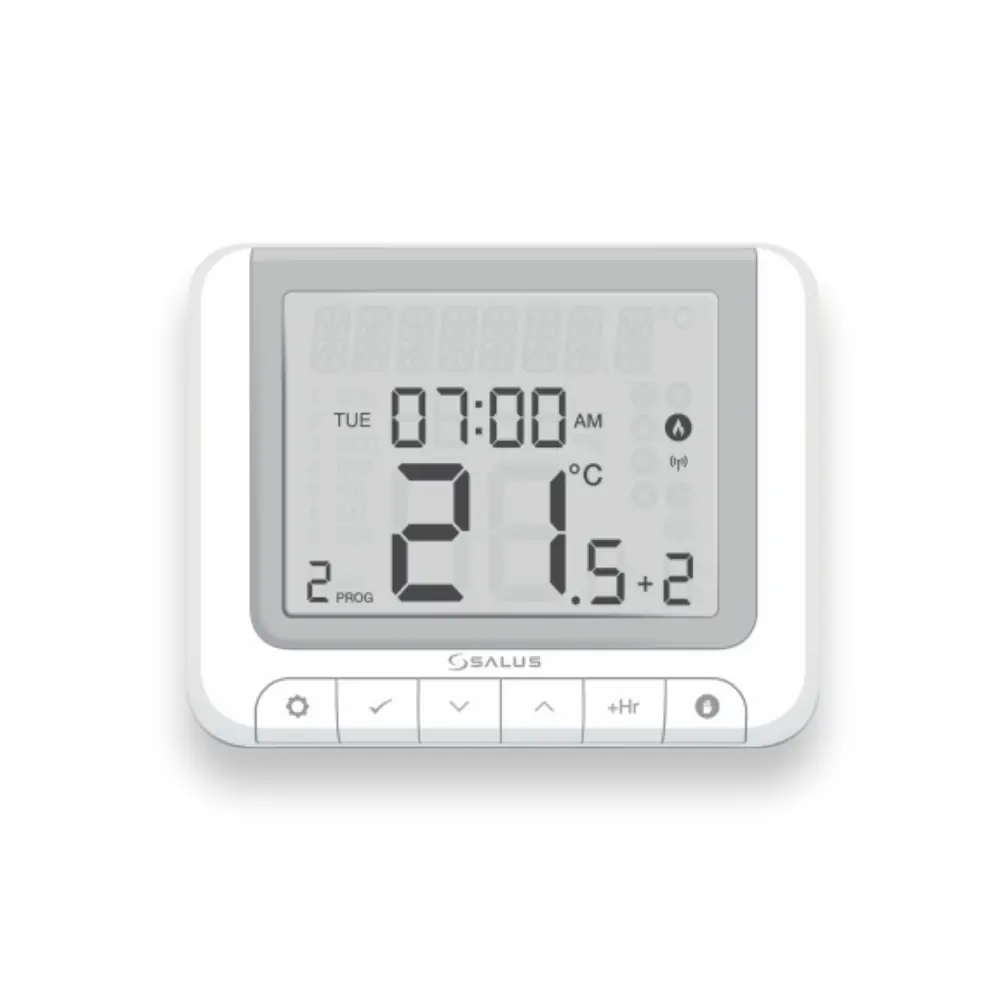
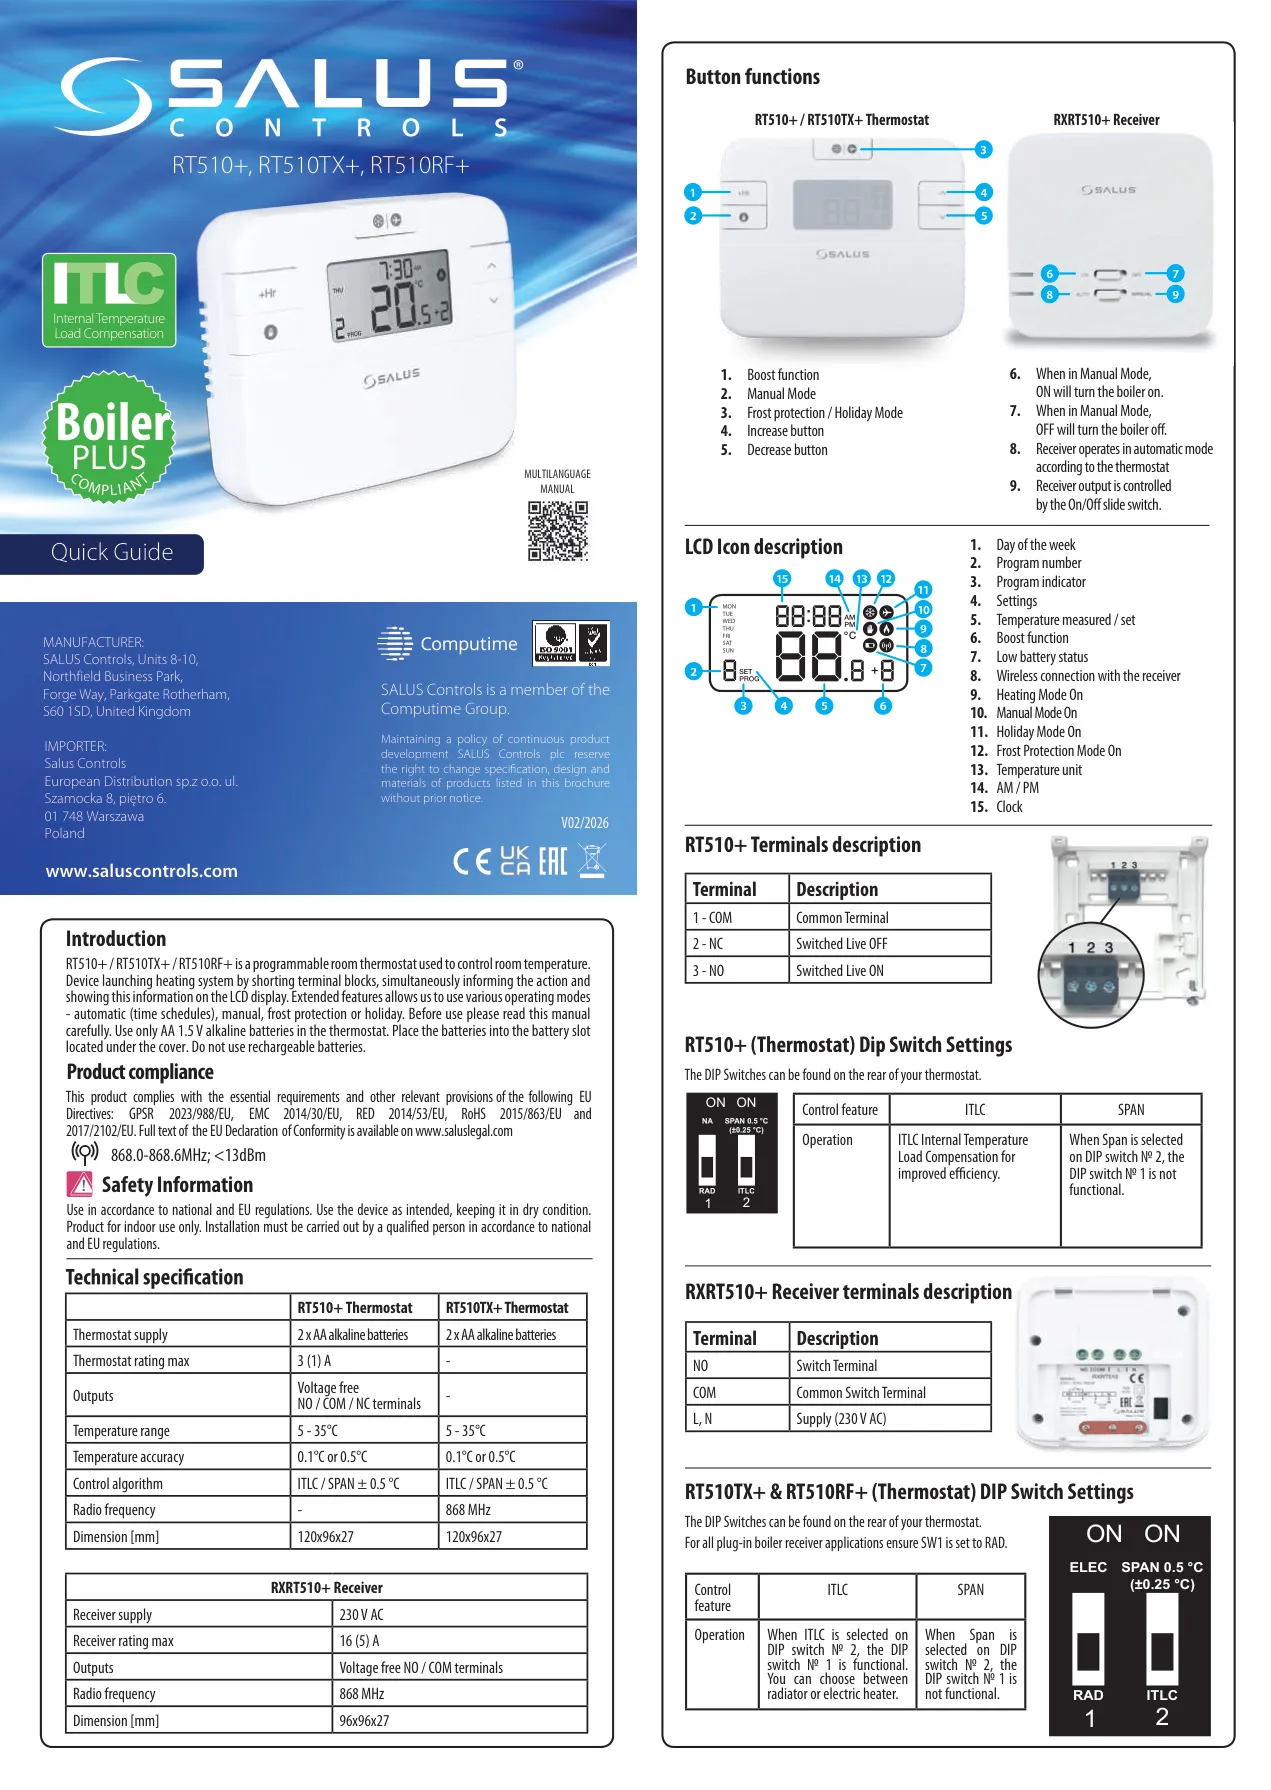
The thermostat features a highly informative LCD, providing a comprehensive overview of its status. Icons clearly indicate the day of the week, current program number, and program indicator, along with temperature readings (measured/set). Essential operational indicators such as "Boost function," "Low battery status," "Wireless connection," "Heating Mode On," "Manual Mode On," "Holiday Mode On," and "Frost Protection Mode On" are all visible. Additionally, the display shows the temperature unit, AM/PM, and the current clock time.
User interaction is streamlined through dedicated button functions. A "Boost" function allows for temporary heating boosts, while a "Manual Mode" button provides immediate control. "Frost protection" and "Holiday Mode" can be quickly activated. The "Increase" and "Decrease" buttons facilitate easy adjustment of settings and temperatures. These intuitive controls ensure that users can quickly adapt the thermostat's operation to their immediate comfort requirements.
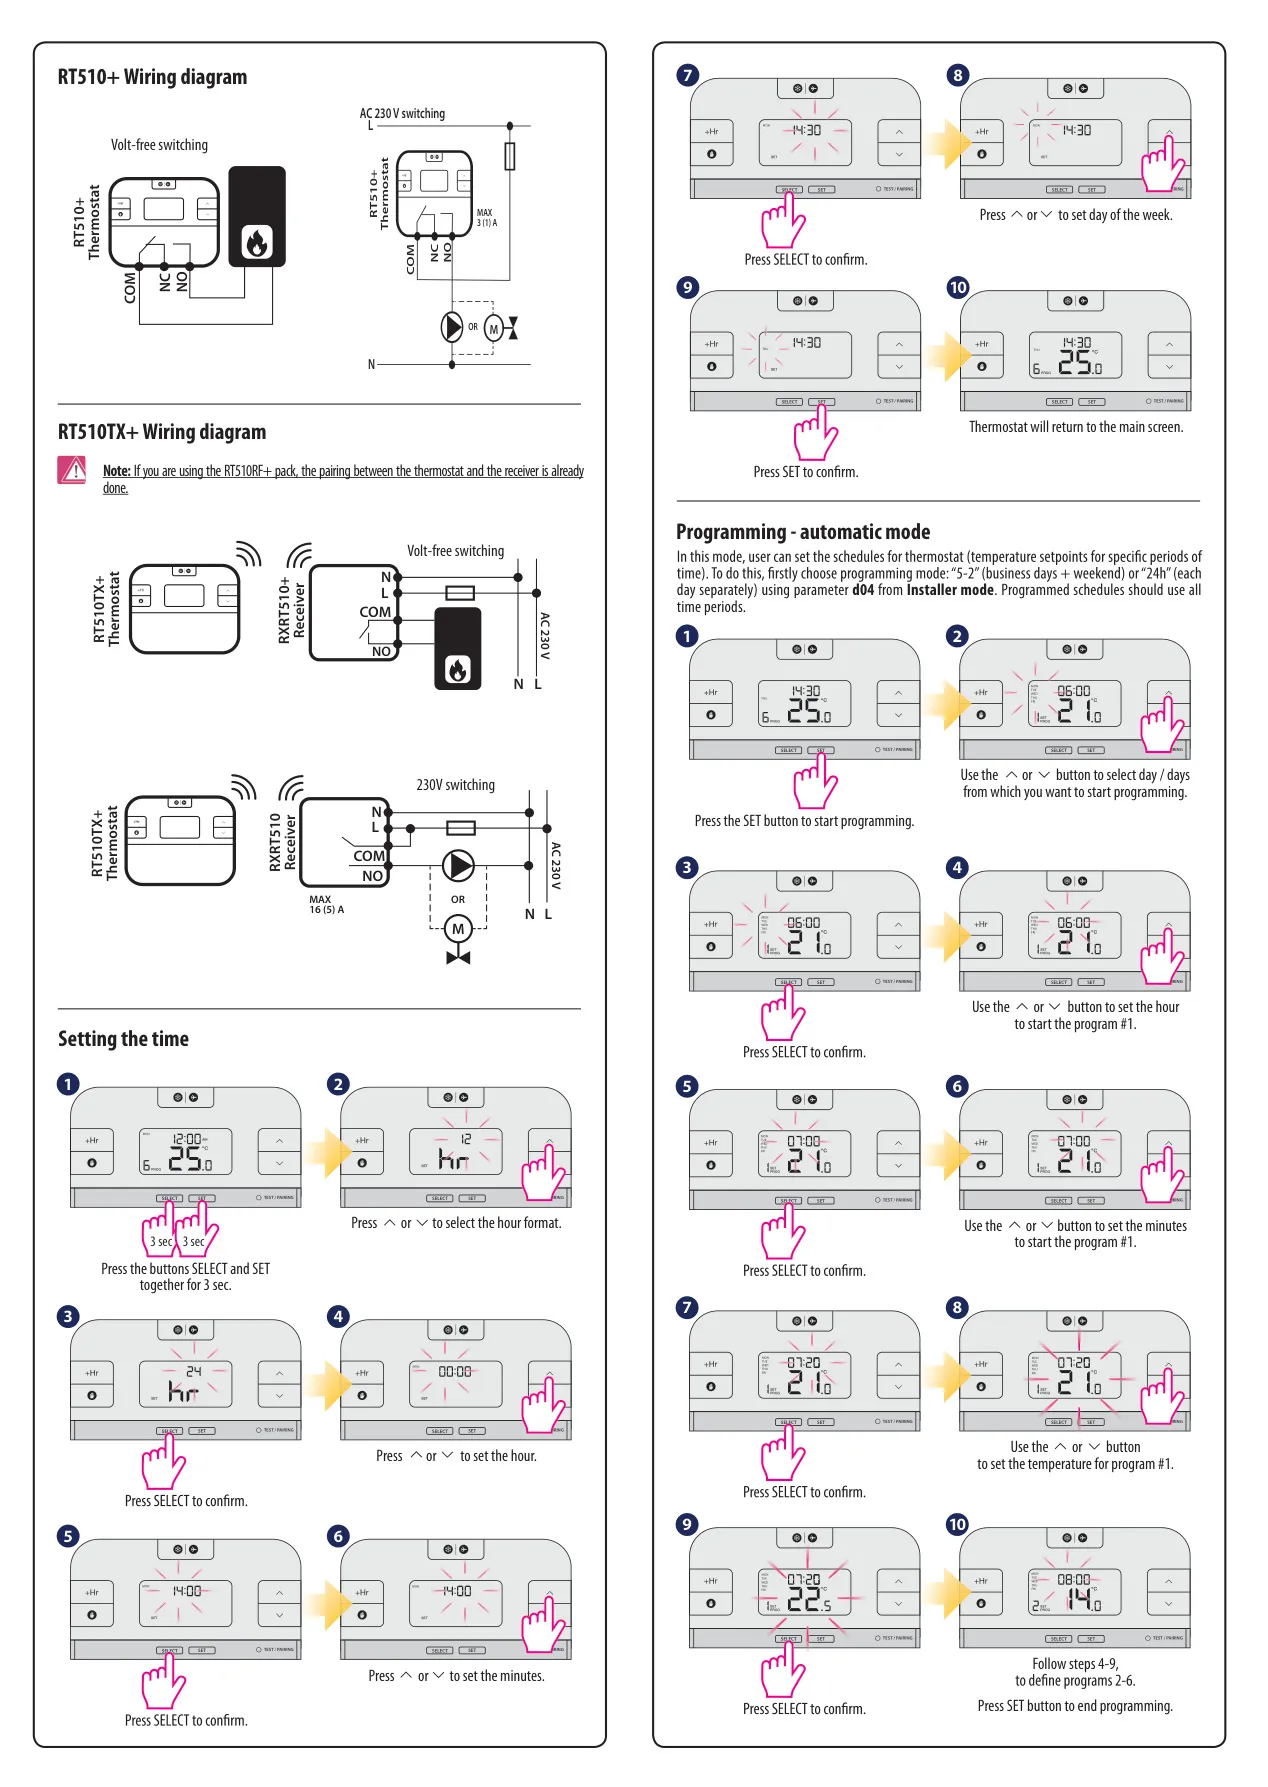
Programming the thermostat for automatic mode involves setting daily or weekly schedules to align with your lifestyle. Users can define multiple time periods and corresponding desired temperatures. A practical "Temporary Override Mode" allows for brief adjustments; if a new setpoint temperature is established during a scheduled period, it will be maintained until the next programmed time interval begins, reverting seamlessly to the schedule thereafter.
For consistent temperature maintenance independent of schedules, the "Manual Mode" can be activated, where the thermostat will hold a user-selected temperature indefinitely. The "Hourly Temperature Override Mode (+Hr)" offers another layer of flexibility, enabling users to set a new temperature for a specific number of hours in both Automatic and Manual modes, perfect for short-term comfort adjustments.
The thermostat includes a vital "Frost Protection" mode, pre-set to 5°C by default, which can be adjusted in the Installer Mode's d03 parameter. This feature safeguards your property from freezing pipes when the heating system is otherwise inactive. Furthermore, the "Holiday Mode" allows you to set a specific temperature for an extended period, up to 31 days, ensuring energy savings and protection while you are away.
For complete cessation of functions, the "Sleep mode" can be activated by holding the "SELECT" and "SET" buttons simultaneously for three seconds, pausing all thermostat operations. This can be deactivated by pressing any key, returning the thermostat to its previous operational state. This feature is useful for extended periods when heating is not required at all.
Advanced configurations are accessible via DIP switches located on the rear of the RT510TX+ thermostat. These allow selection between "ITLC" (Internal Temperature Load Compensation) and "SPAN" (±0.25 °C) control algorithms. When ITLC is chosen, a separate DIP switch permits selection for either radiator (RAD) or electric heater (ELEC) applications, ensuring optimal performance tailored to the heating system type.
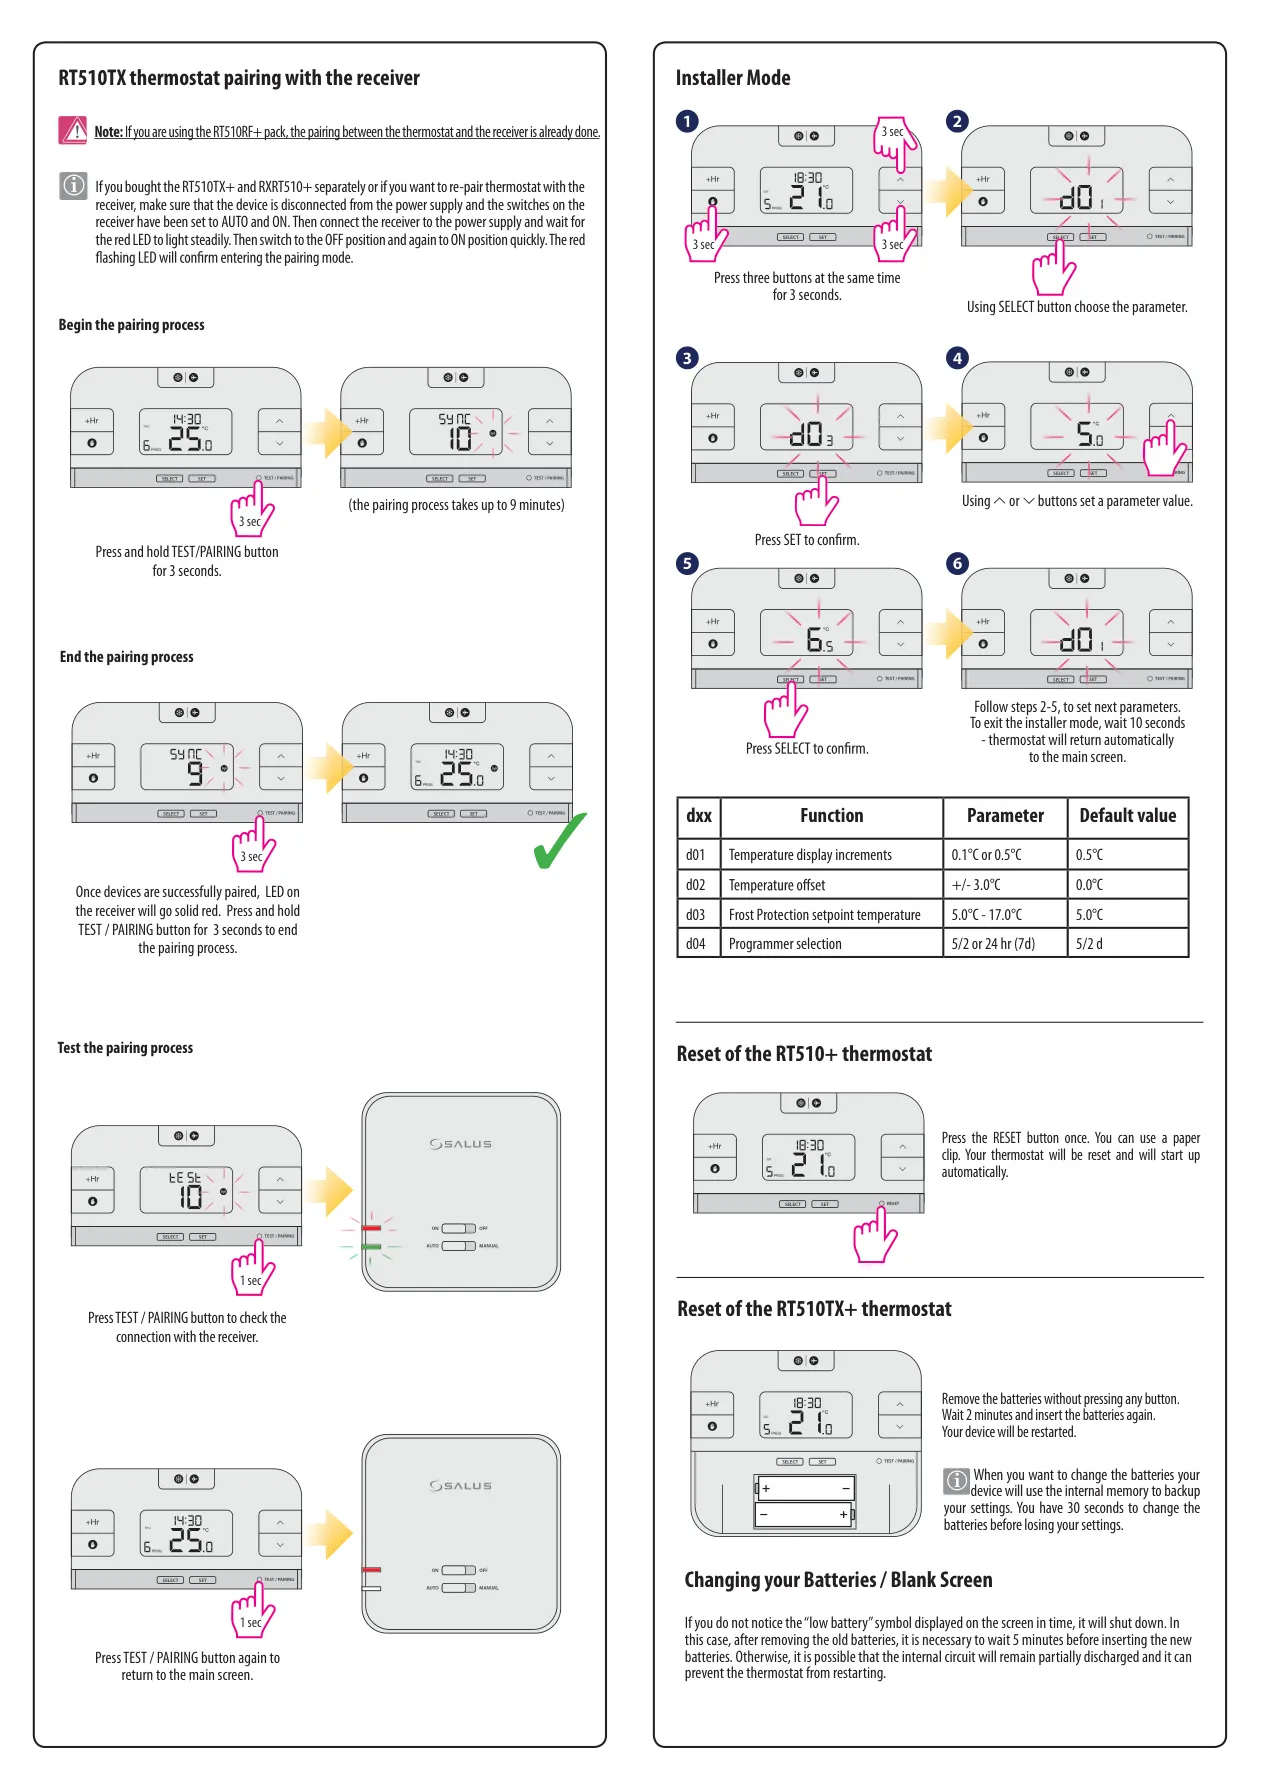
If the RT510RF+ pack components (RT510TX+ thermostat and RXRT510+ receiver) are not pre-paired or require re-pairing, a simple process is outlined. This involves specific steps on both the receiver (power cycling, switch positions) and the thermostat (holding the TEST/PAIRING button for 3 seconds) to establish the wireless link, followed by a test to confirm successful connection.
The "Installer Mode" provides access to critical system parameters for professional setup. These include d01 for temperature display increments (0.1°C or 0.5°C), d02 for temperature offset calibration (±3.0°C), d03 for adjusting the frost protection setpoint (5.0°C - 17.0°C), and d04 for programmer selection (5/2 or 24 hr/7d), allowing for tailored system behavior.
Should a reset be necessary, the RT510TX+ thermostat offers a simple procedure: remove the batteries, wait 2 minutes, then reinsert them. For quick battery changes, the device retains settings in internal memory for 30 seconds. If the screen goes blank due to low battery and the warning was missed, waiting 5 minutes after removing old batteries before inserting new ones is crucial to allow internal circuits to fully discharge and prevent startup issues.
Frequently Asked Questions (FAQs)
Can't find the answer you need? Here are some frequently asked questions about the Salus RT510RF Thermostat, and we answer them below.