Chicco Fit 360 Car Seat Instruction Manual

Chicco Fit 360 Car Seat


















Chicco Fit 360 Car Seat Instructions
Here we offer the Chicco Fit 360 Car Seat manual completely free and in English. We have cataloged this manual in the Infant Seats section on Manualverse, and it has been rated by 1 users with an average rating of 5. If you have any specific questions about Chicco Fit 360 Car Seat, we suggest checking the Frequently Asked Questions (FAQs) section of this manual.
Product Images


Chicco Fit 360 Car Seat Specifications
| Feature | Specification |
|---|---|
| Manufacturer | Artsana USA, Inc., 1826 William Penn Way, Lancaster, PA 17601 |
| User Guide Reference | IS0248E_05 (02/25) |
| Product Type | Rotating convertible child restraint with base |
| Child Age Range | Birth to 6 years |
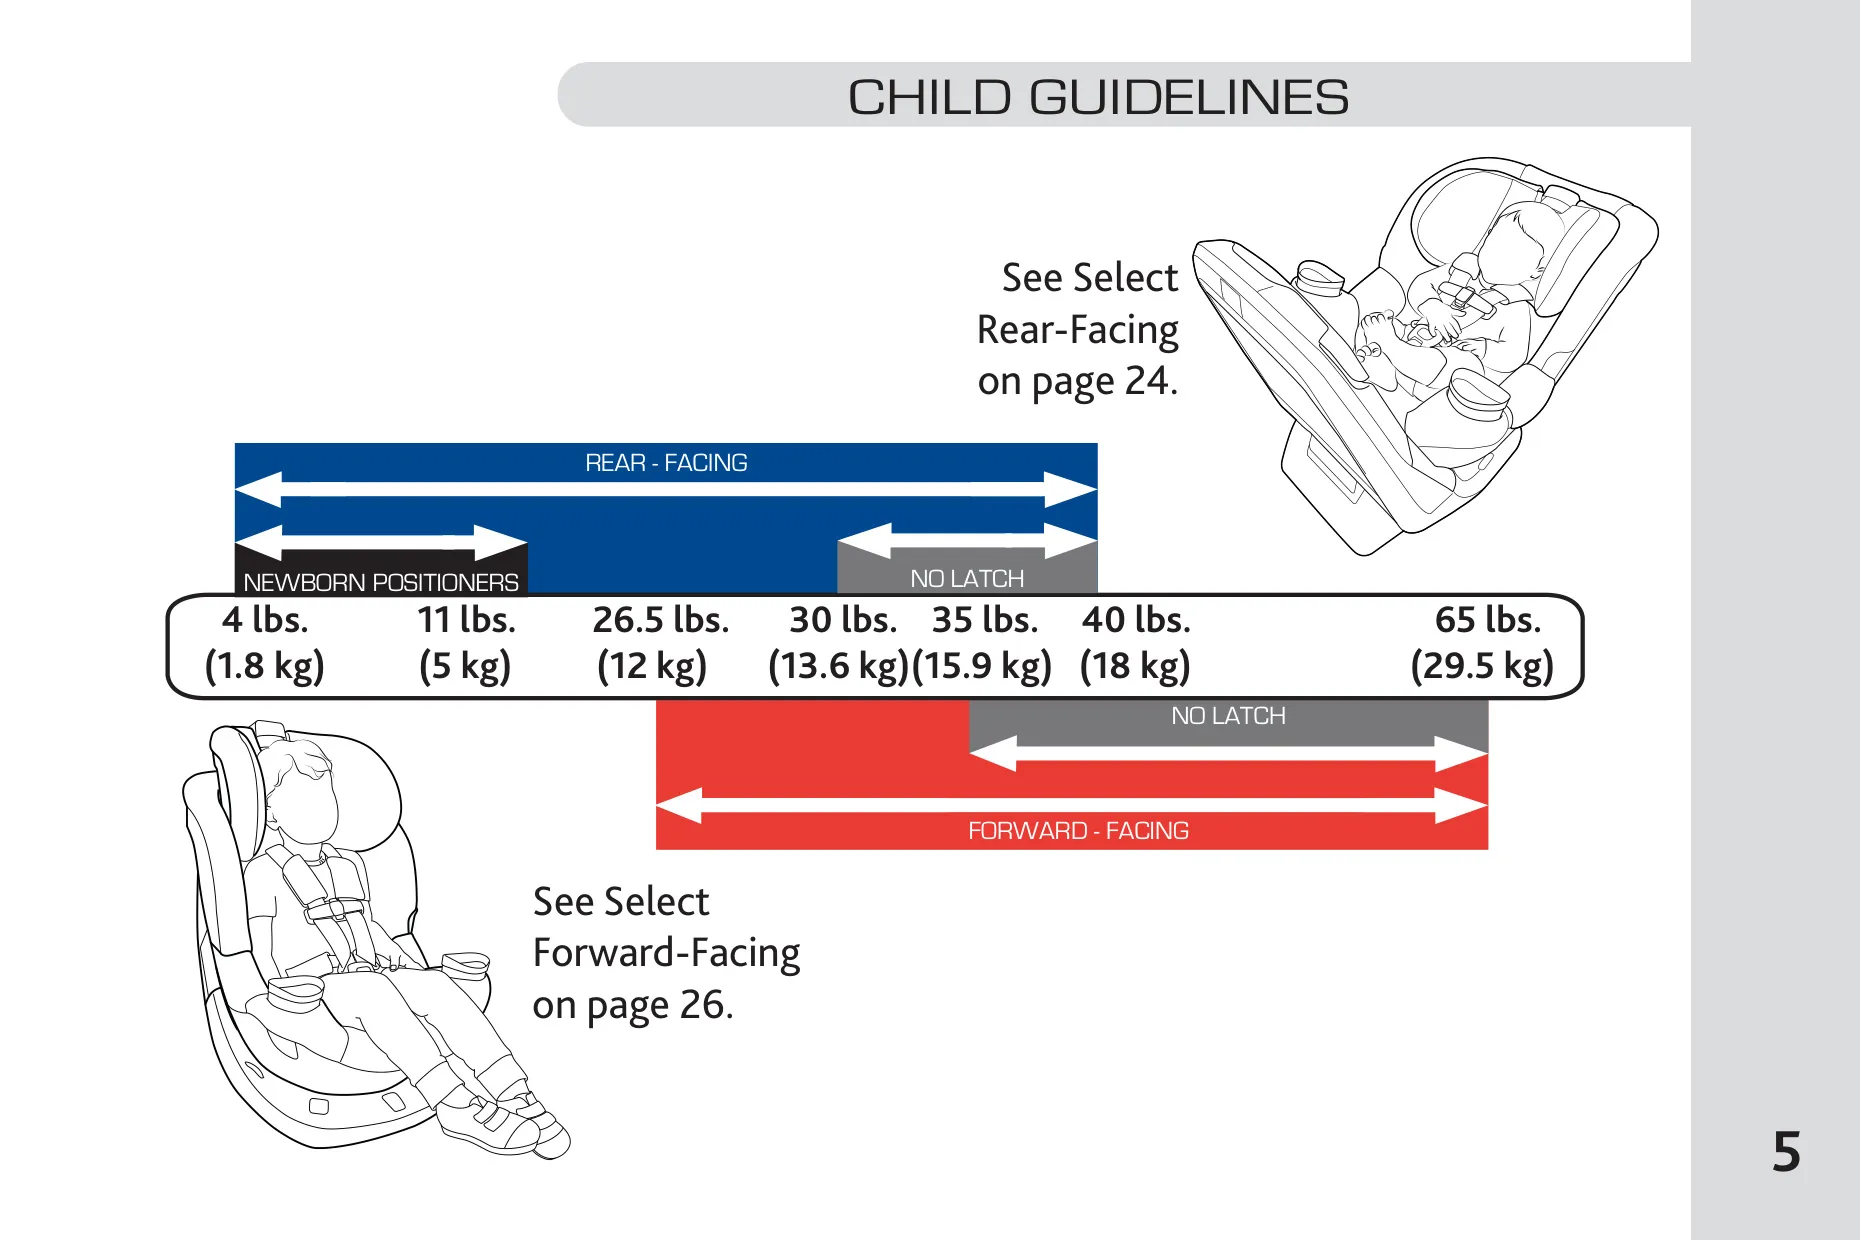
| Overall Child Weight Range | 4 to 65 lbs (1.8 to 29.5 kg) |
| Maximum Child Height | 49 in (125 cm) |
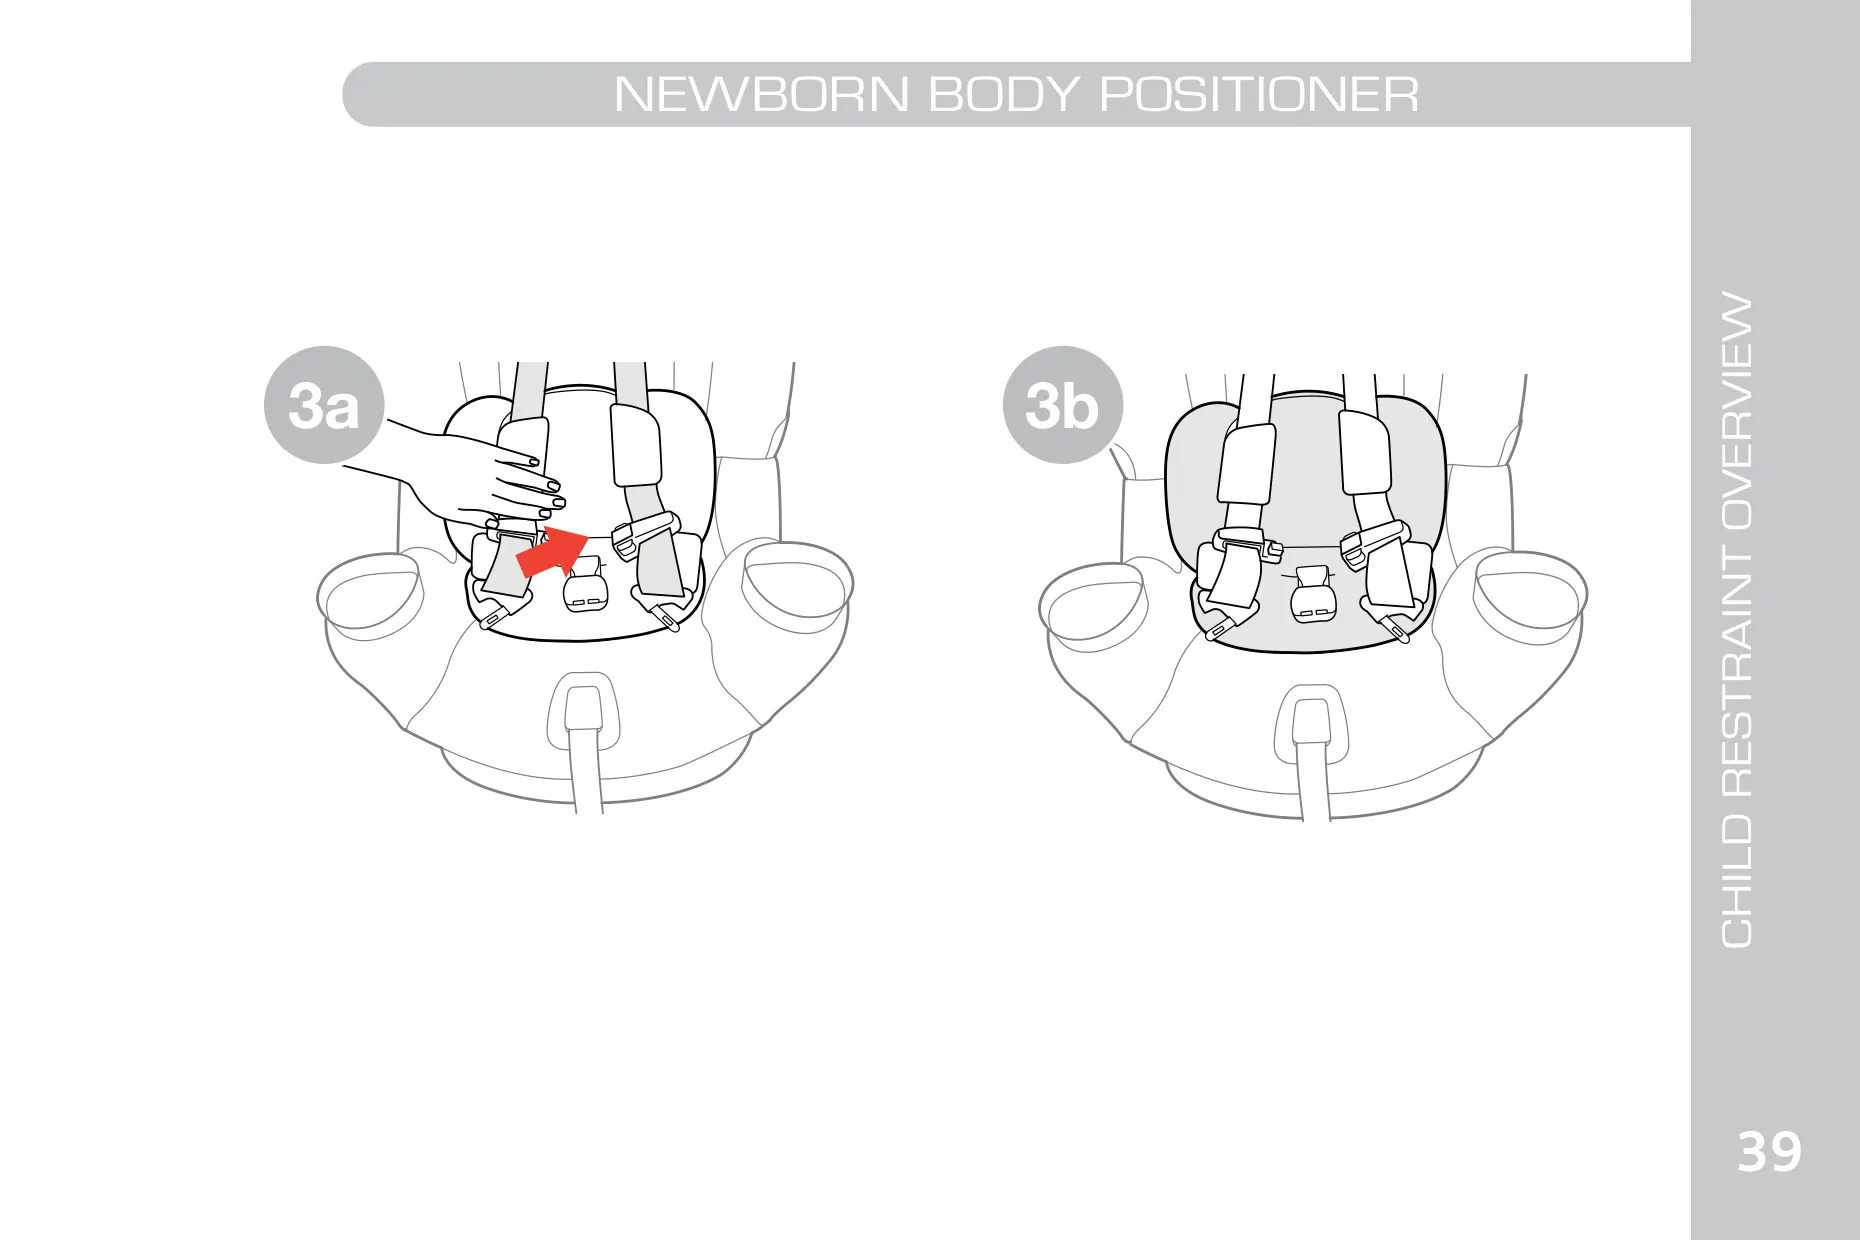
| Newborn Body Positioner Weight Range | 4 to 11 lbs (1.8 to 5 kg), rear-facing only |
| Rear-Facing Weight Range | 4 to 40 lbs (1.8 to 18 kg) |
| Rear-Facing Weight without Newborn Body Positioner | 11 to 40 lbs (5 to 18 kg) |
| Rear-Facing Maximum Height | 43 in (109 cm) |
| Rear-Facing Harness Position | At or below the child's shoulders |
| Forward-Facing Weight Range | 26.5 to 65 lbs (12 to 29.5 kg) |
| Forward-Facing Minimum Age | At least 1 year old |
| Forward-Facing Height Limit | 49 in (125 cm) or less, or top of ears below top of Head Rest |
| Forward-Facing Harness Position | At or above the child's shoulders |
| Installation Methods | Vehicle lap-shoulder belt or LATCH, both with Tether Strap |
| Recommended Installation | Lap-shoulder belt with Tether Strap |
| LATCH Lower Anchor Limit, Rear-Facing | Child weight up to 30 lbs (13.6 kg) |
| LATCH Lower Anchor Limit, Forward-Facing | Child weight up to 35 lbs (15.9 kg) |
| LATCH Anchor Spacing | Standard spacing of 11 in (28 cm) only |
| ISOFIX Compatibility | Can be used in seating positions equipped with ISOFIX |
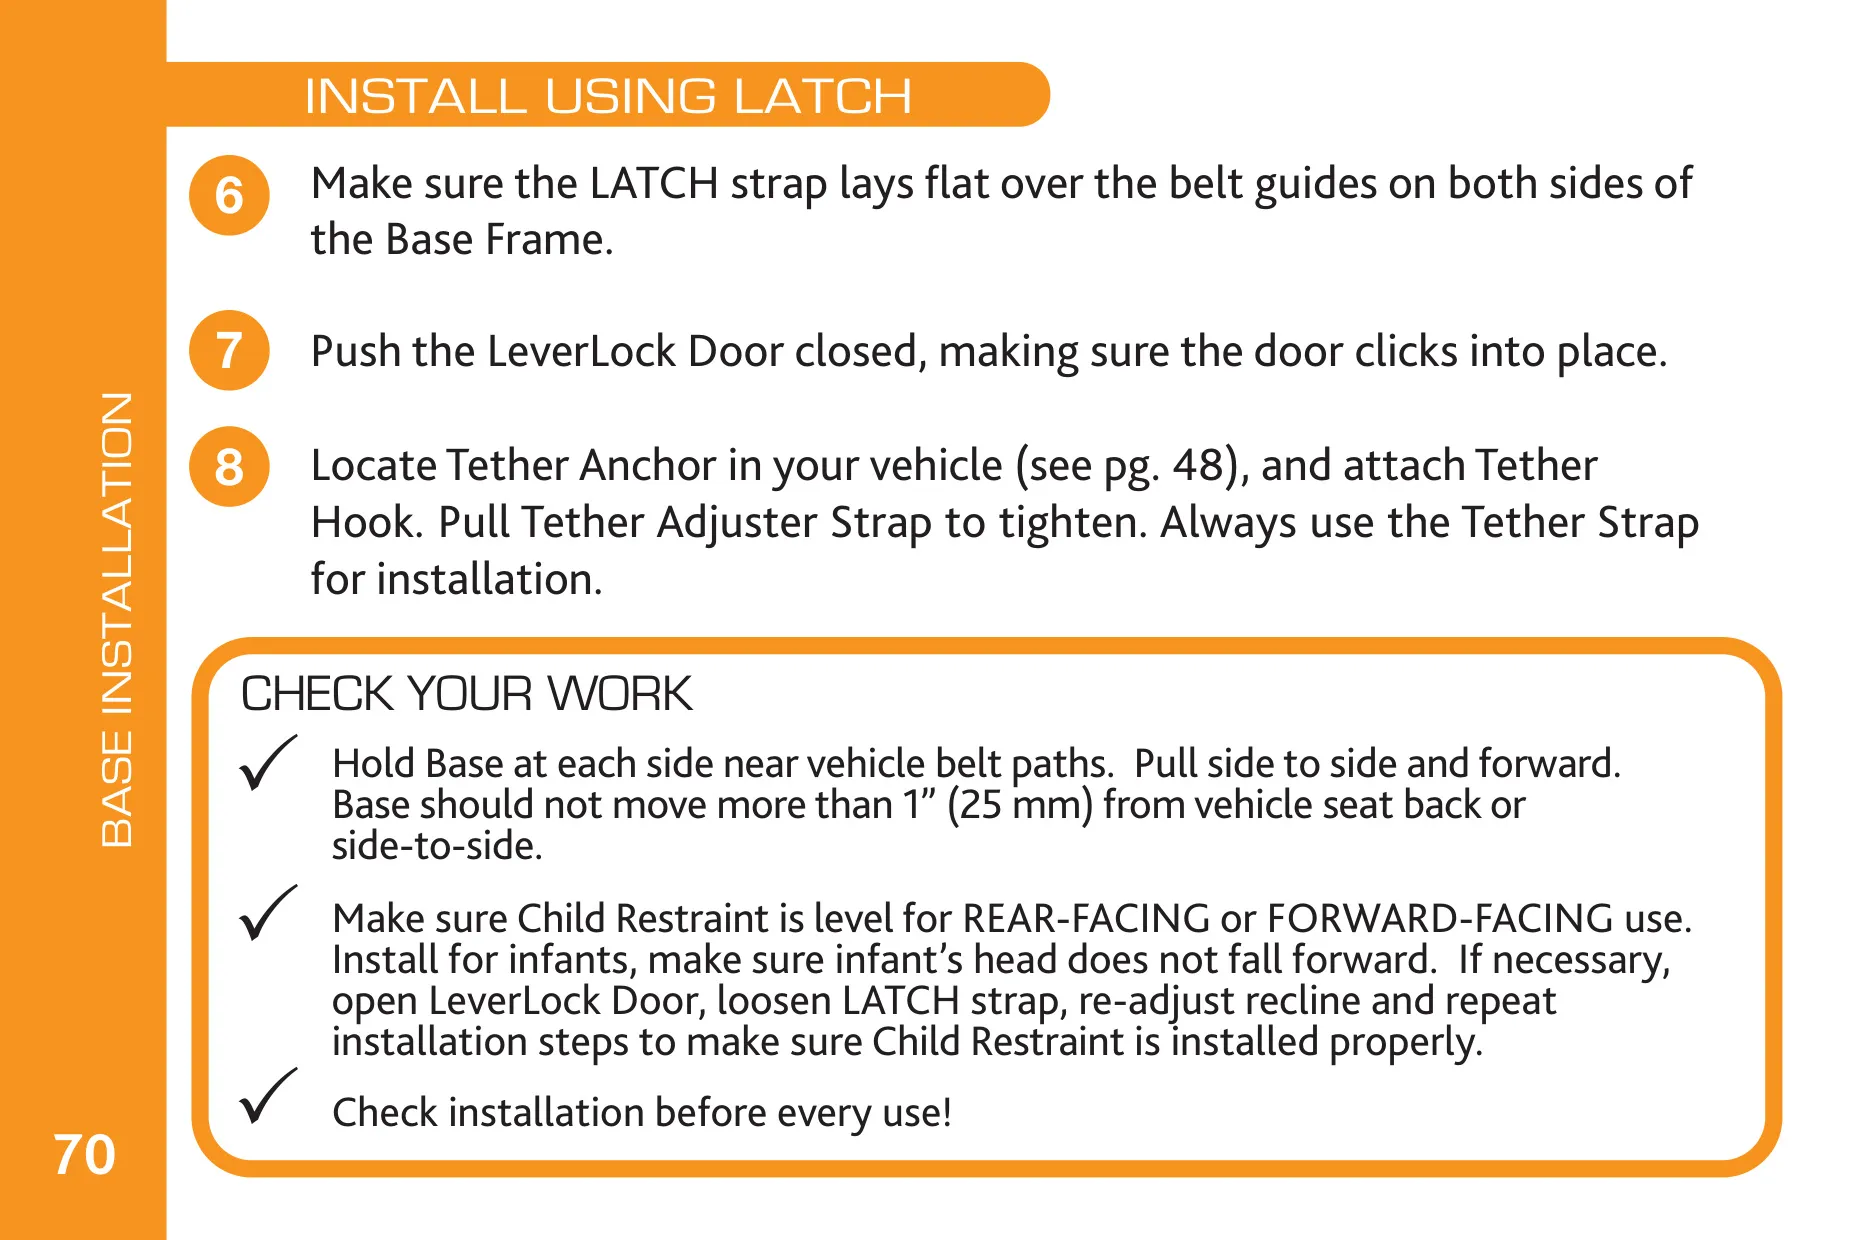
| Maximum Allowed Movement When Installed | 1 in (25 mm) side to side or forward |
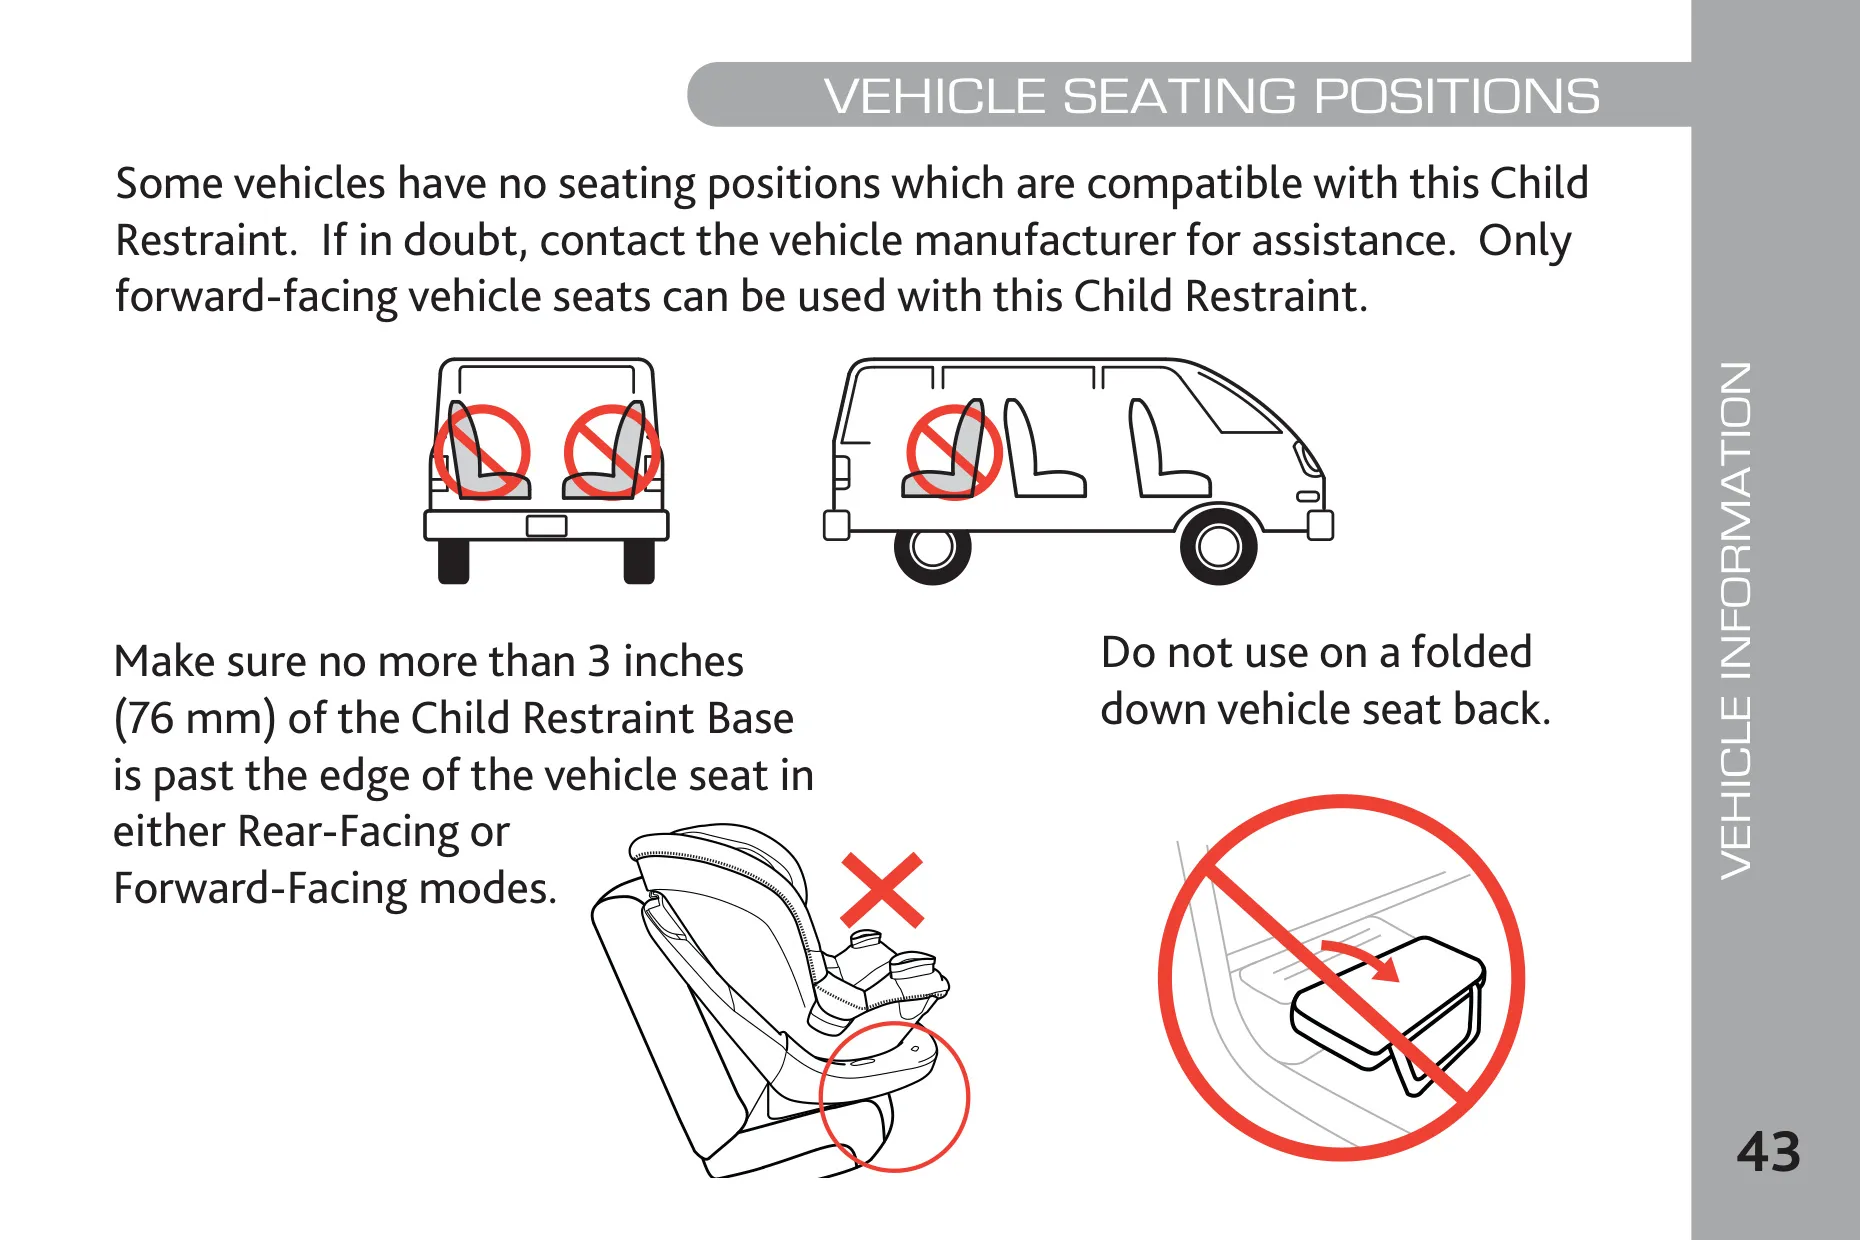
| Maximum Base Overhang | 3 in (76 mm) past the vehicle seat edge |
| Recline Indicator | Bubble Level Indicator on Base |
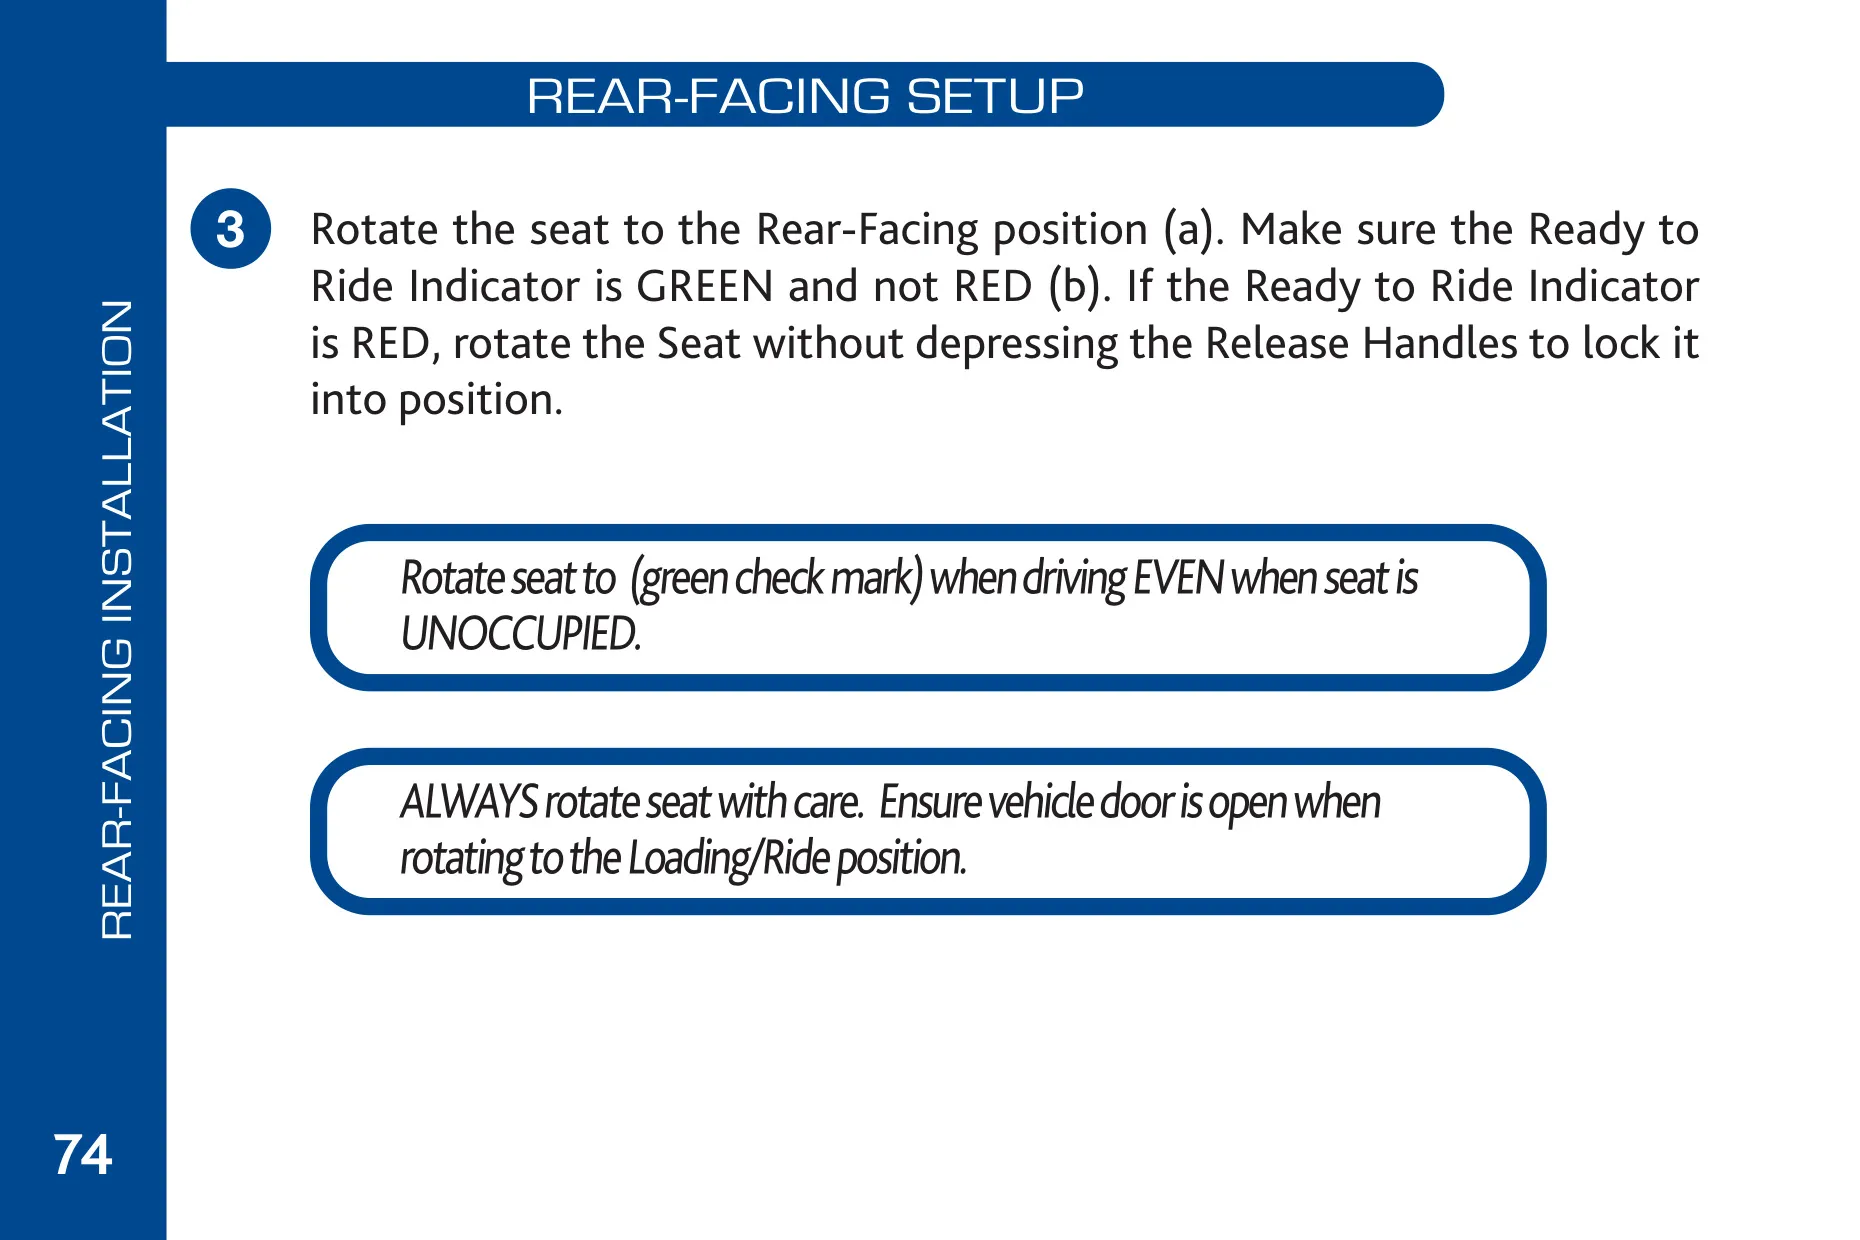
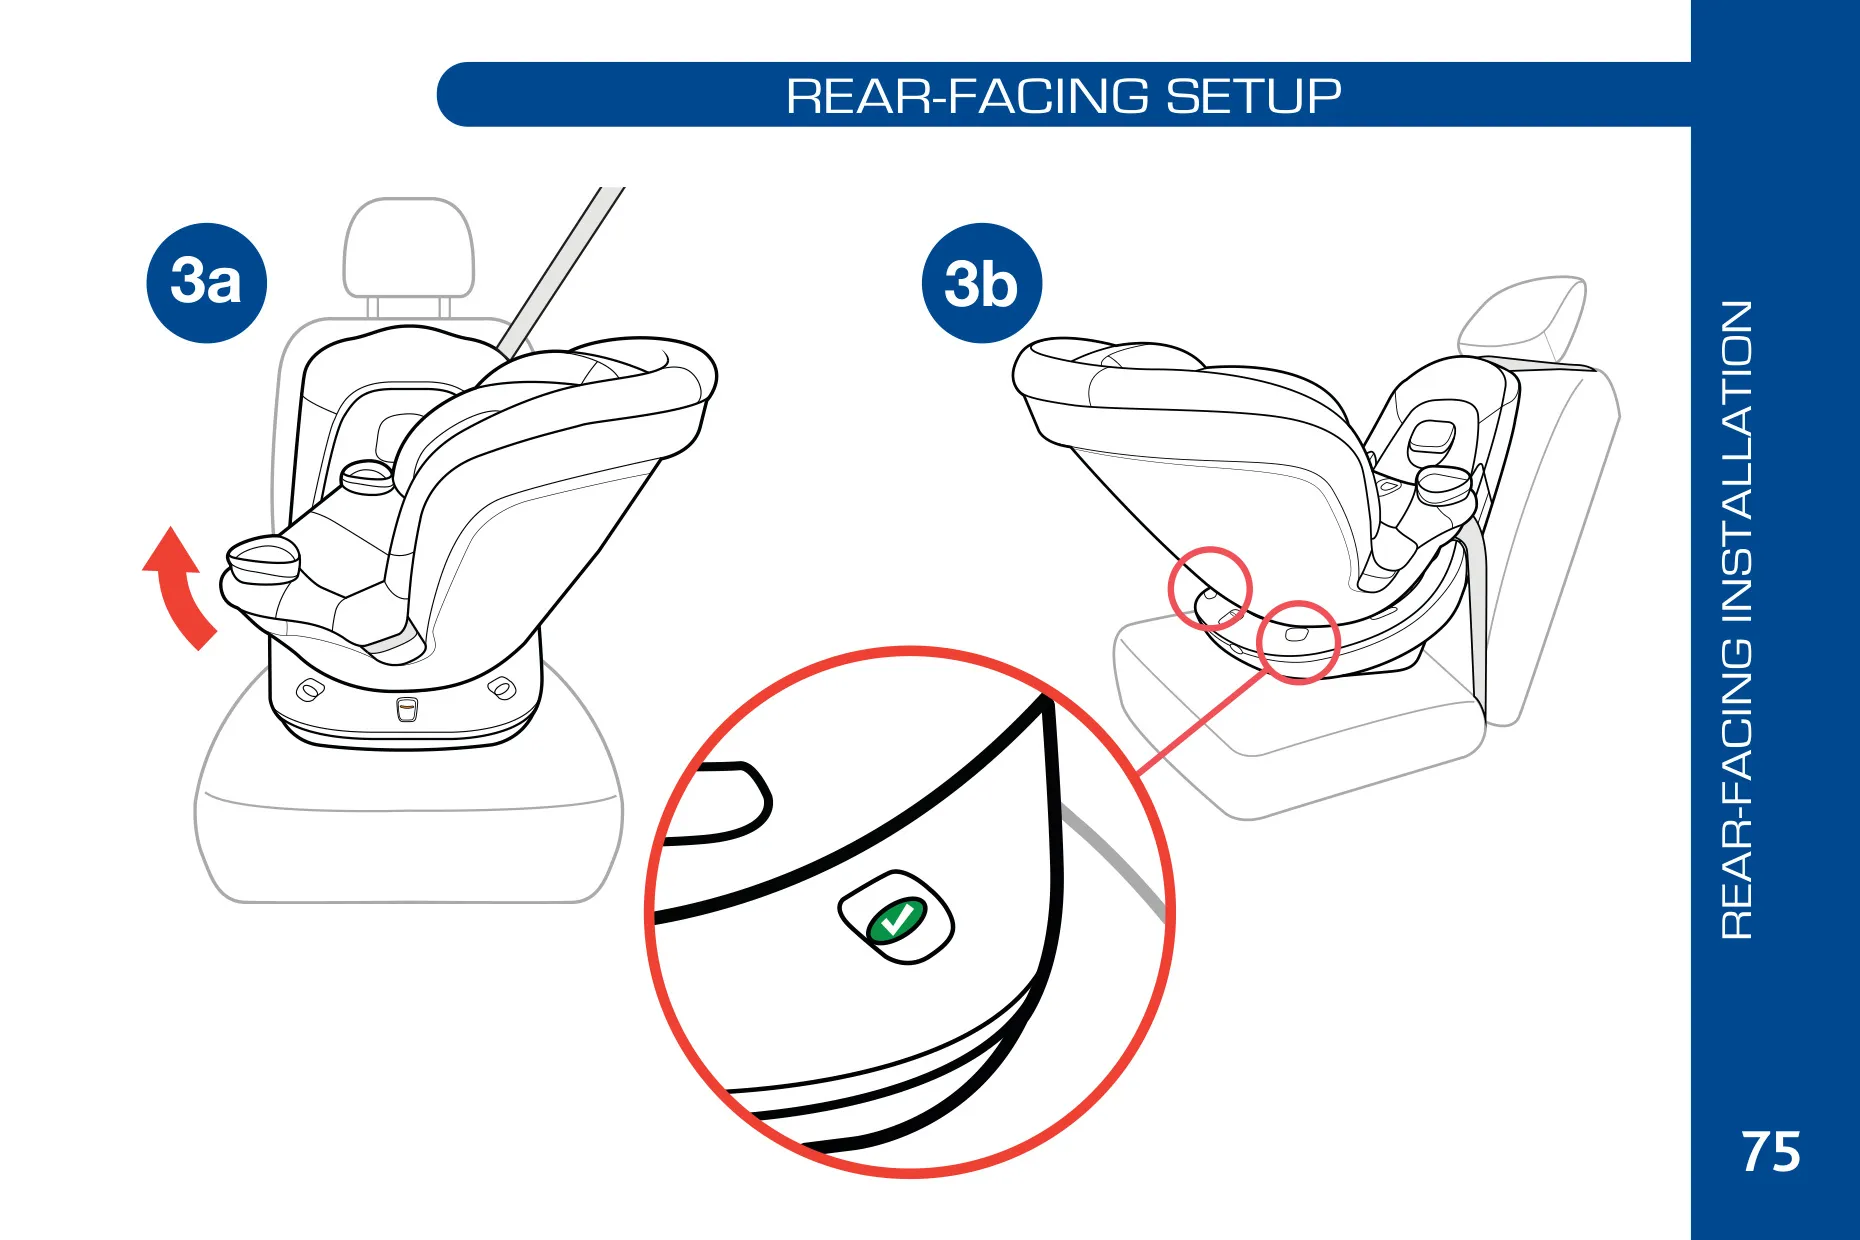
| Lock Status Indicator | Ready to Ride Indicator (GREEN = locked, RED = not locked) |
| Crotch Strap Positions | 2 (Position 1 and Position 2) |
| Cup Holders | 2, removable, plastic containers only, under 12 oz (355 ml) |
| Aircraft Use | Certified for aircraft, forward-facing aircraft seats only |
| Useful Life | 8 years (see "Do Not Use After" date on Base label) |
| Prohibited Vehicle Belts | Motorized, door-mounted, dual-retractor lap-shoulder (unless lap belt has Lock Mode), non-locking ELR lap, and inflatable belts |
| Customer Service | 1-877-424-4226 |
Chicco Fit 360 Car Seat Details
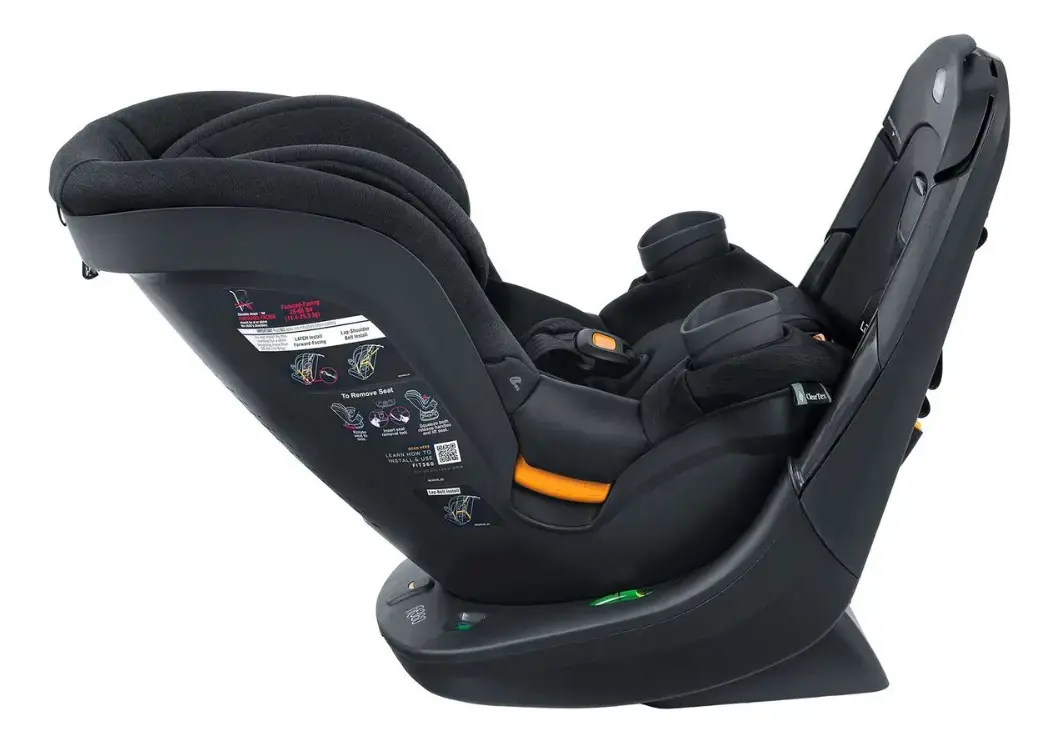
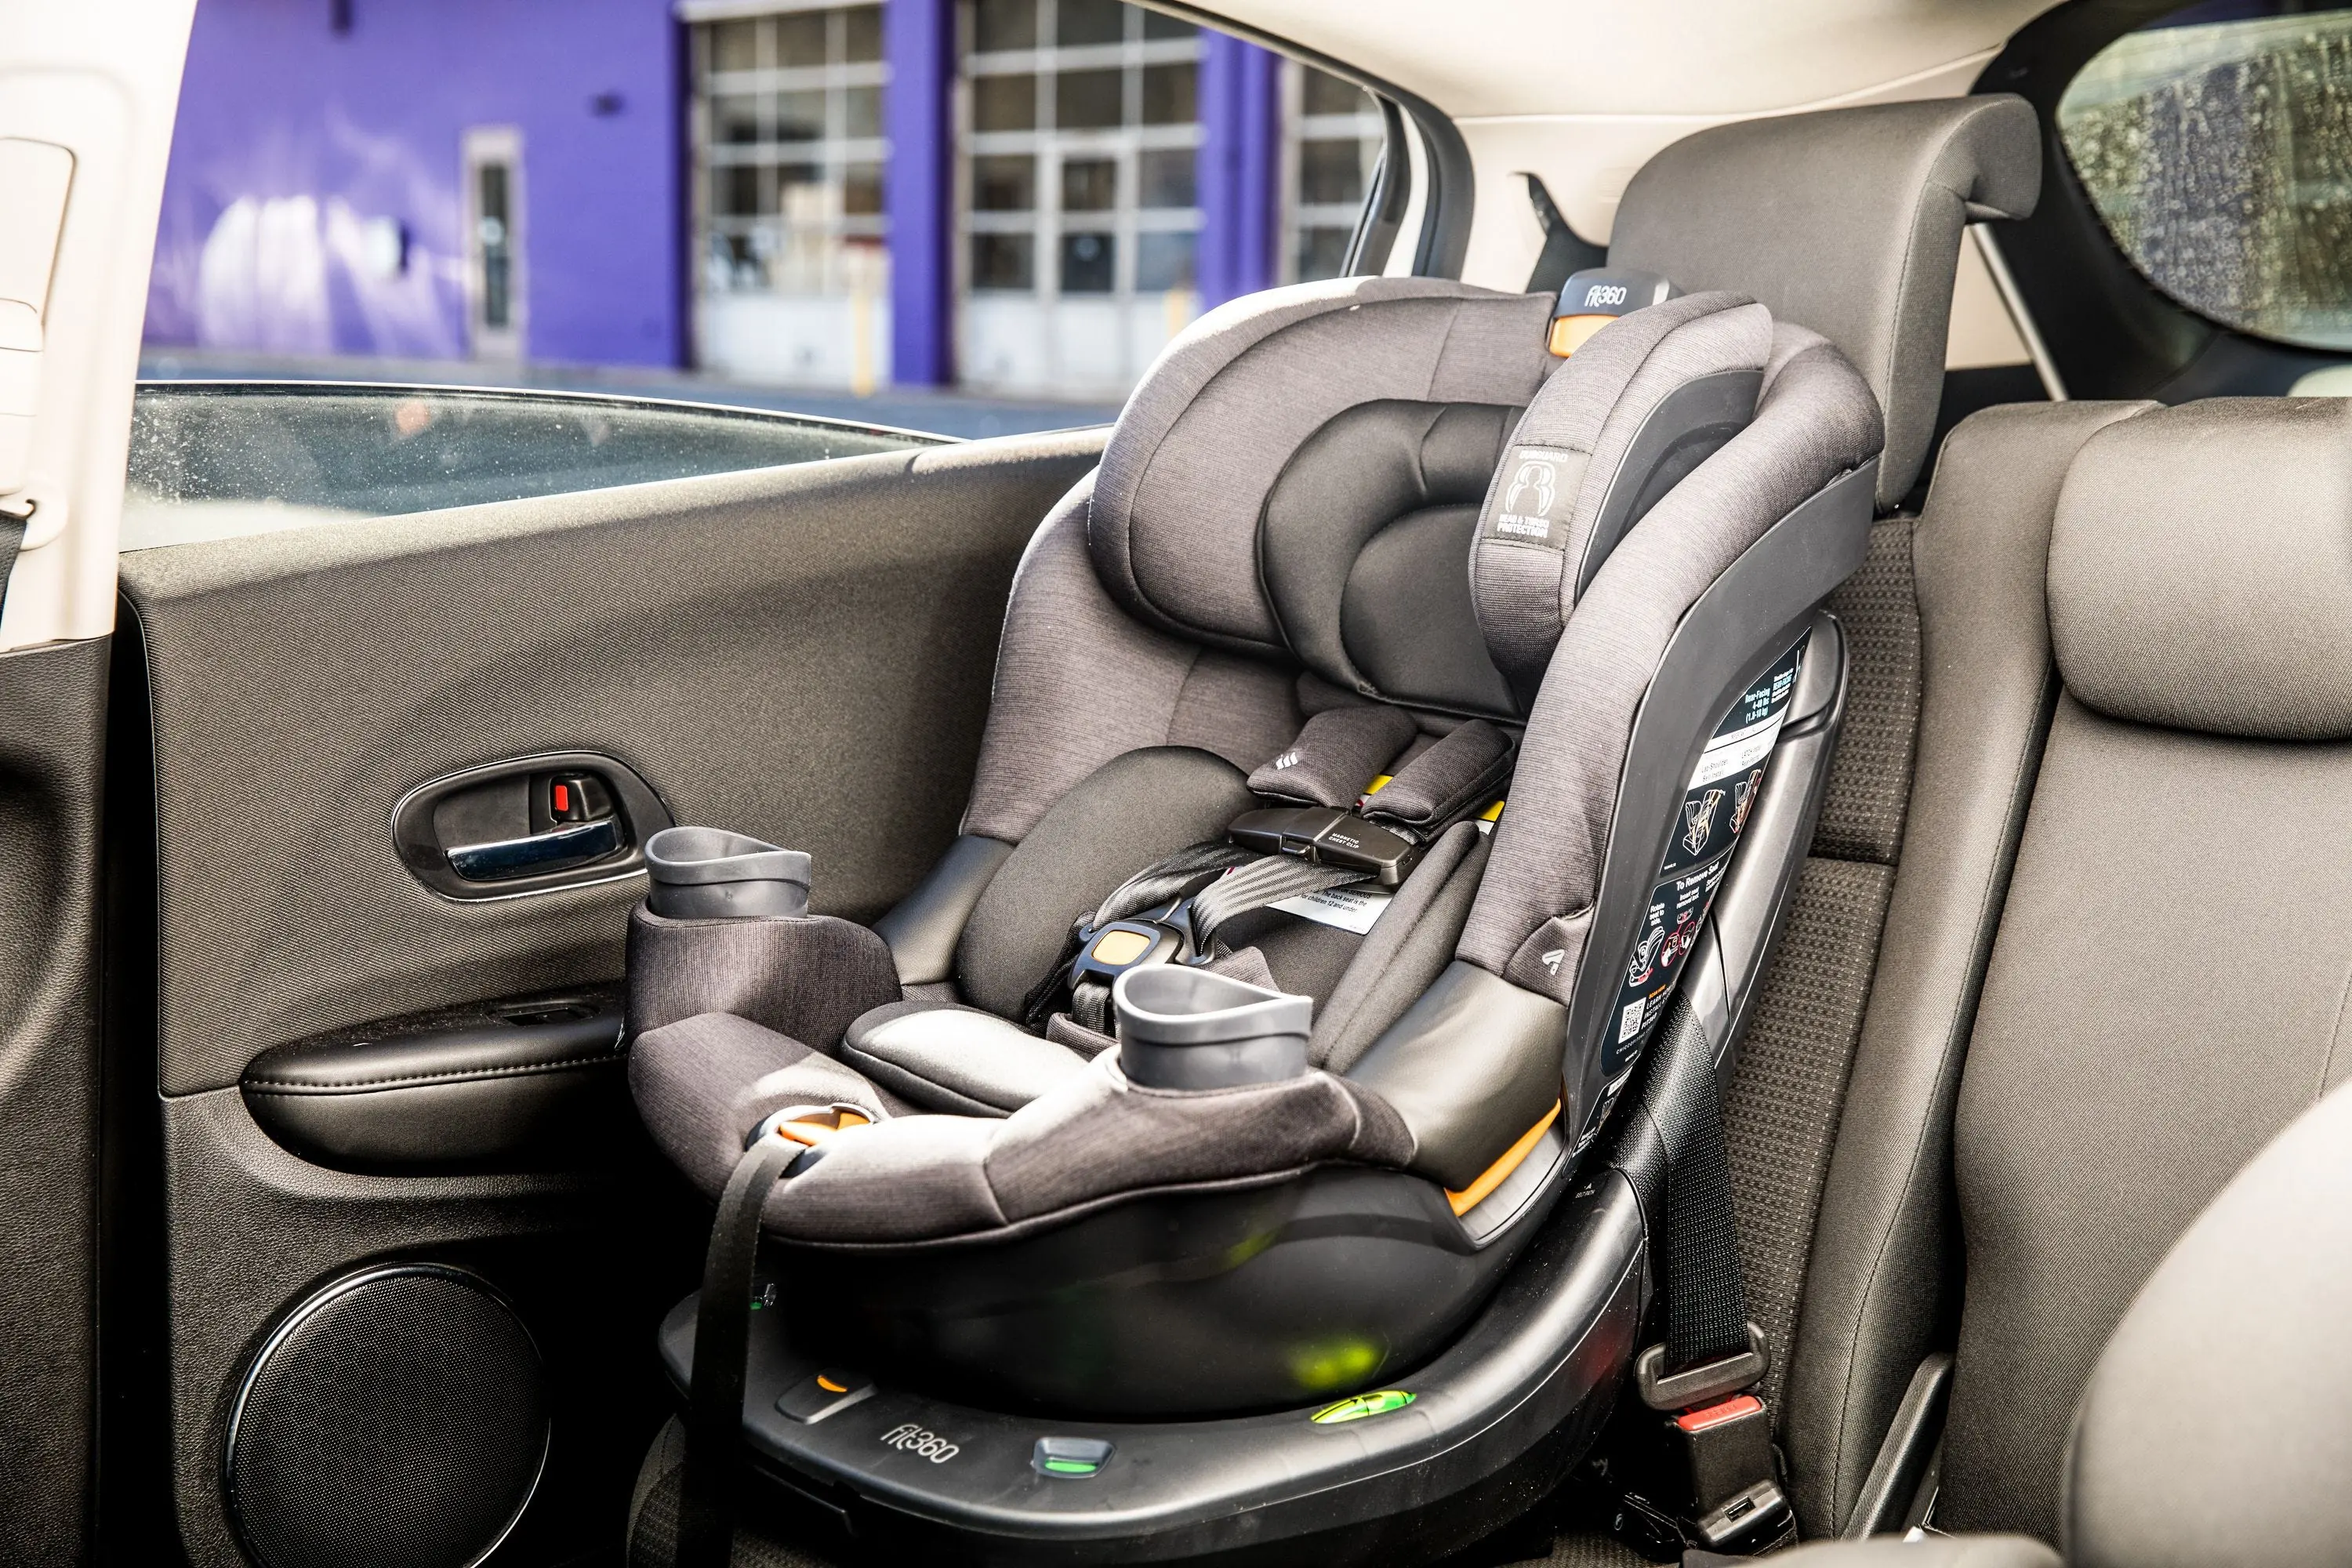
The Chicco Fit 360 uses a two-piece design in which the seat locks onto a dedicated Base that is installed in the vehicle first. The seat can never be used without the Base attached. To install or adjust the Base, you remove the seat by squeezing a Seat Release Handle, turning the seat to its mid-way stop, and pressing the Seat Removal Tool into the Seat Lock Release until it clicks. The tool sits at the end of the Harness Adjuster Strap, so it is always on hand.
The Base has a Recline Adjustment Handle. Lift it and slide the Base forward or backward until the bubble sits between the lines on the Bubble Level Indicator. Do this with the vehicle parked on level ground. Getting the recline right is critical for infants, because their heads can fall forward and they may have trouble breathing. You should also check that the vehicle headrest does not push the child restraint forward. If it does, remove or raise the vehicle headrest if the vehicle allows it, or move the seat to a different position.
Belt and LATCH installation both go through the LeverLock Door. To open it, push in at the top of the lever with your thumb and lift with your fingers. Route the belt or LATCH straps between the Base Frame and the door. With a vehicle belt, the shoulder portion slides into the Shoulder Belt Path on the side opposite the buckle, and the lap belt must not slip in front of the Belt Guide lip. Closing the door until it clicks tensions the installation, so locking the belt retractor afterward is optional.
The seat rotates on the Base. Insert it at a 90-degree angle until it clicks, then turn it to the rear-facing or forward-facing position. Always check that the Ready to Ride Indicator shows green before driving, even when the seat is empty. Turning the seat toward the open door makes loading easier. Release the harness with the Harness Release Button on the front, then park the buckle tongues in the side Buckle Tongue Pockets so they stay out of the way while you seat your child.
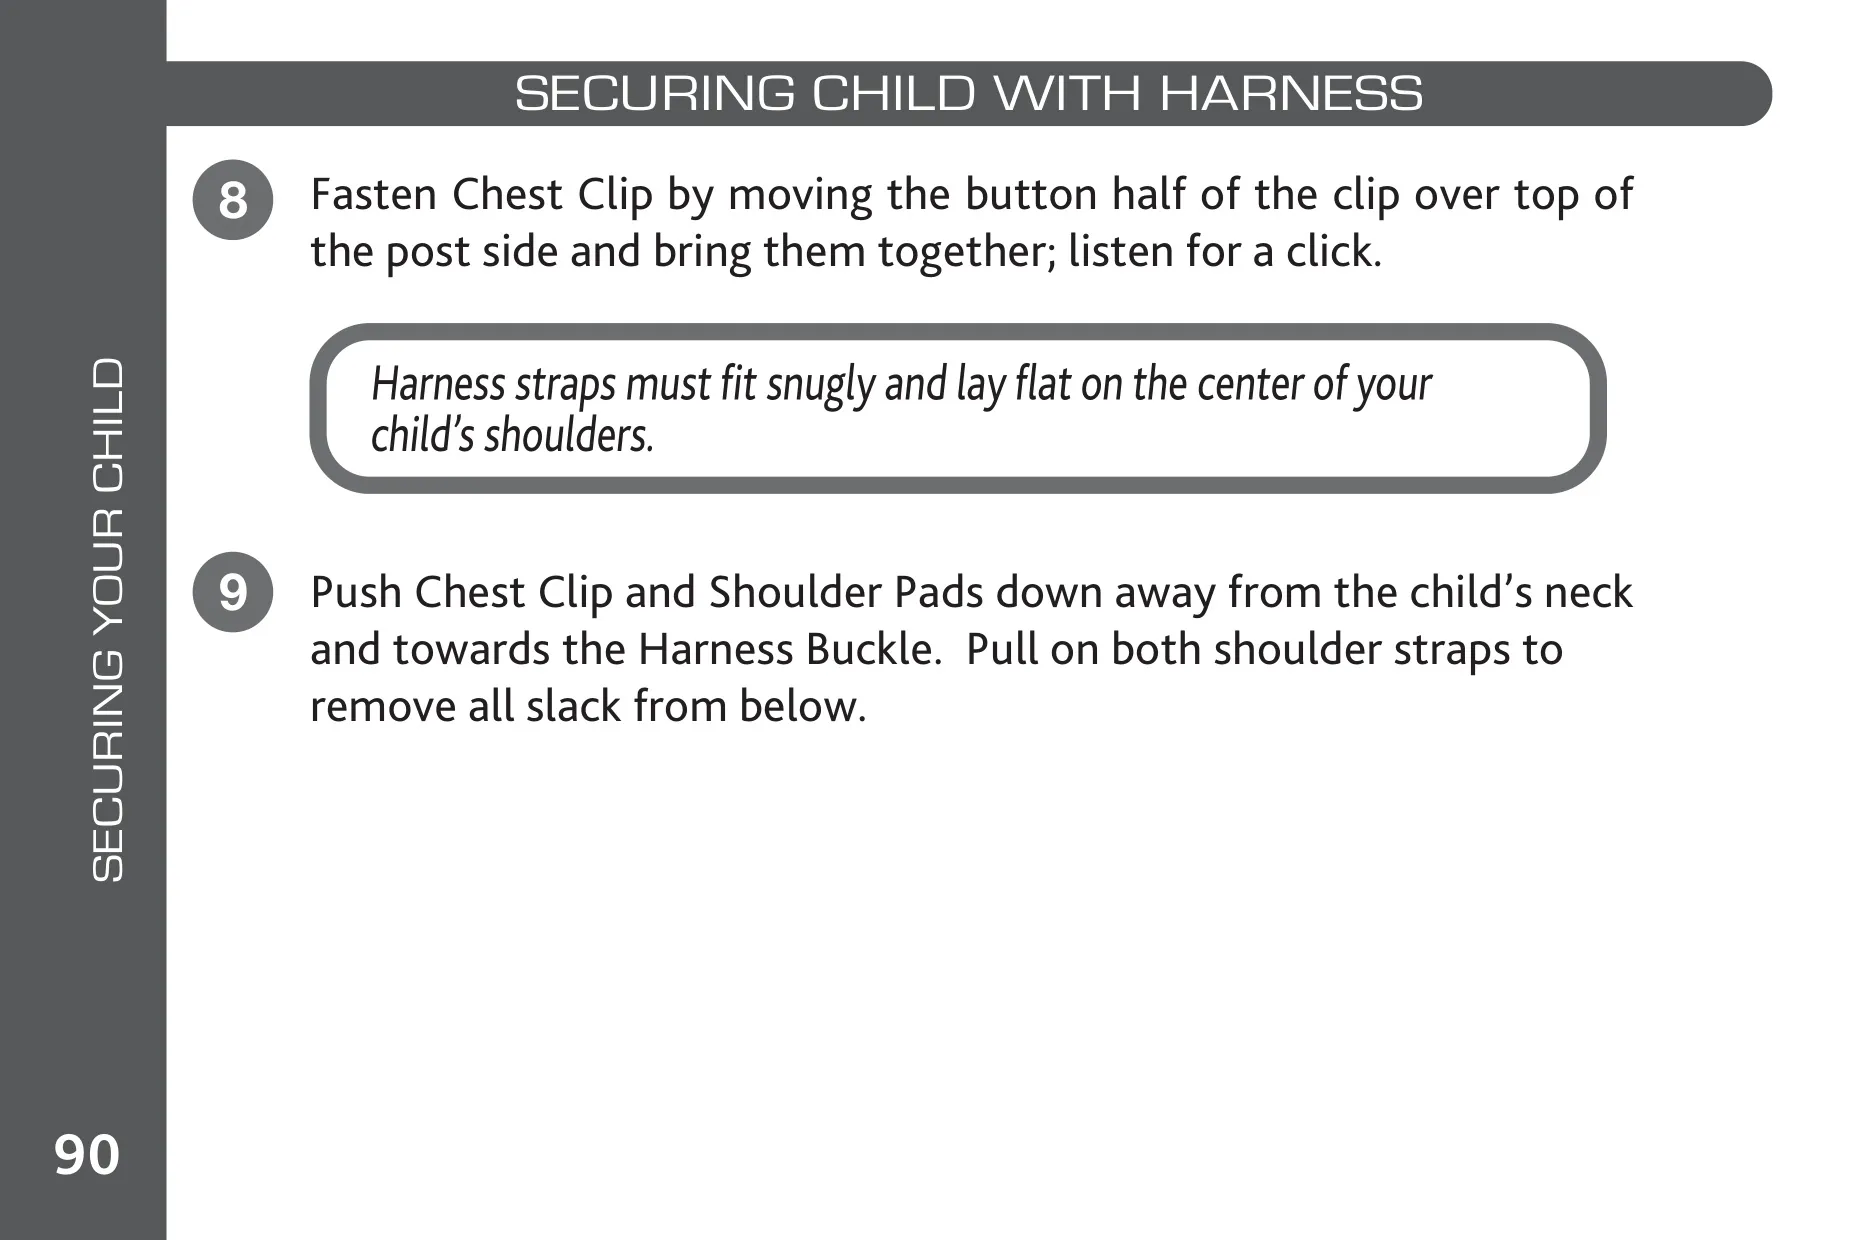
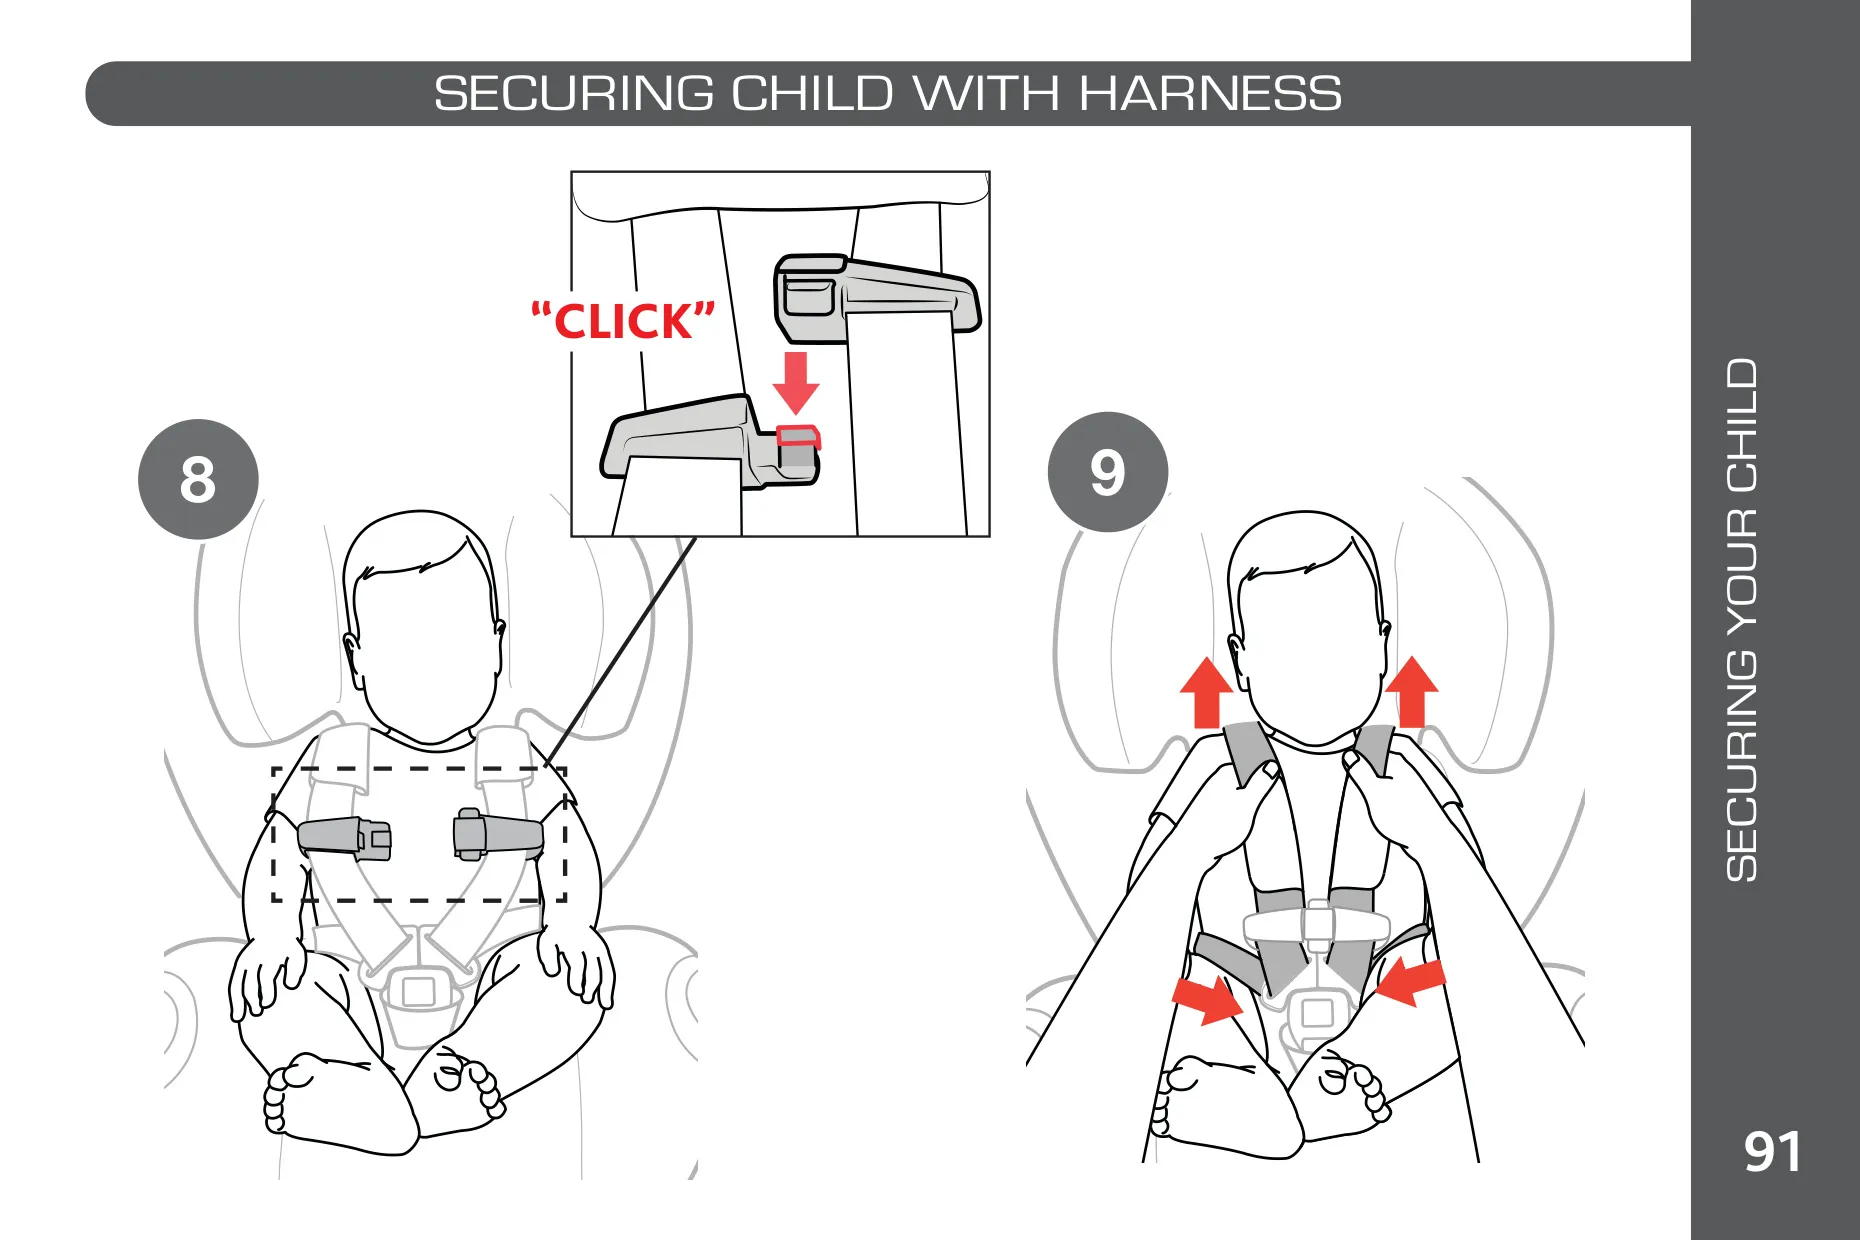
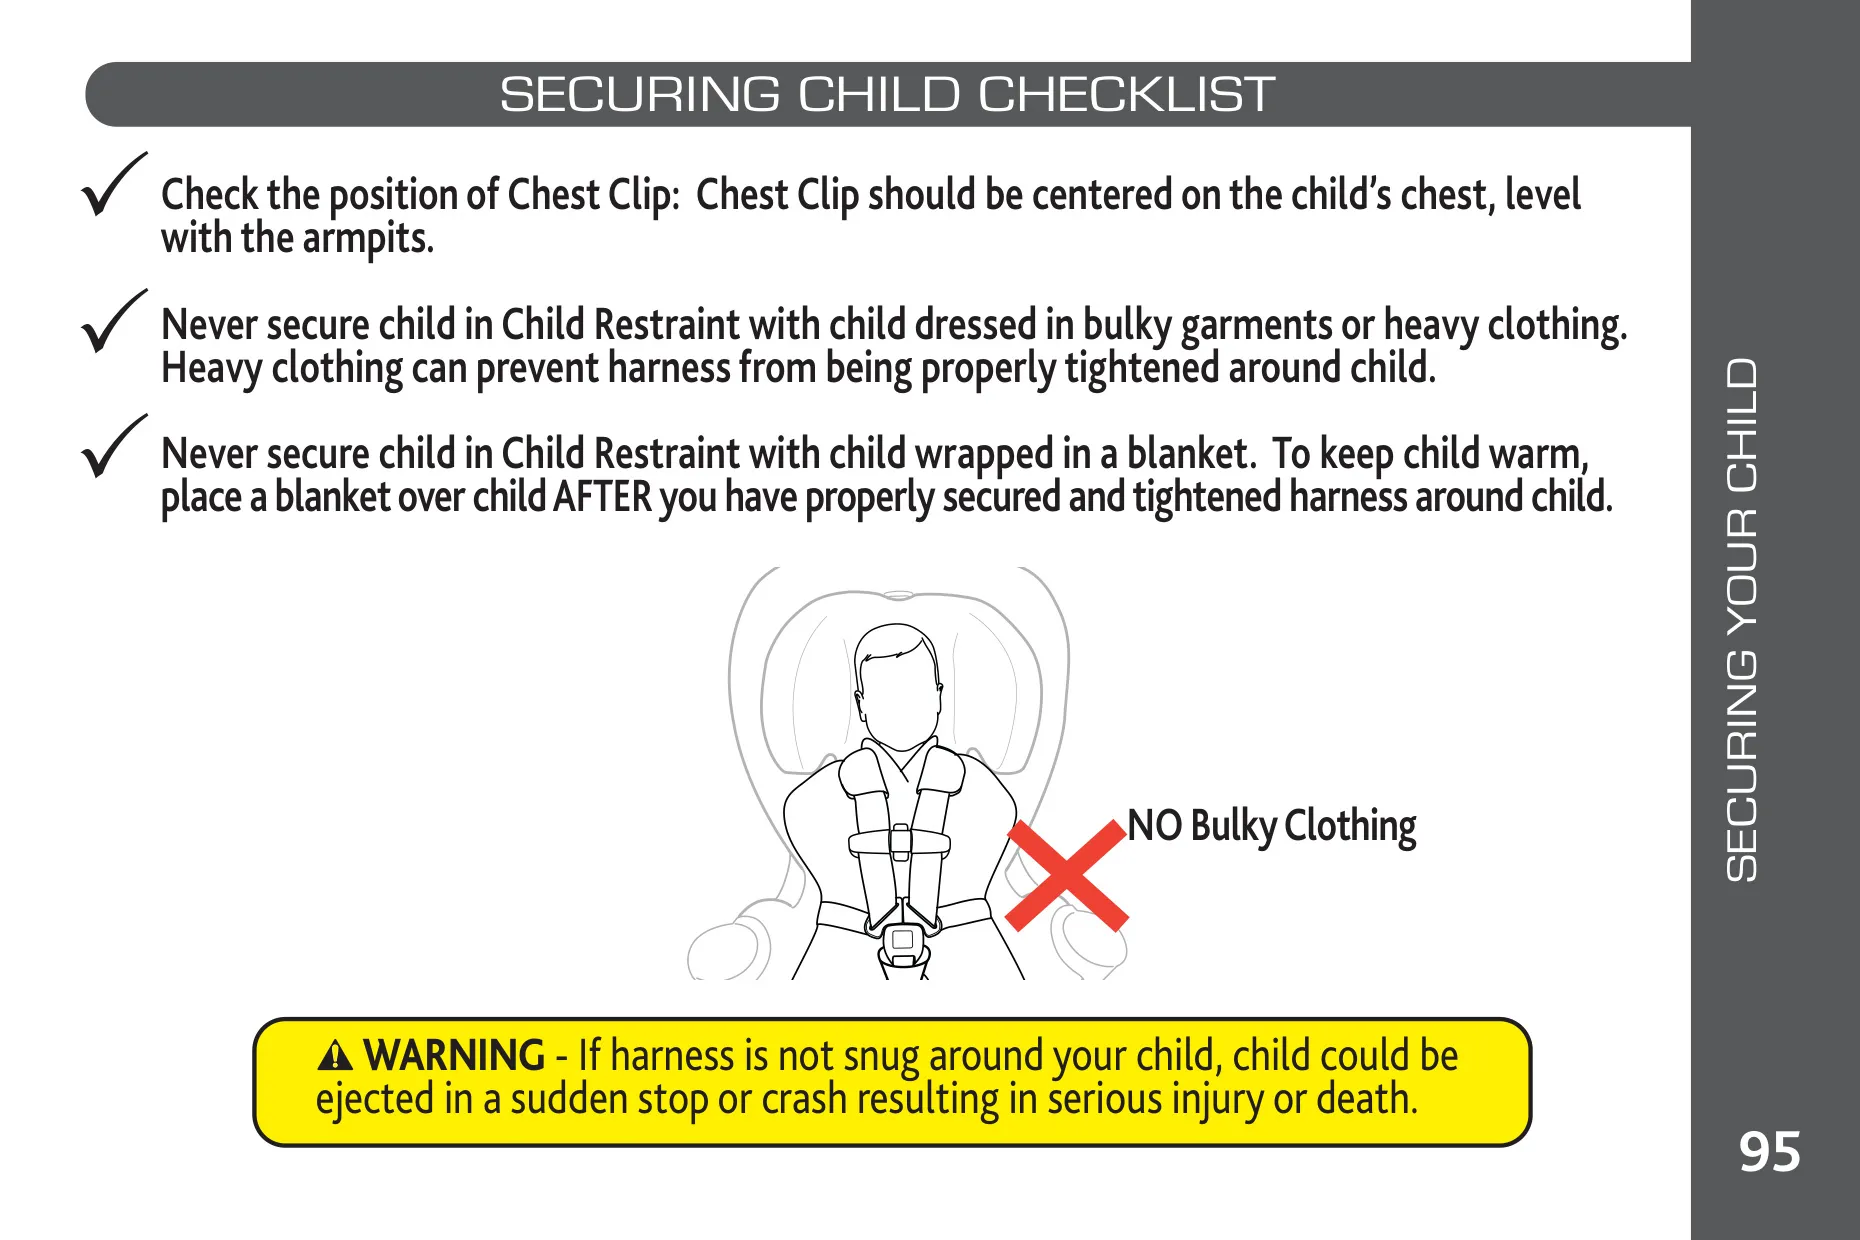
To adjust harness height, squeeze the Adjustment Handle on top of the Head Rest. Loosen the harness before you move it, and make sure the Head Rest locks before tightening. Place the Chest Clip at armpit level, and tighten the harness until you can no longer pinch a fold in the strap at the shoulder. The removable Flex-Forward Crotch Pad attaches with a snap button. If the crotch strap ends up underneath a child, move it from Position 1 to Position 2 through the crotch strap compartment under the seat pads.
The LATCH straps store in a compartment on the back of the Base, and the tether hooks onto a storage bar. The user guide itself fits in a compartment at the front of the Base. For cleaning, the soft goods come off for hand washing or a cold, delicate machine cycle, and you hang them to dry. Clean the harness and plastics with a sponge, and wash the cup holders on the top rack of the dishwasher. Never use bleach, solvents or lubricants.
Frequently Asked Questions (FAQs)
Can't find the answer you need? Here are some frequently asked questions about the Chicco Fit 360 Car Seat, and we answer them below.