Brother CS5055 Sewing Machine Instruction Manual
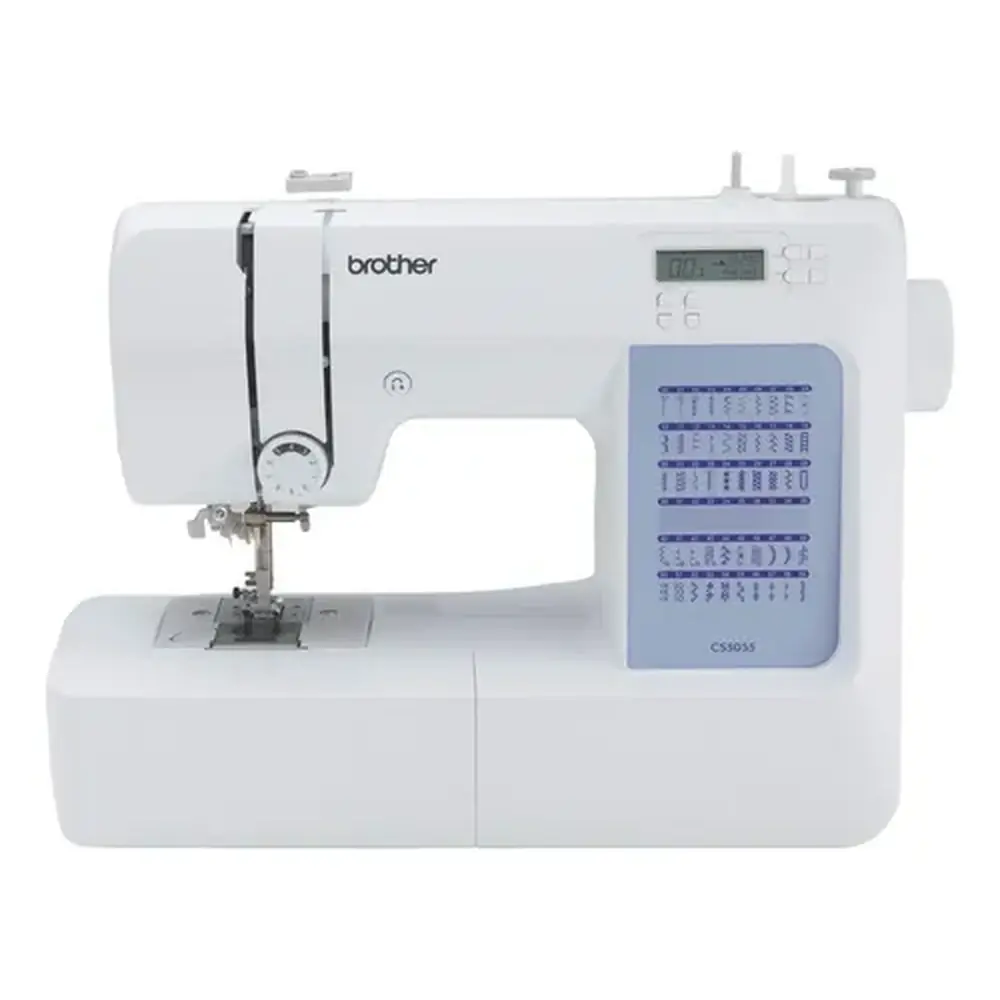
Brother CS5055 Sewing Machine
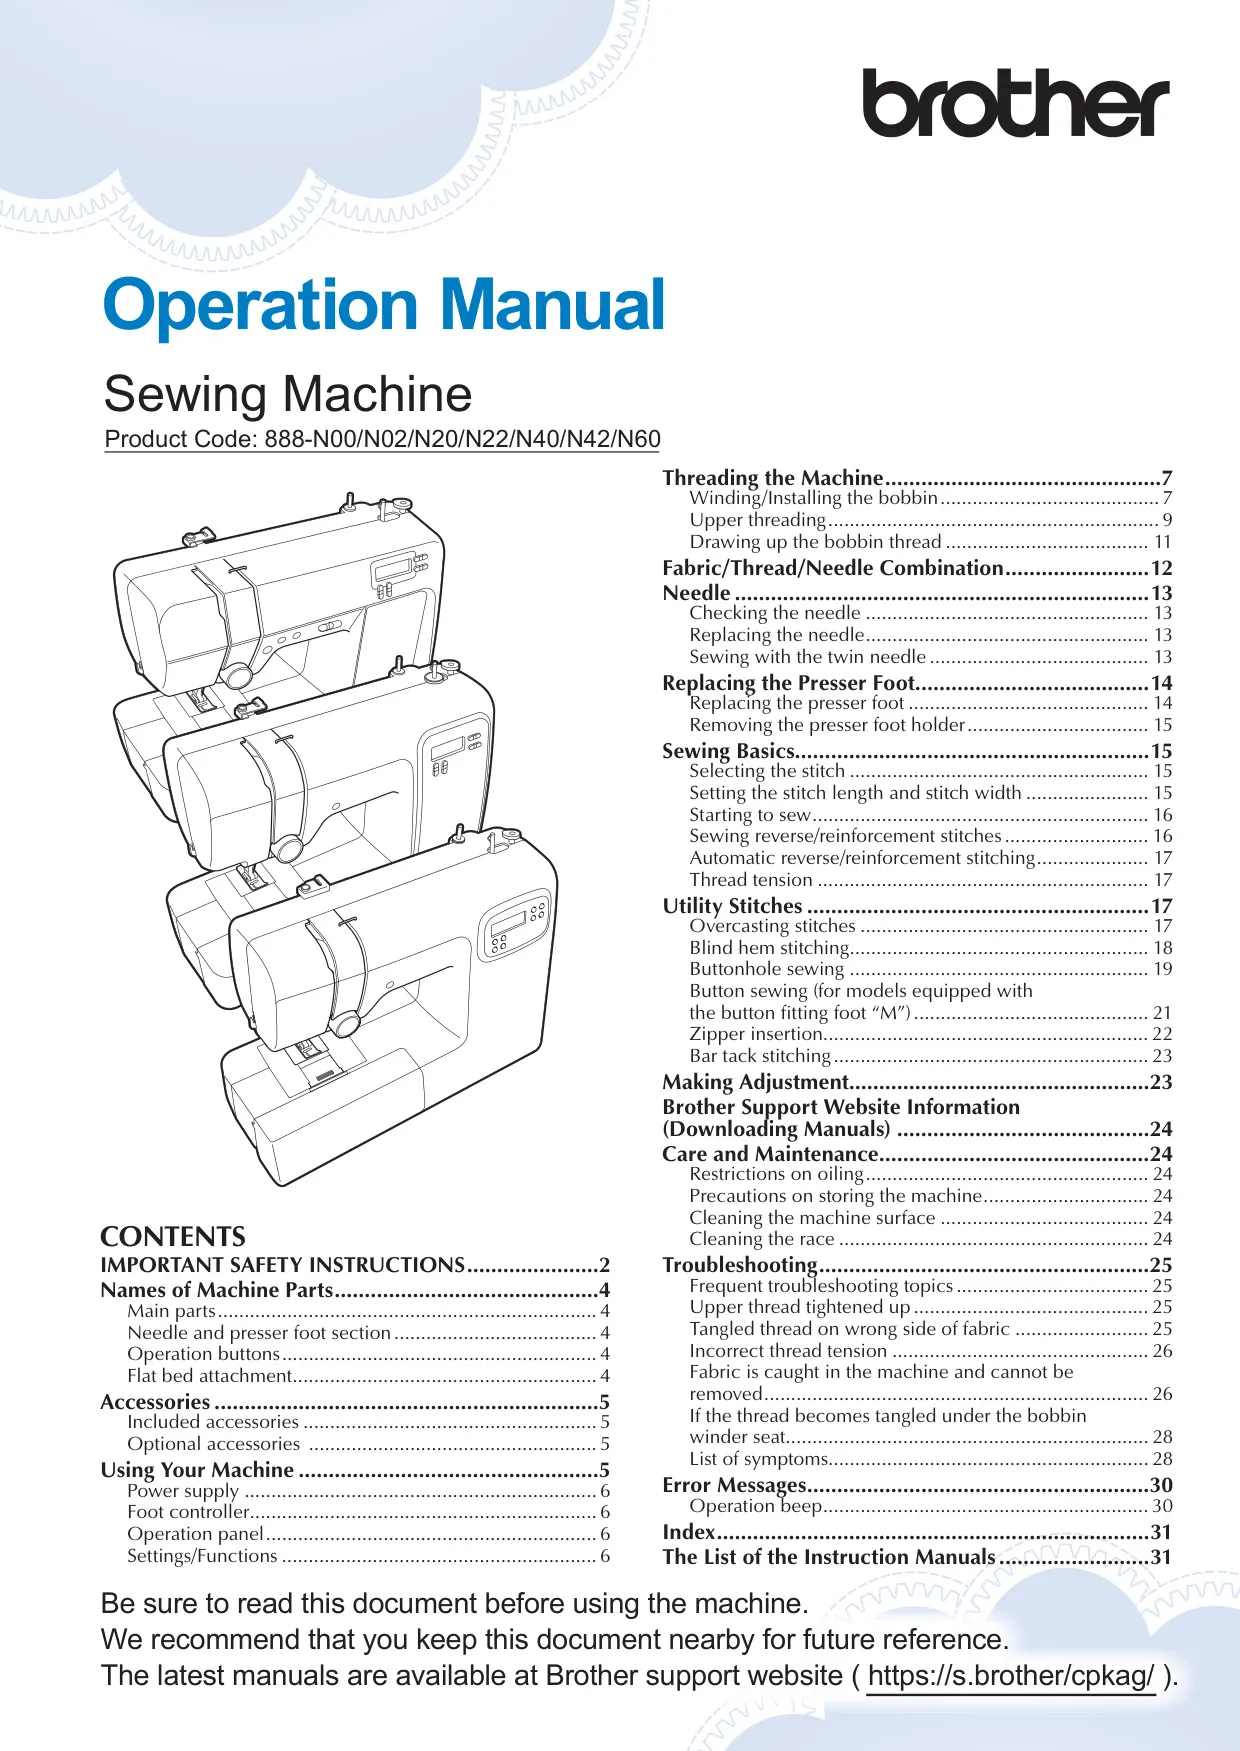
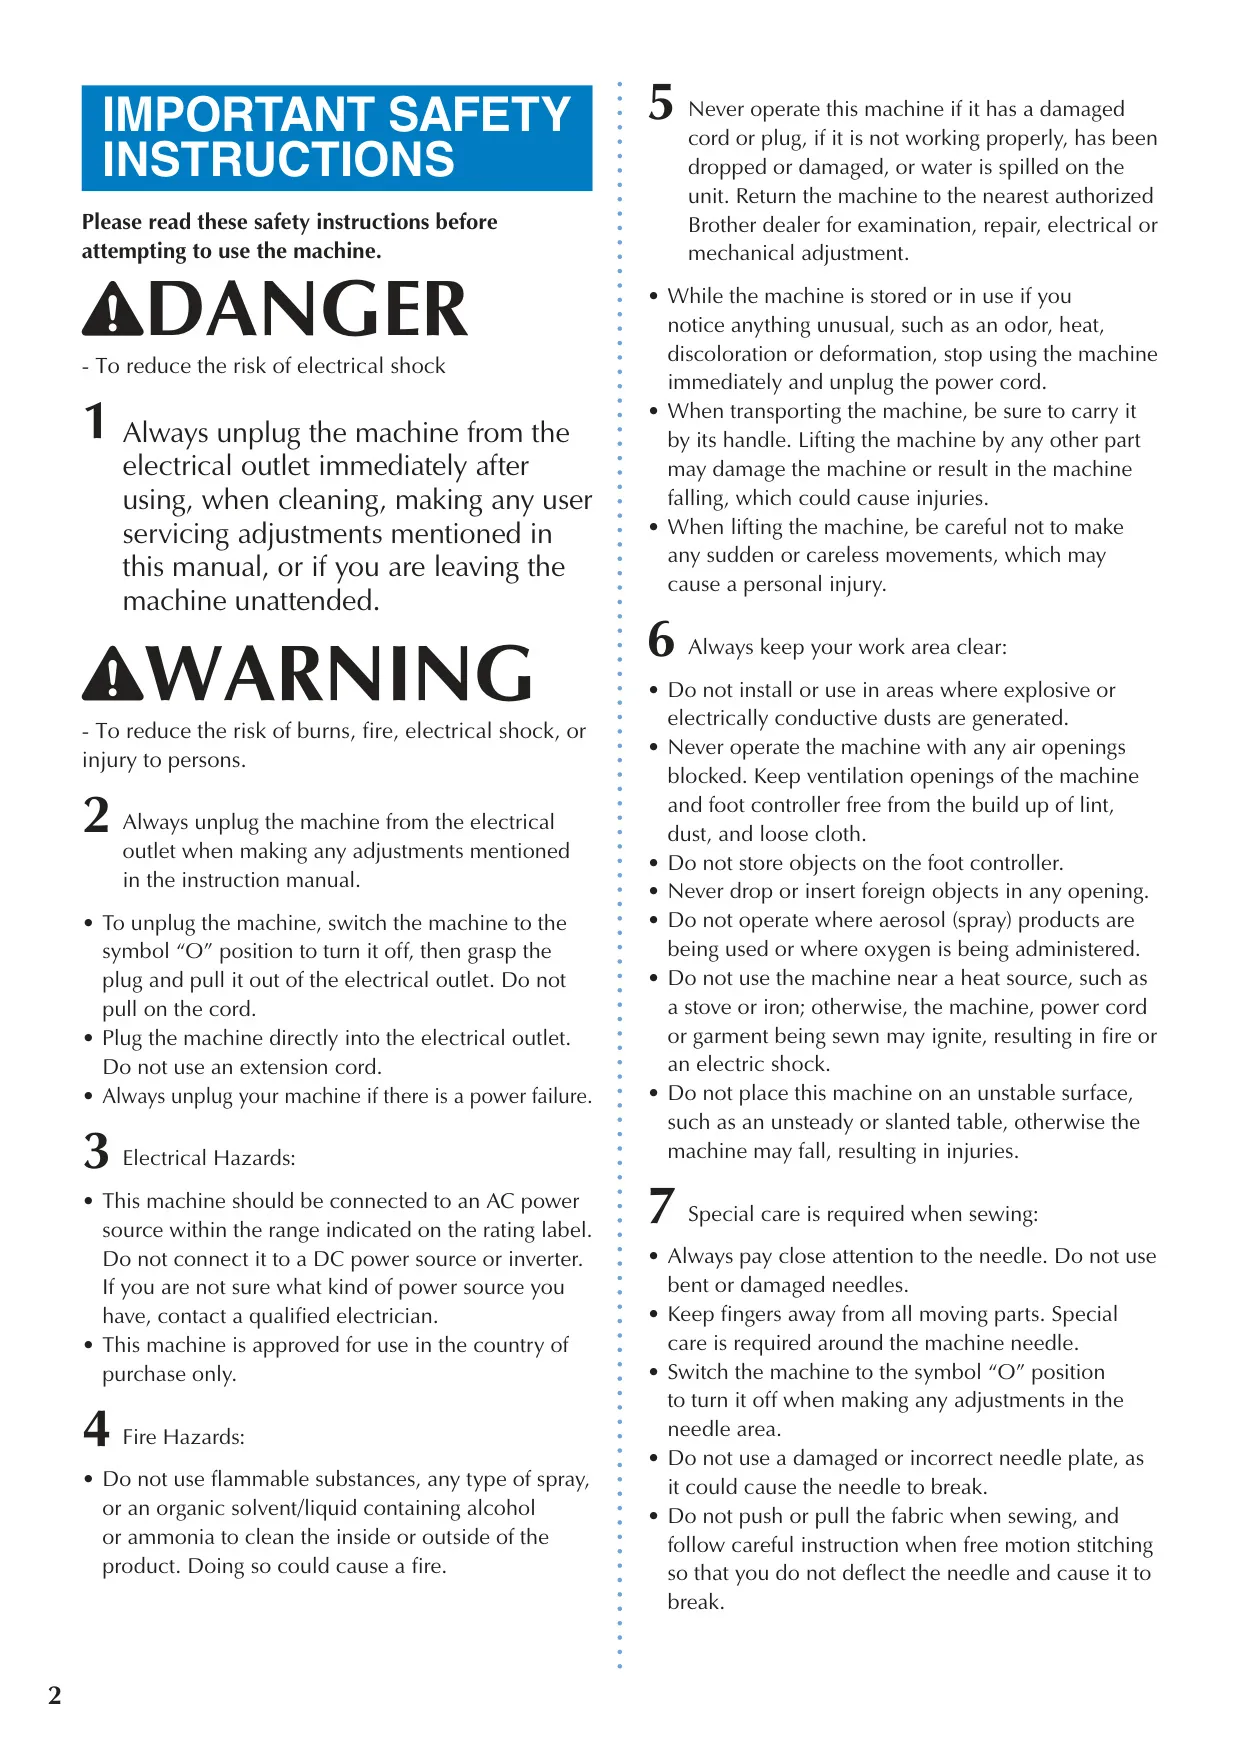
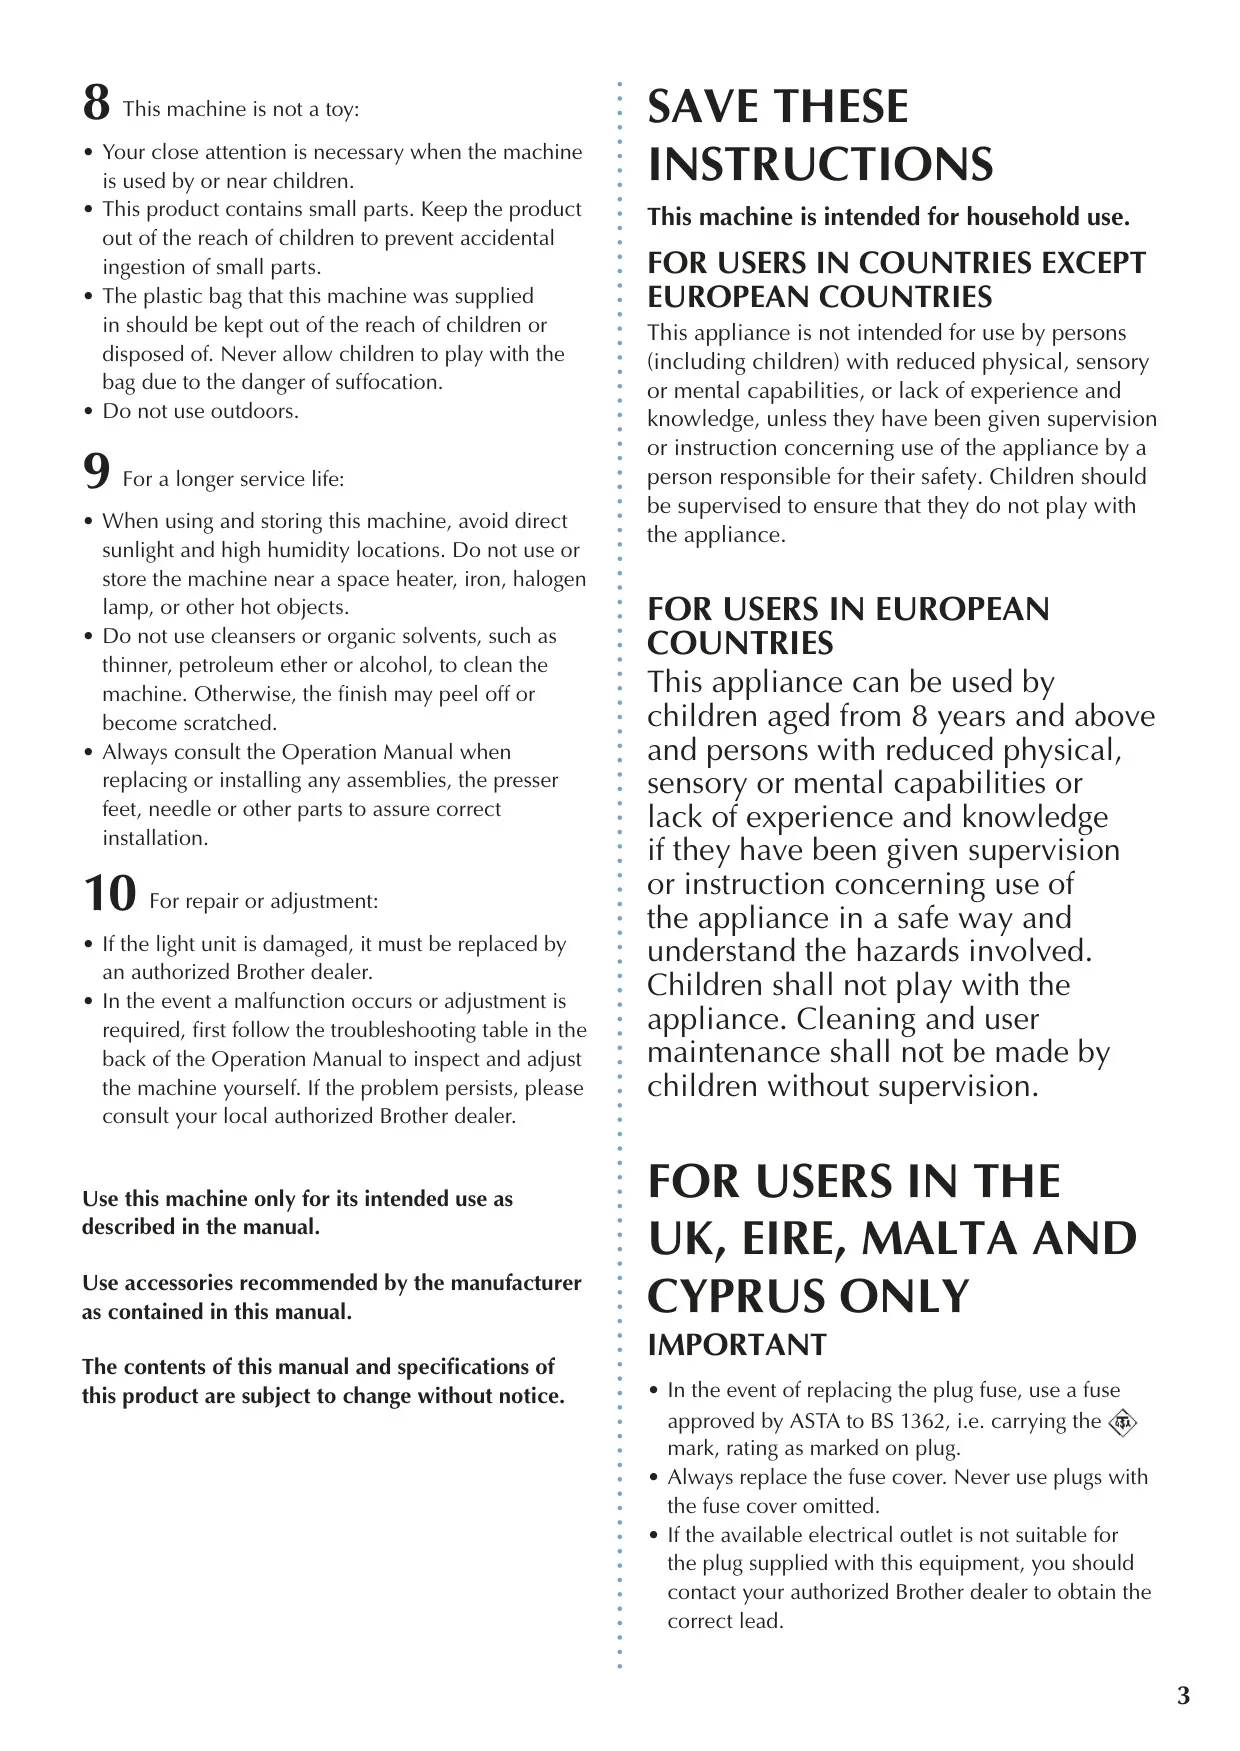











Brother CS5055 Sewing Machine
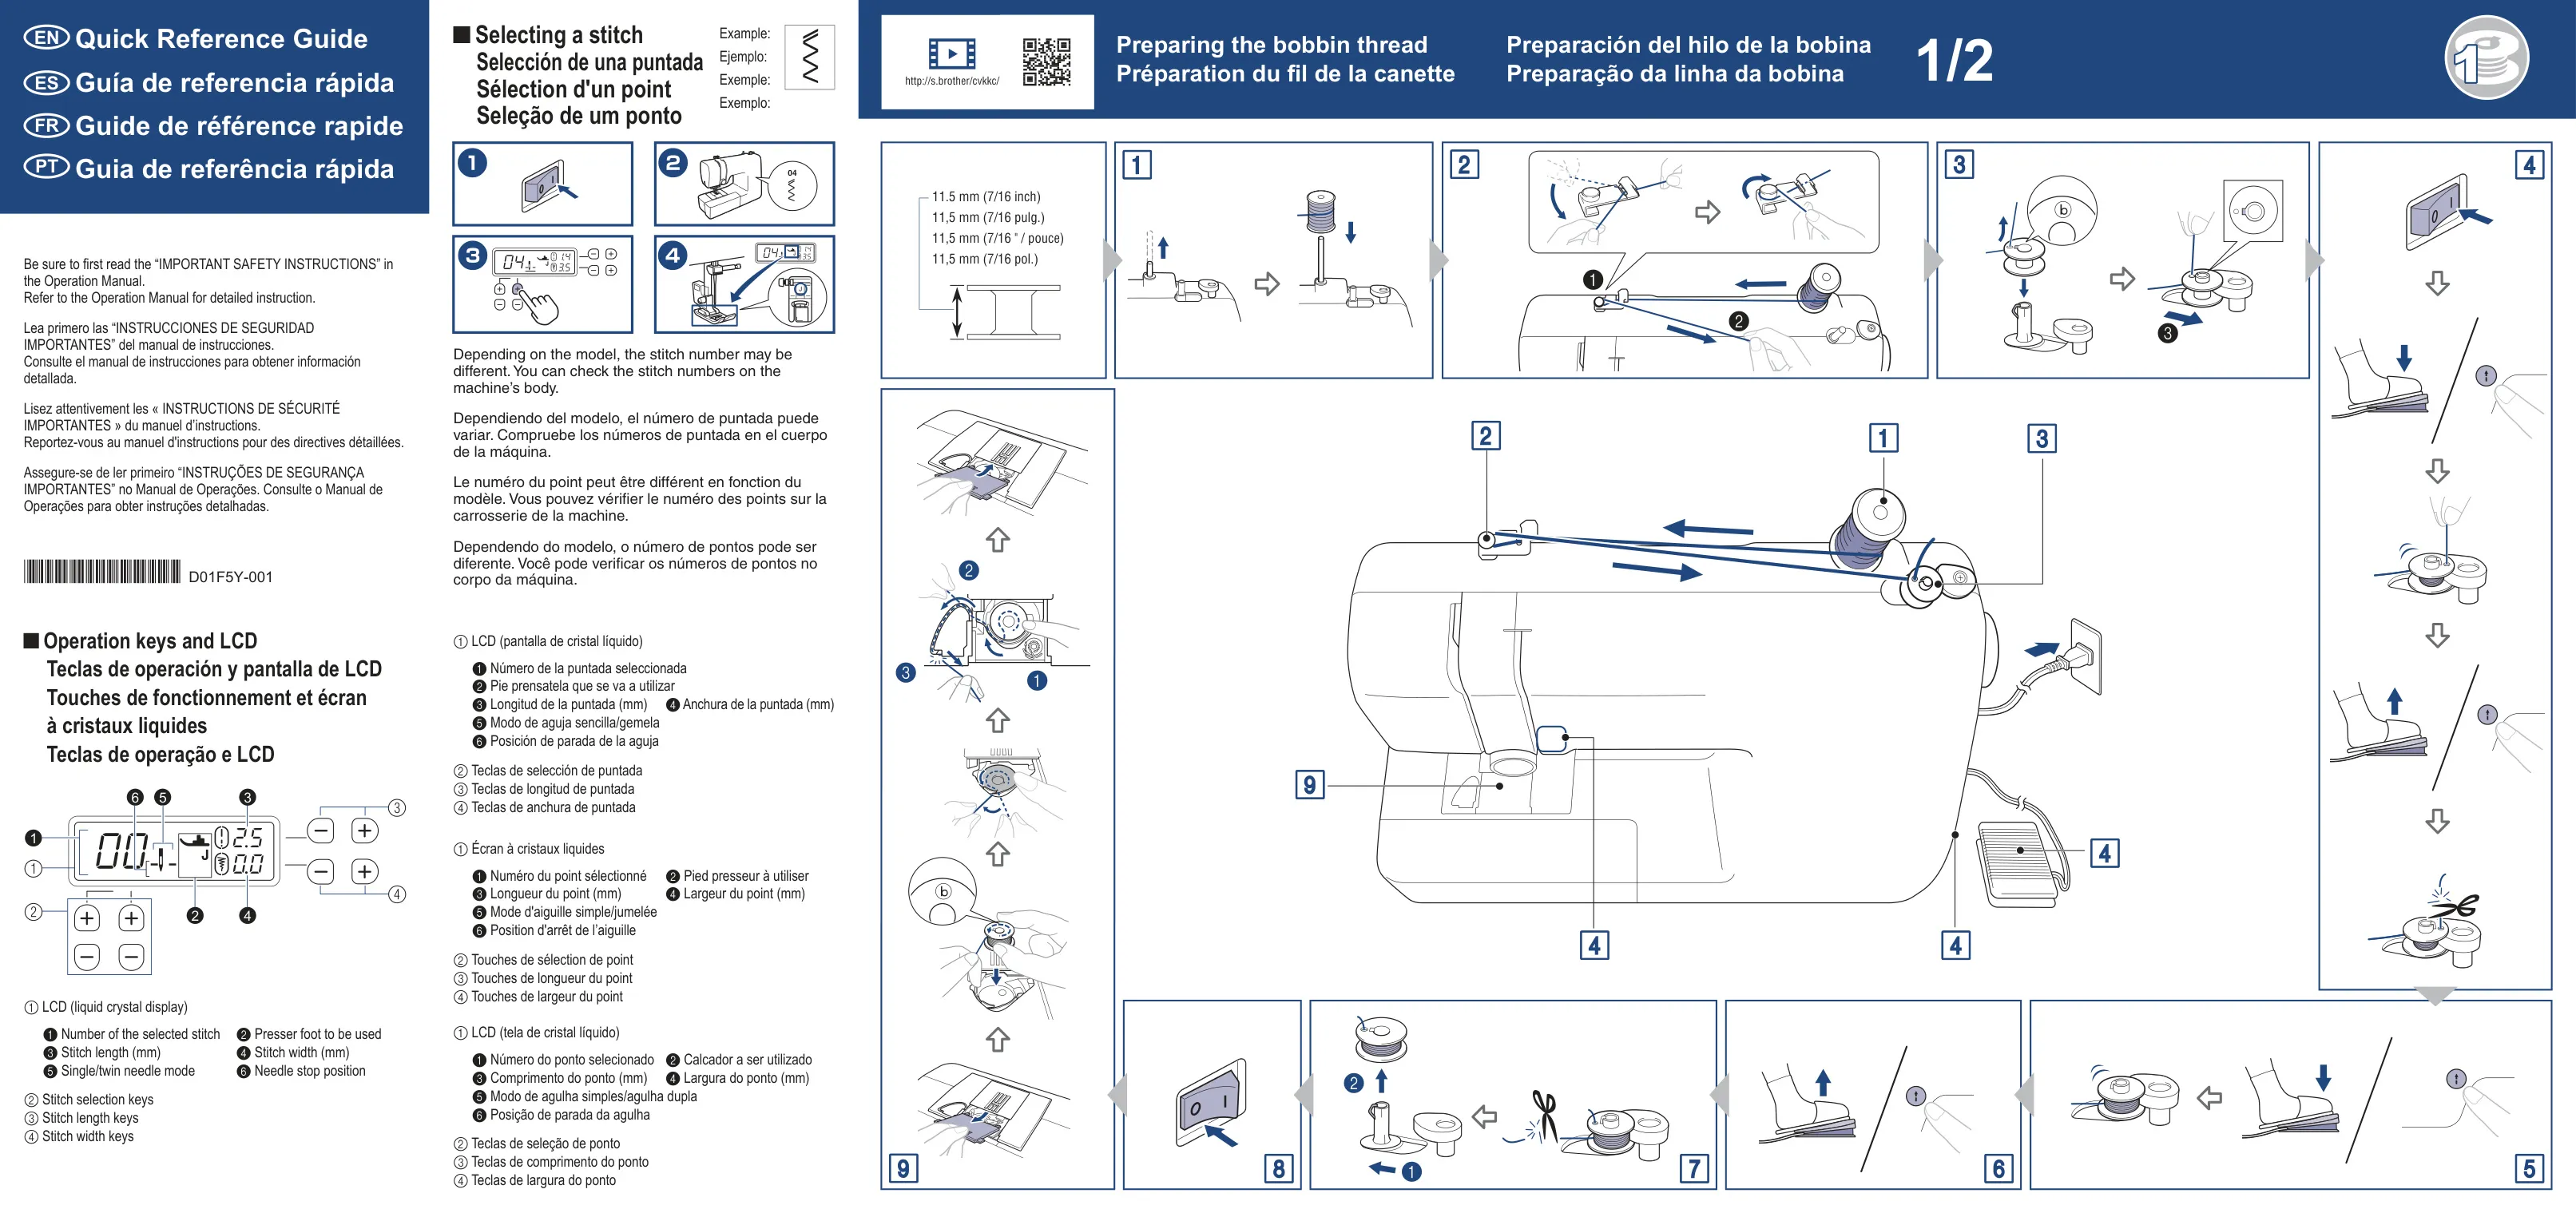
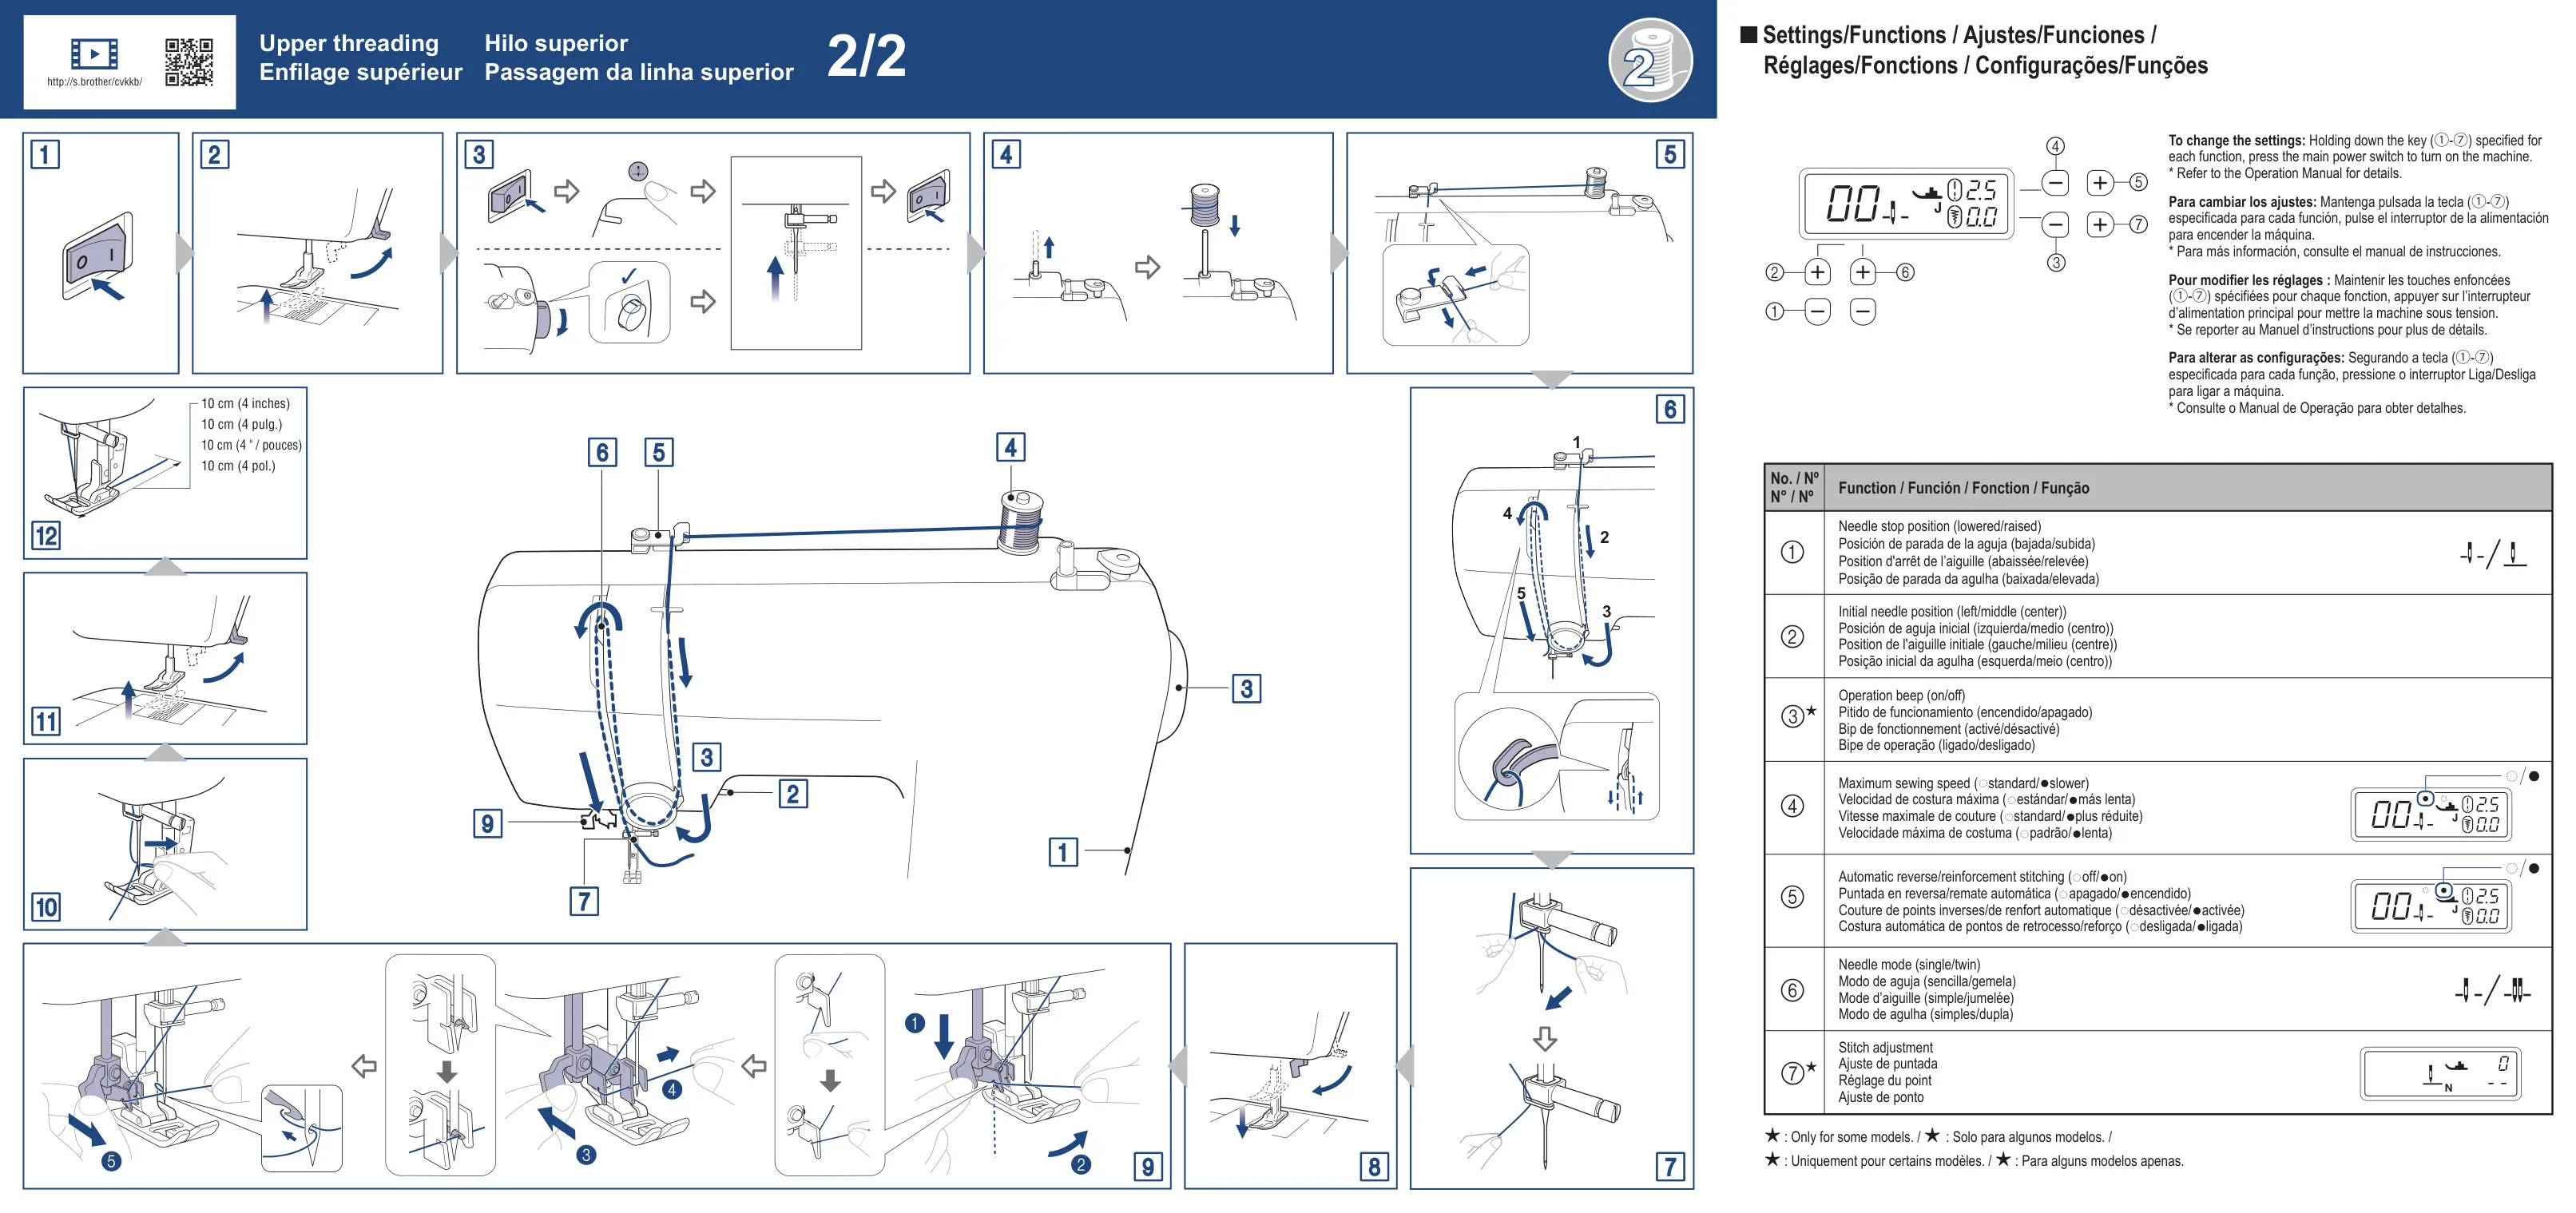
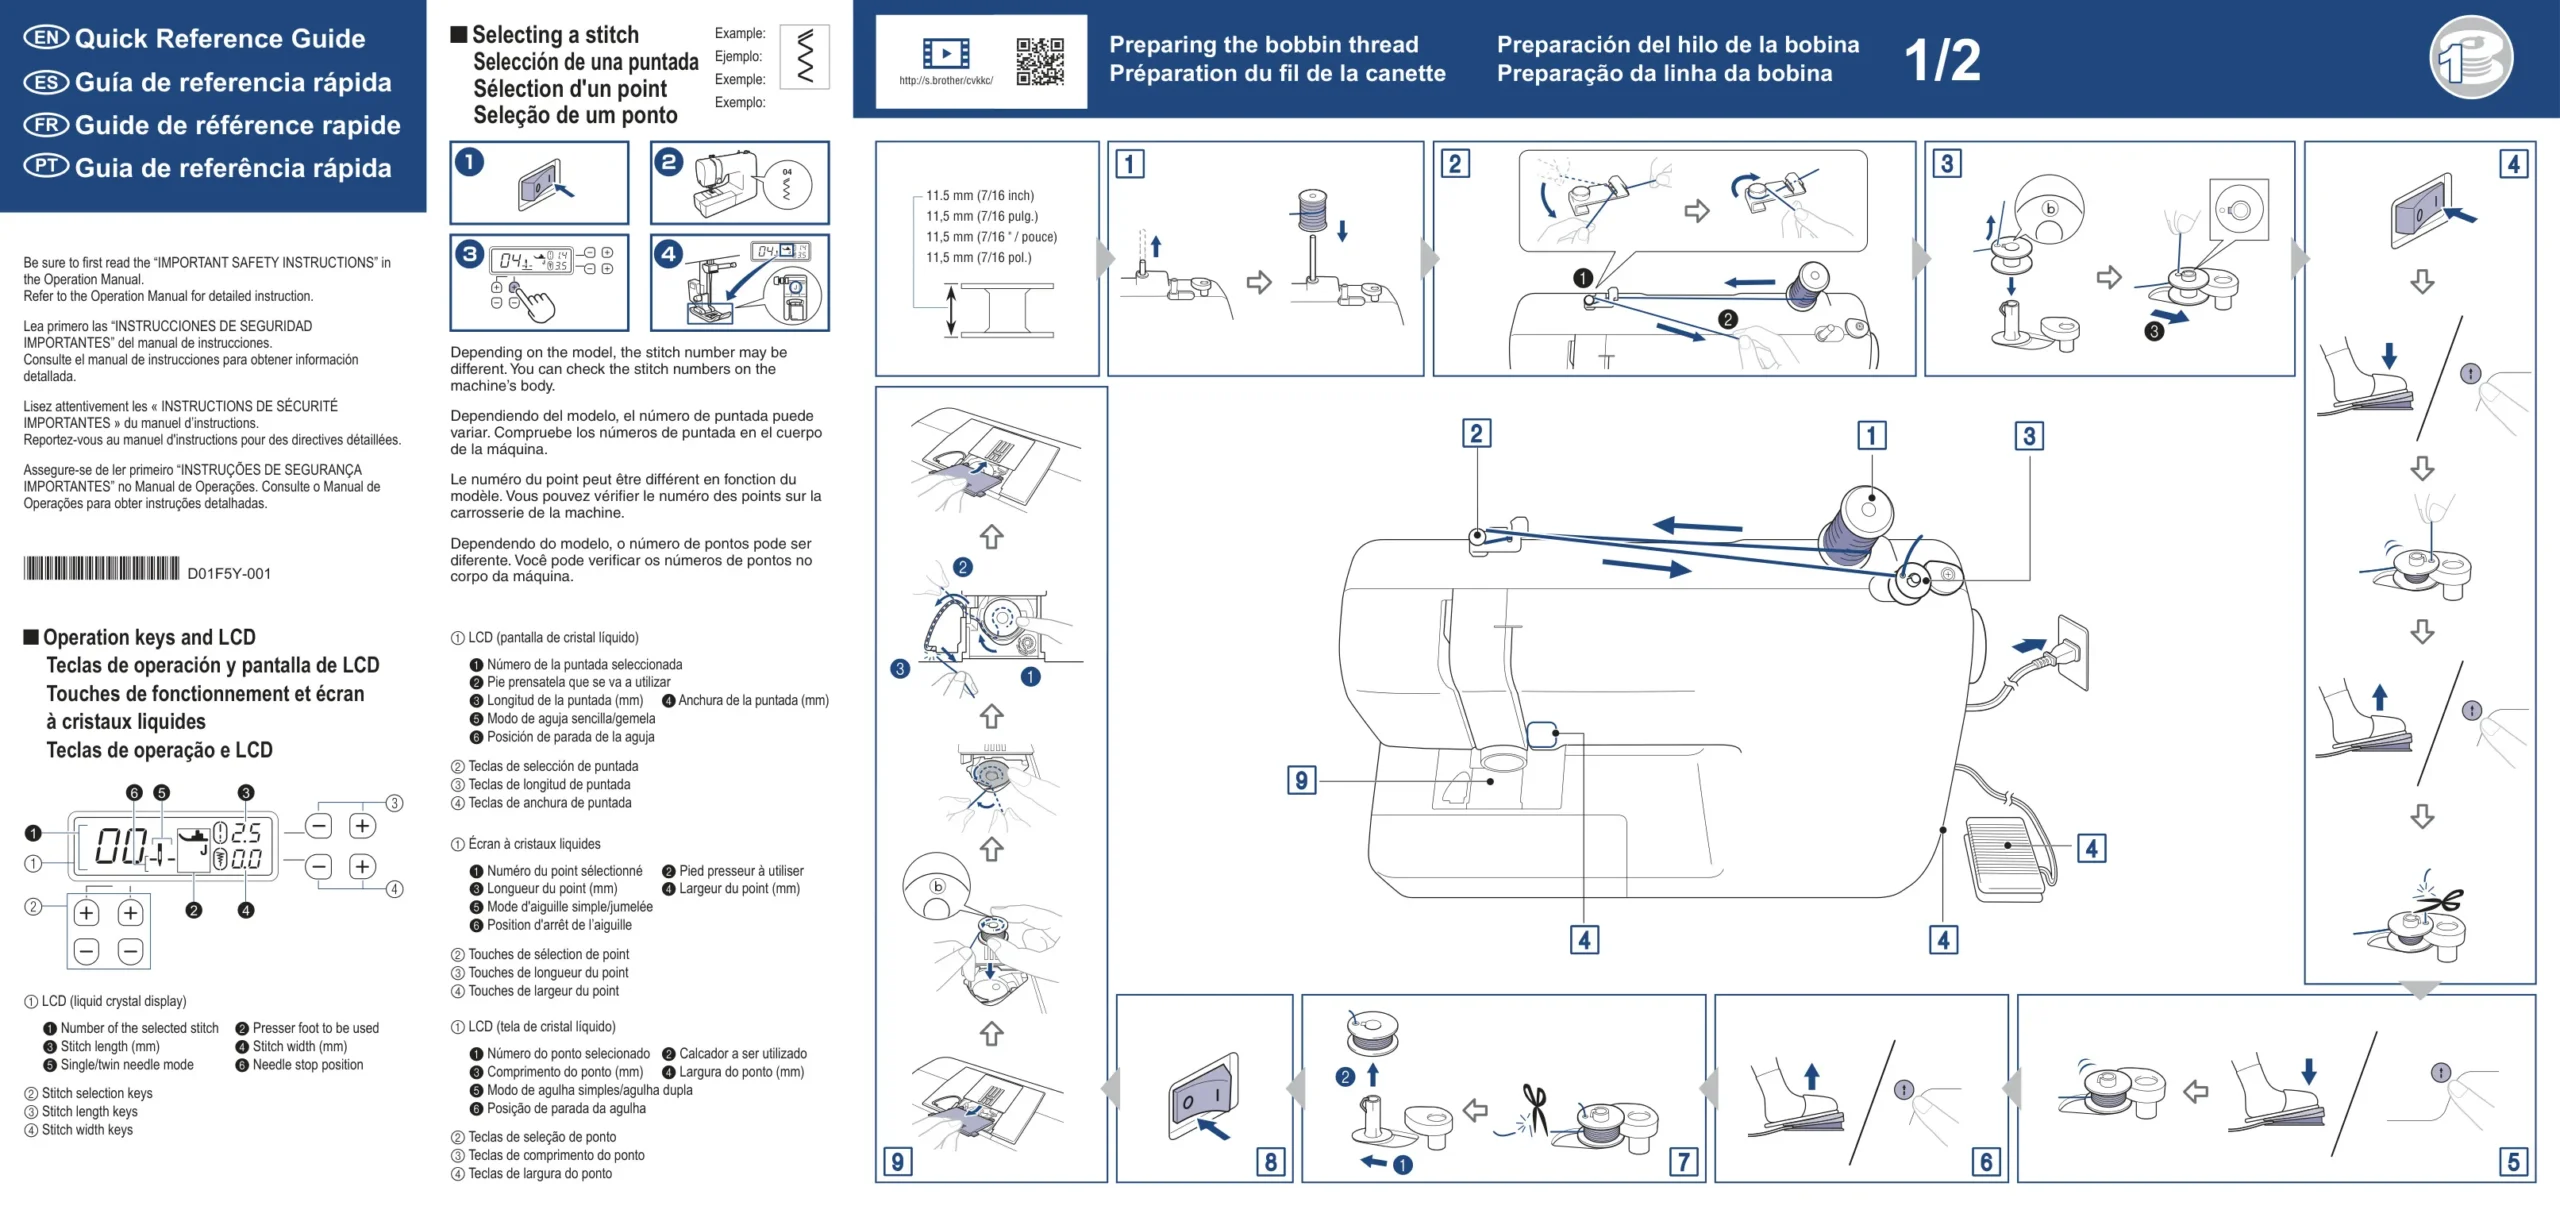
Brother CS5055 Instructions
Here we offer the Brother CS5055 Sewing Machine manual completely free and in English. We have cataloged this manual in the Sewing Machines section on Manualverse, and it has been rated by 1 users with an average rating of 5. If you have any specific questions about Brother CS5055 Sewing Machine, we suggest checking the Frequently Asked Questions (FAQs) section of this manual.
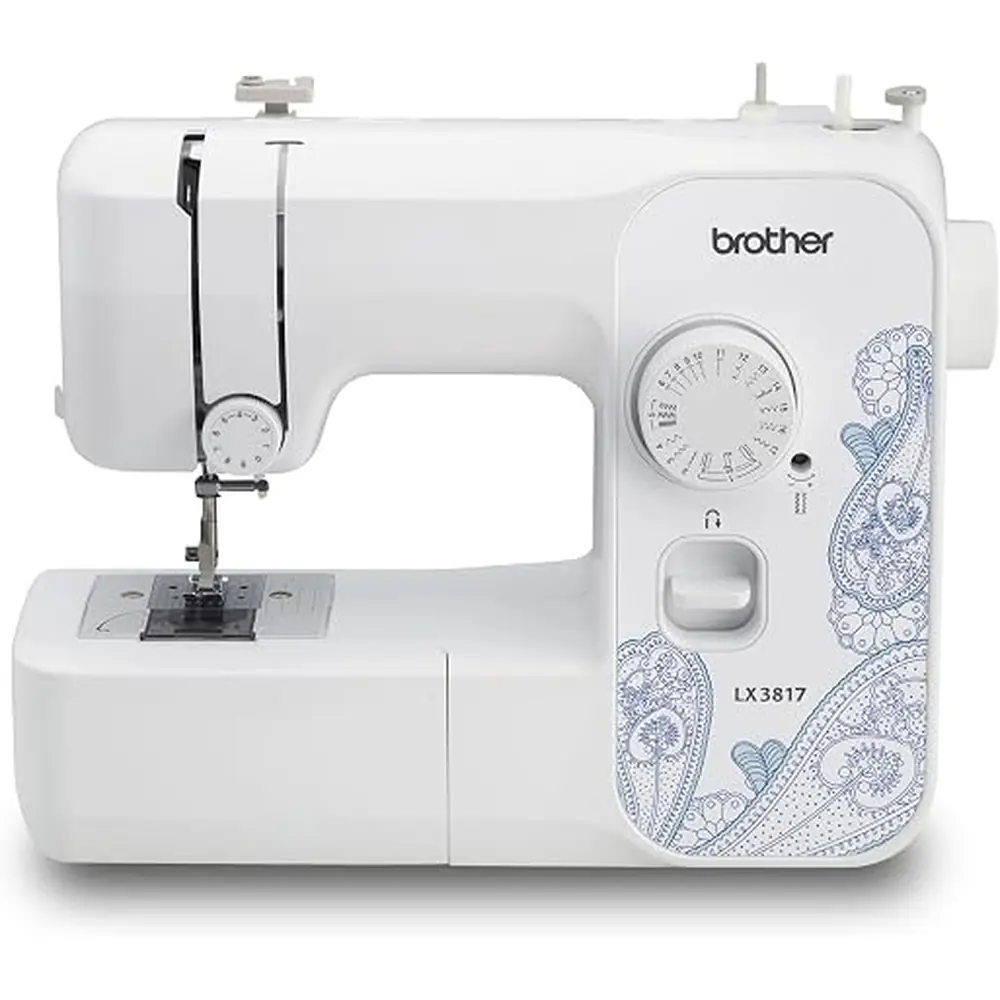
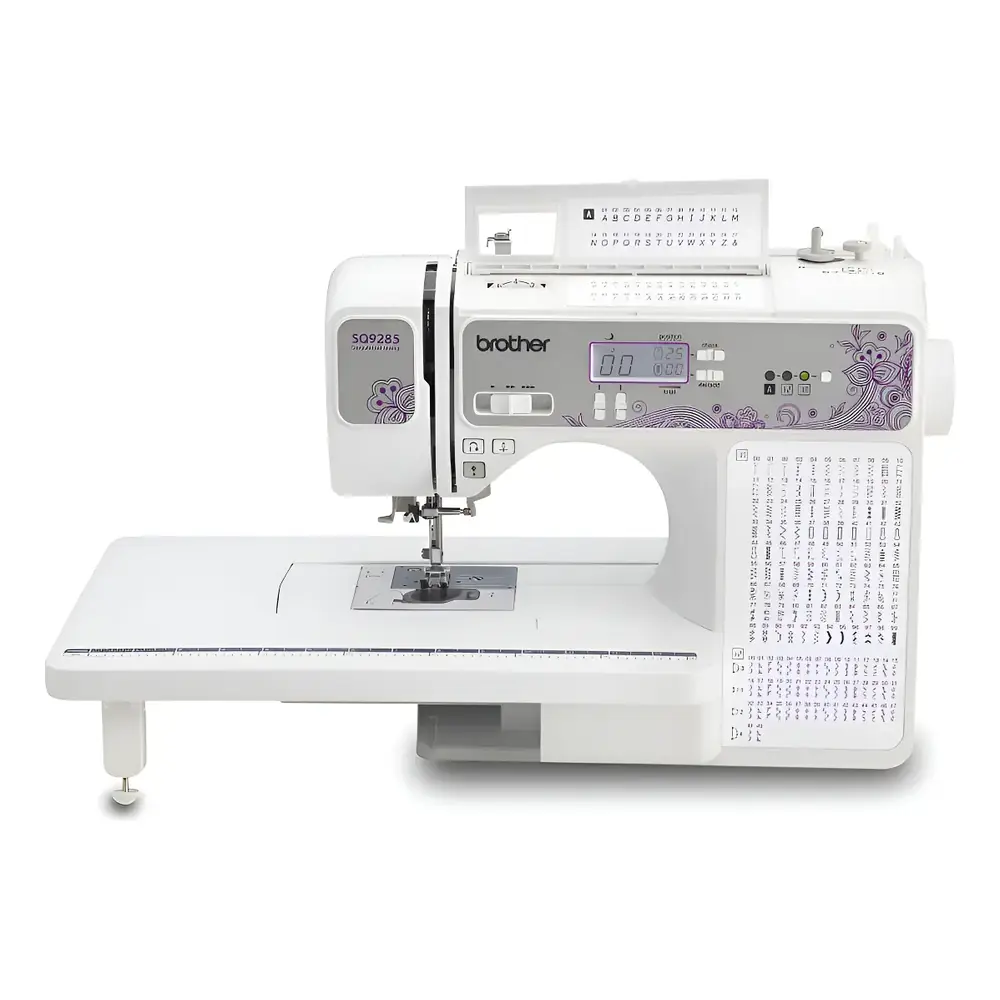
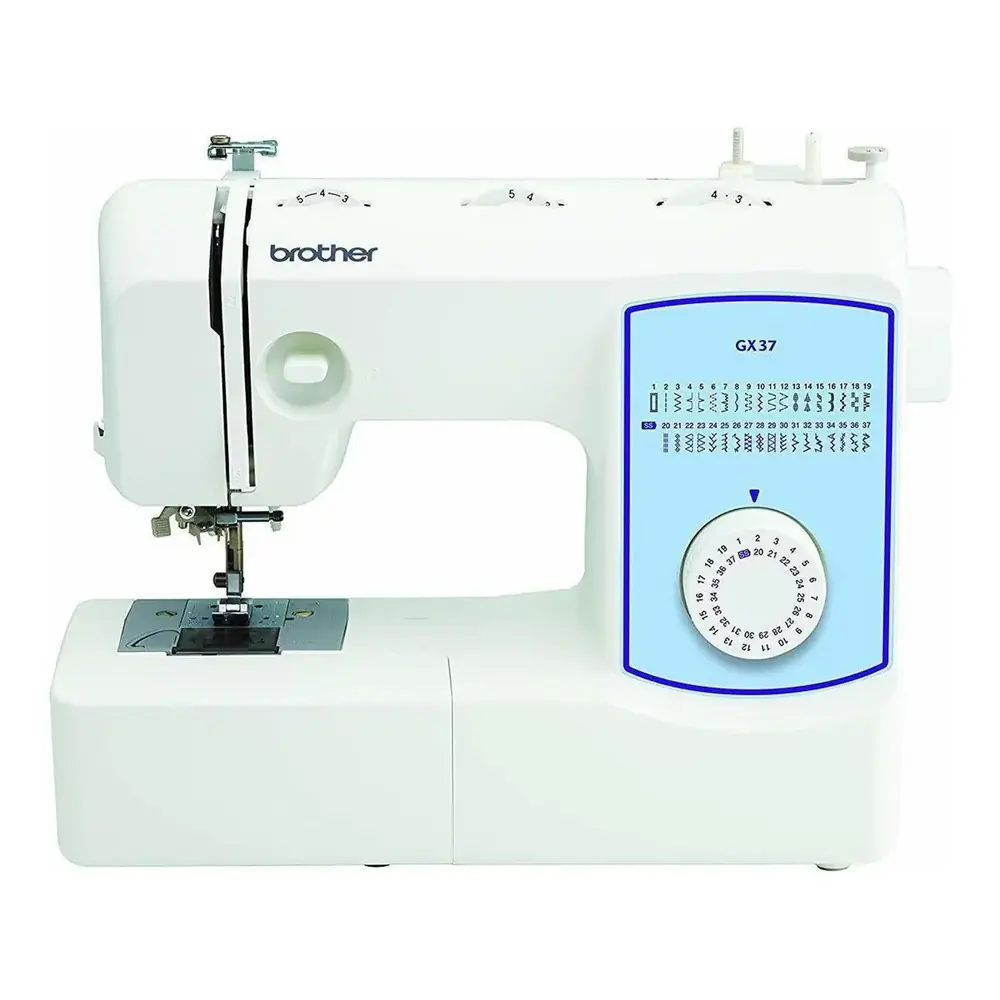
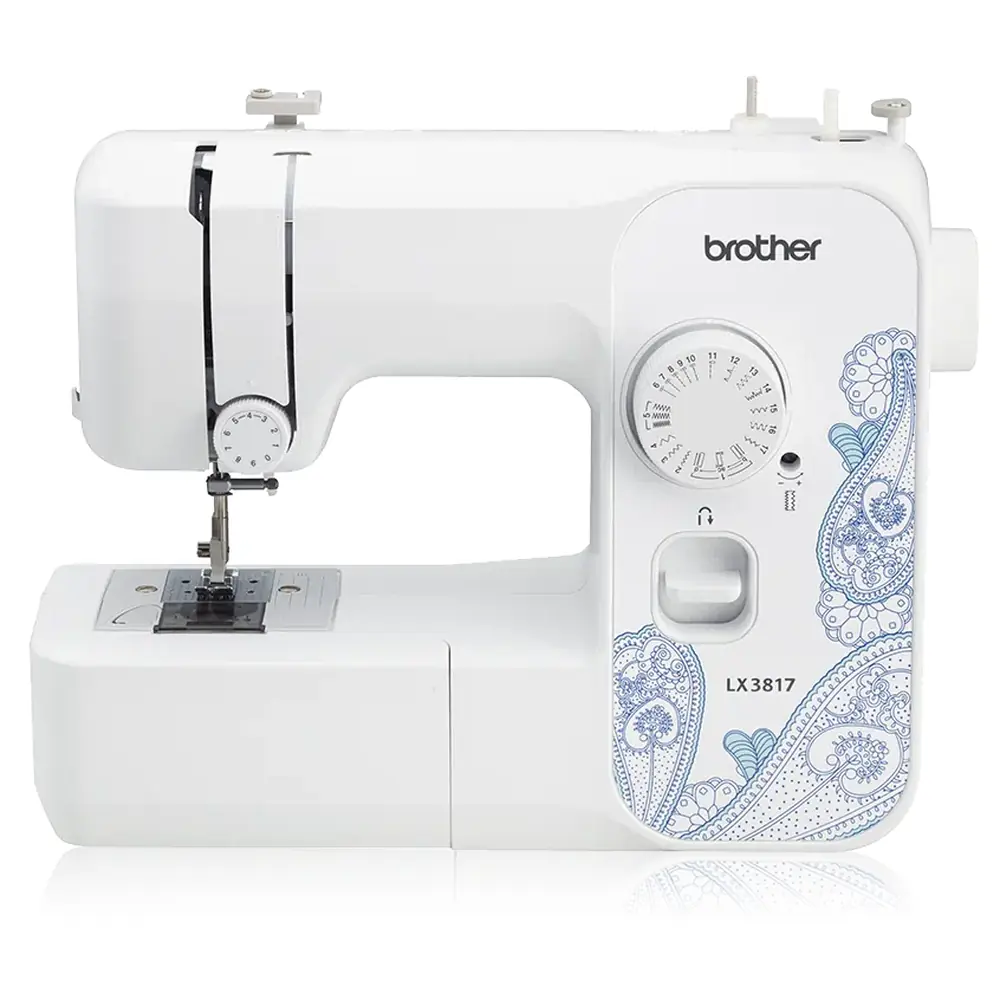
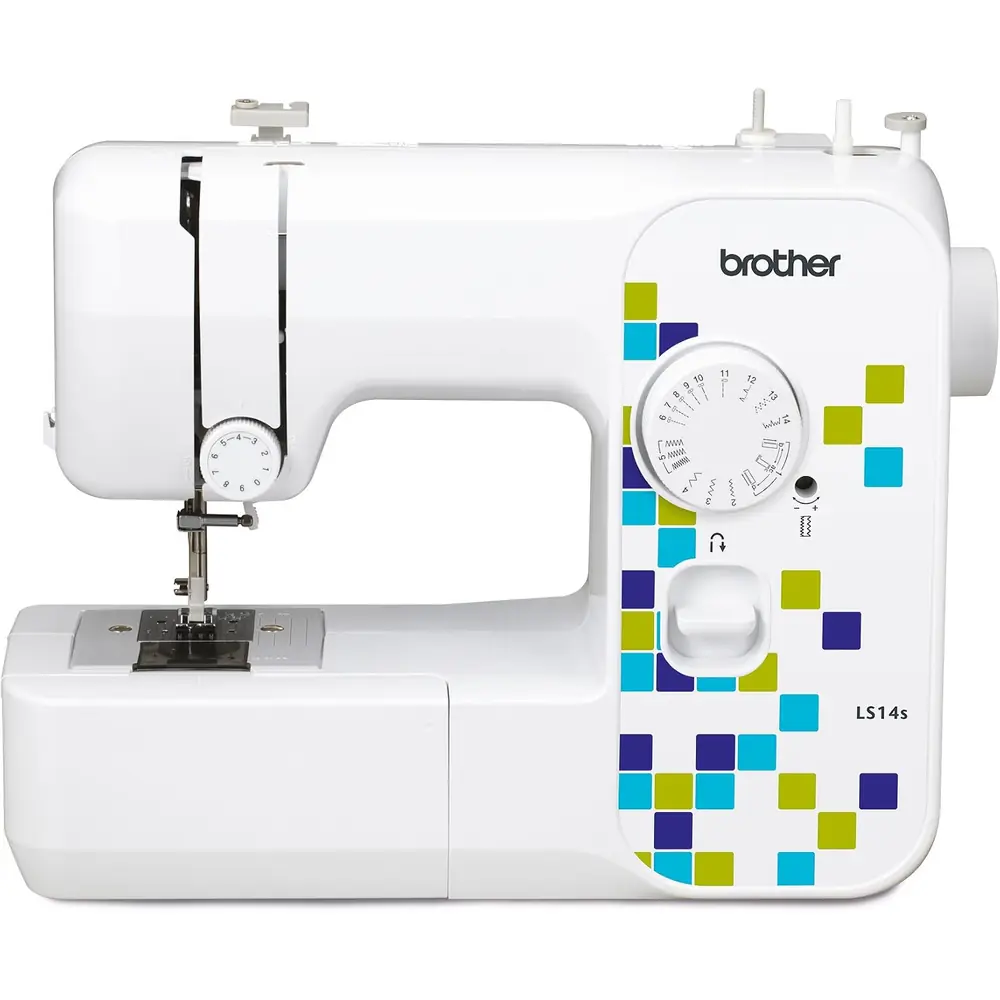
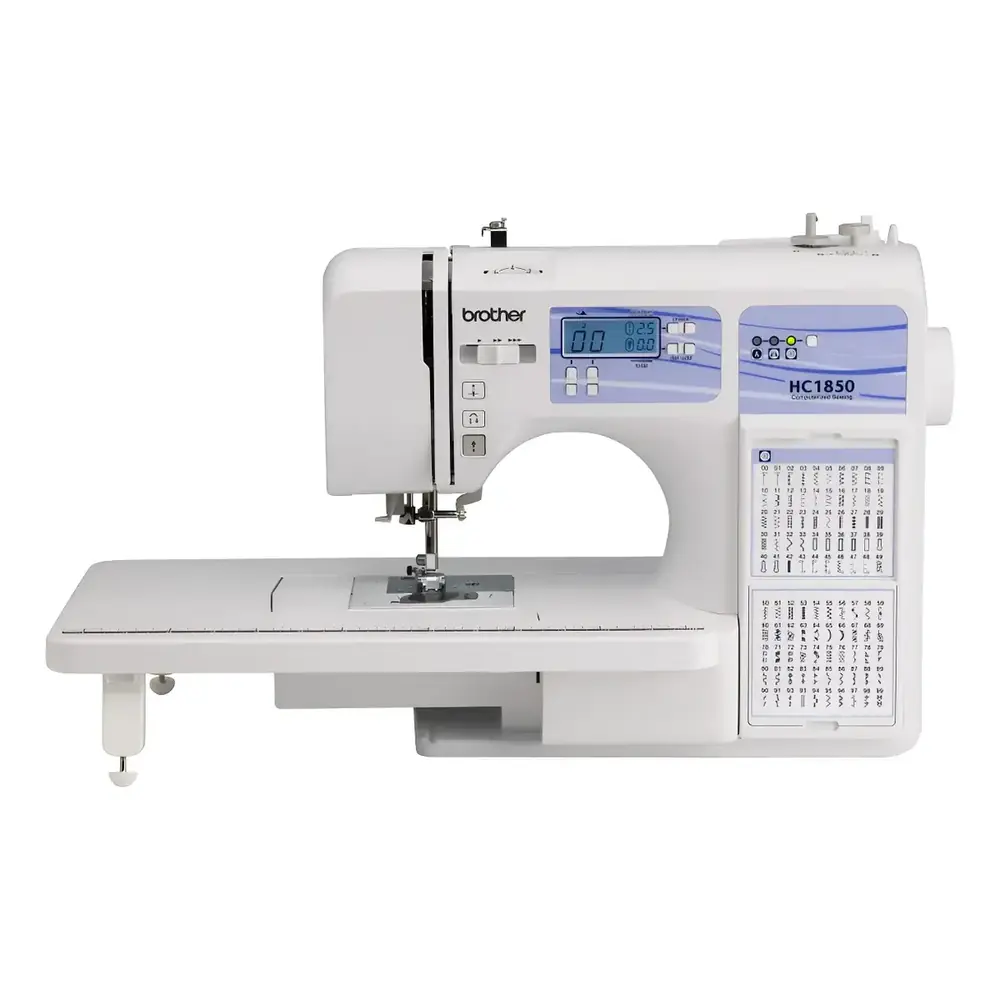
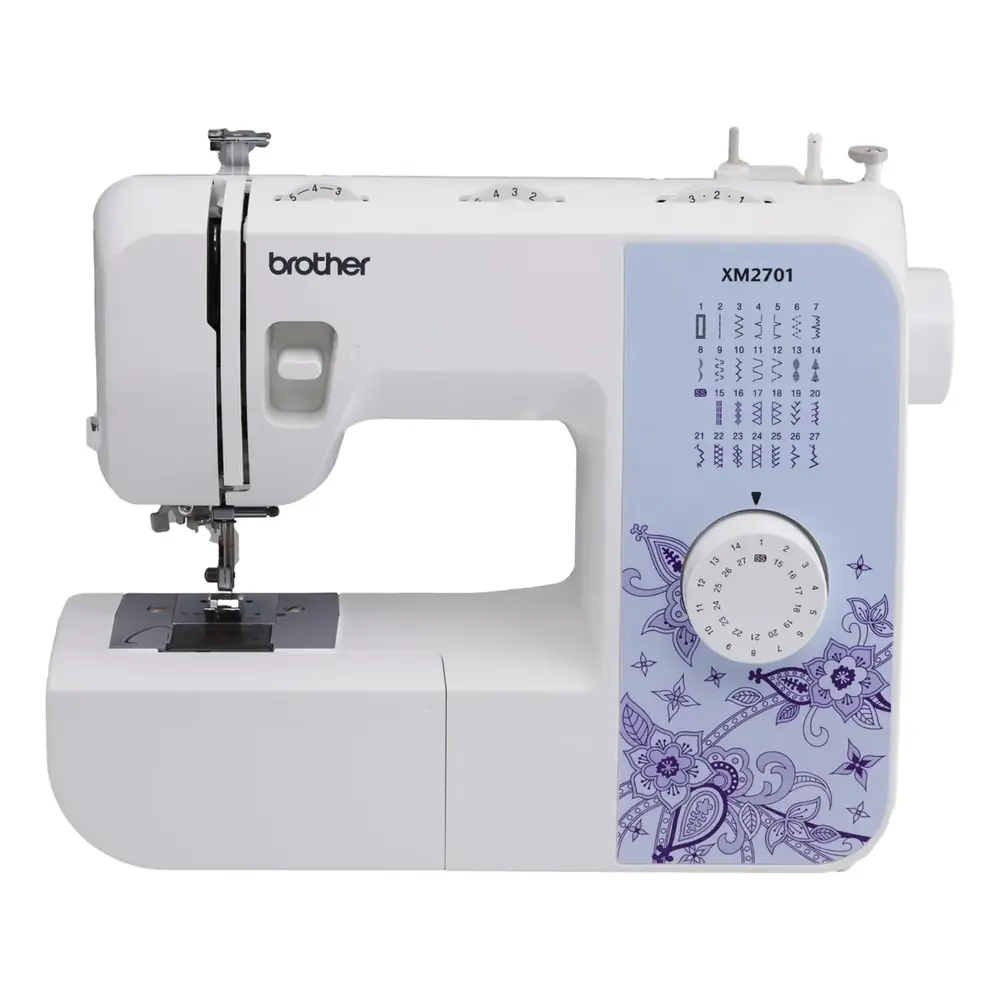
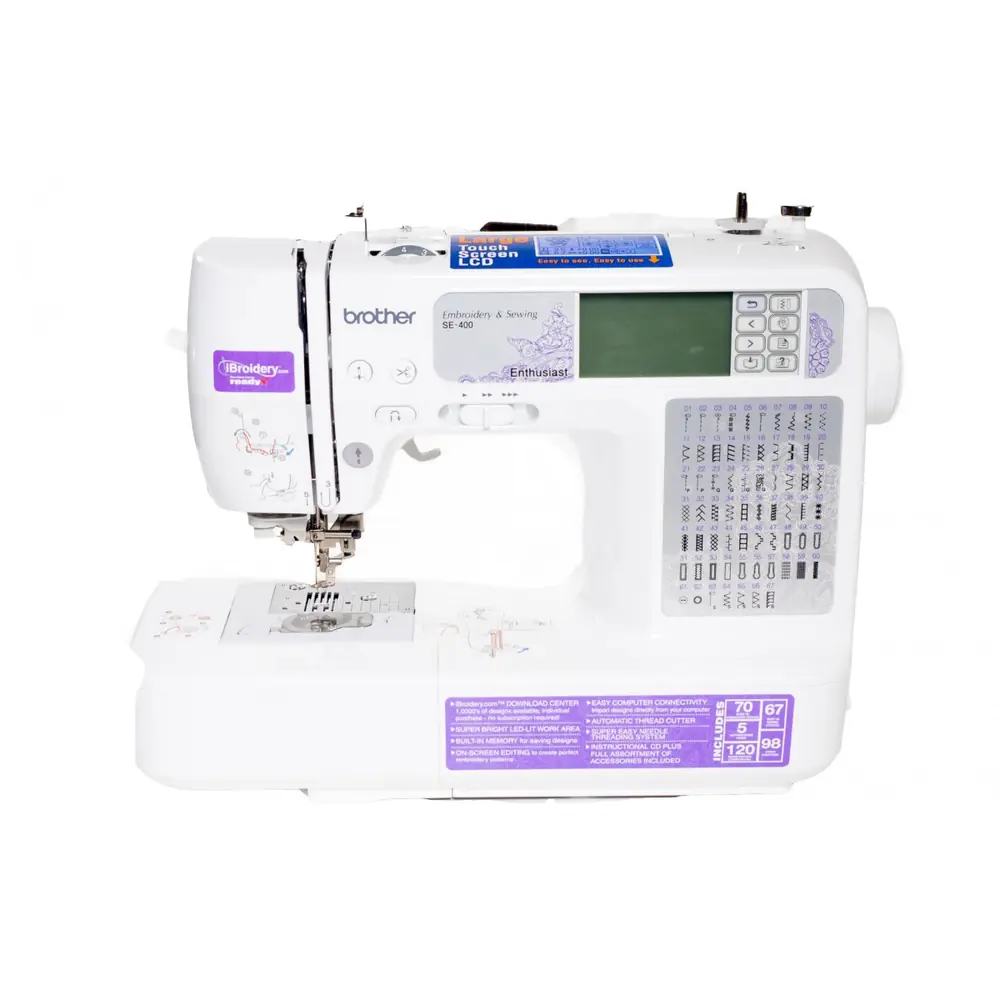
Product Images
Brother CS5055 Sewing Machine Specifications
| Specification | Detail |
|---|---|
| Product Code Series | 888-N00/N02/N20/N22/N40/N42/N60 |
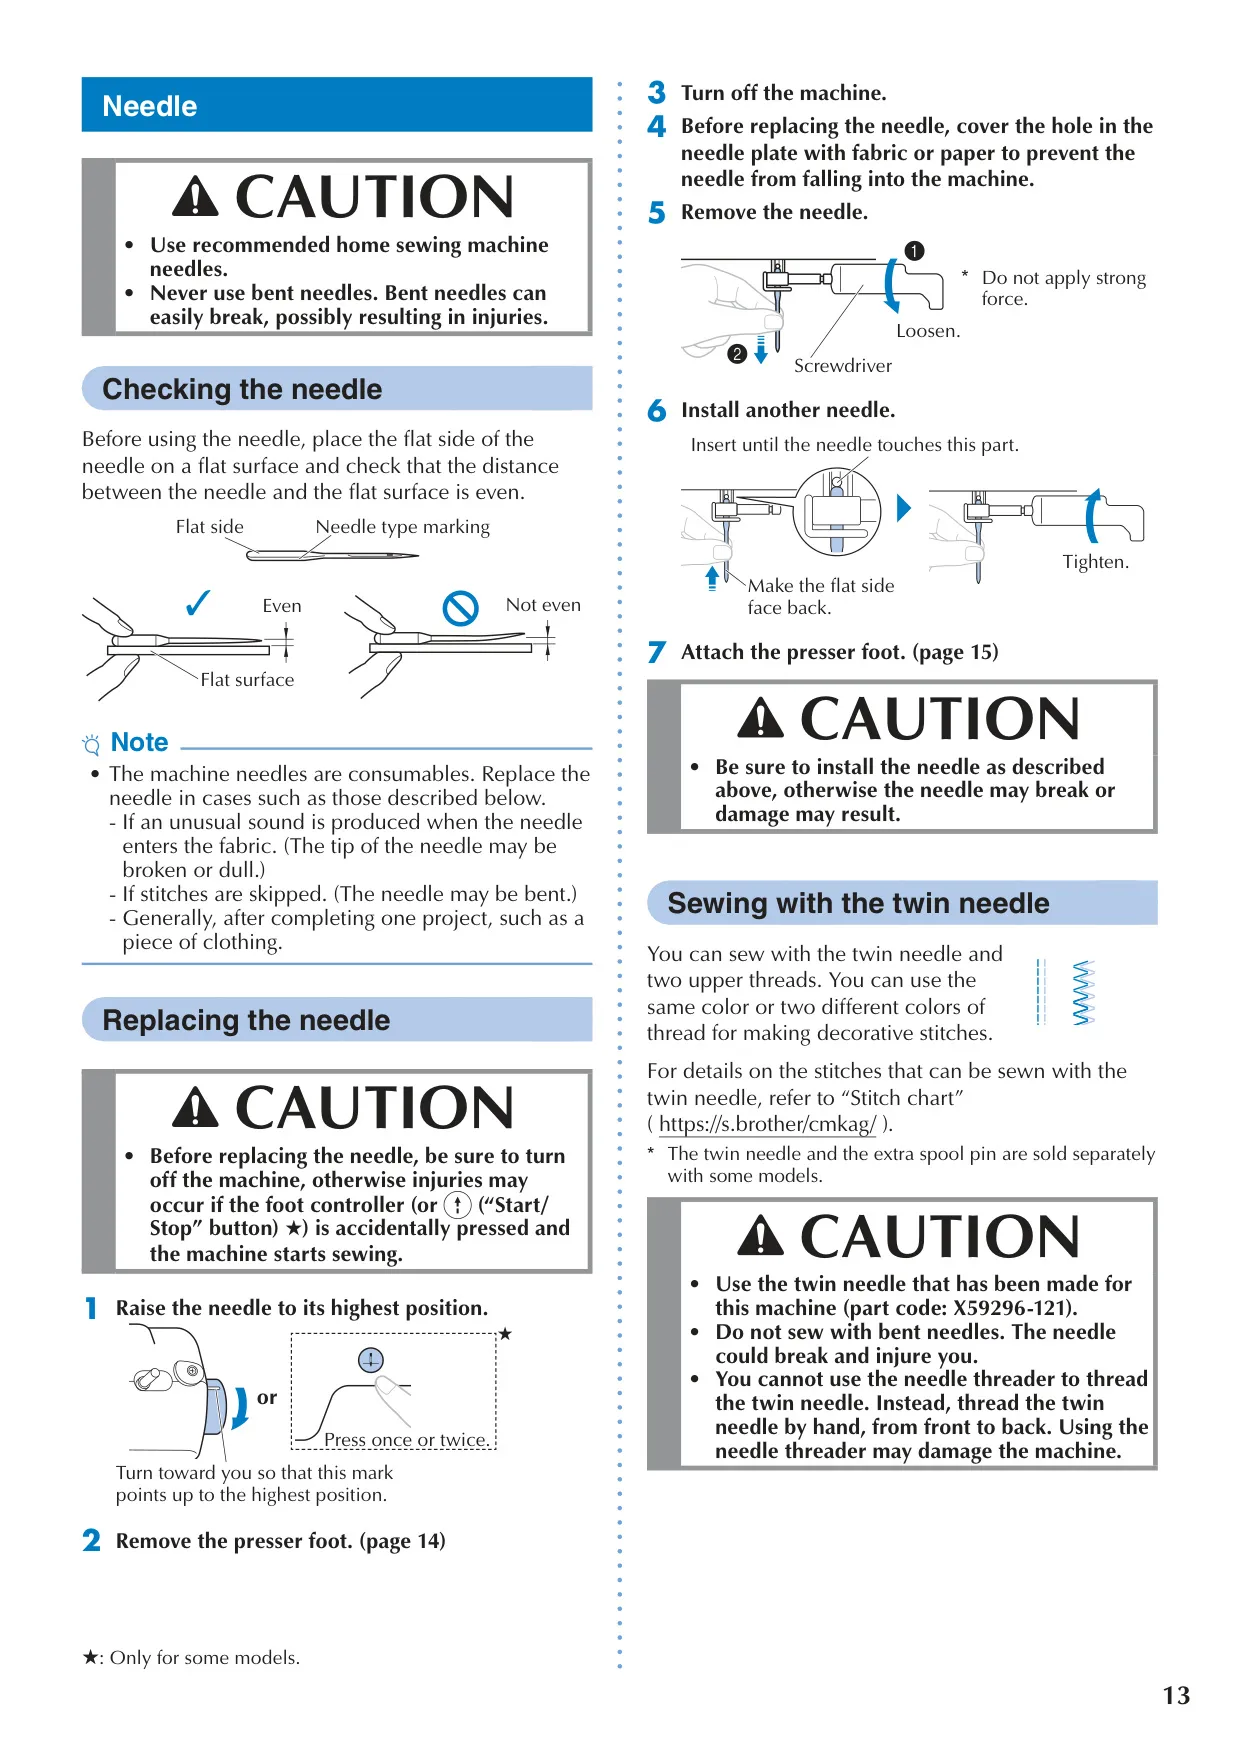
| Needle Type | Home sewing machine needles |
| Needle Sizes Supported | 65/9 - 100/16 |
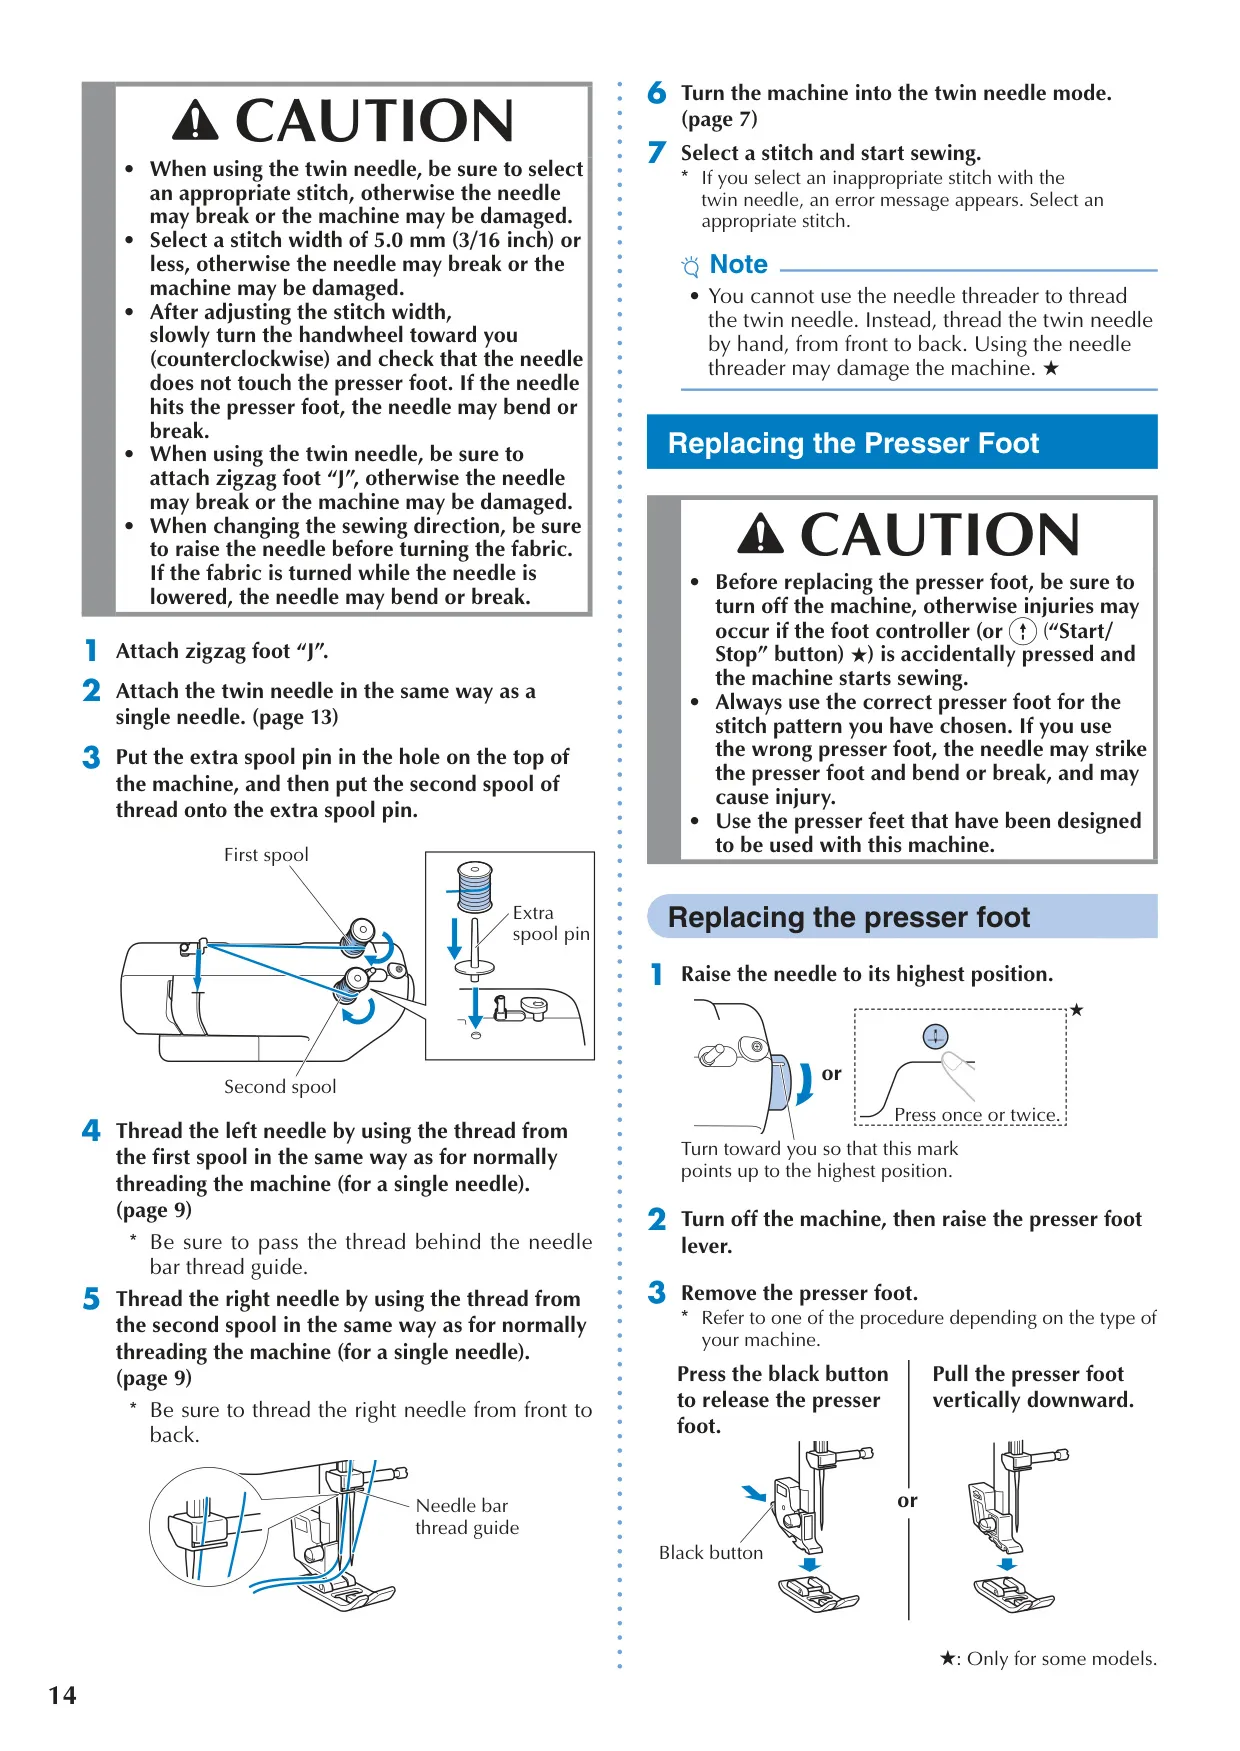
| Needle Threader Compatibility | Home sewing machine needles size 75/11 - 100/16 (not for decorative, twin, or wing needles) |
| Thread Weight Supported | 30 - 90 weight (cannot use 20 or lower) |
| Bobbin Type | Class 15 (Part Code: SA156, SFB: XA5539-151) |
| Twin Needle Part Code | X59296-121 |
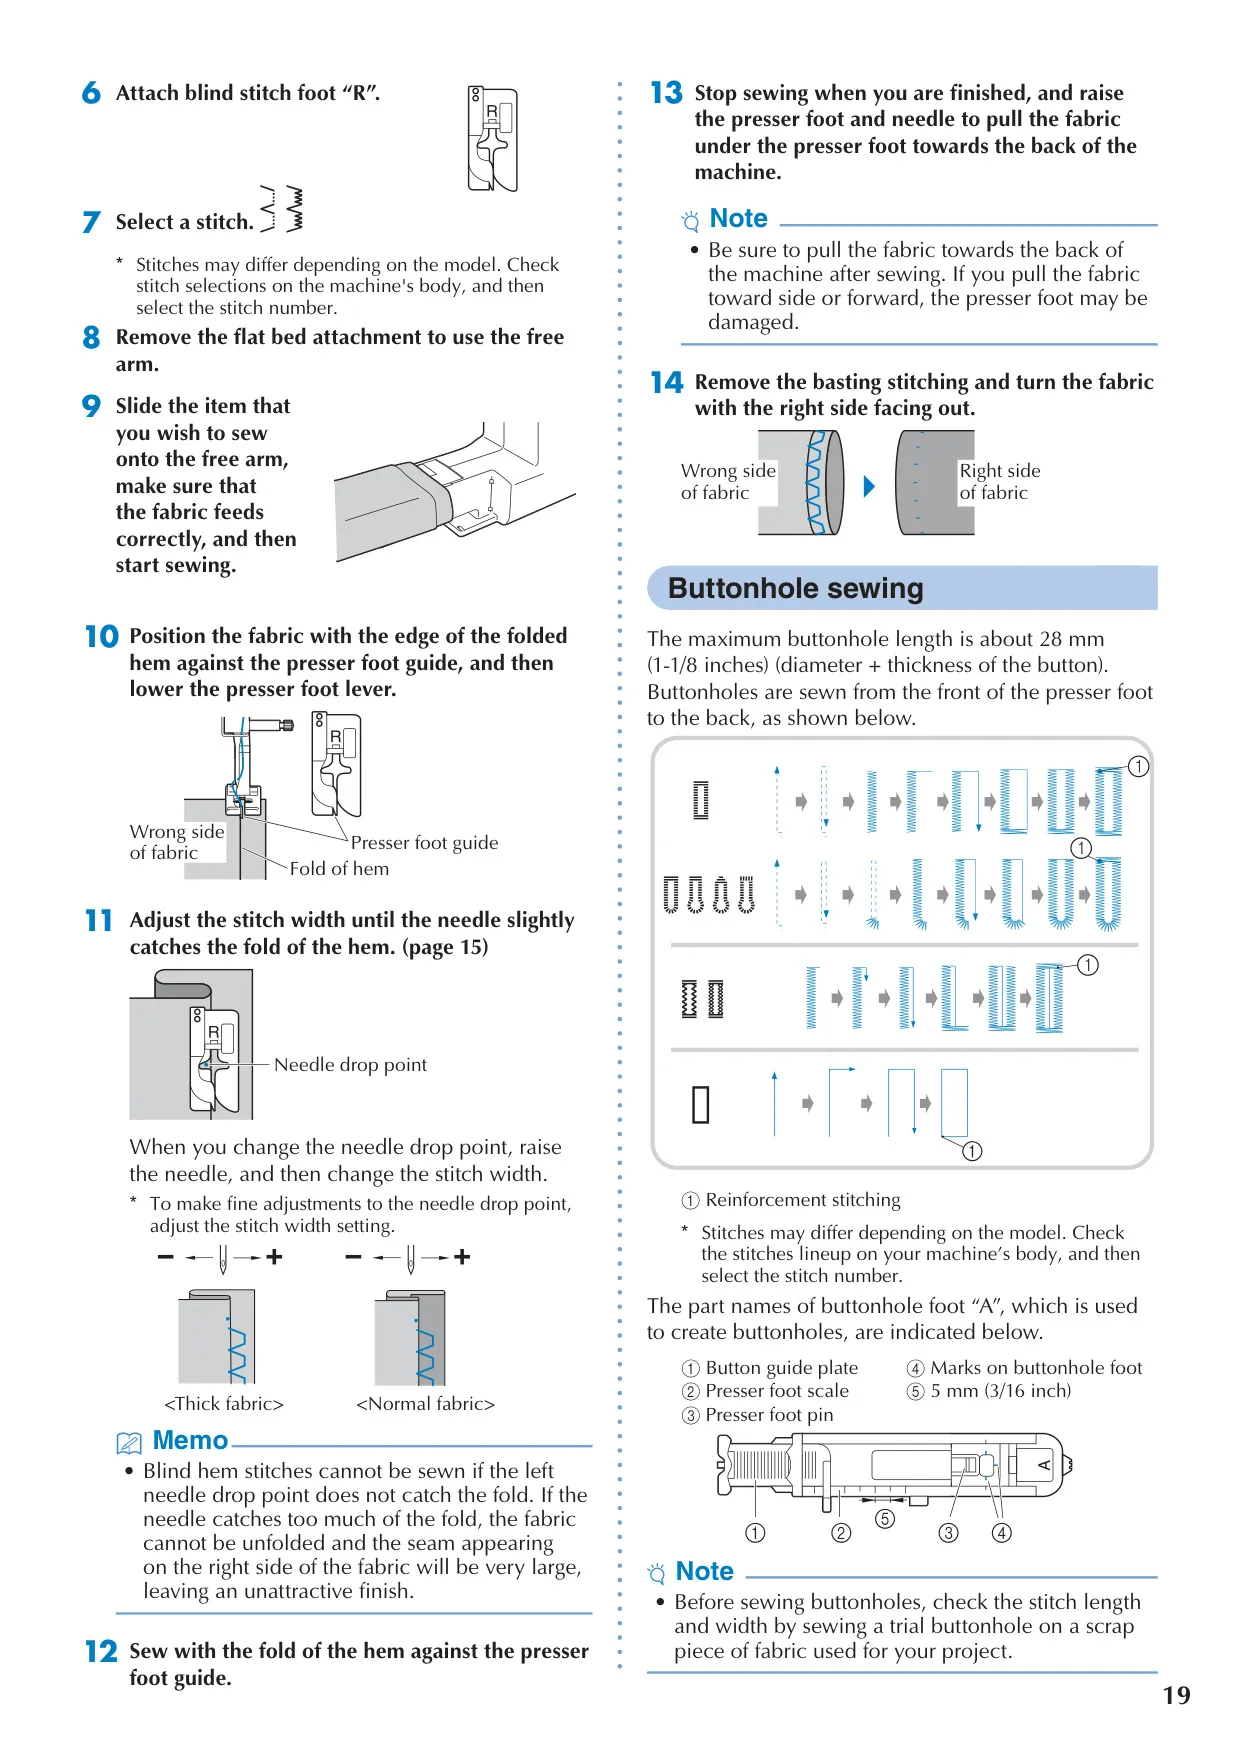
| Max. Buttonhole Length | Approx. 28 mm (1-1/8 inches) |
| Max. Twin Needle Stitch Width | 5.0 mm (3/16 inch) or less |
| Max. Bar Tack Length | Approx. 28 mm (1-1/8 inches) |
| Display Type | LCD (Liquid Crystal Display) |
| Power Source | AC Household Electricity (Approved for country of purchase only) |
| Safety Classification | Household use |
| Foot Controller Model (U.S.A. only) | Model T (for applicable product codes) |
| Selectable Settings | Needle Stop Position (Lowered/Raised), Initial Needle Position (Left/Middle), Operation Beep (On/Off), Max. Sewing Speed (Standard/Slower), Automatic Reverse/Reinforcement Stitching (On/Off), Needle Mode (Single/Twin), Stitch Adjustment (Default: 0 for applicable stitches) |
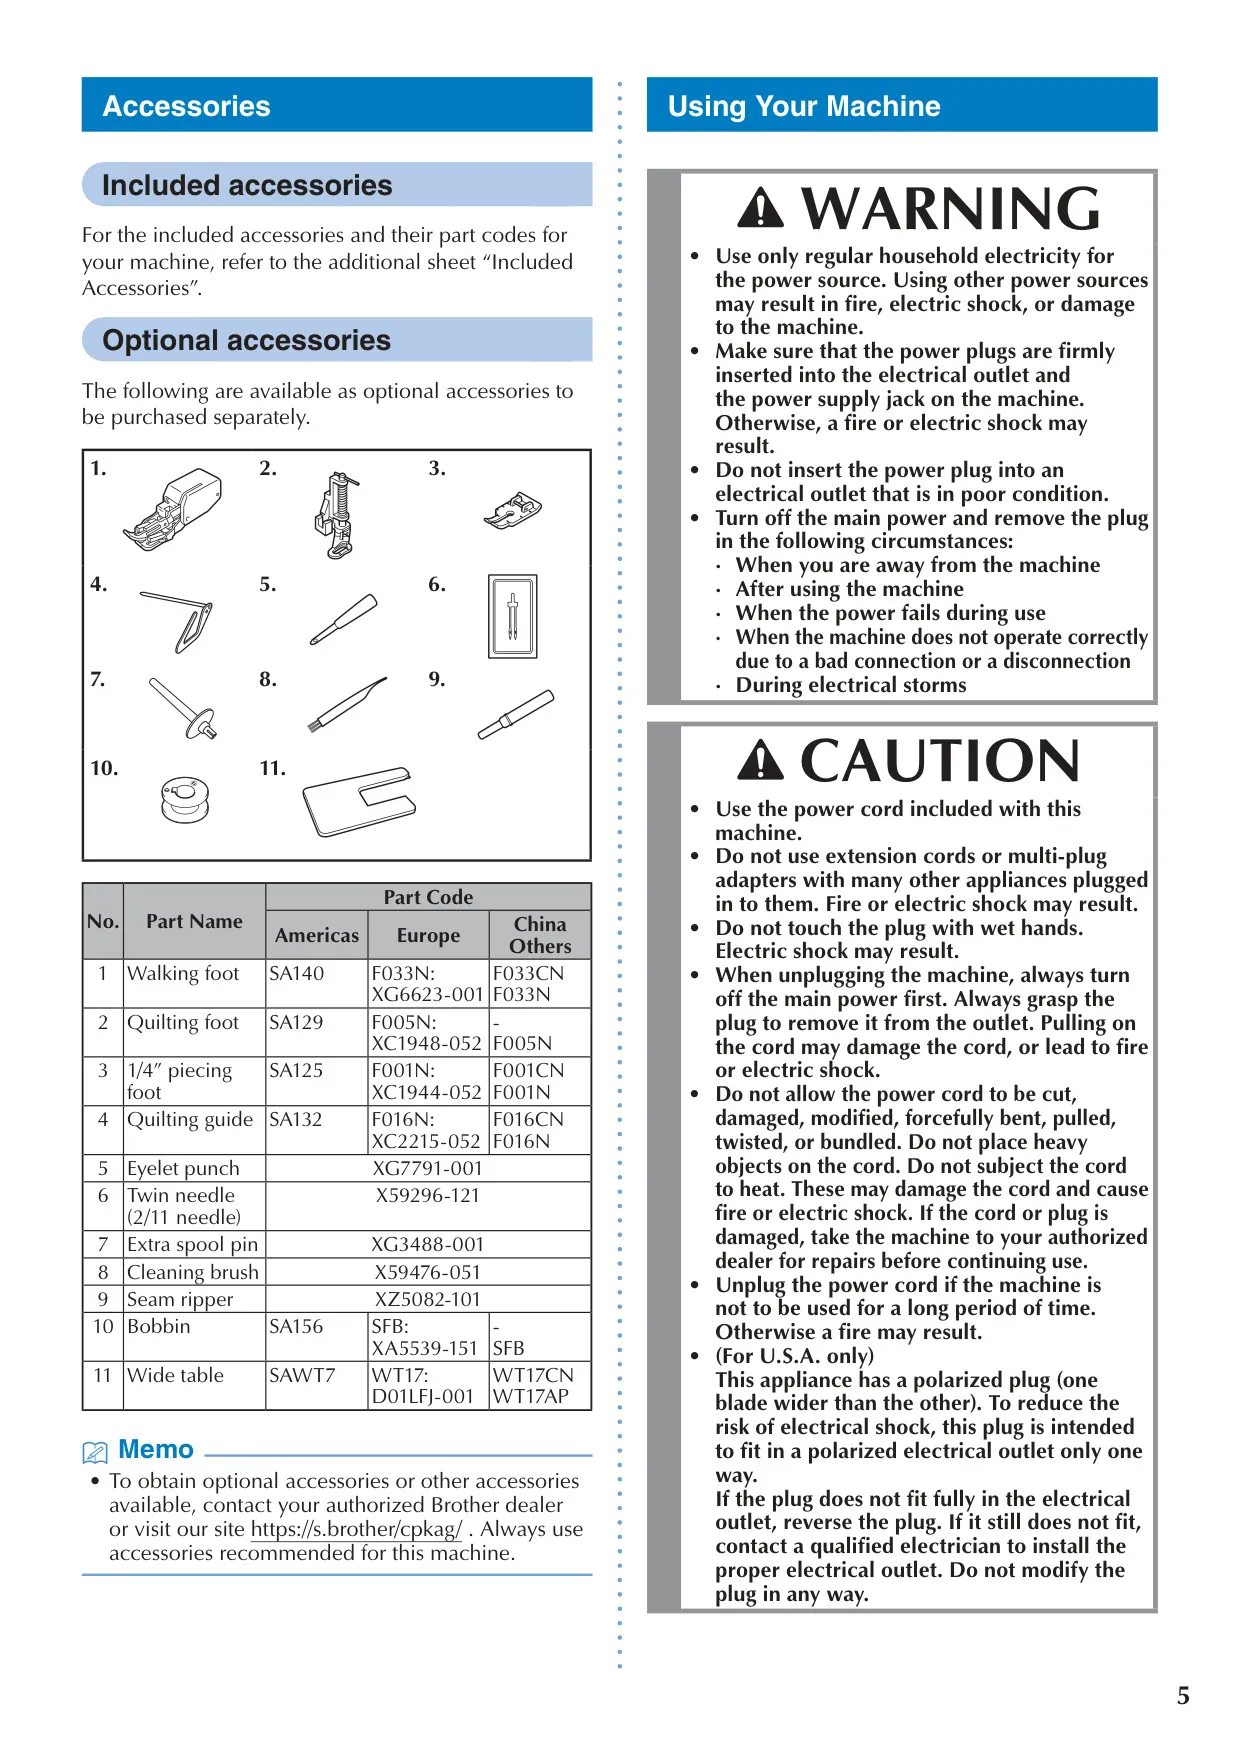
| Optional Accessories (Examples) | Walking foot (SA140), Quilting foot (SA129), 1/4” piecing foot (SA125), Quilting guide (SA132), Eyelet punch (XG7791-001), Extra spool pin (XG3488-001), Wide table (SAWT7) |
Brother CS5055 Sewing Machine Details
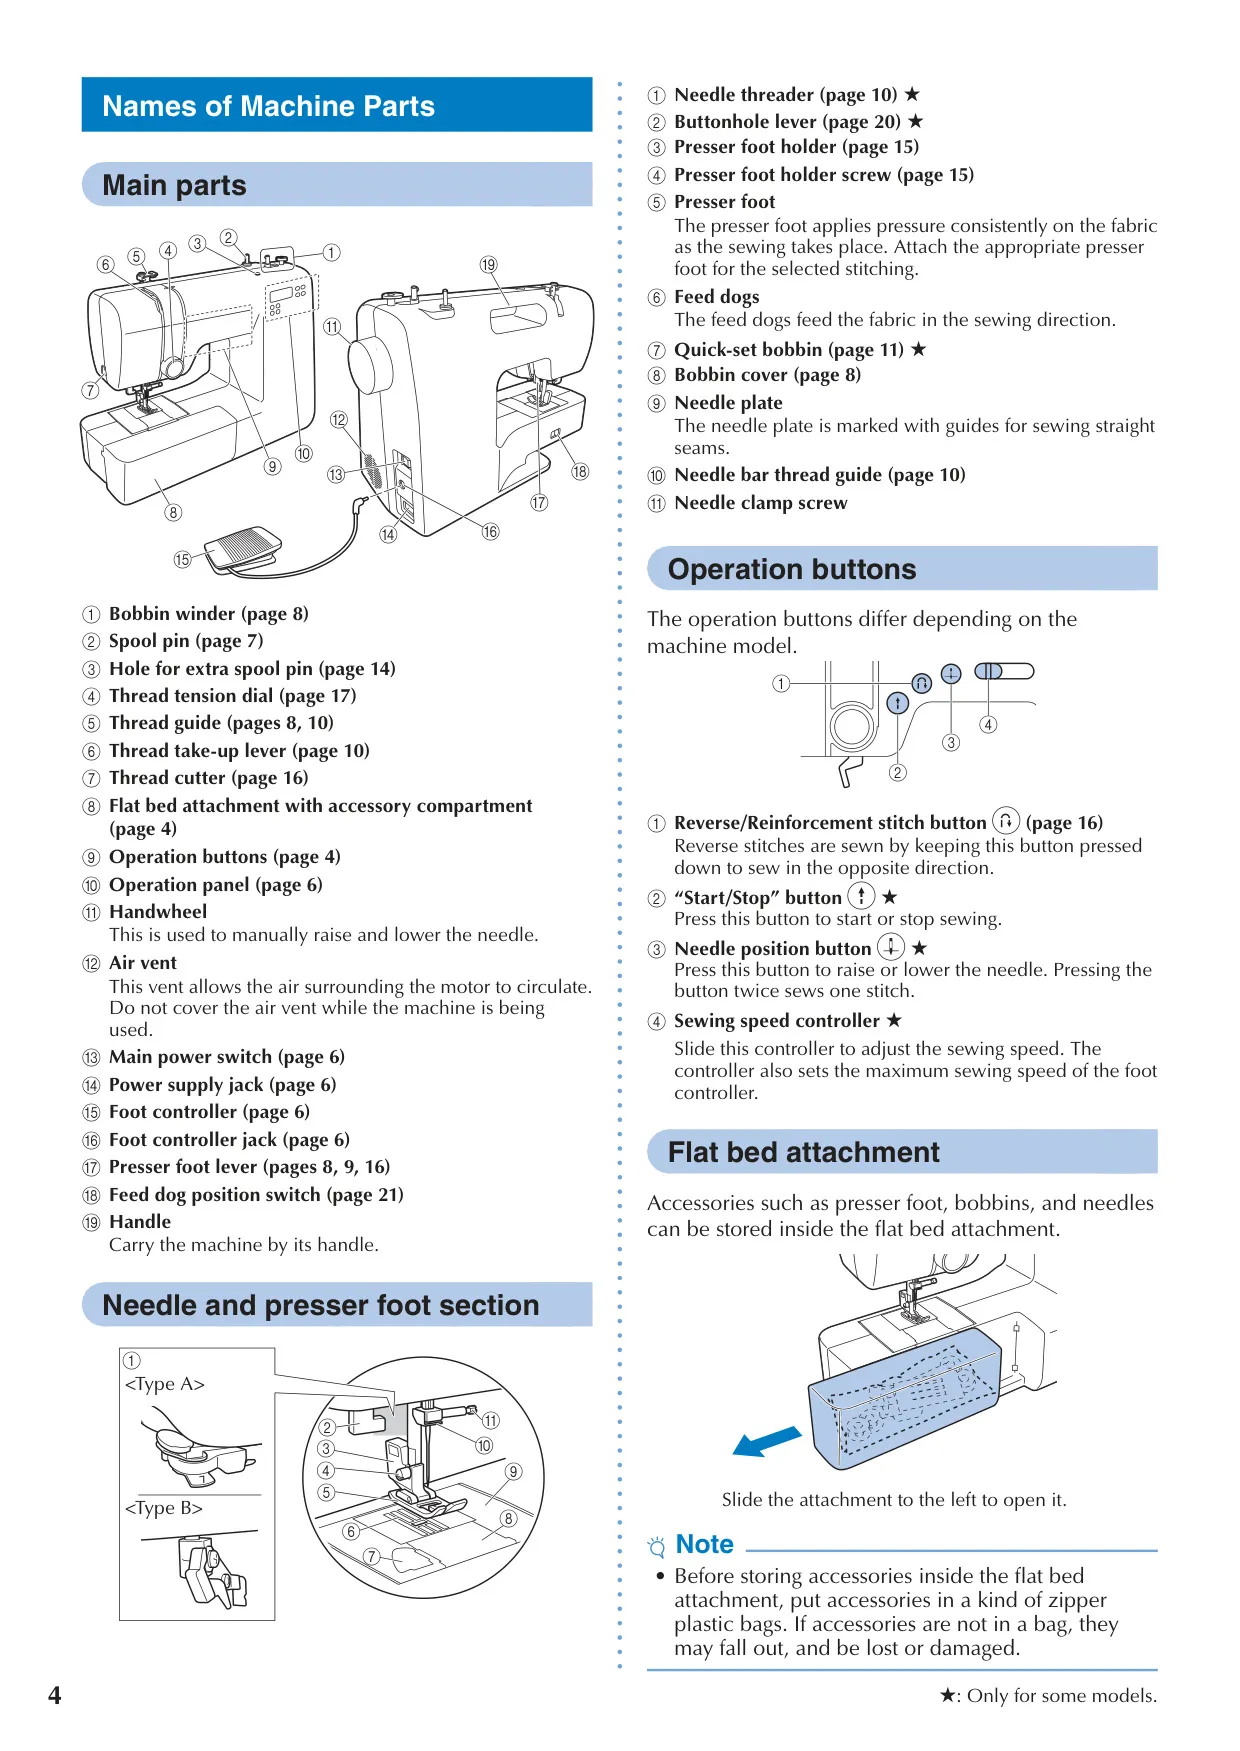
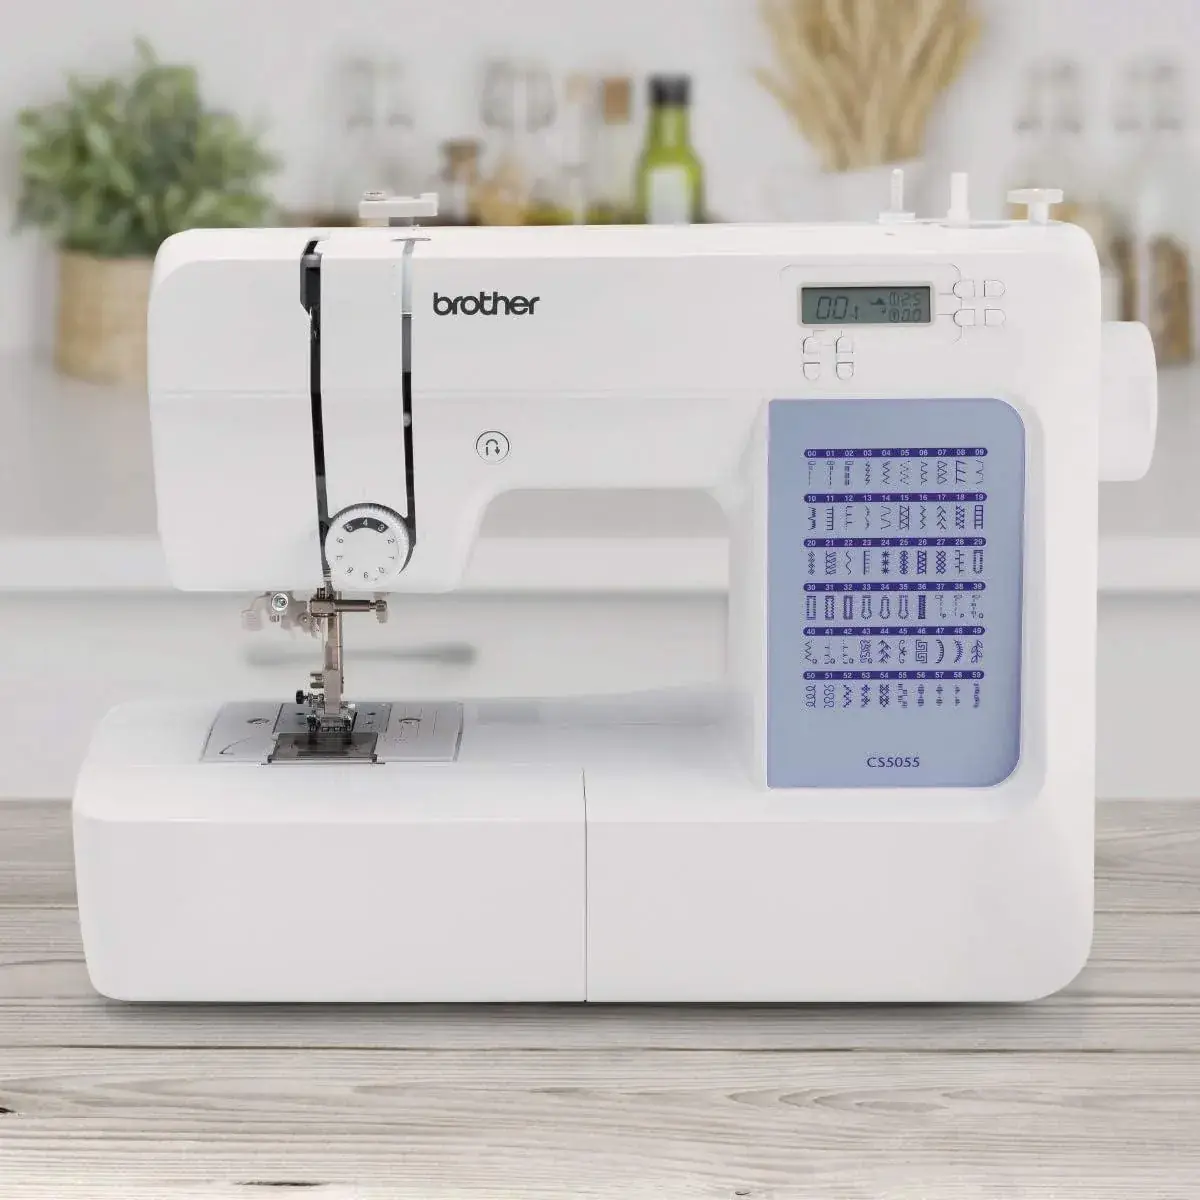
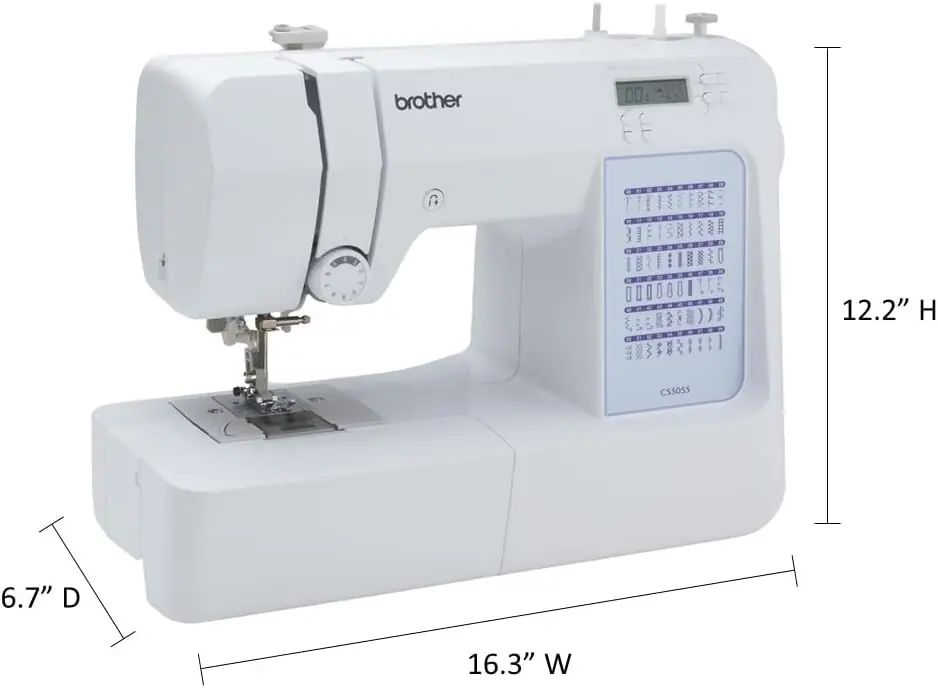
The Brother CS5055 sewing machine offers a versatile, user-friendly experience for diverse projects, from basic repairs to intricate decorative work. Its intuitive design simplifies common tasks, enabling both novice and experienced users to achieve professional results. Key operational components, like the handwheel for manual needle adjustments and a sturdy handle for portability, are thoughtfully integrated.
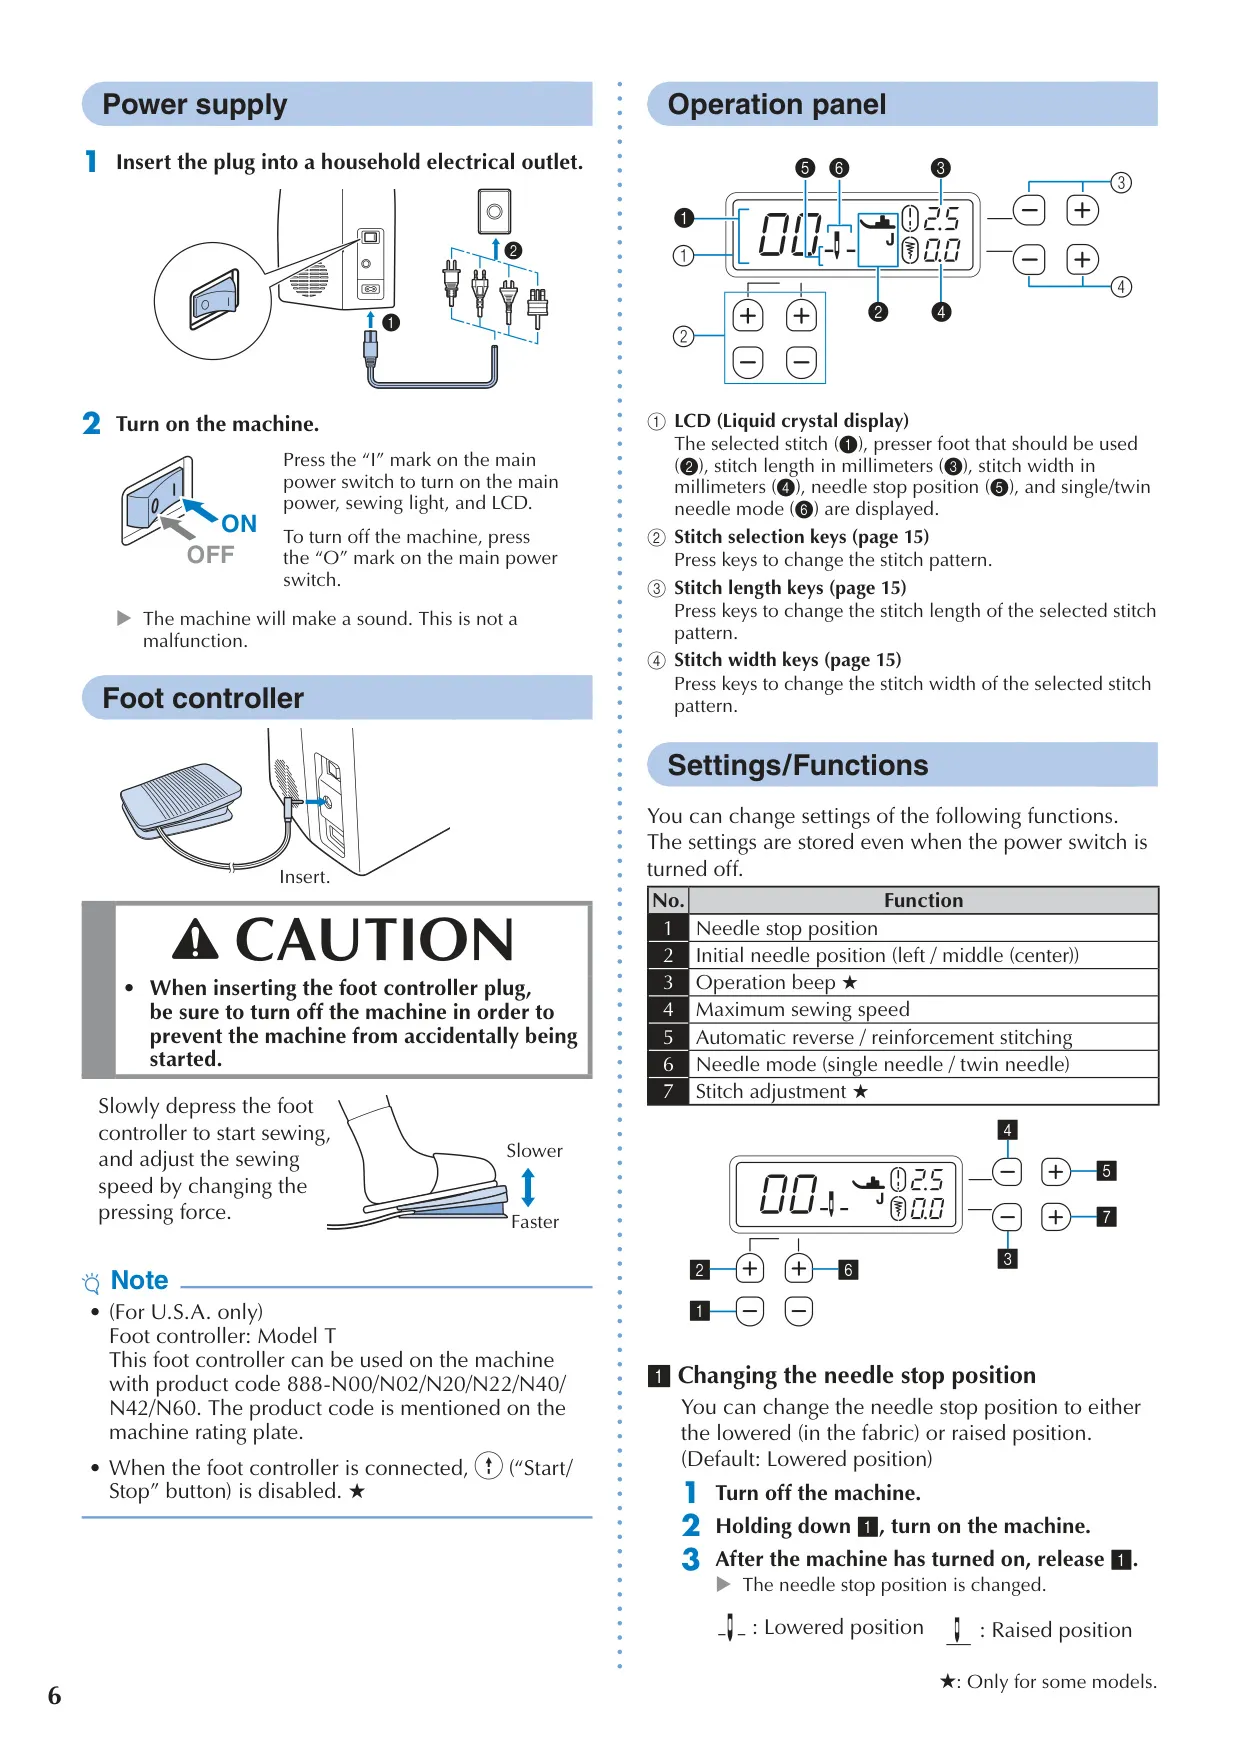
A clear LCD acts as the central information hub, displaying the selected stitch, recommended presser foot, stitch length/width, needle stop position, and active needle mode. Dedicated keys facilitate effortless navigation through patterns and precise adjustments, ensuring optimal performance for various fabrics and project needs.
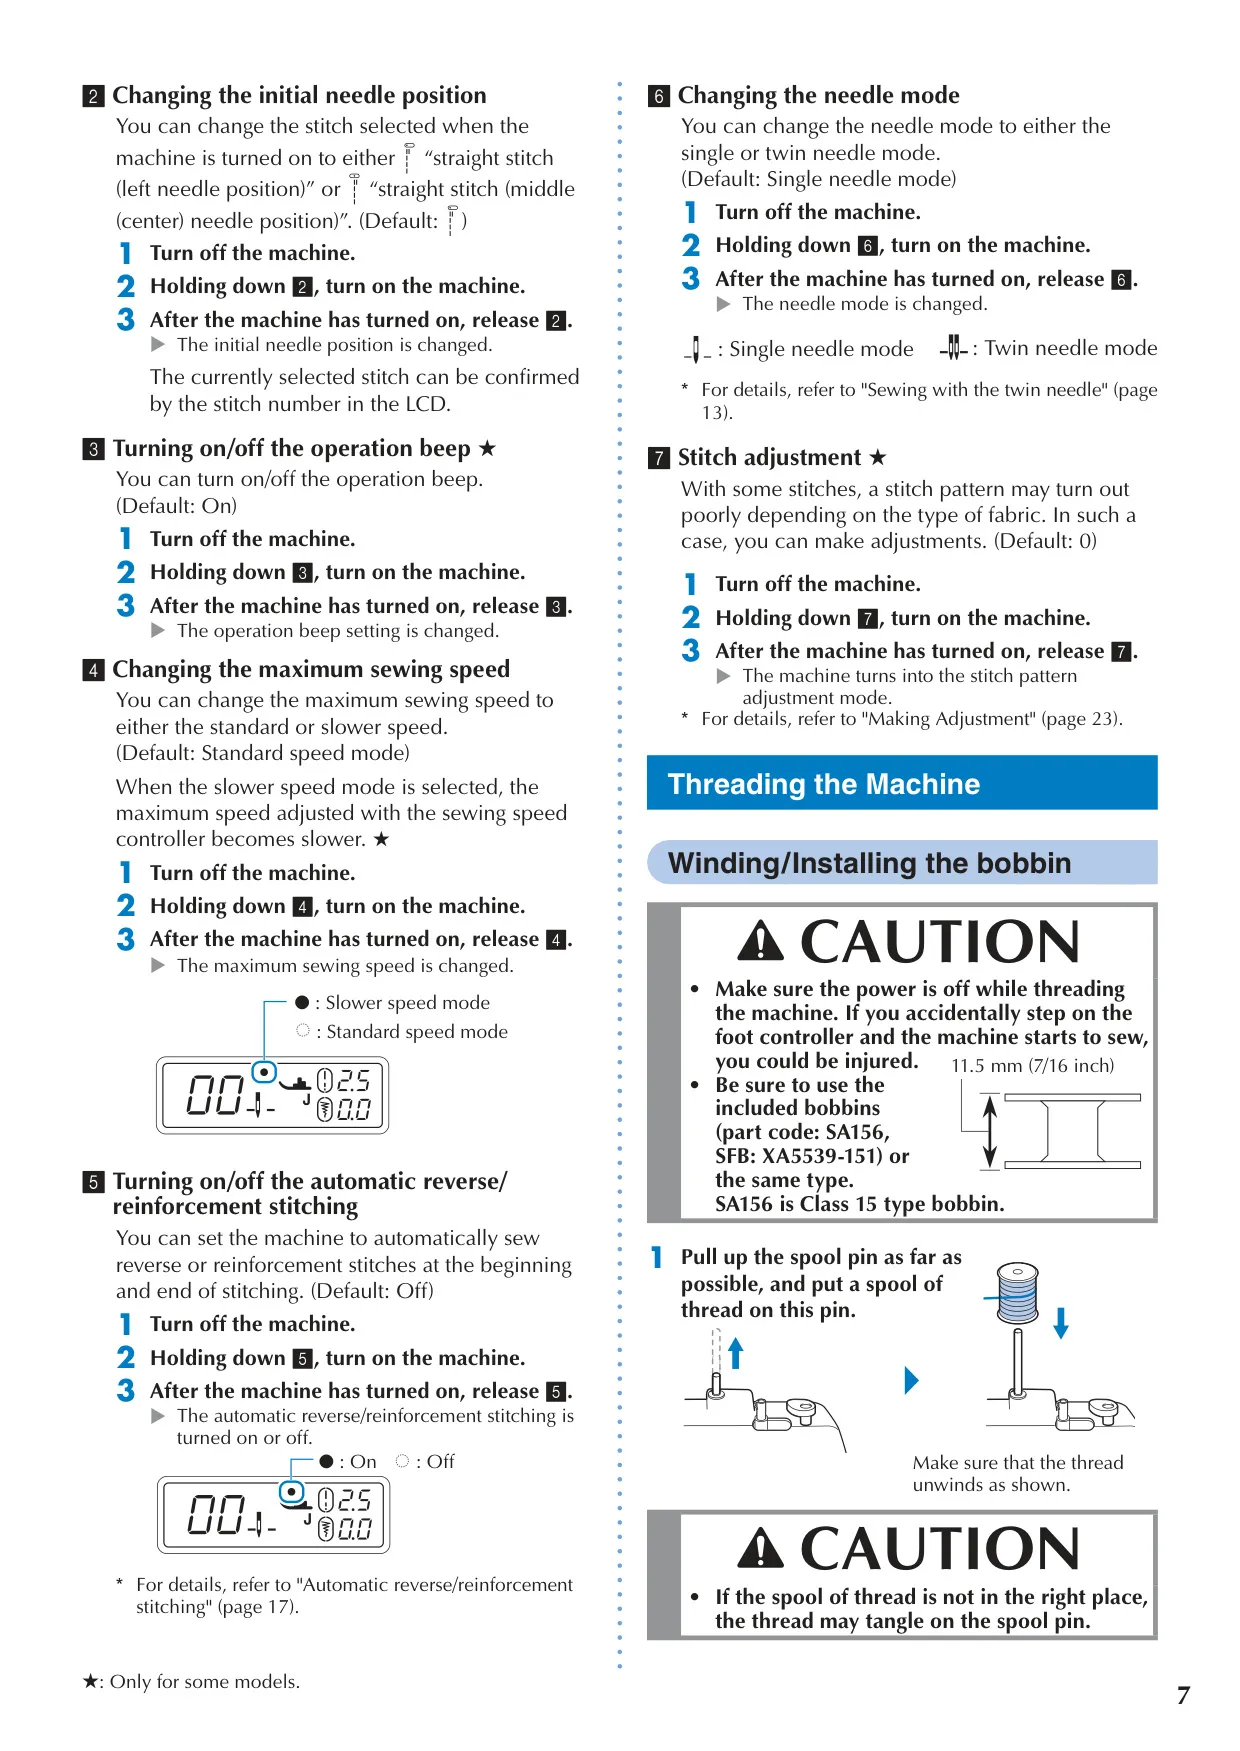
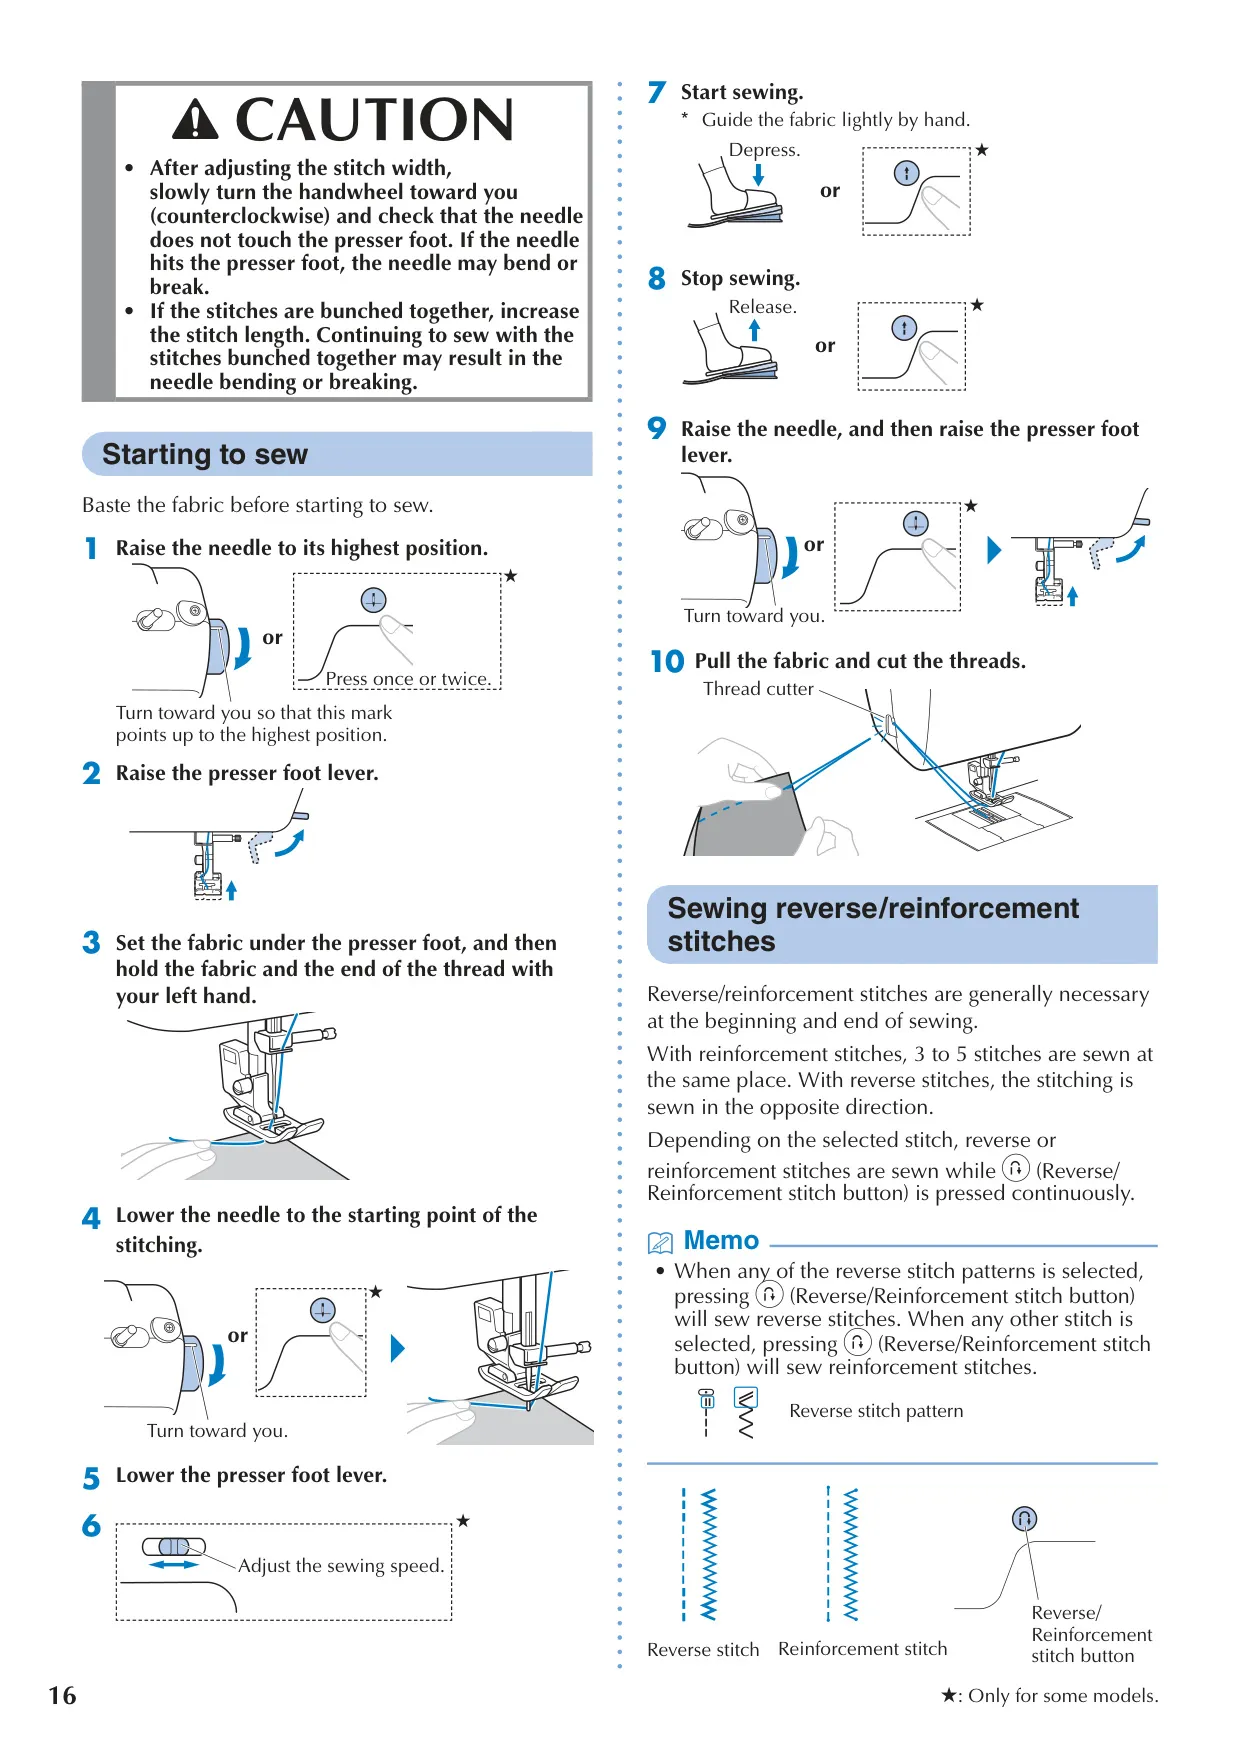
Customizable settings are retained even when powered off. Users can set the needle's stop position (up or down), determine the initial needle position (left or center straight stitch), and toggle the operation beep. Maximum sewing speed is adjustable, offering standard and slower modes for enhanced control during delicate work.
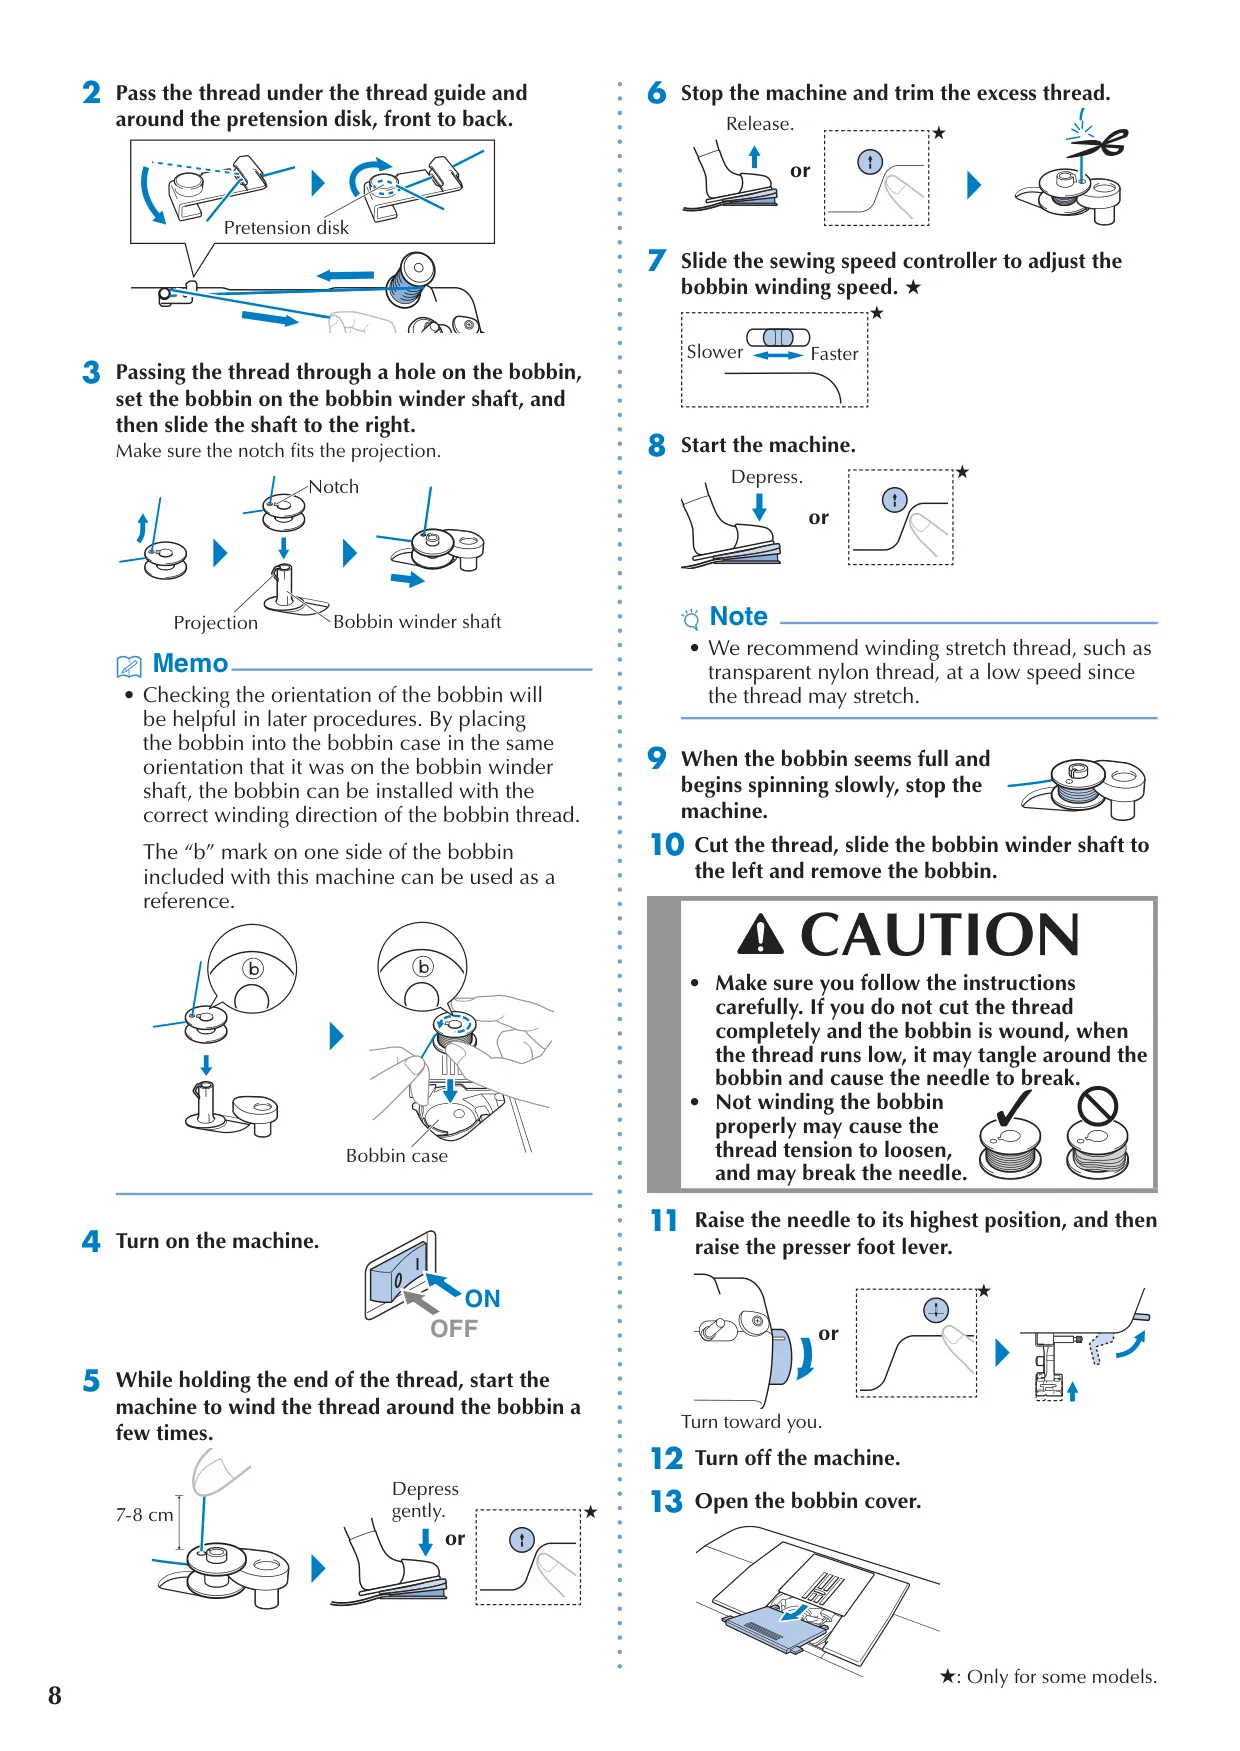
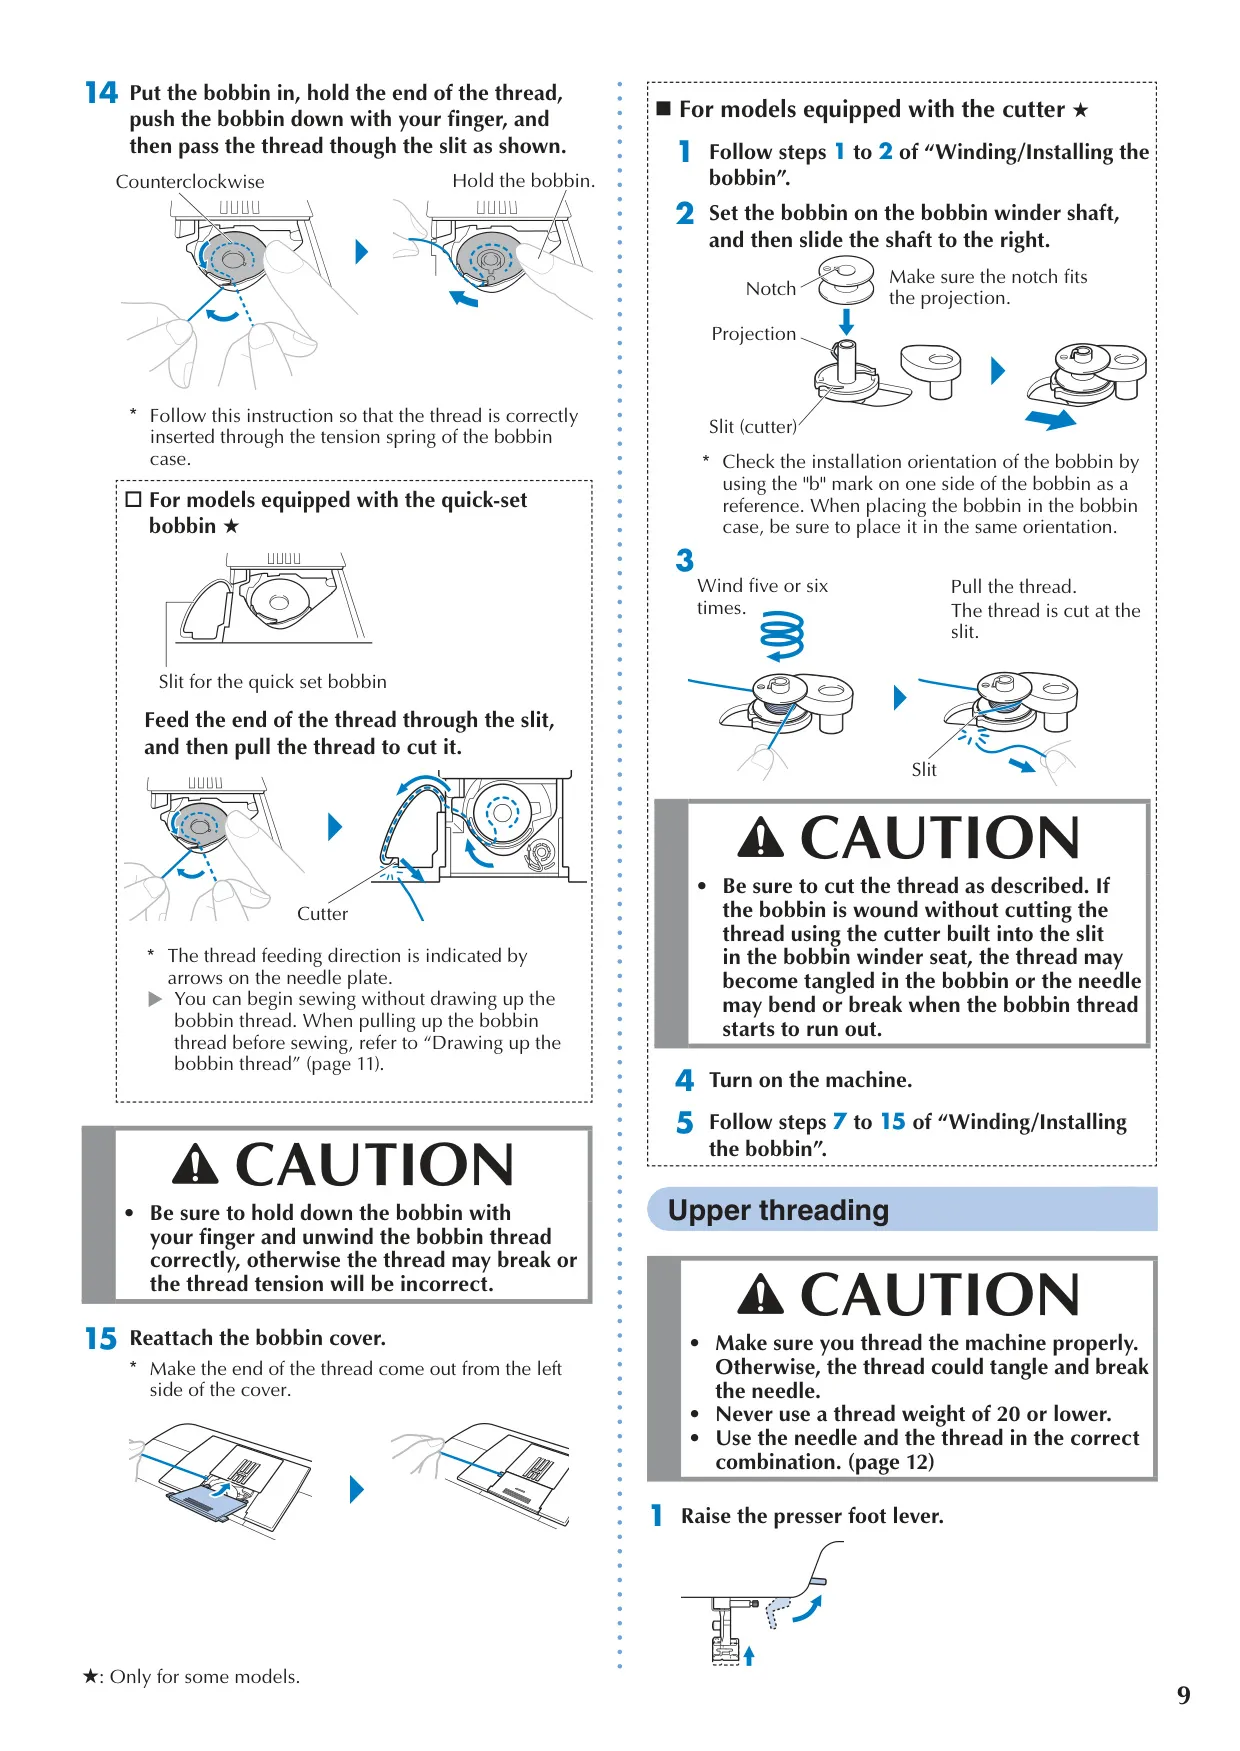
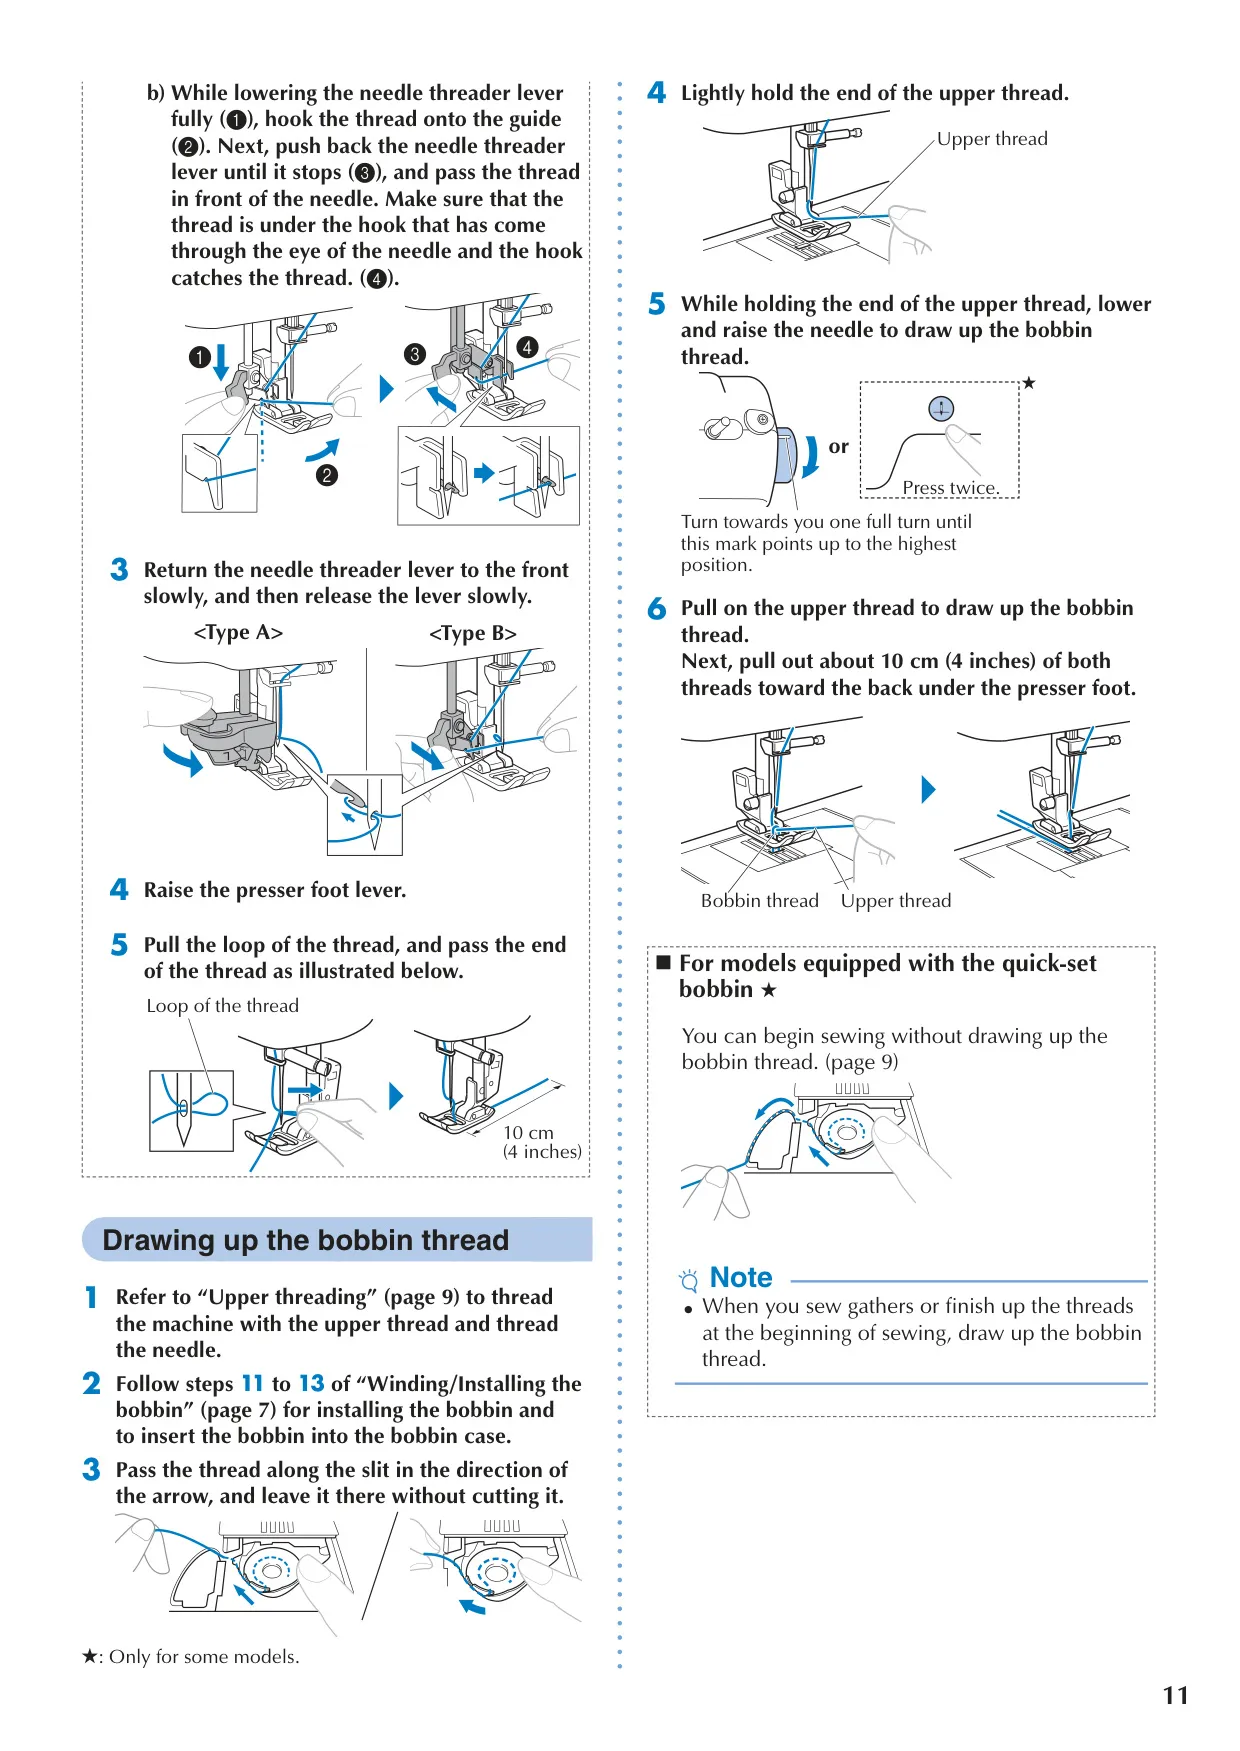
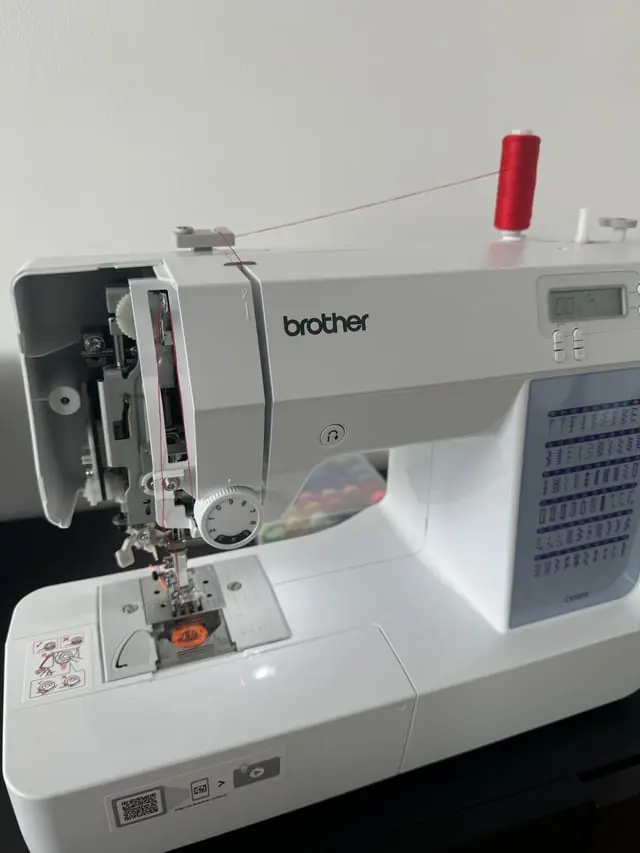
Threading is streamlined with easy bobbin winding and installation. Models with a quick-set bobbin allow immediate sewing without manually drawing up the bobbin thread, saving significant time. Upper threading follows clear, numbered paths, complemented by a built-in needle threader (on some models) for compatible needle sizes.
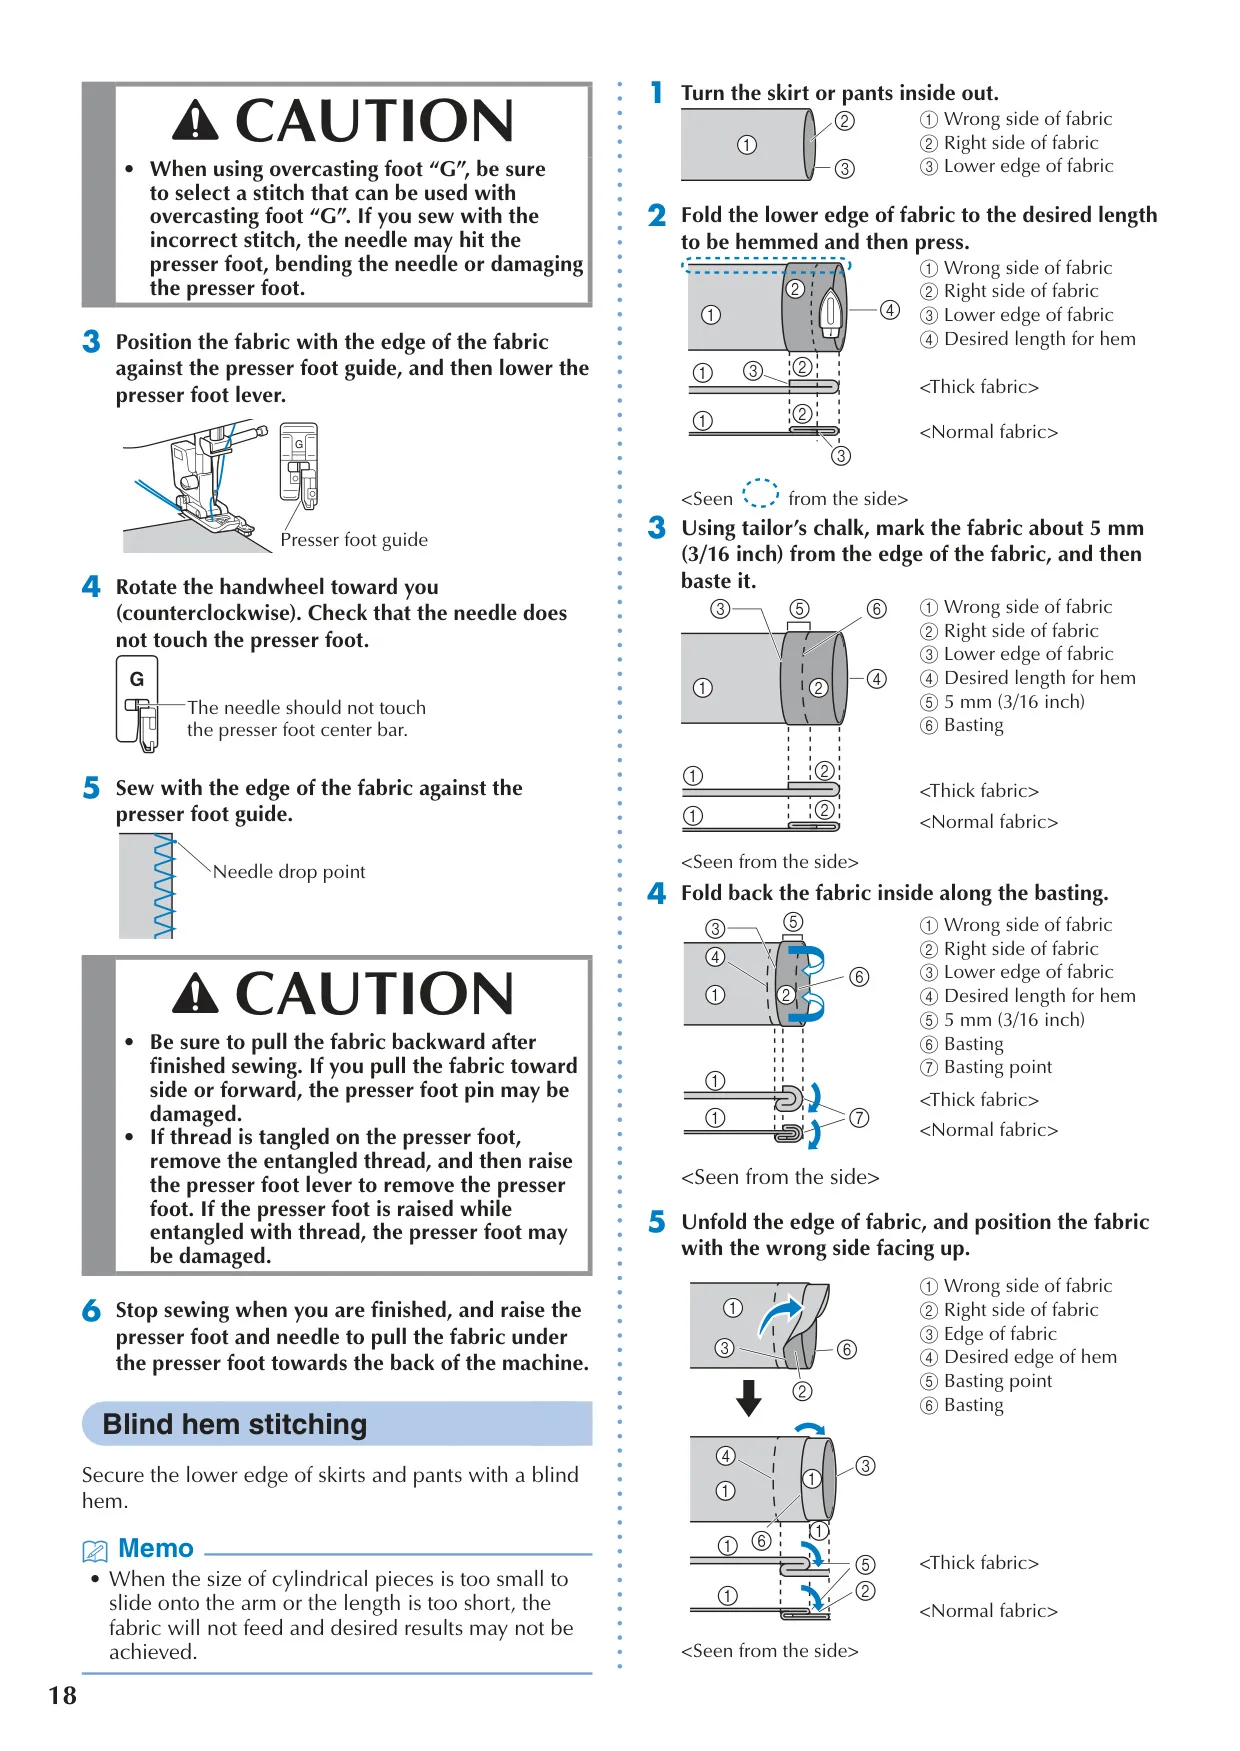
A comprehensive selection of utility stitches supports garment construction. Overcasting stitches, with overcasting foot "G" prevent fabric edges from fraying. Blind hem stitching, ideal for invisible hems on skirts and pants, uses blind stitch foot "R" and the free arm for circular items, delivering clean, professional edges.
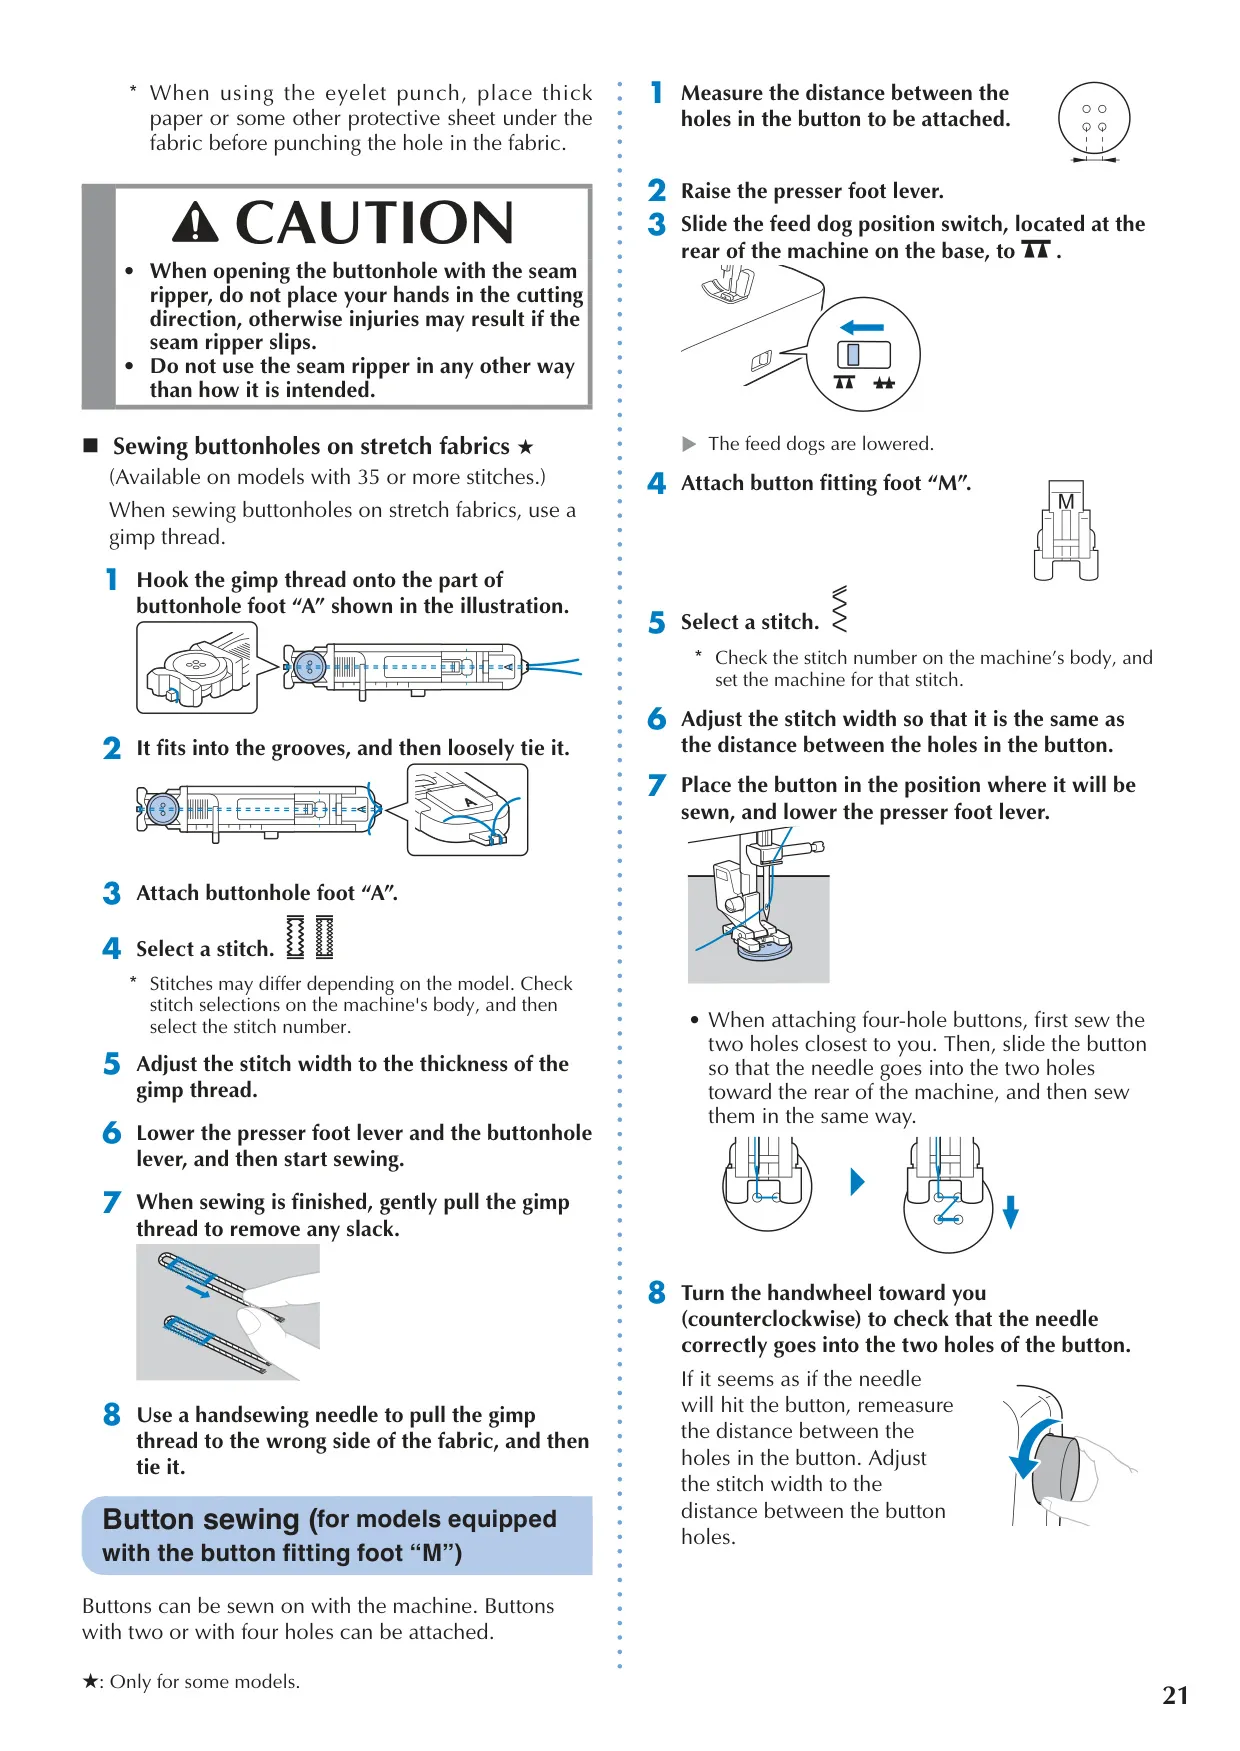
Buttonhole creation is simplified using buttonhole foot "A" which measures the button to automatically sew perfectly sized buttonholes (up to 28mm). For models with button fitting foot "M" attaching two- or four-hole buttons is straightforward, enhanced by the ability to lower the feed dogs for precise alignment.
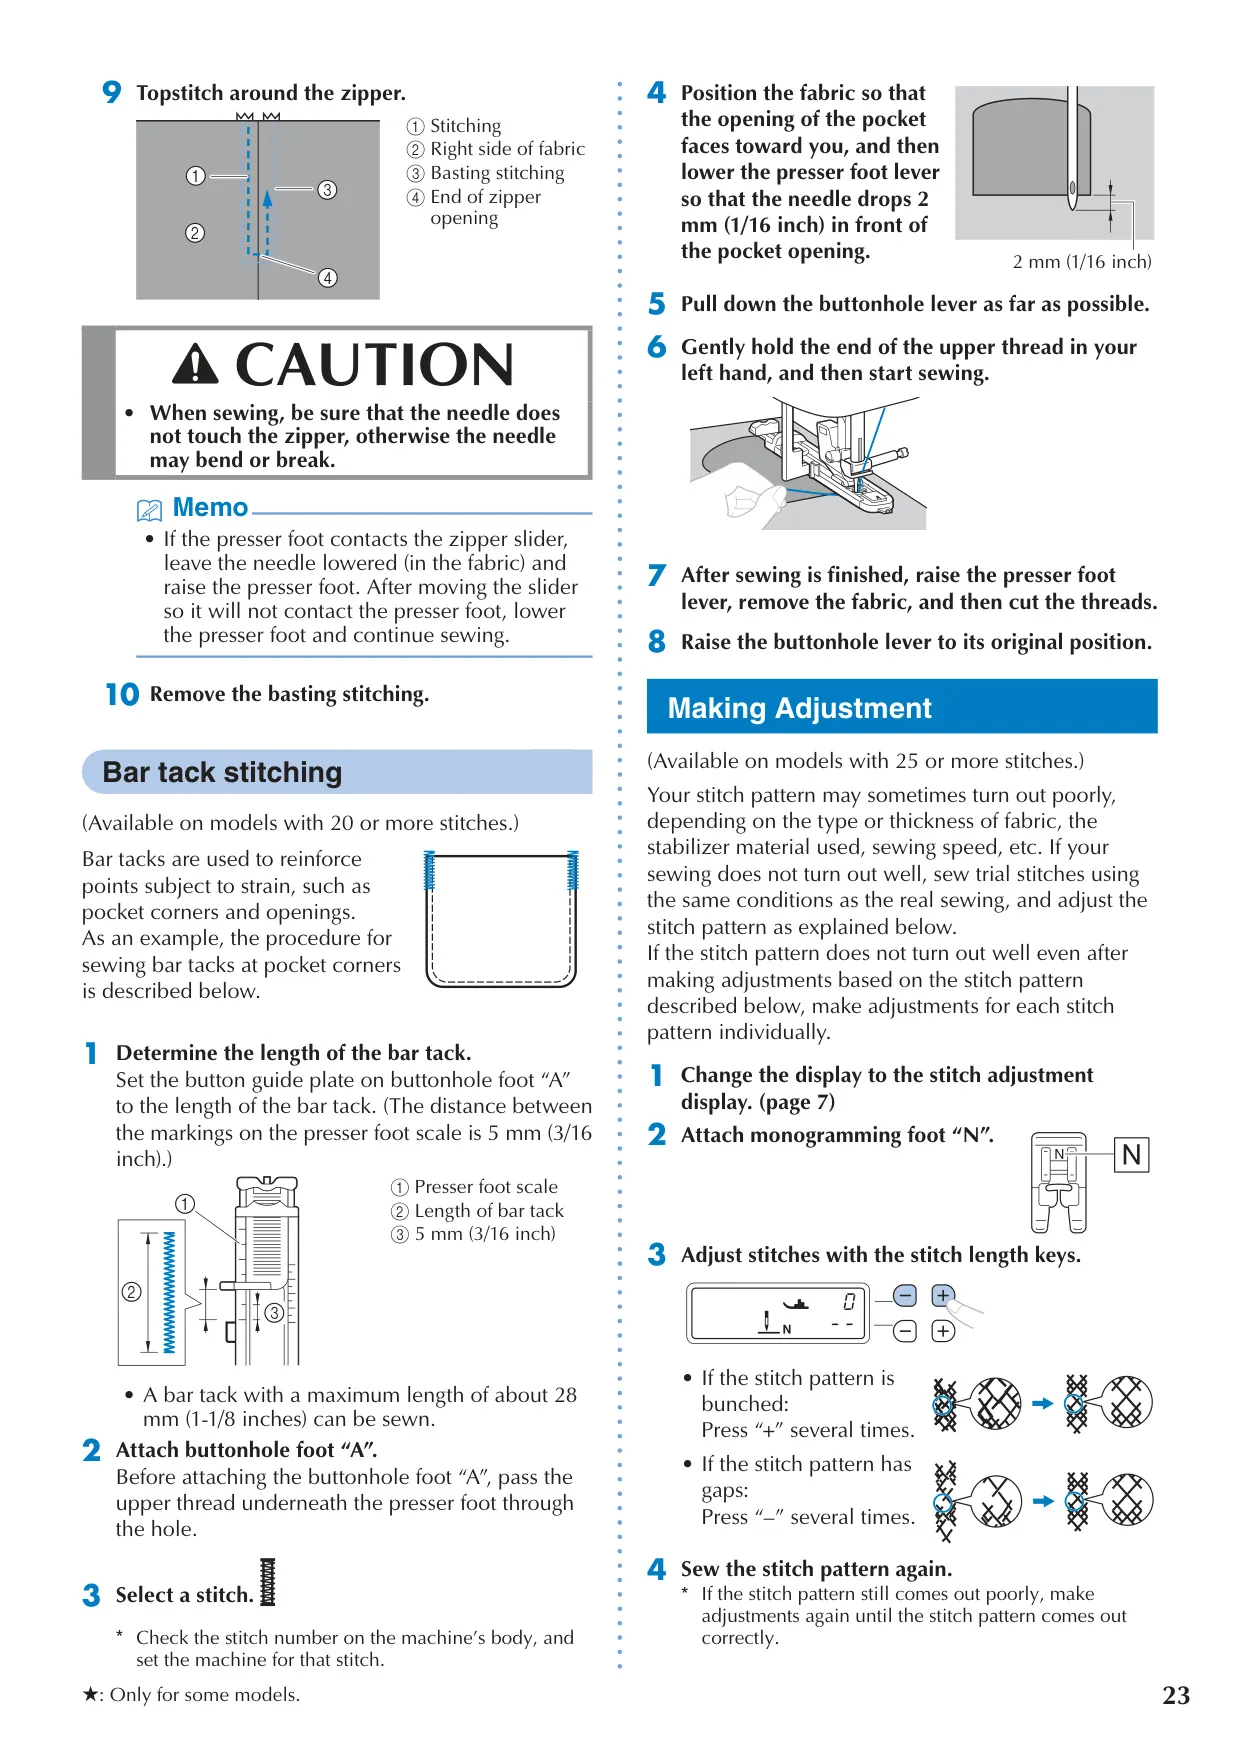
Beyond utility, the machine supports reinforcement and decorative applications. Bar tack stitching, up to 28mm, adds durability to stress points like pocket corners. For specialized stitches (quilting stippling, decorative, satin, cross stitches), an adjustment function fine-tunes patterns for fabric variations, ensuring consistent quality.
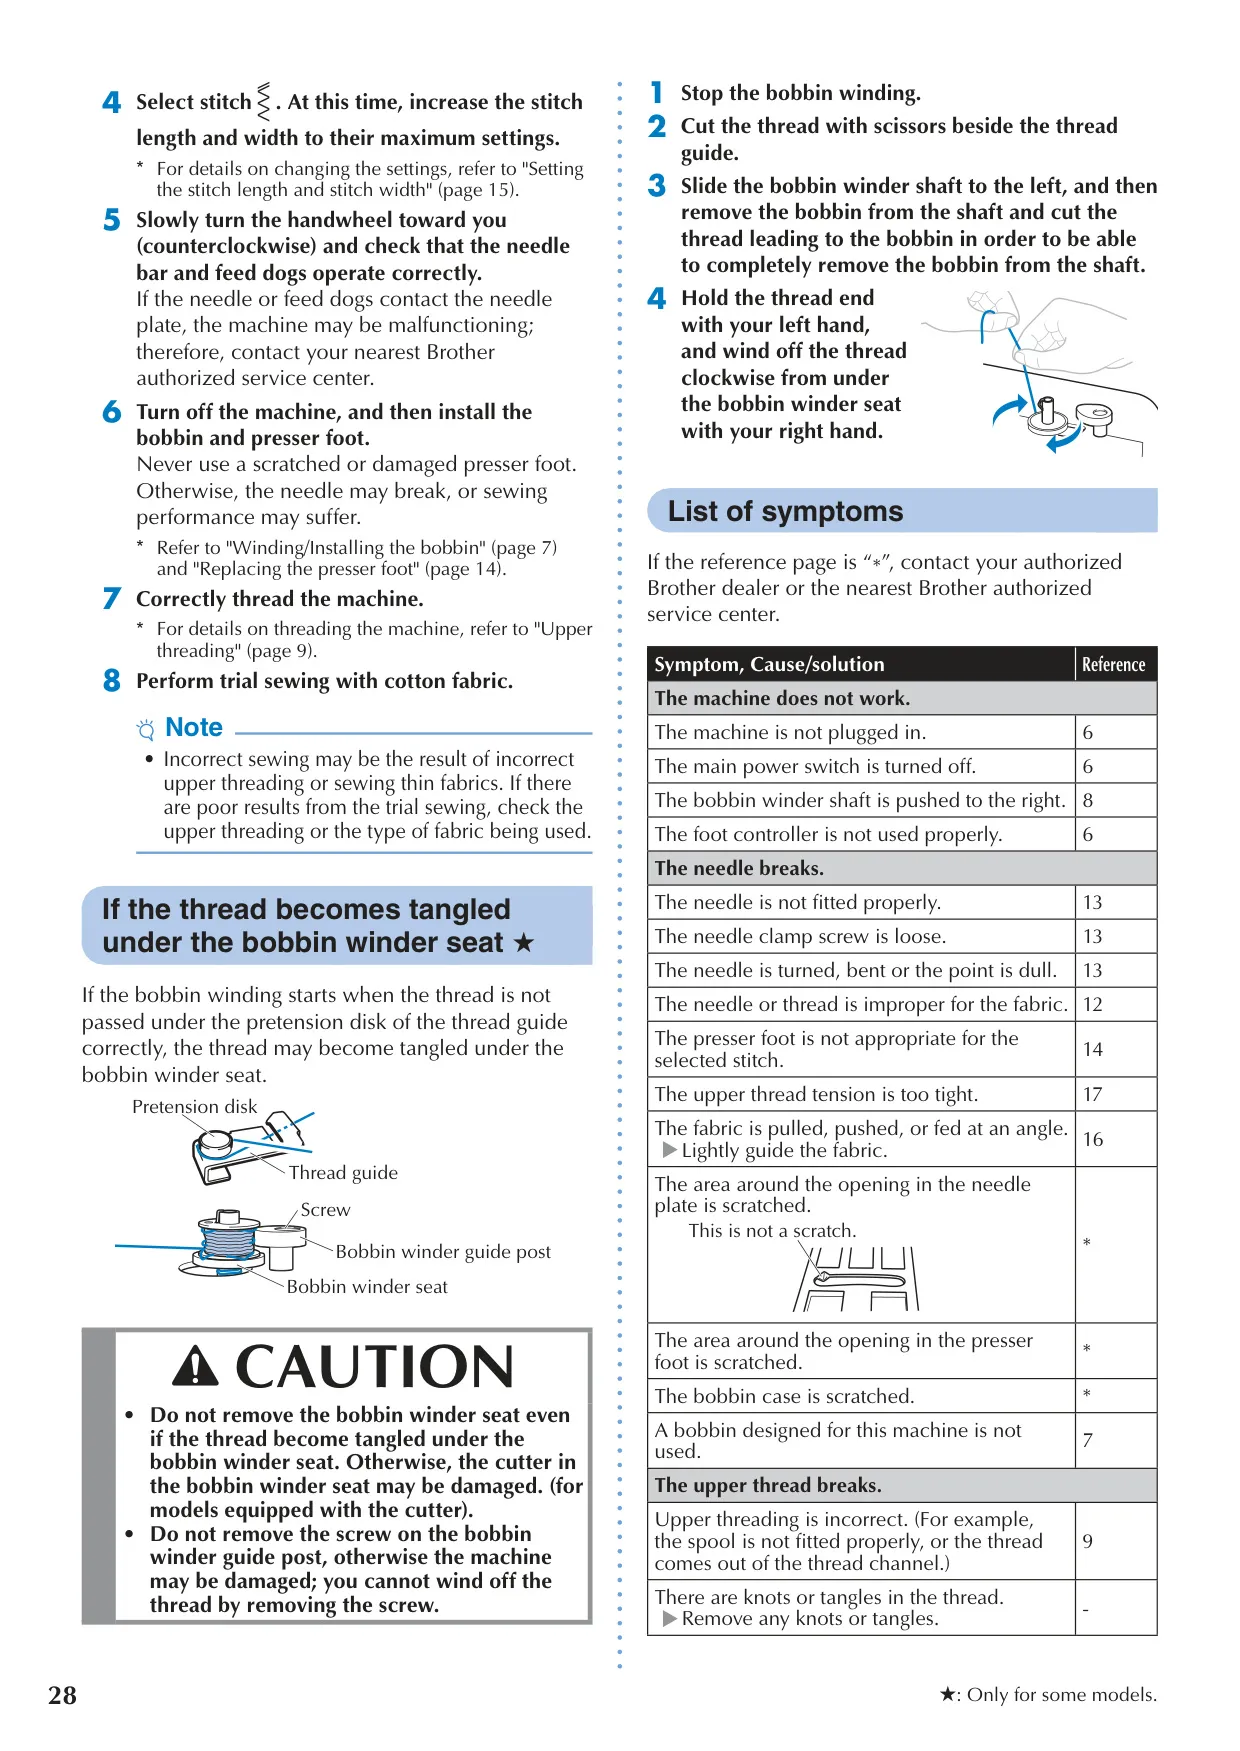
Routine maintenance primarily involves cleaning. Users should avoid self-oiling; the machine is pre-lubricated. Regular cleaning of the machine's exterior and bobbin race is crucial to prevent lint buildup, which can impact performance. Guidelines for safe storage protect the machine from environmental damage.
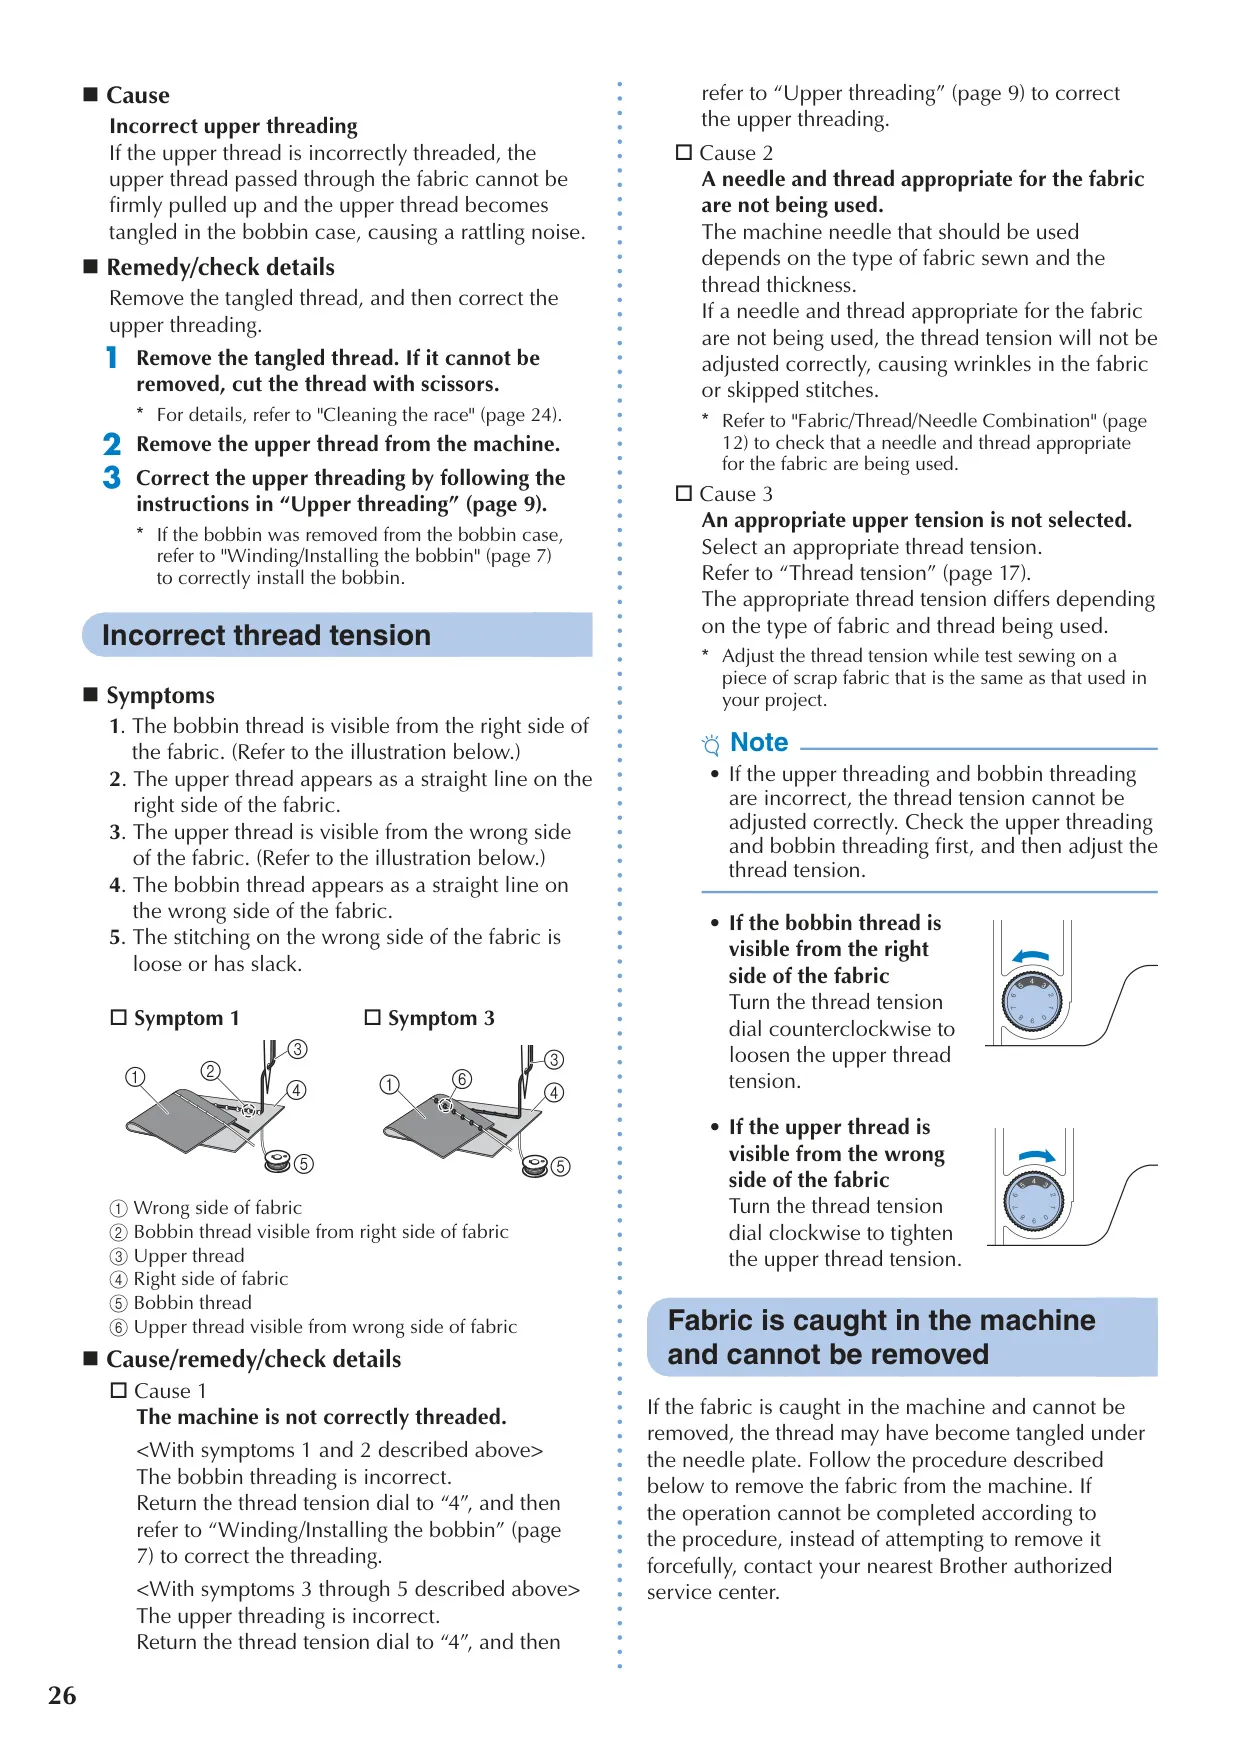
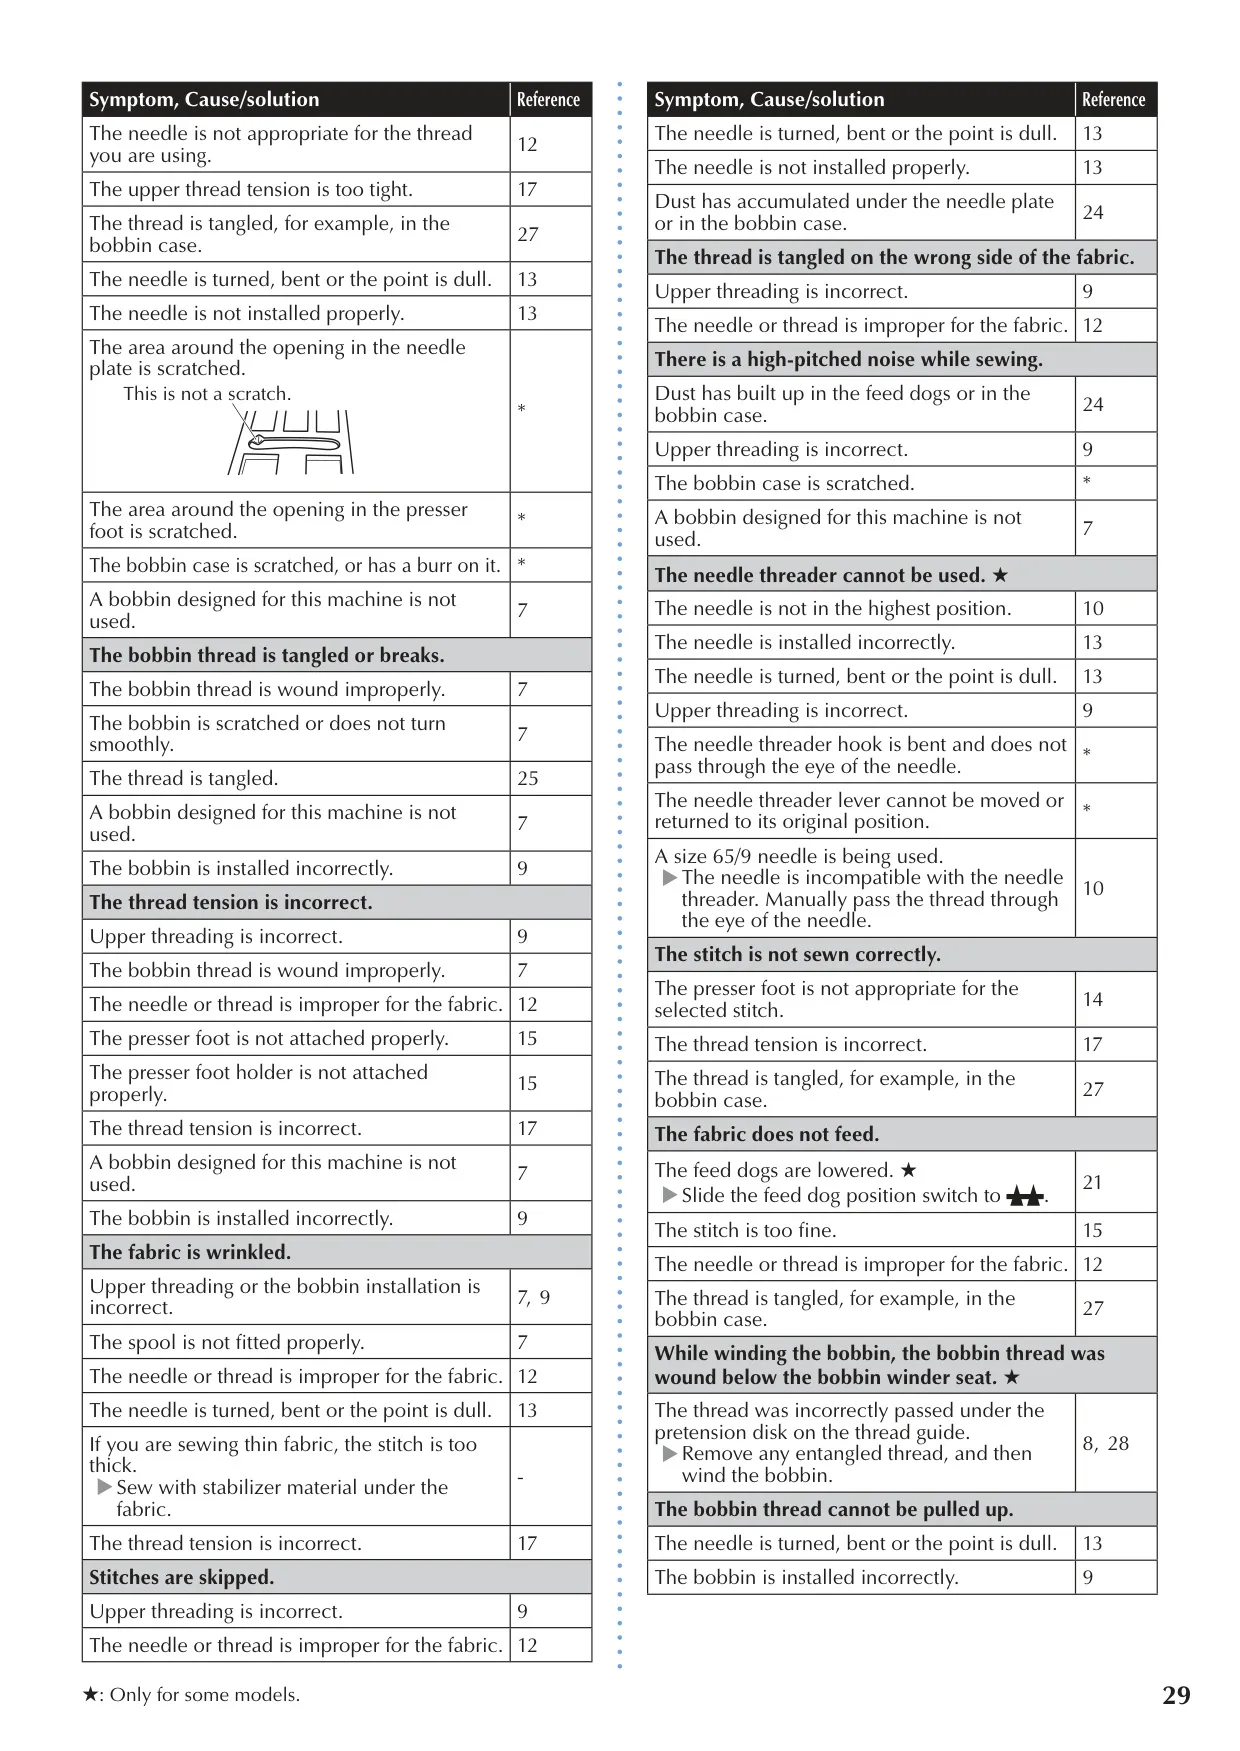
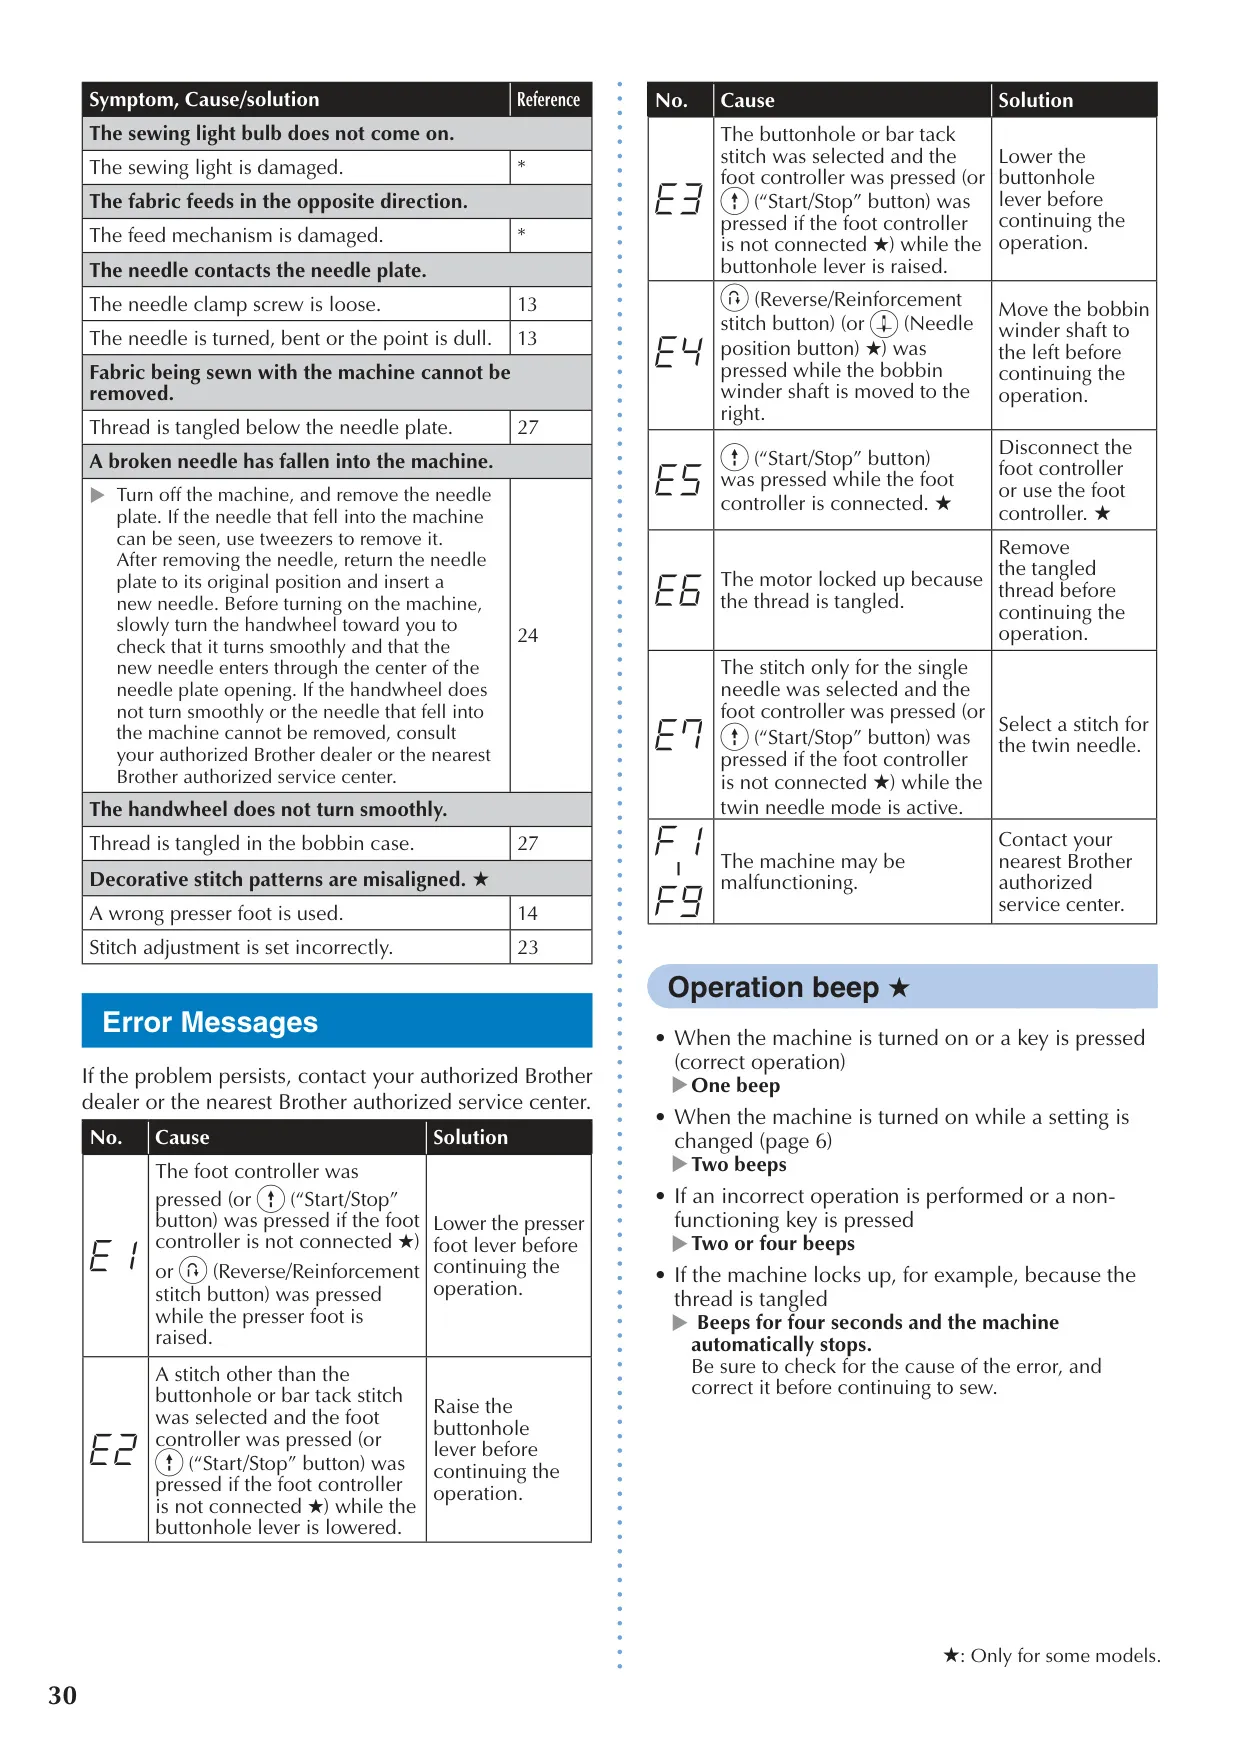
The comprehensive troubleshooting section details solutions for common issues, from tangled threads and skipped stitches to incorrect tension settings. Error messages are clearly explained. This self-help framework enables users to quickly resolve minor problems, with extensive online support from Brother available for complex technical inquiries.
Frequently Asked Questions (FAQs)
Can't find the answer you need? Here are some frequently asked questions about the Brother CS5055 Sewing Machine, and we answer them below.