
Sharp SPC1107 Atomic Clock Instruction Manual
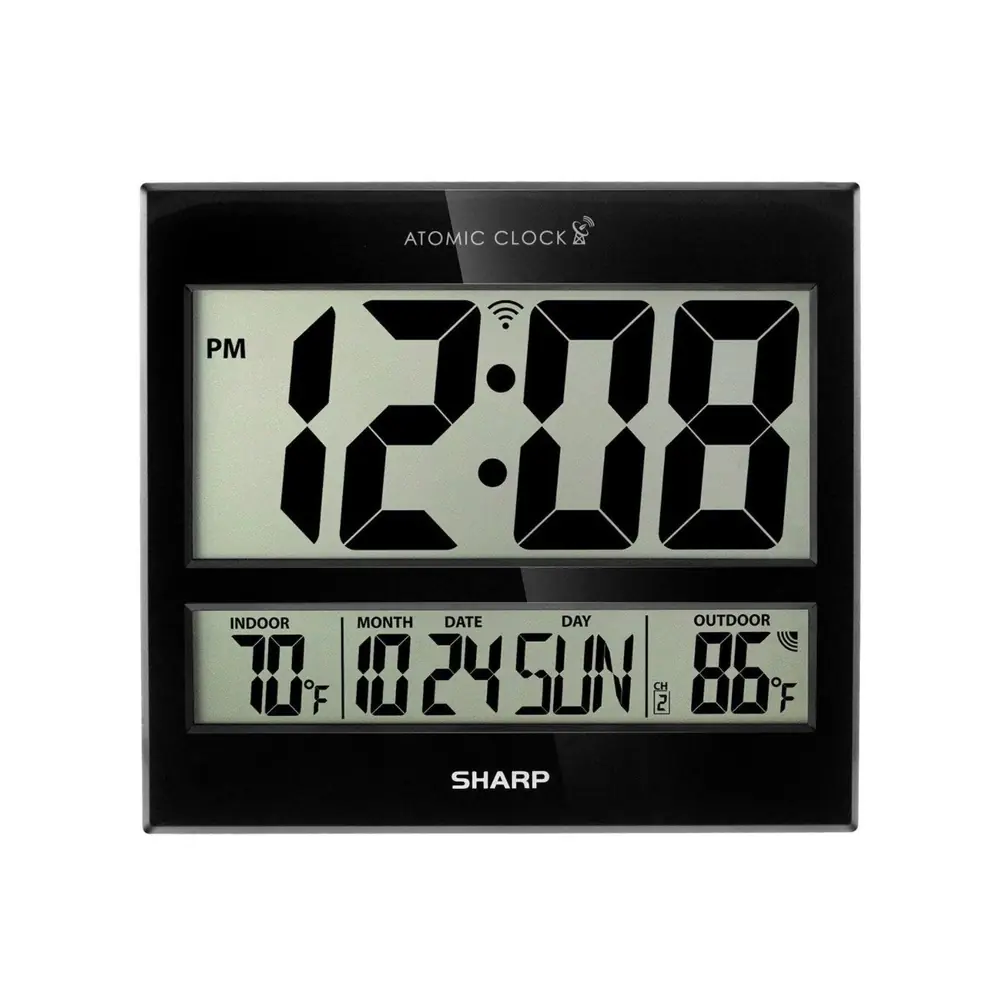
Sharp SPC1107 Atomic Clock
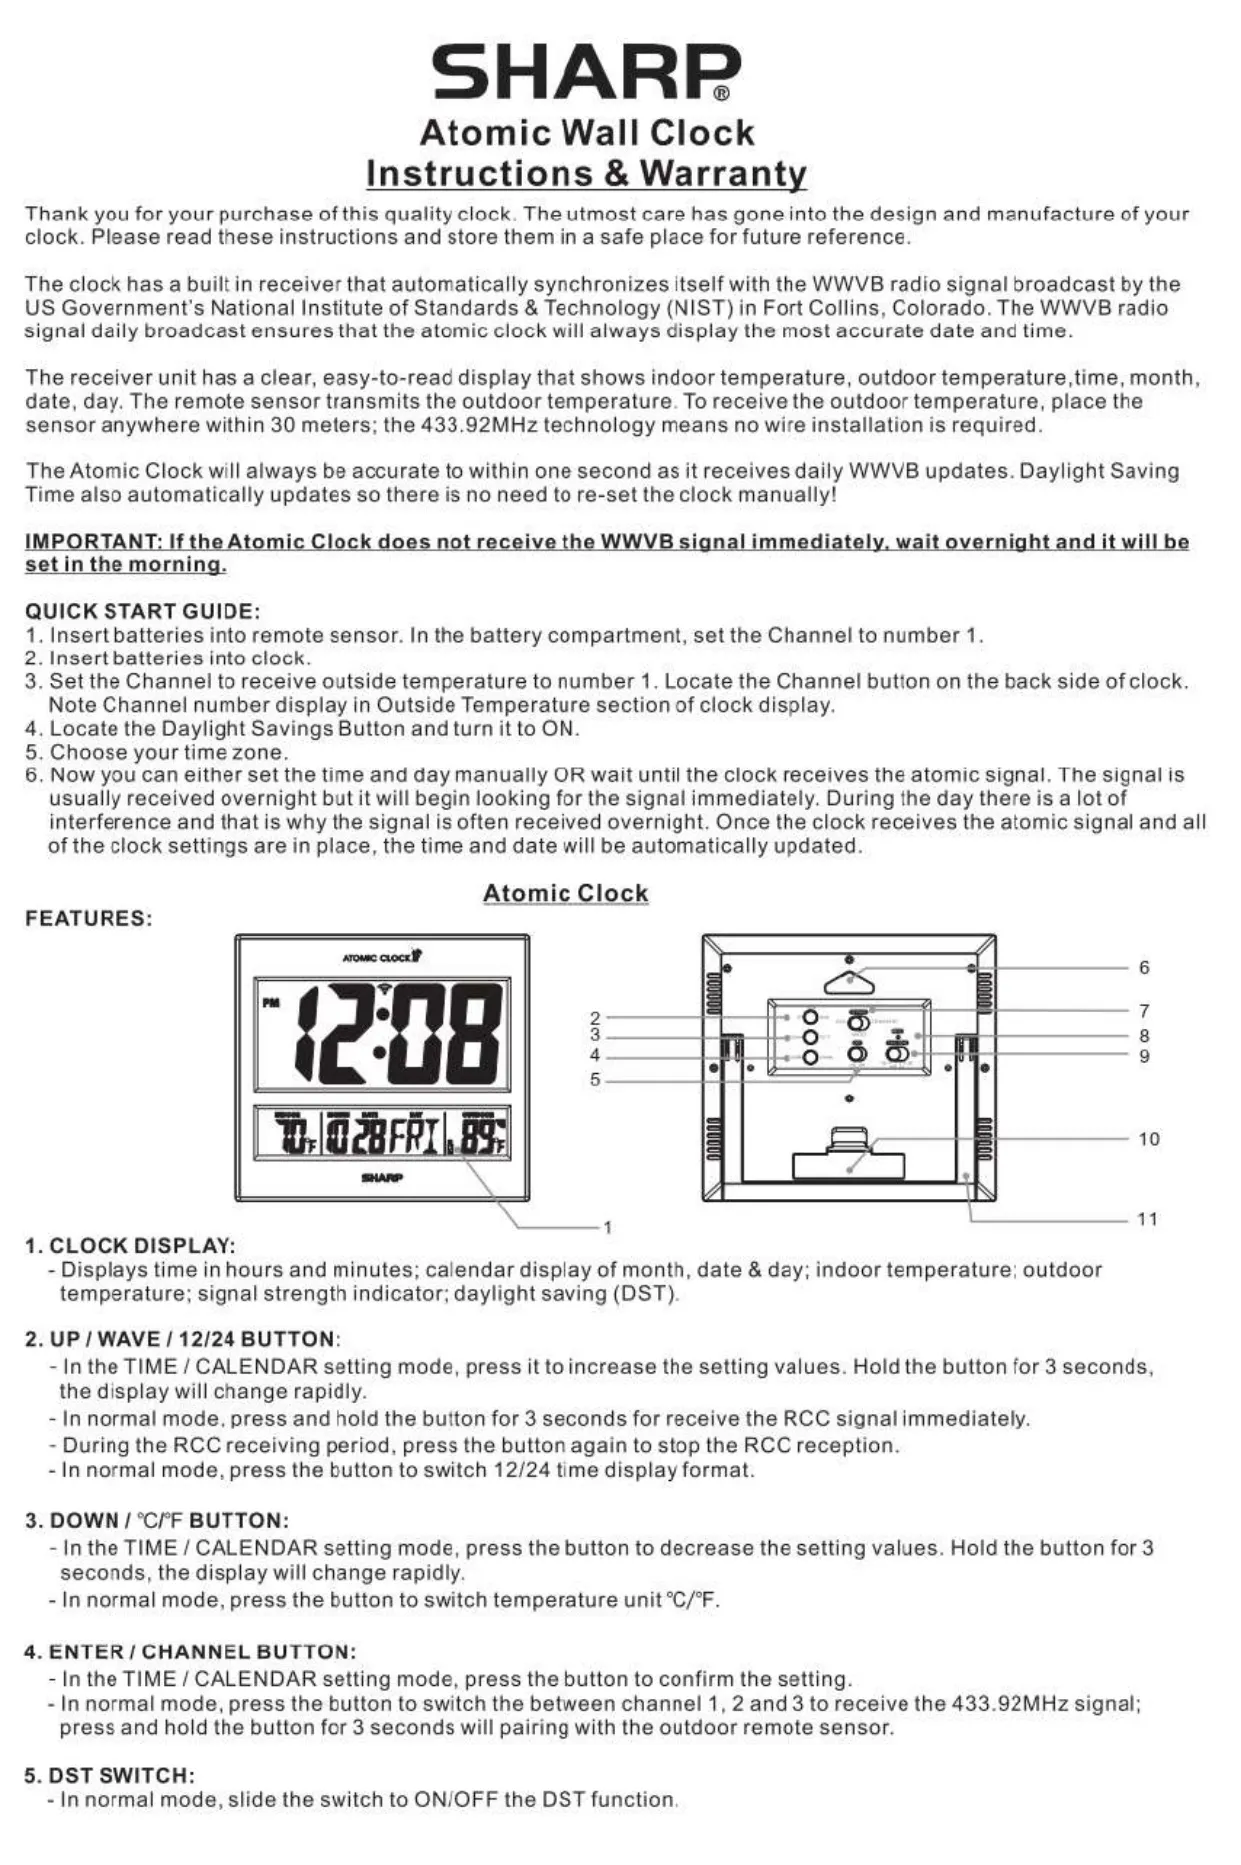
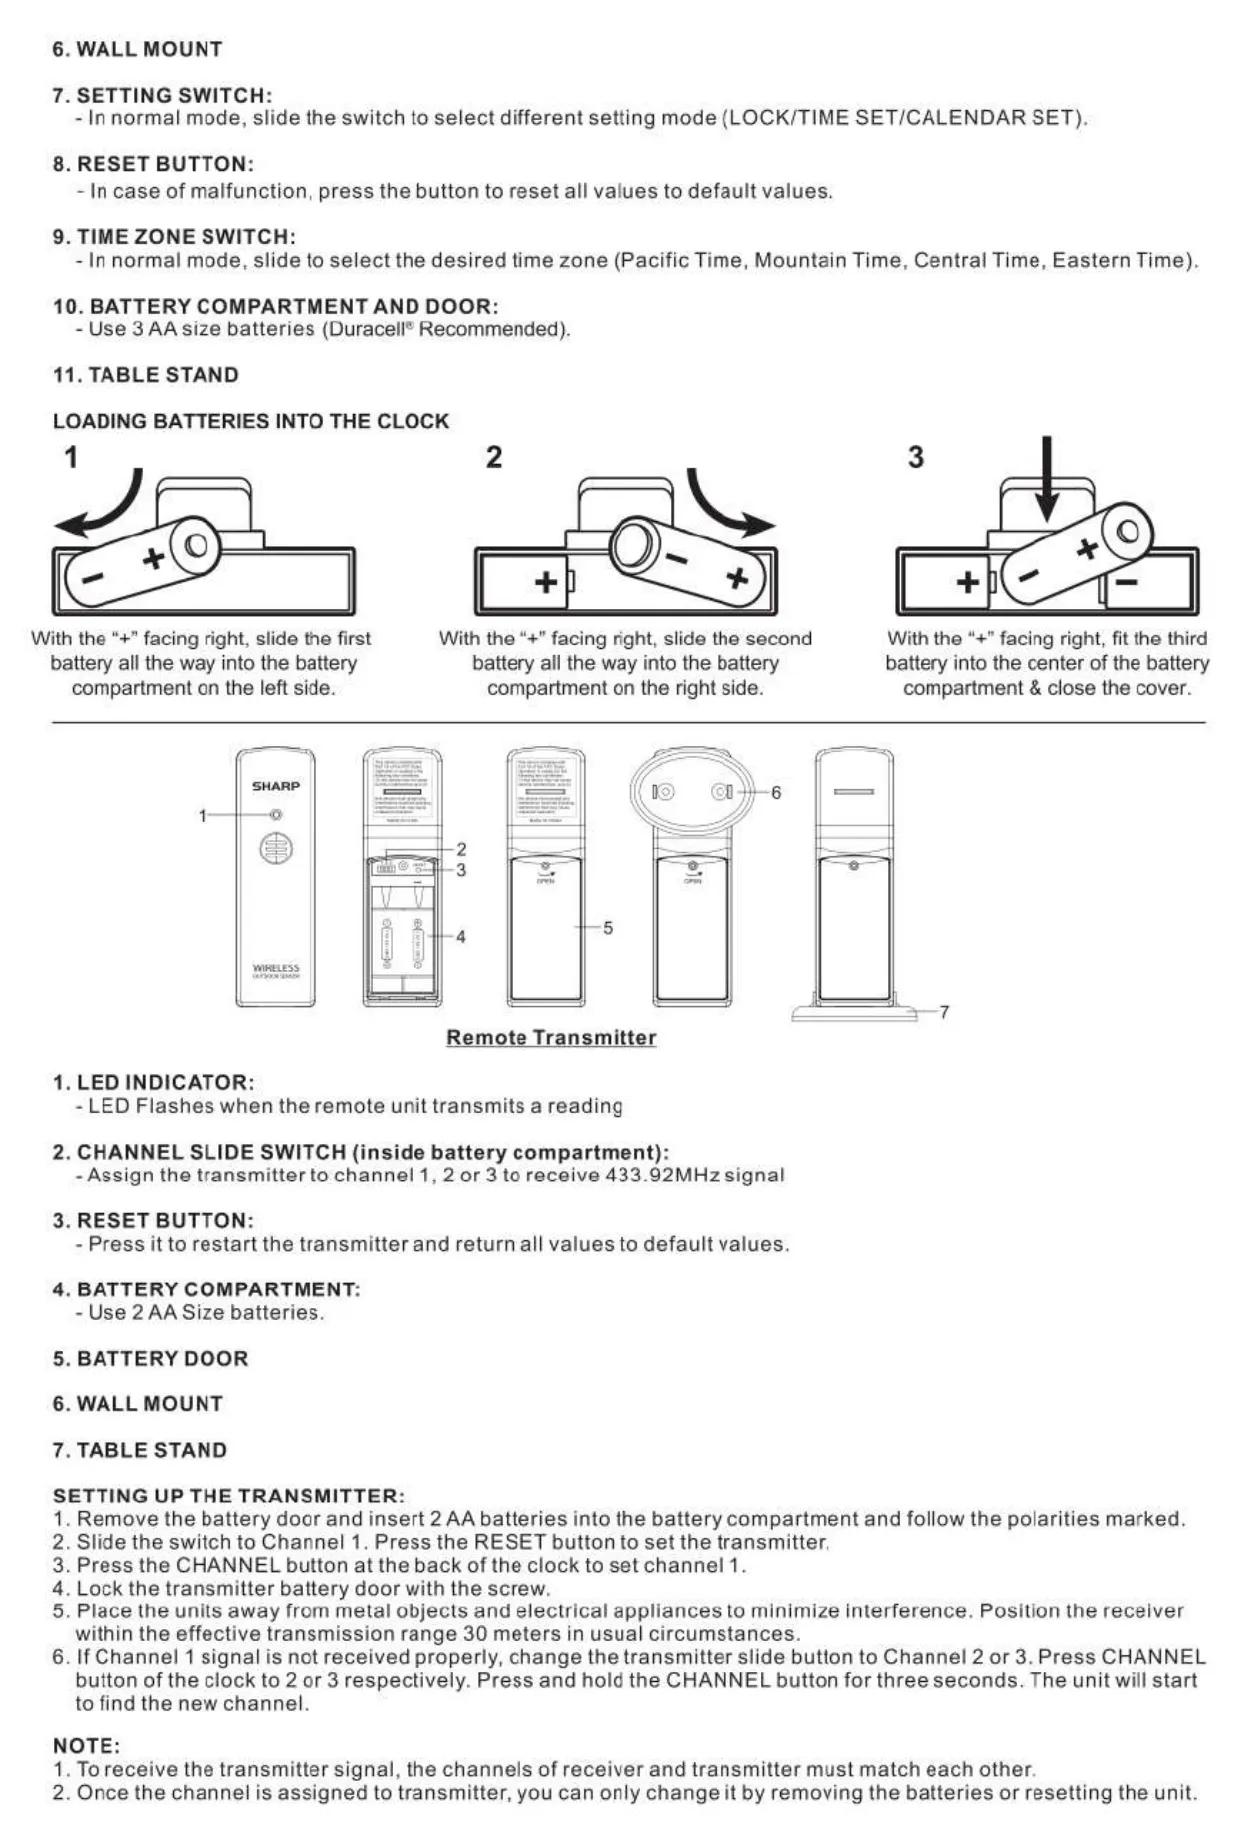
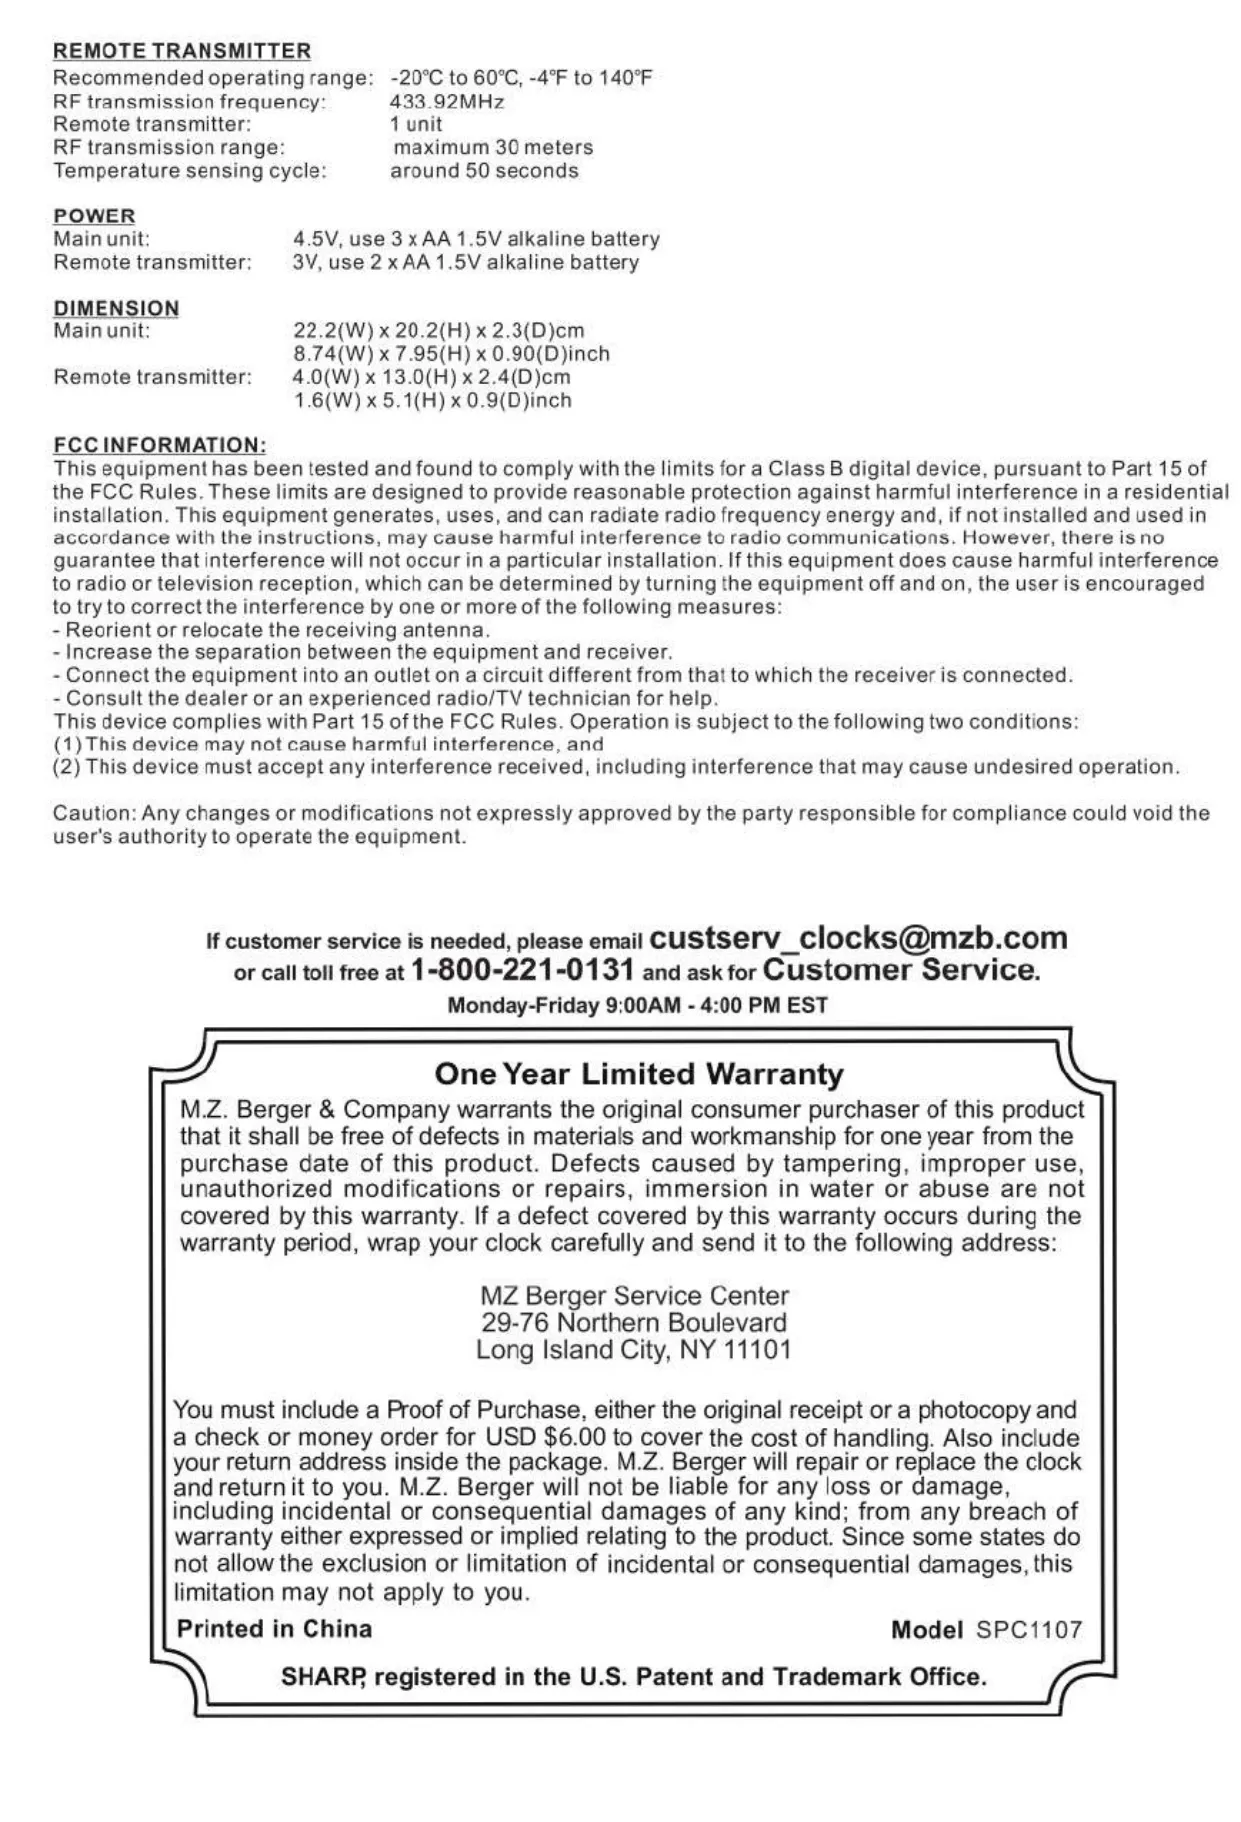
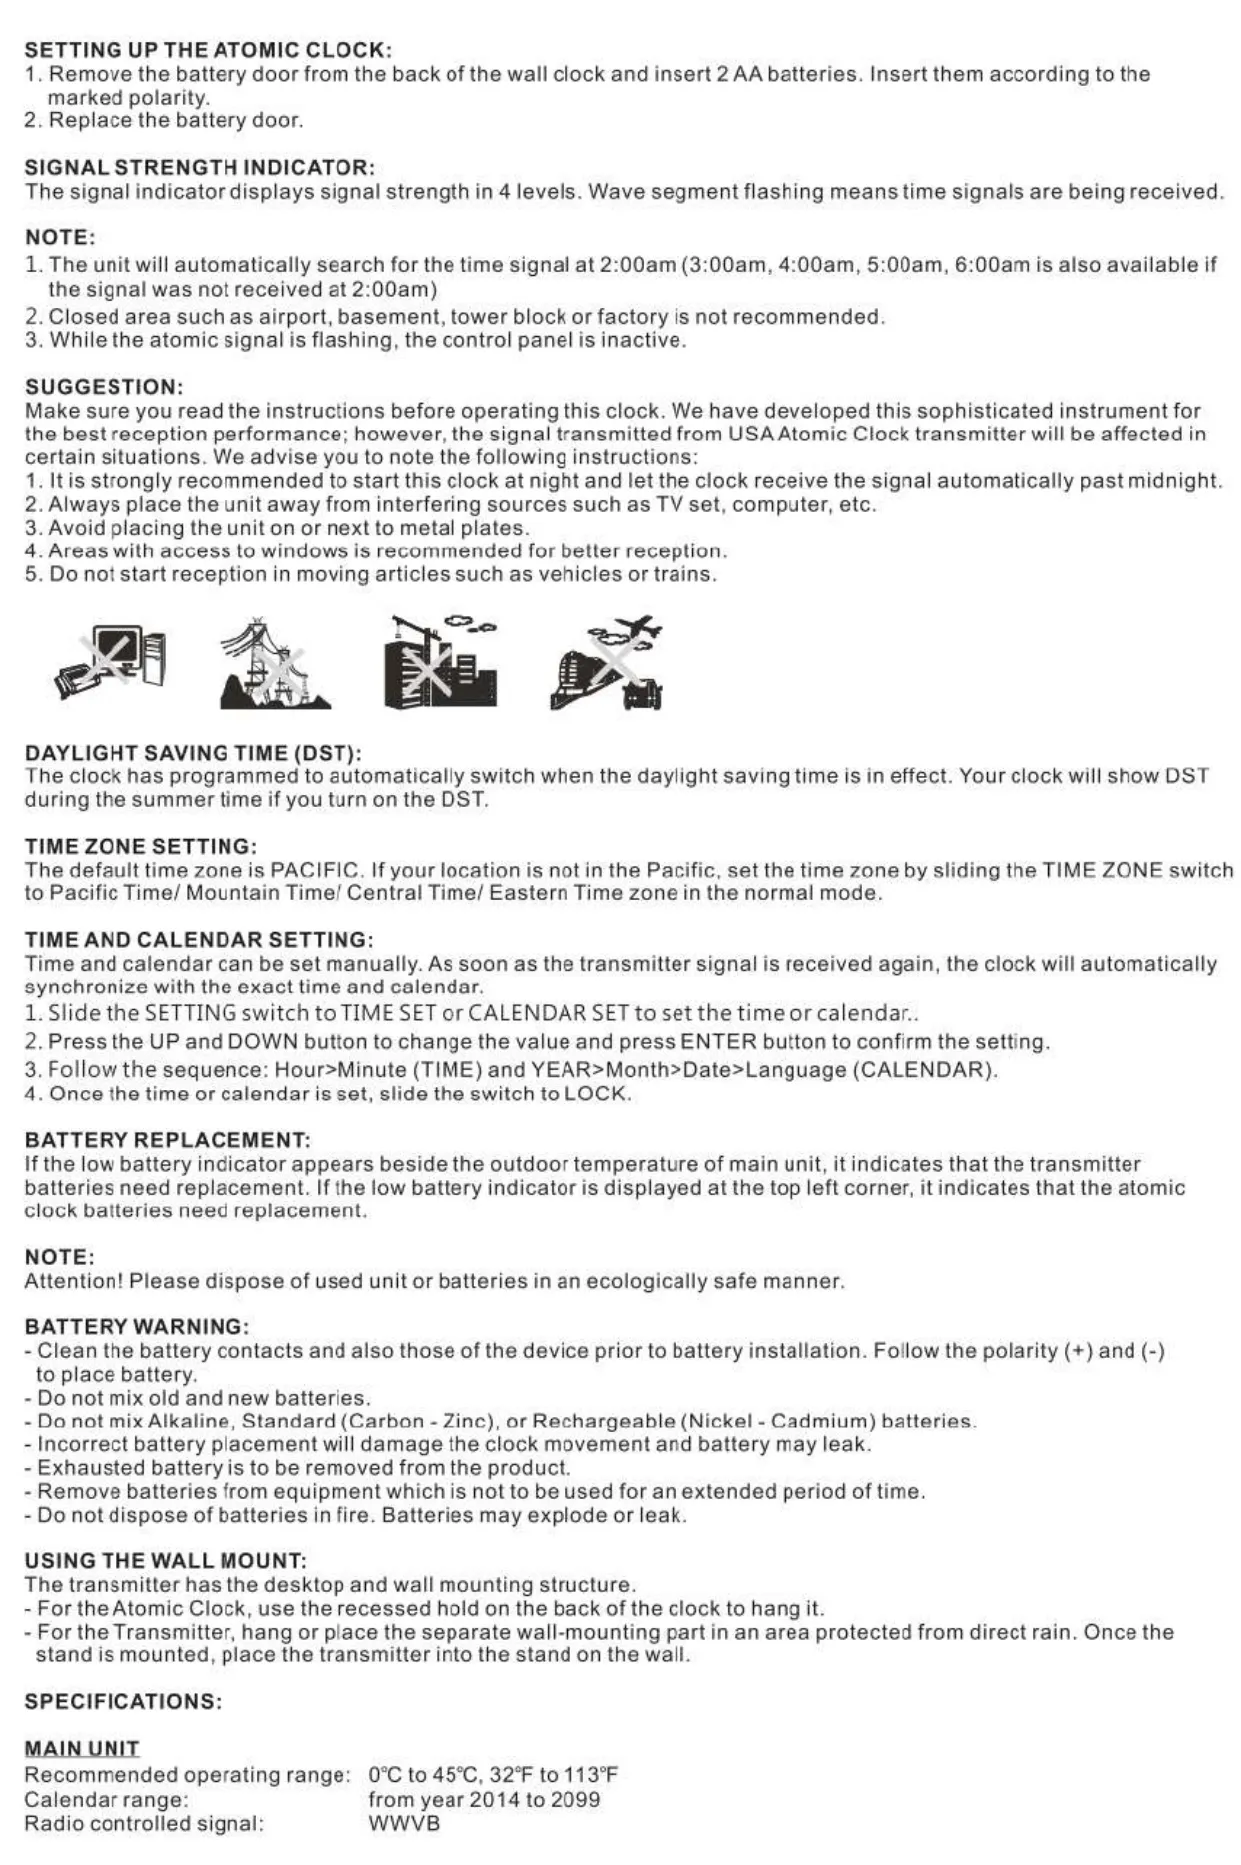


Sharp SPC1107 Atomic Clock Instructions
Here we offer the Sharp SPC1107 Atomic Clock manual completely free and in English. We have cataloged this manual in the Atomic Clocks section on Manualverse, and it has been rated by 1 users with an average rating of 5. If you have any specific questions about Sharp SPC1107 Atomic Clock, we suggest checking the Frequently Asked Questions (FAQs) section of this manual.
Product Images
Sharp SPC1107 Atomic Clock Specifications
| Feature | Specification |
|---|---|
| Main Unit Recommended Operating Range | 0°C to 45°C (32°F to 113°F) |
| Calendar Range | Year 2014 to 2099 |
| Radio Controlled Signal | WWVB (US Government's NIST broadcast from Fort Collins, Colorado) |
| Main Unit Power | 4.5V (3 x AA 1.5V alkaline batteries) |
| Main Unit Dimensions | 22.2 cm (W) x 20.2 cm (H) x 2.3 cm (D) 8.74 inches (W) x 7.95 inches (H) x 0.90 inches (D) |
| Remote Transmitter Recommended Operating Range | -20°C to 60°C (-4°F to 140°F) |
| RF Transmission Frequency | 433.92 MHz |
| Remote Transmitter Units Included | 1 unit |
| RF Transmission Range | Maximum 30 meters (in usual circumstances) |
| Temperature Sensing Cycle | Around 50 seconds |
| Remote Transmitter Power | 3V (2 x AA 1.5V alkaline batteries) |
| Remote Transmitter Dimensions | 4.0 cm (W) x 13.0 cm (H) x 2.4 cm (D) 1.6 inches (W) x 5.1 inches (H) x 0.9 inches (D) |
Sharp SPC1107 Atomic Clock Details
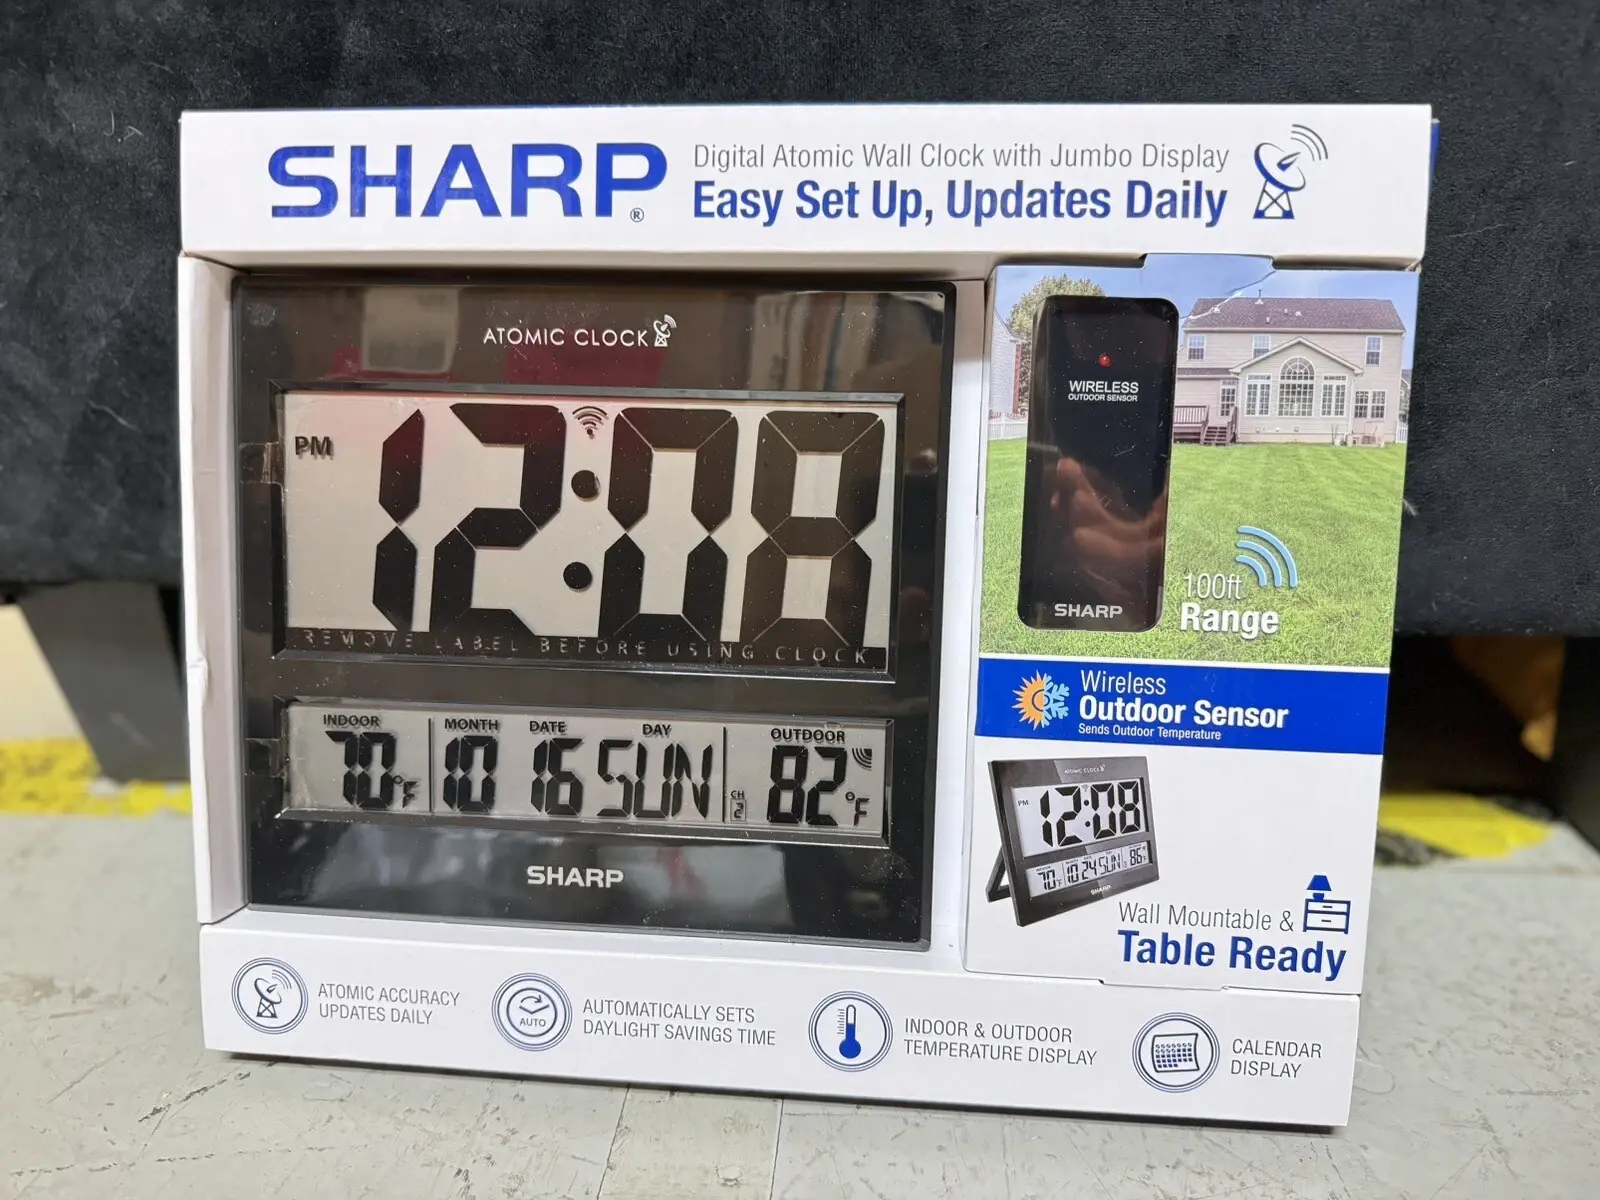
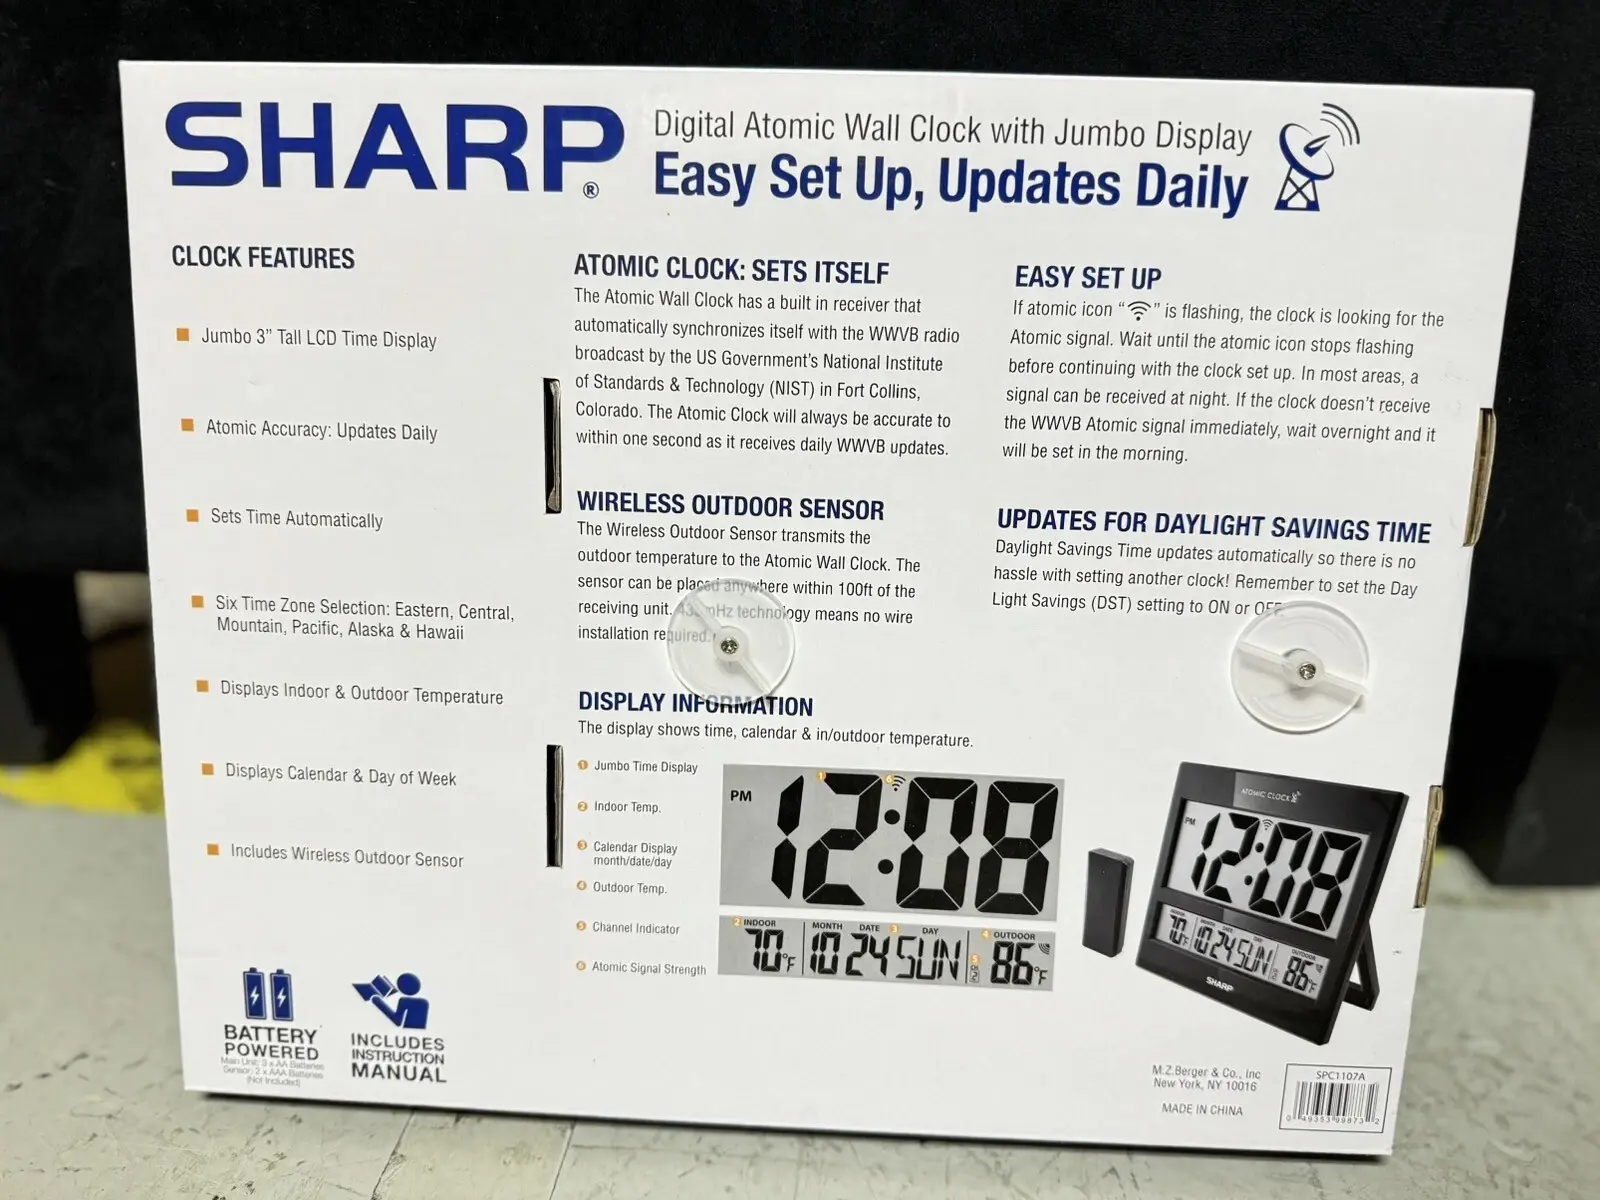
The Sharp SPC1107 Atomic Clock is designed for unparalleled accuracy, automatically synchronizing with the WWVB radio signal broadcast by the US Government's National Institute of Standards & Technology (NIST) from Fort Collins, Colorado. This daily broadcast ensures the clock is always accurate to within one second, providing reliable timekeeping without manual adjustments.
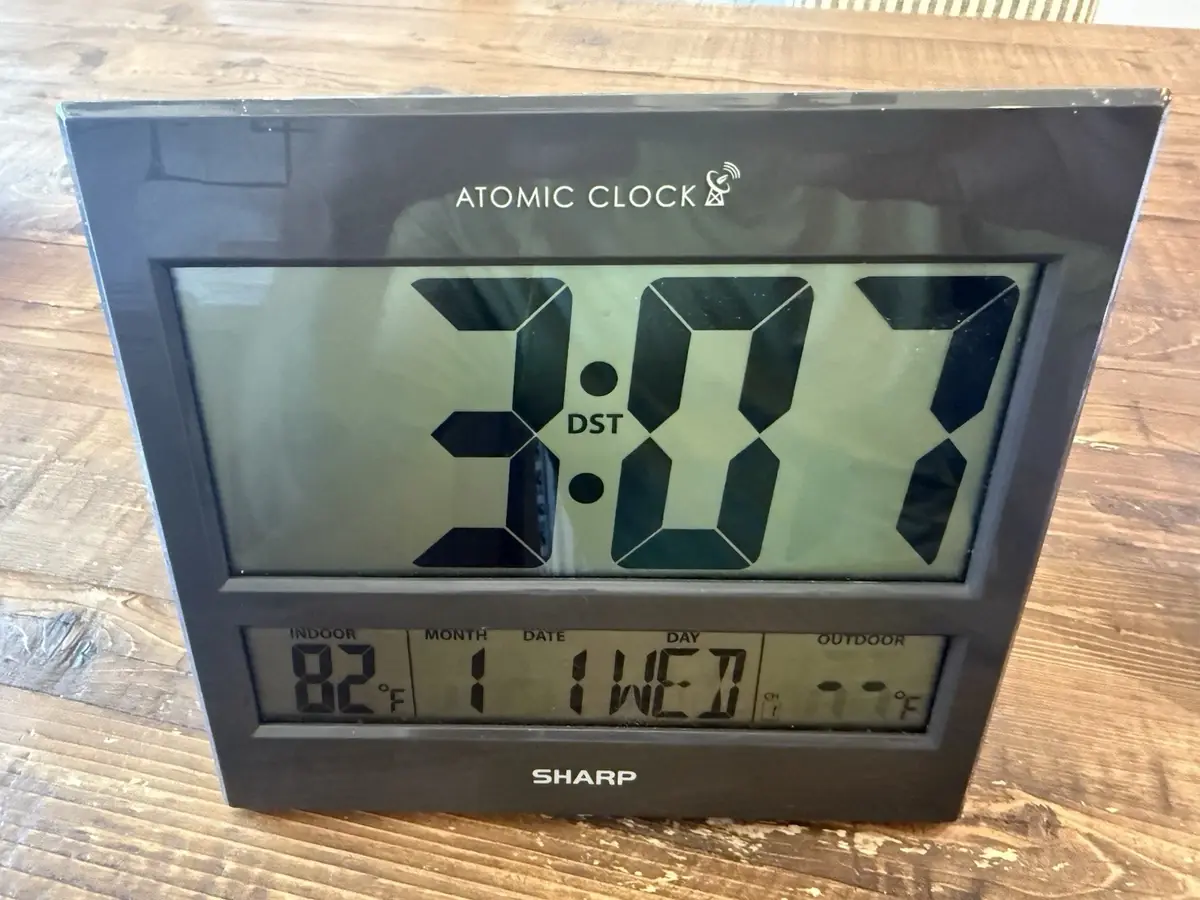
A key convenience feature is the automatic update for Daylight Saving Time (DST). Once activated, the clock self-adjusts for DST, eliminating the need for users to manually reset their clocks twice a year. This functionality, coupled with the atomic signal reception, provides a truly maintenance-free time display.
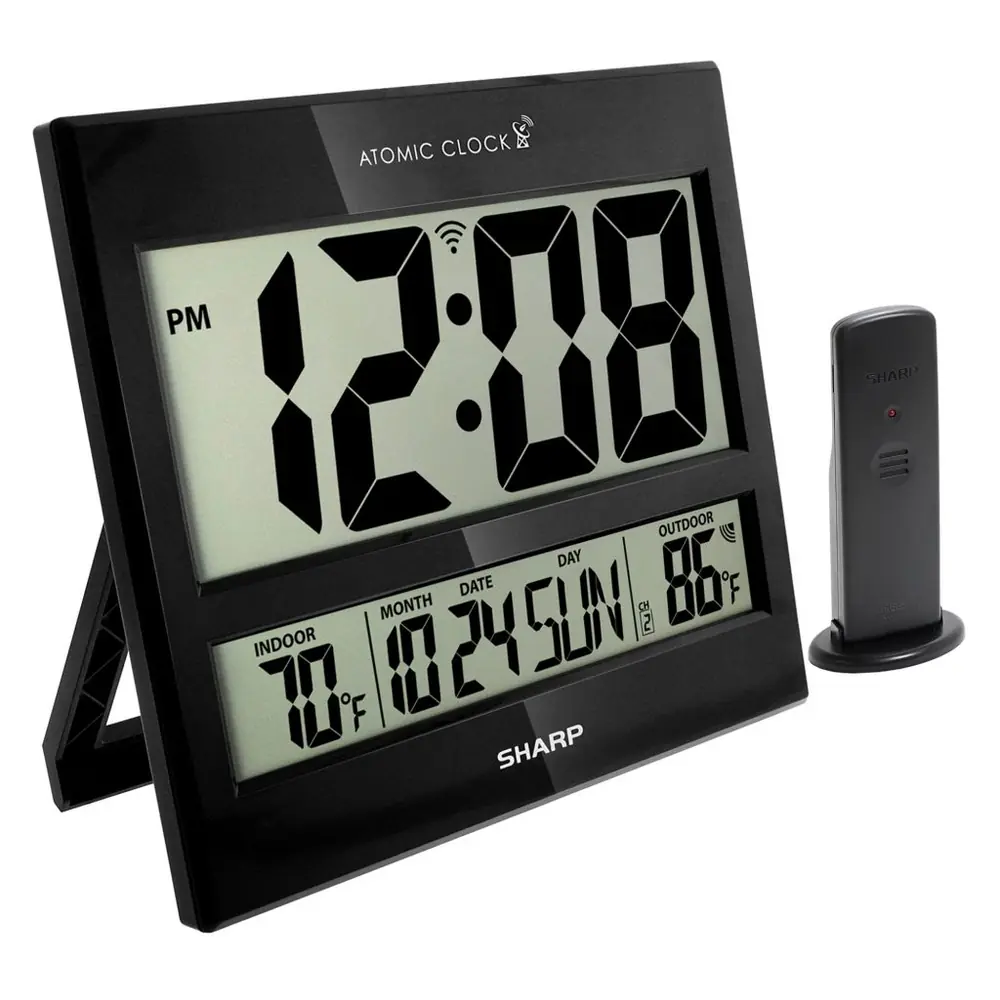
The clock features a clear, easy-to-read display that presents a wealth of information at a glance. Users can quickly view the current time in hours and minutes, the full calendar display including month, date, and day, along with both indoor and outdoor temperatures. A signal strength indicator and a DST status display further enhance the user's understanding of the clock's operation.
The outdoor temperature is measured by a remote sensor, transmitting its data wirelessly to the main unit using 433.92MHz technology. This means no wire installation is required, allowing the sensor to be placed anywhere within a 30-meter range from the main unit. The remote sensor can be assigned to one of three channels for flexibility.
Setting up the clock is straightforward, guided by a quick start process. After inserting batteries into both the remote sensor and the main clock unit, users simply set the channel on both devices to match, turn on the Daylight Saving Time feature, and select their desired time zone. The clock then immediately begins searching for the atomic signal, typically receiving it overnight for optimal setup.
Operational buttons on the clock include UP/WAVE/12/24 for increasing values in settings, initiating immediate RCC signal reception, or switching between 12/24-hour formats. The DOWN/°C/°F button decreases setting values and toggles temperature units. An ENTER/CHANNEL button confirms settings and switches between remote sensor channels, with a press-and-hold feature for pairing.
Further controls comprise a dedicated DST switch for toggling the Daylight Saving Time function, a SETTING switch to select between LOCK, TIME SET, and CALENDAR SET modes, and a RESET button to revert all values to default in case of malfunction. A TIME ZONE switch allows for easy selection among Pacific, Mountain, Central, and Eastern Time zones.
The remote transmitter itself includes an LED indicator that flashes upon transmitting a reading, a channel slide switch within its battery compartment for assignment (1, 2, or 3), and its own RESET button. Both the main unit and the transmitter are designed for versatility, featuring options for wall mounting or desktop placement using integrated stands.
For optimal atomic signal reception, it is recommended to start the clock at night, away from interfering sources like TVs or computers, and avoid placing it on or next to metal plates. Locating the unit in areas with window access can also significantly improve reception. The clock is programmed to automatically search for the time signal at 2:00 am, with subsequent attempts if the initial search is unsuccessful.
Users also have the flexibility to set the time and calendar manually, though the clock will automatically synchronize with the exact atomic time and calendar once the signal is successfully received again. The system includes convenient low battery indicators for both the main unit (top left corner) and the outdoor temperature display (beside outdoor temperature), alerting users when battery replacement is needed.
Frequently Asked Questions (FAQs)
Can't find the answer you need? Here are some frequently asked questions about the Sharp SPC1107 Atomic Clock, and we answer them below.