
Heatmiser Neo Air V2 Thermostat Instruction Manual
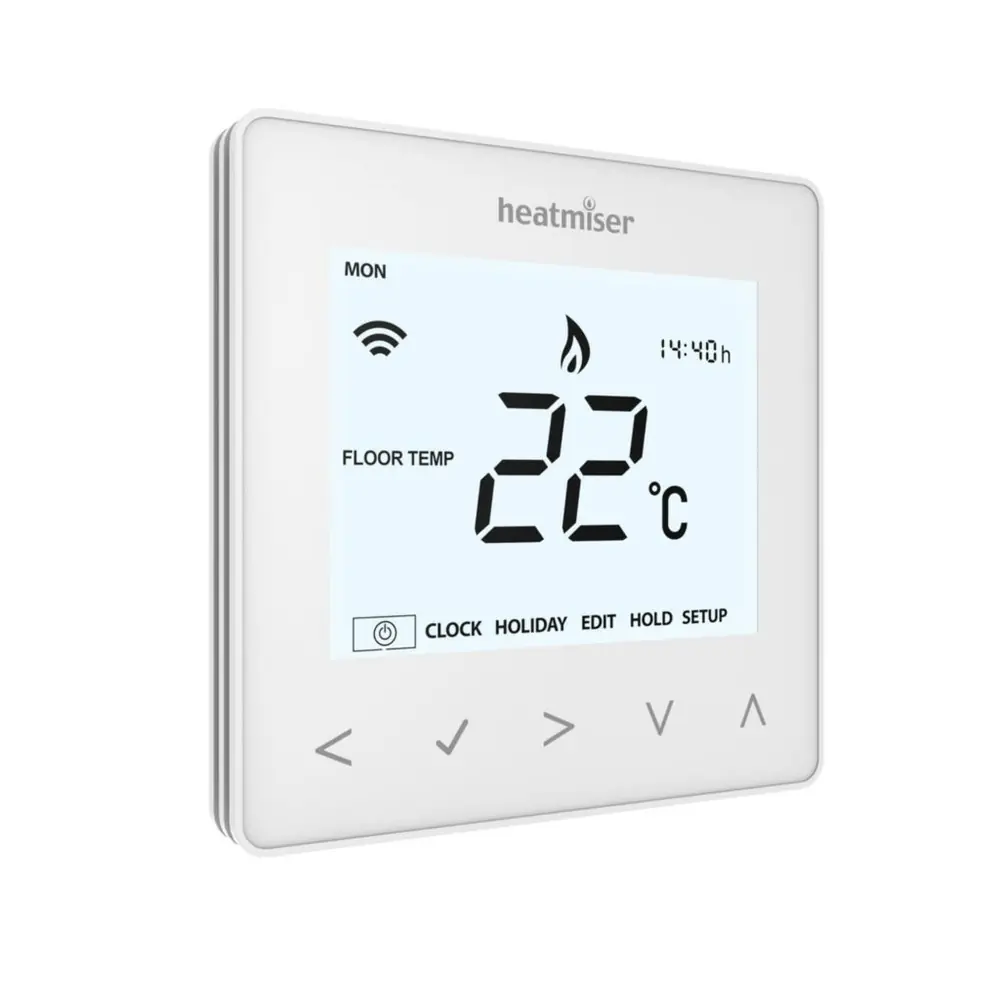
Heatmiser Neo Air V2 Thermostat
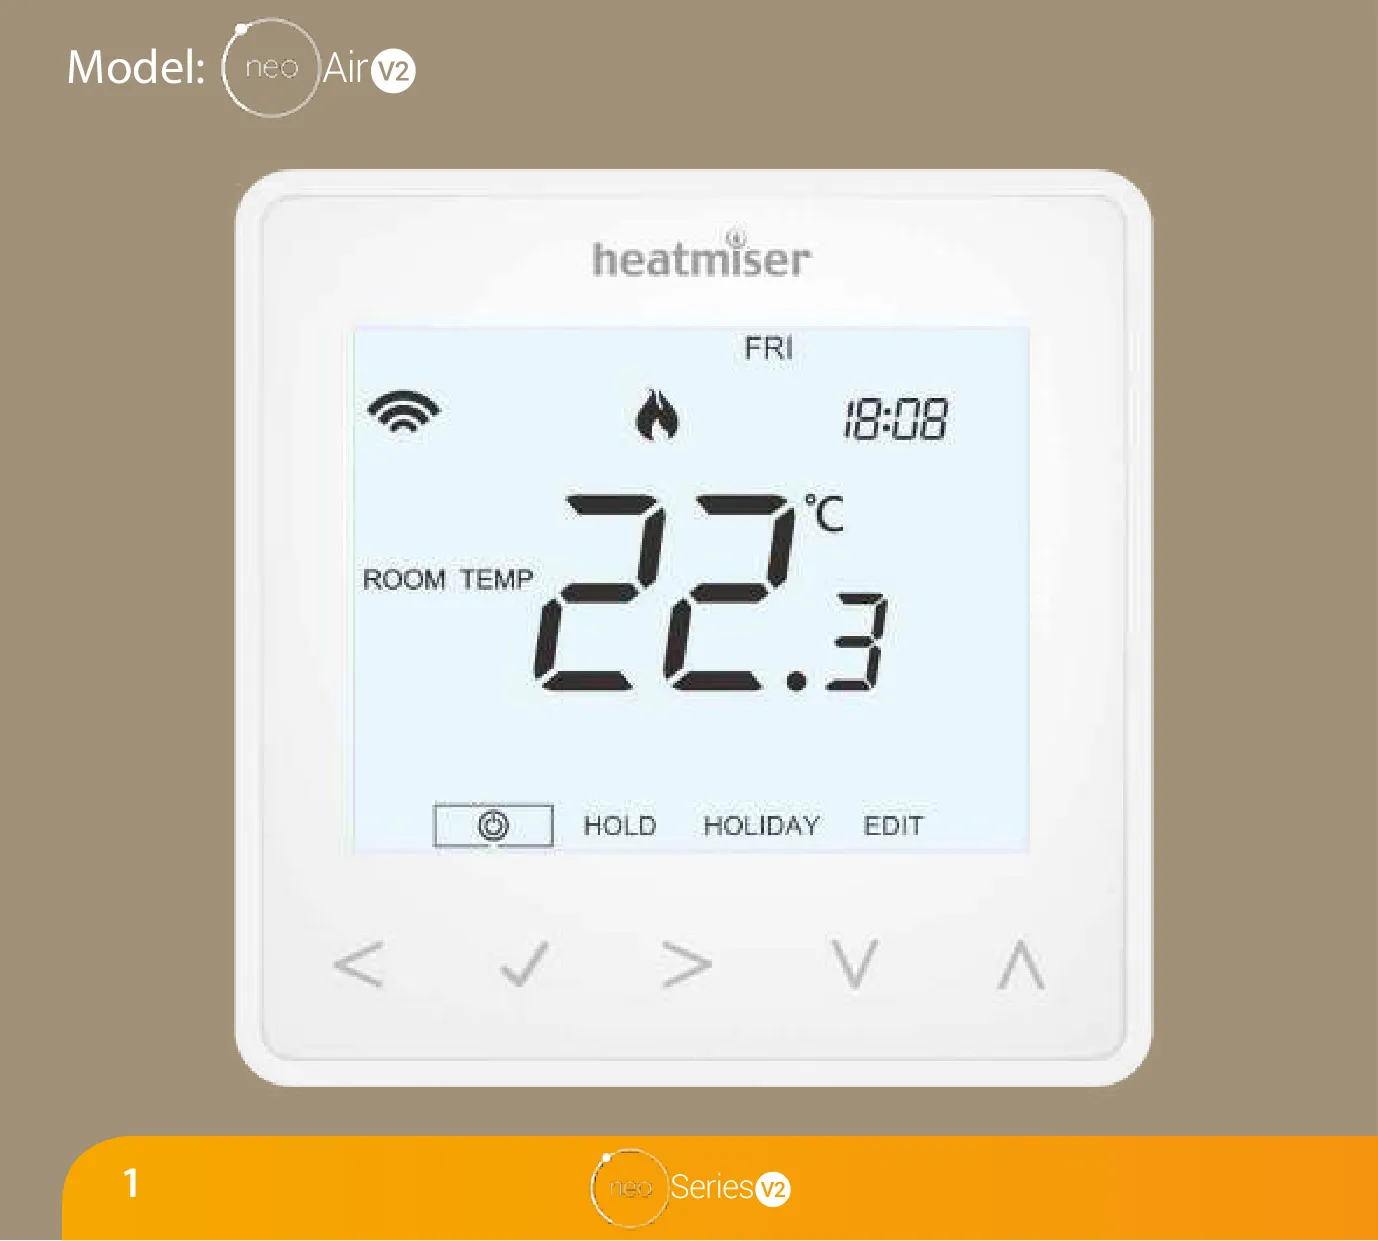
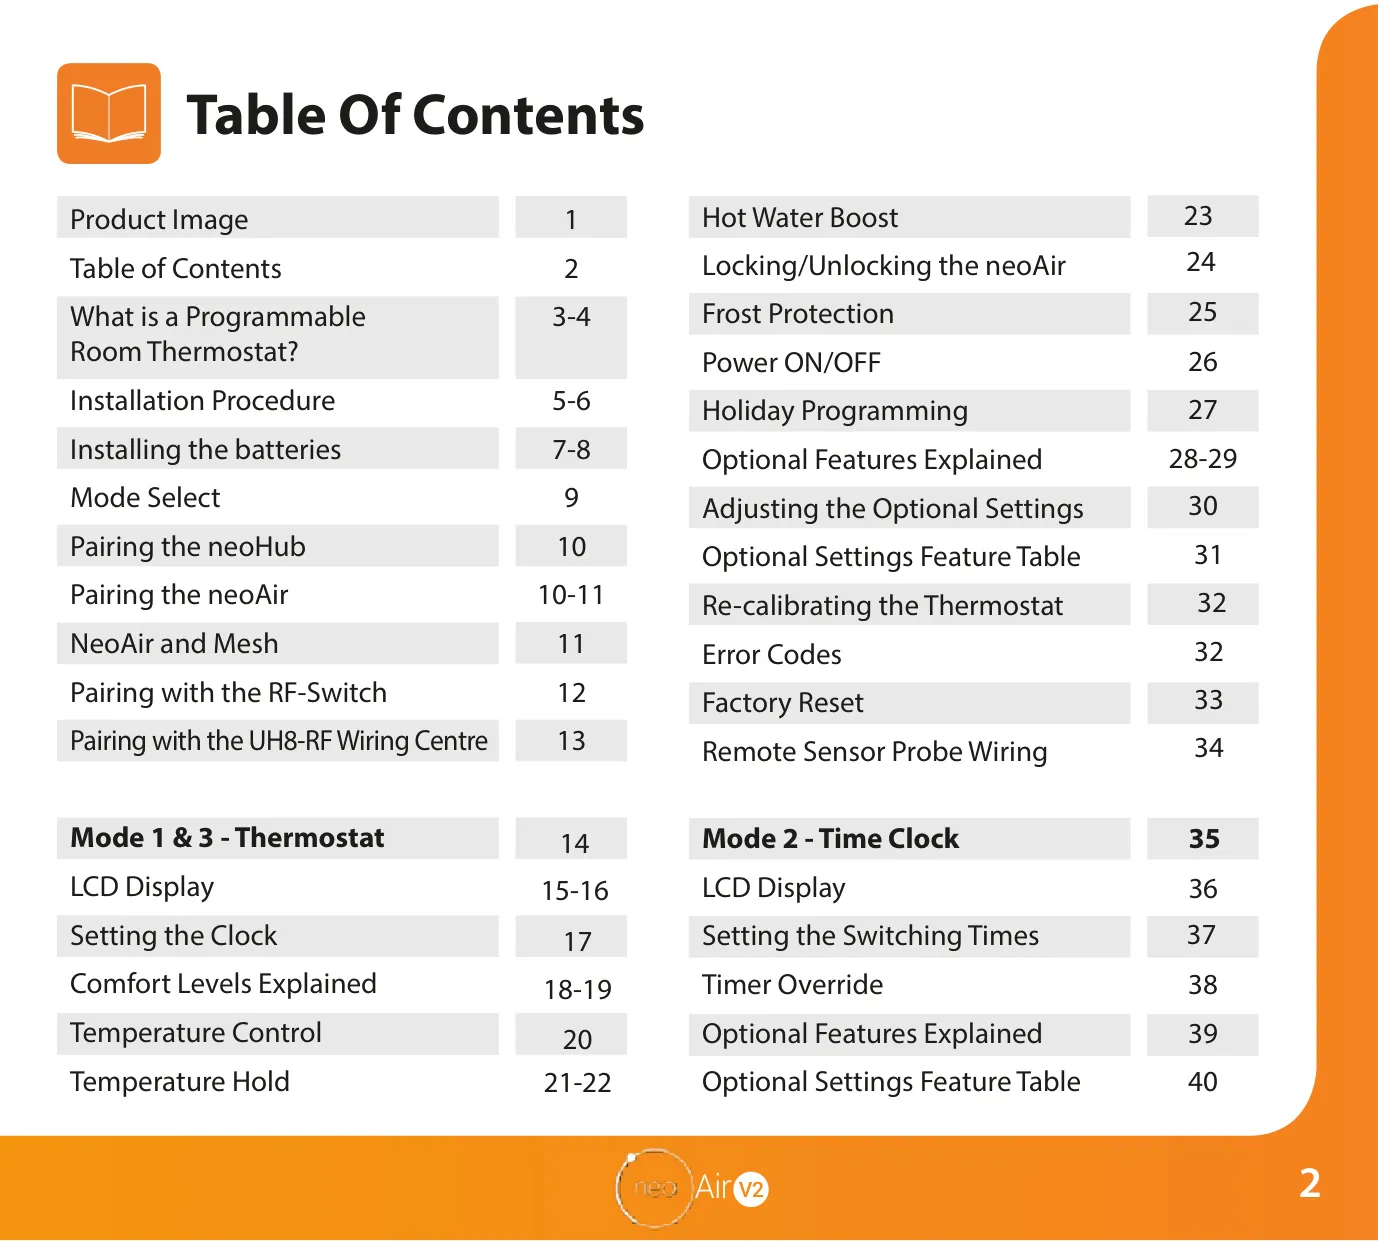



Heatmiser Neo Air V2 Thermostat
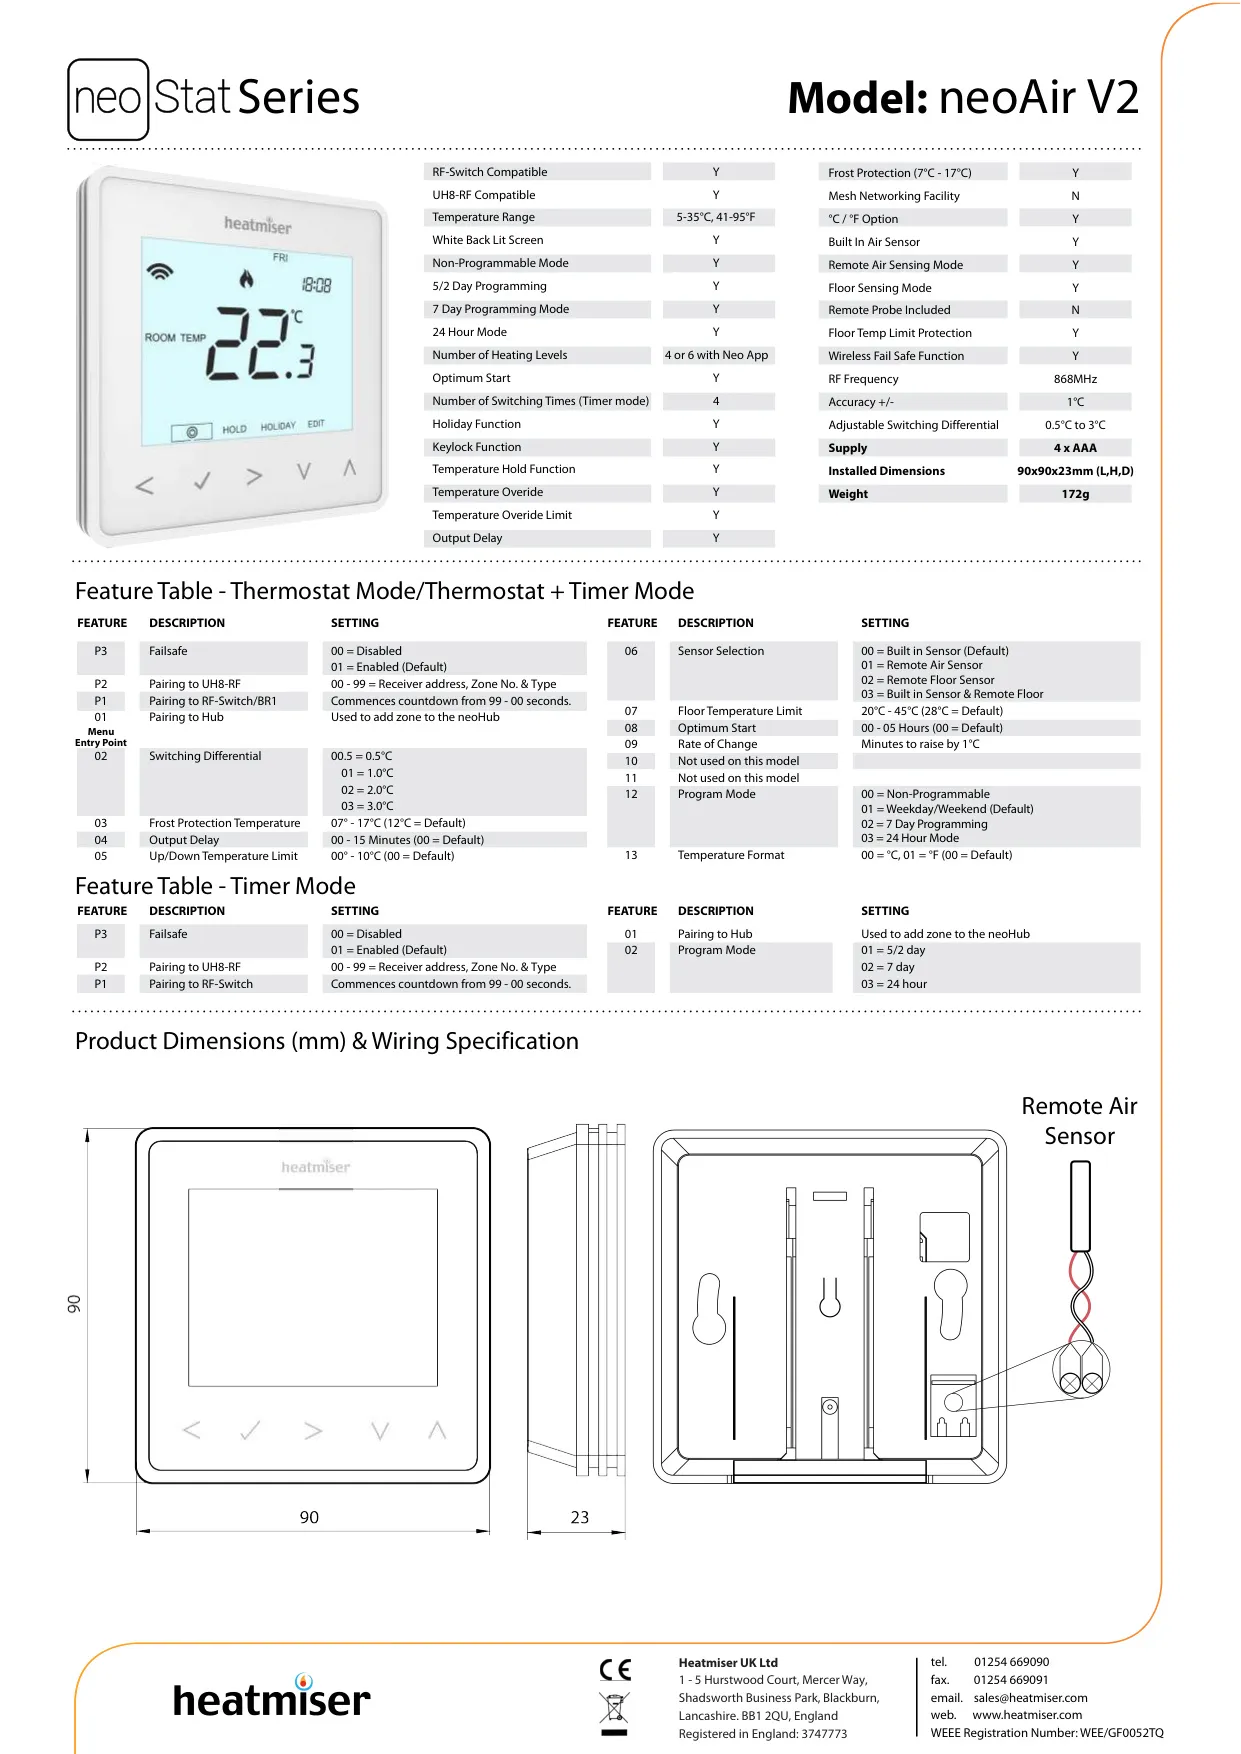
Heatmiser Neo Air V2 Instructions
Here we offer the Heatmiser Neo Air V2 Thermostat manual completely free and in English. We have cataloged this manual in the Thermostats section on Manualverse, and it has been rated by 1 users with an average rating of 5. If you have any specific questions about Heatmiser Neo Air V2 Thermostat, we suggest checking the Frequently Asked Questions (FAQs) section of this manual.
Product Images
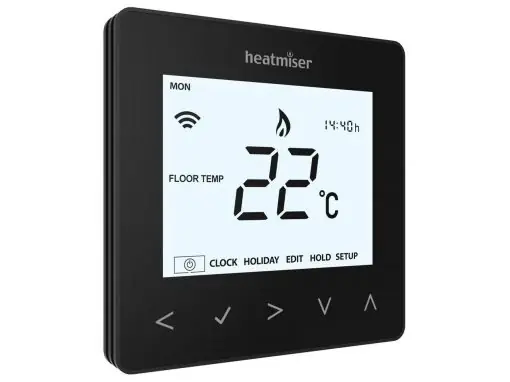
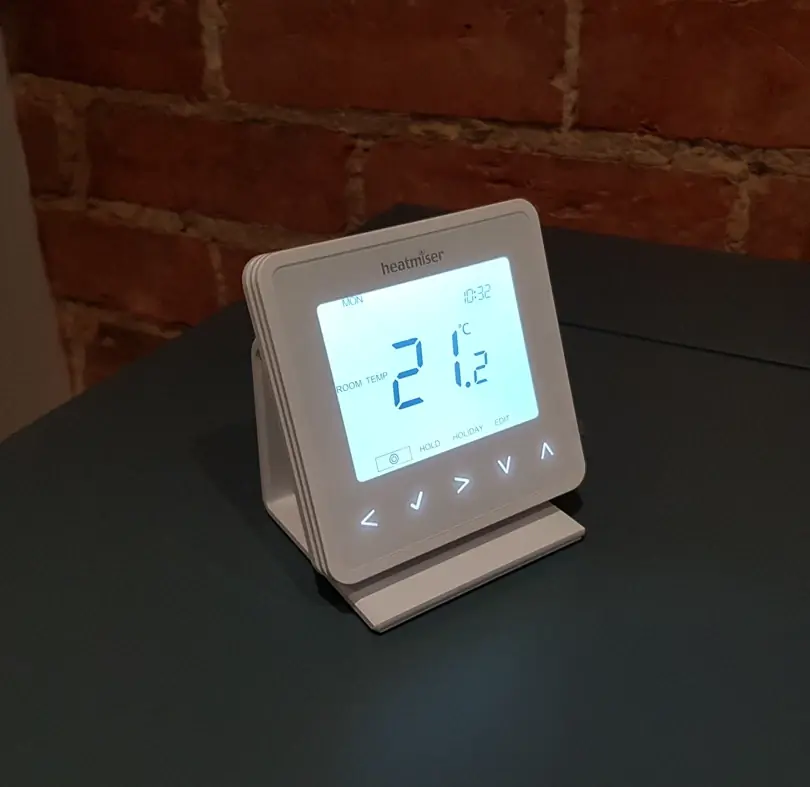
Heatmiser Neo Air V2 Thermostat Specifications
| Feature | Specification |
|---|---|
| RF-Switch Compatible | Yes |
| UH8-RF Compatible | Yes |
| Temperature Range | 5-35°C, 41-95°F |
| White Back Lit Screen | Yes |
| Non-Programmable Mode | Yes |
| 5/2 Day Programming | Yes |
| 7 Day Programming Mode | Yes |
| 24 Hour Mode | Yes |
| Number of Heating Levels | 4 or 6 with Neo App |
| Optimum Start | Yes |
| Number of Switching Times (Timer mode) | 4 |
| Holiday Function | Yes |
| Keylock Function | Yes |
| Temperature Hold Function | Yes |
| Temperature Override | Yes |
| Temperature Override Limit | Yes |
| Output Delay | Yes |
| Frost Protection (Adjustable) | 7°C - 17°C |
| Mesh Networking Facility | No |
| °C / °F Option | Yes |
| Built-In Air Sensor | Yes |
| Remote Air Sensing Mode | Yes |
| Floor Sensing Mode | Yes |
| Remote Probe Included | No |
| Floor Temperature Limit Protection | Yes |
| Wireless Fail Safe Function | Yes |
| RF Frequency | 868MHz |
| Accuracy | +/- 1°C |
| Adjustable Switching Differential | 0.5°C to 3°C |
| Supply | 4 x AAA batteries |
| Installed Dimensions | 90x90x23mm (L,H,D) |
| Weight | 172g |
Heatmiser Neo Air V2 Thermostat Details
The Heatmiser Neo Air V2 Thermostat serves as a versatile programmable room thermostat, combining the functions of both a programmer and a room thermostat. This allows users to establish specific "On" and "Off" periods for their heating system, tailoring it to their individual lifestyle. By sensing ambient air temperature, it intelligently activates heating when the temperature dips below the set point and deactivates it once the desired temperature is achieved.
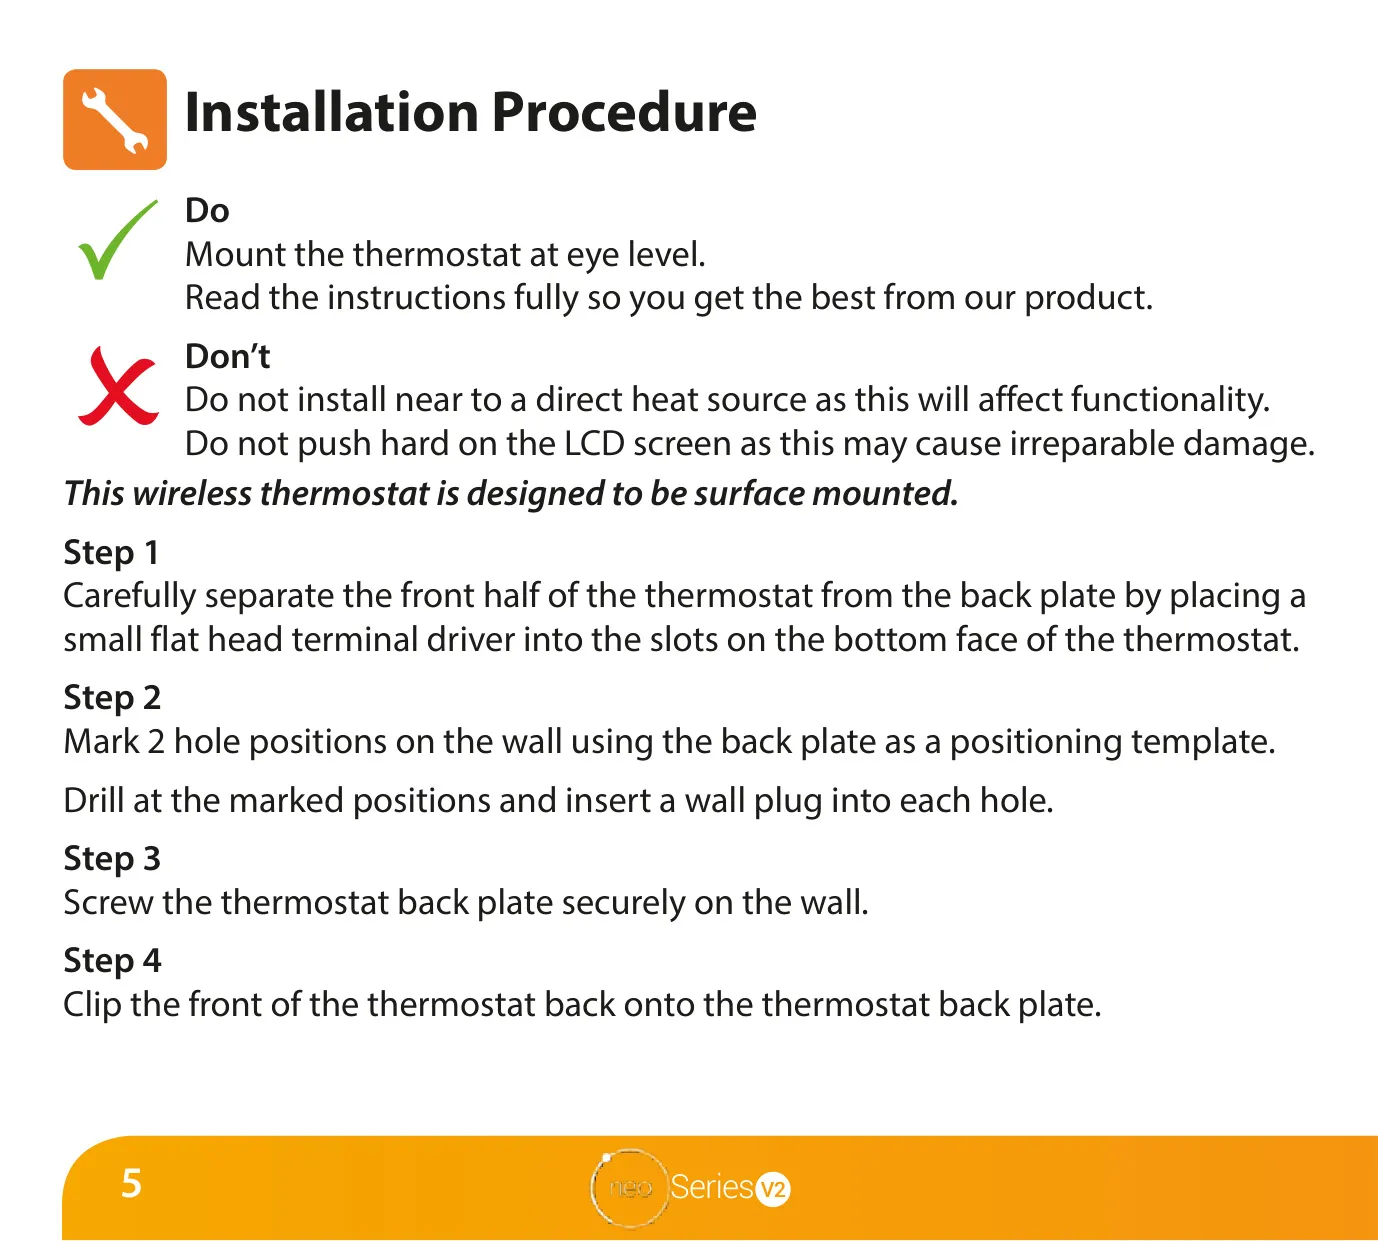
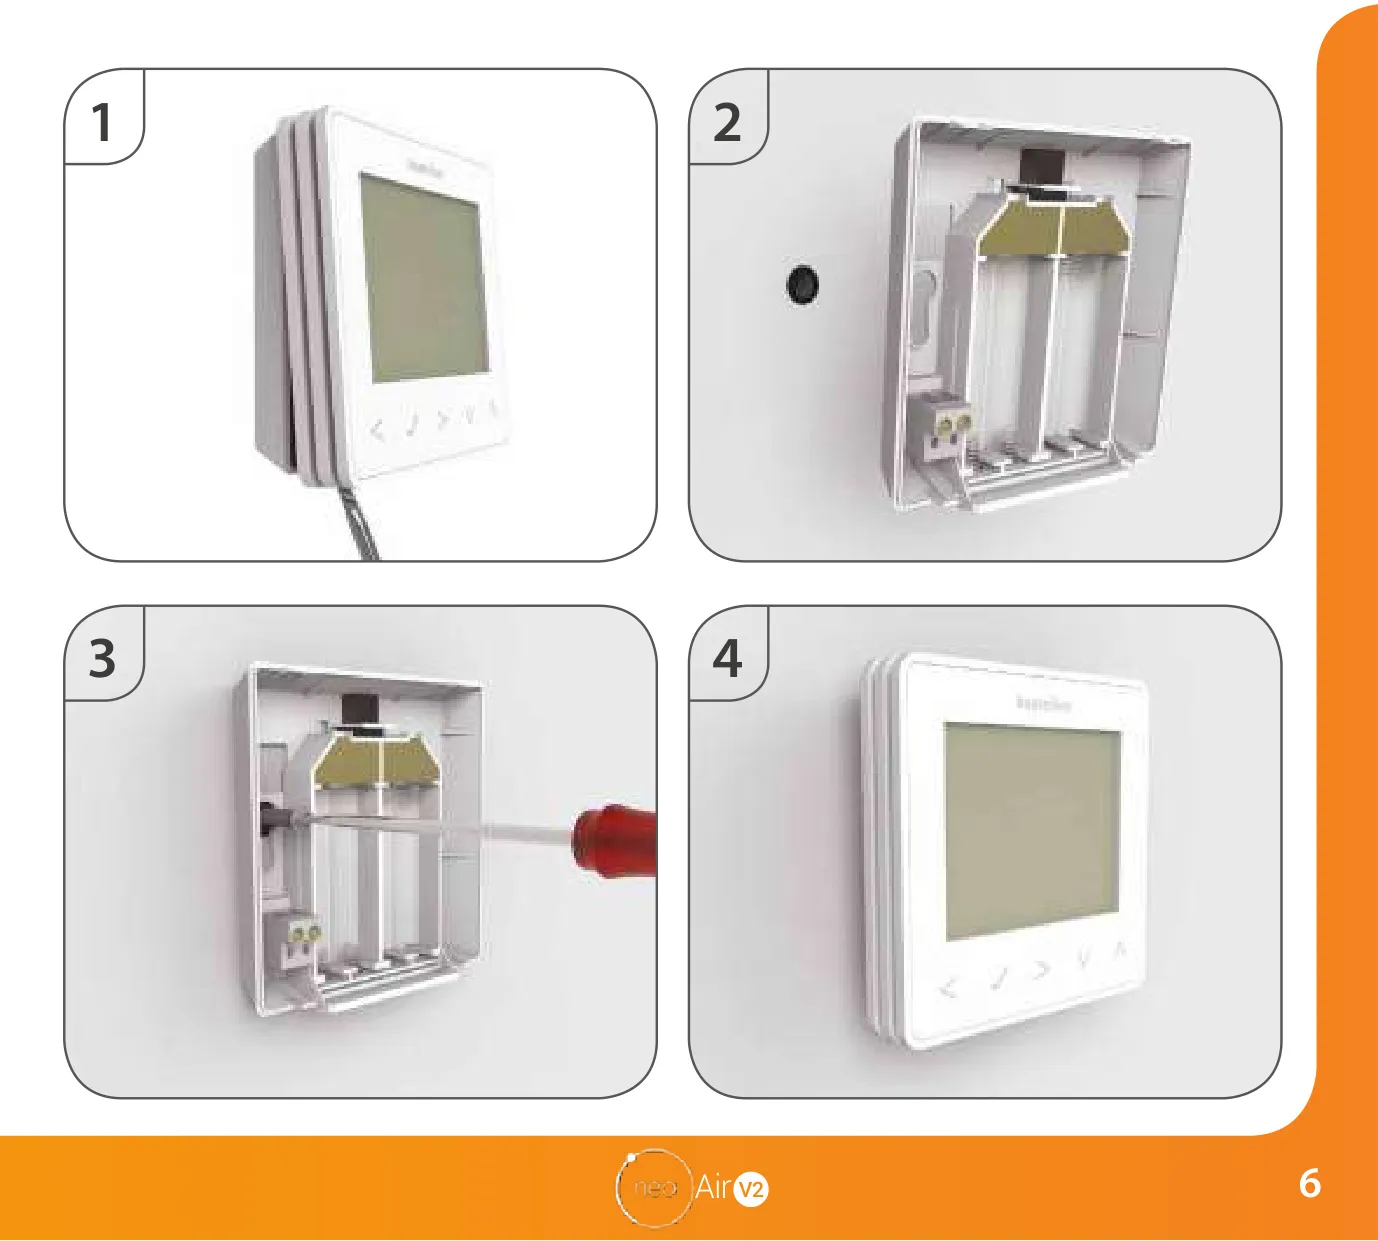
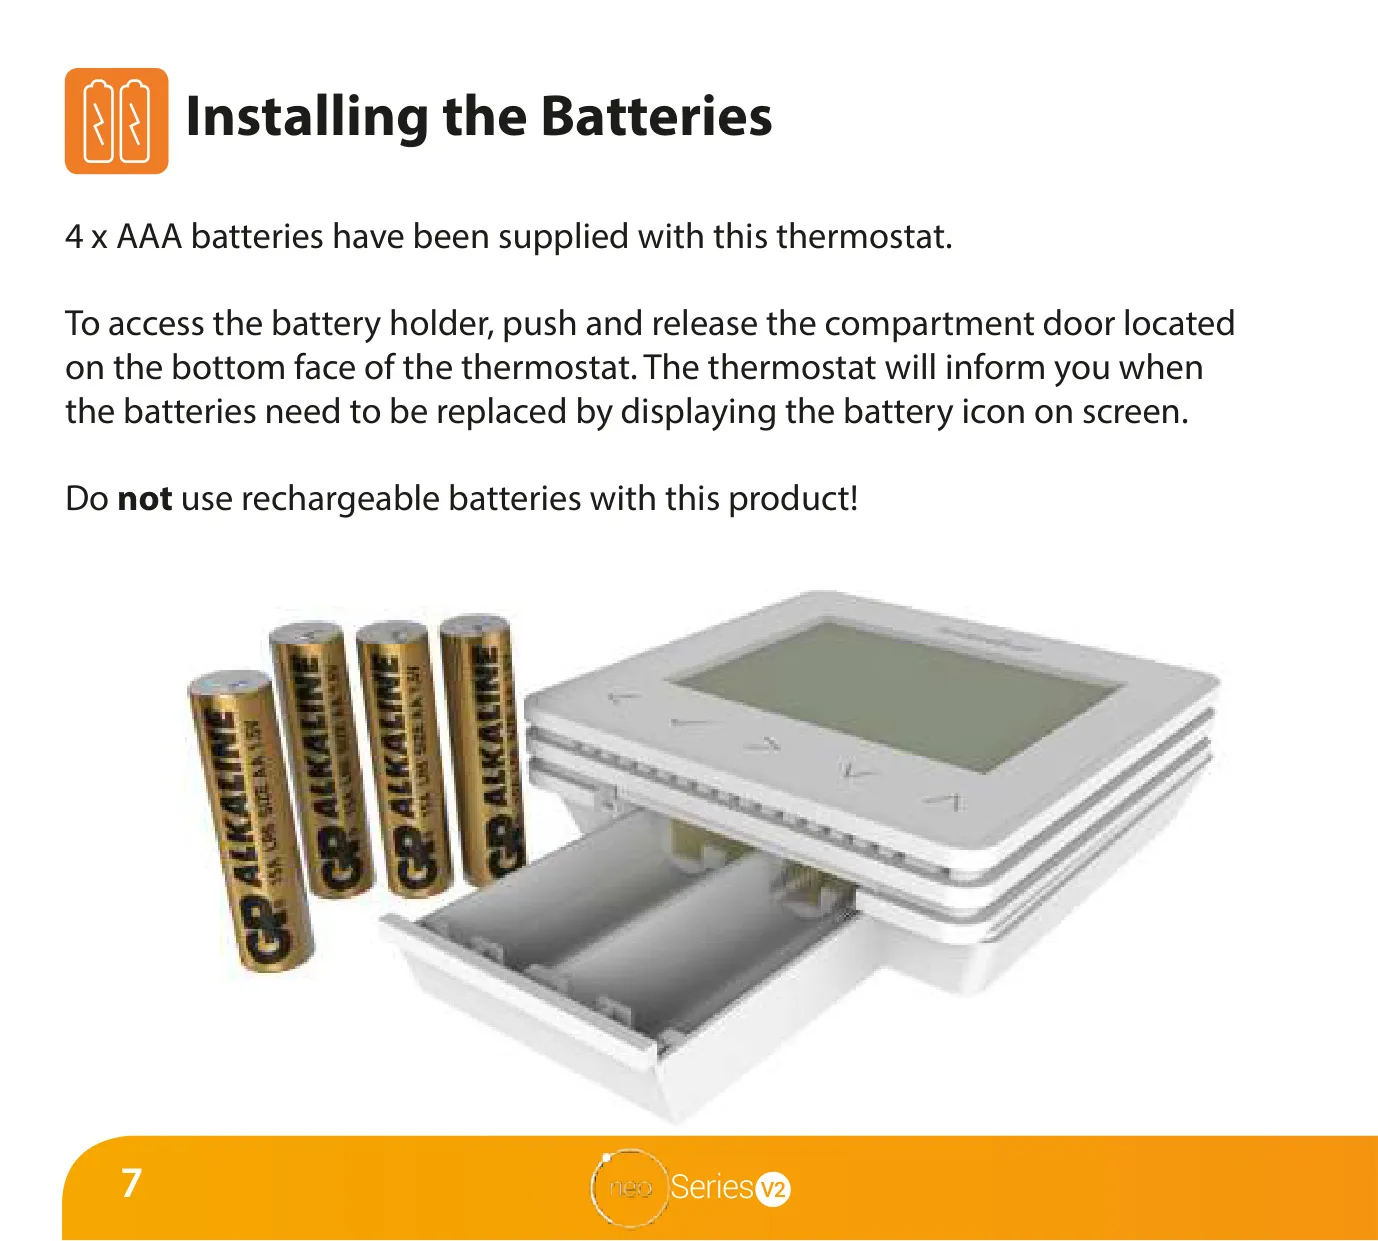
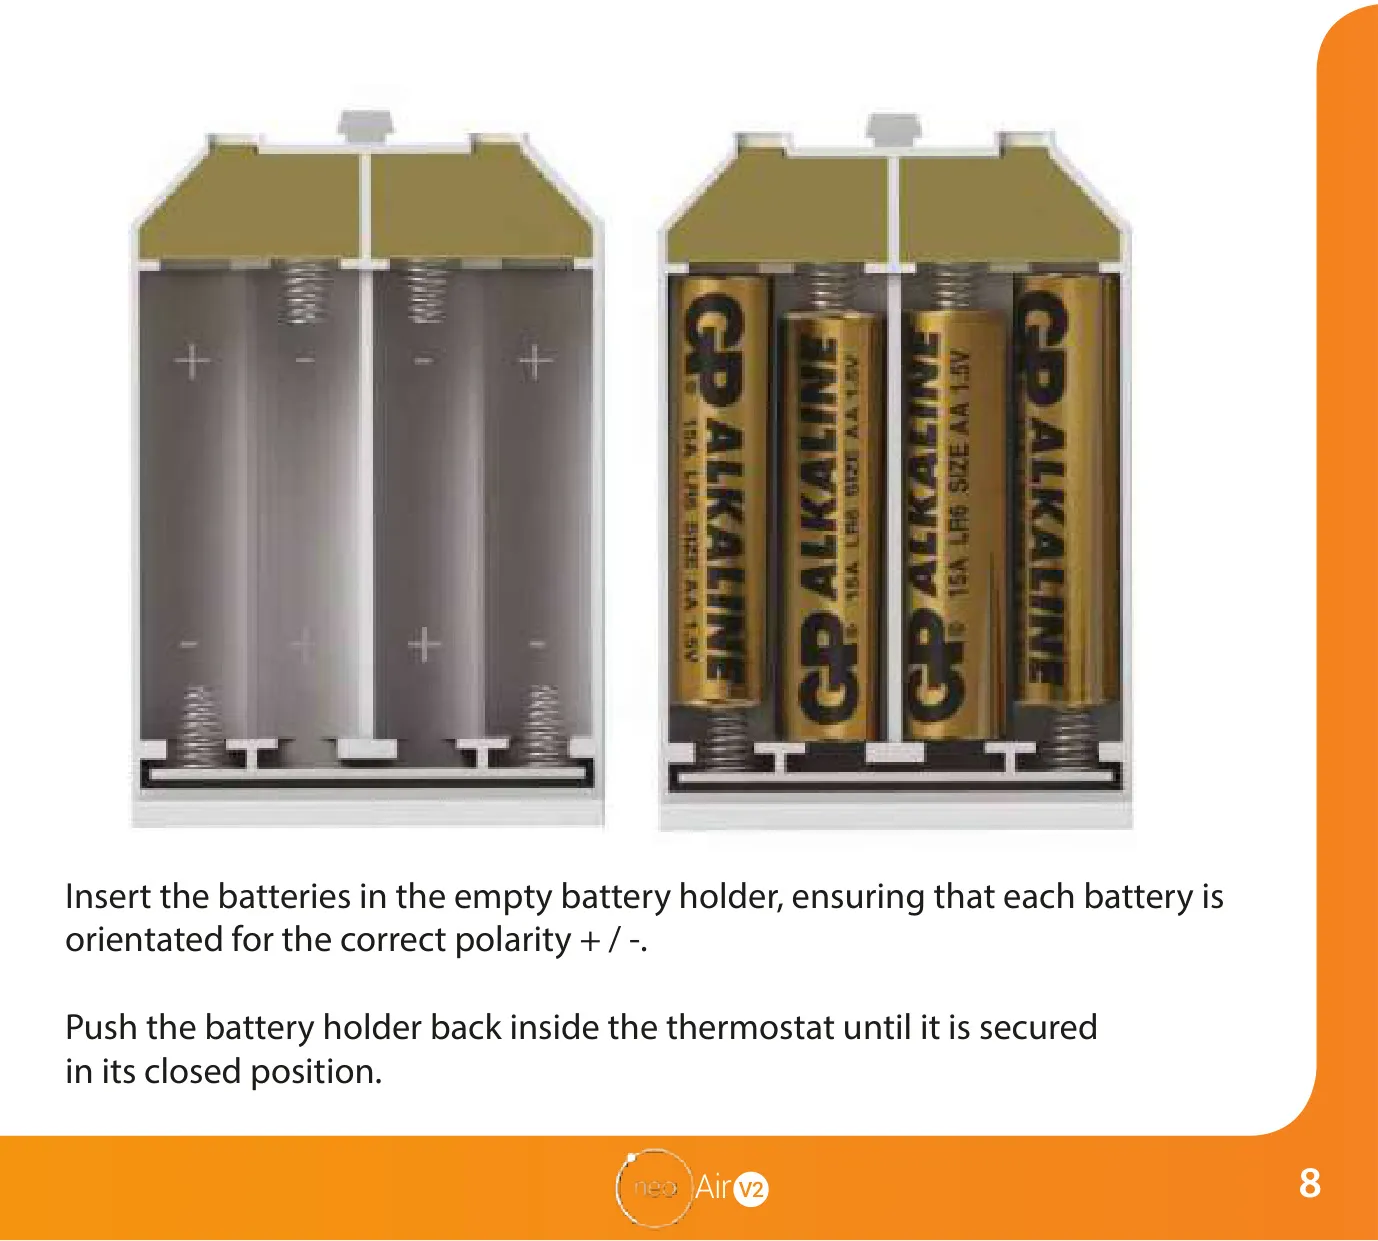
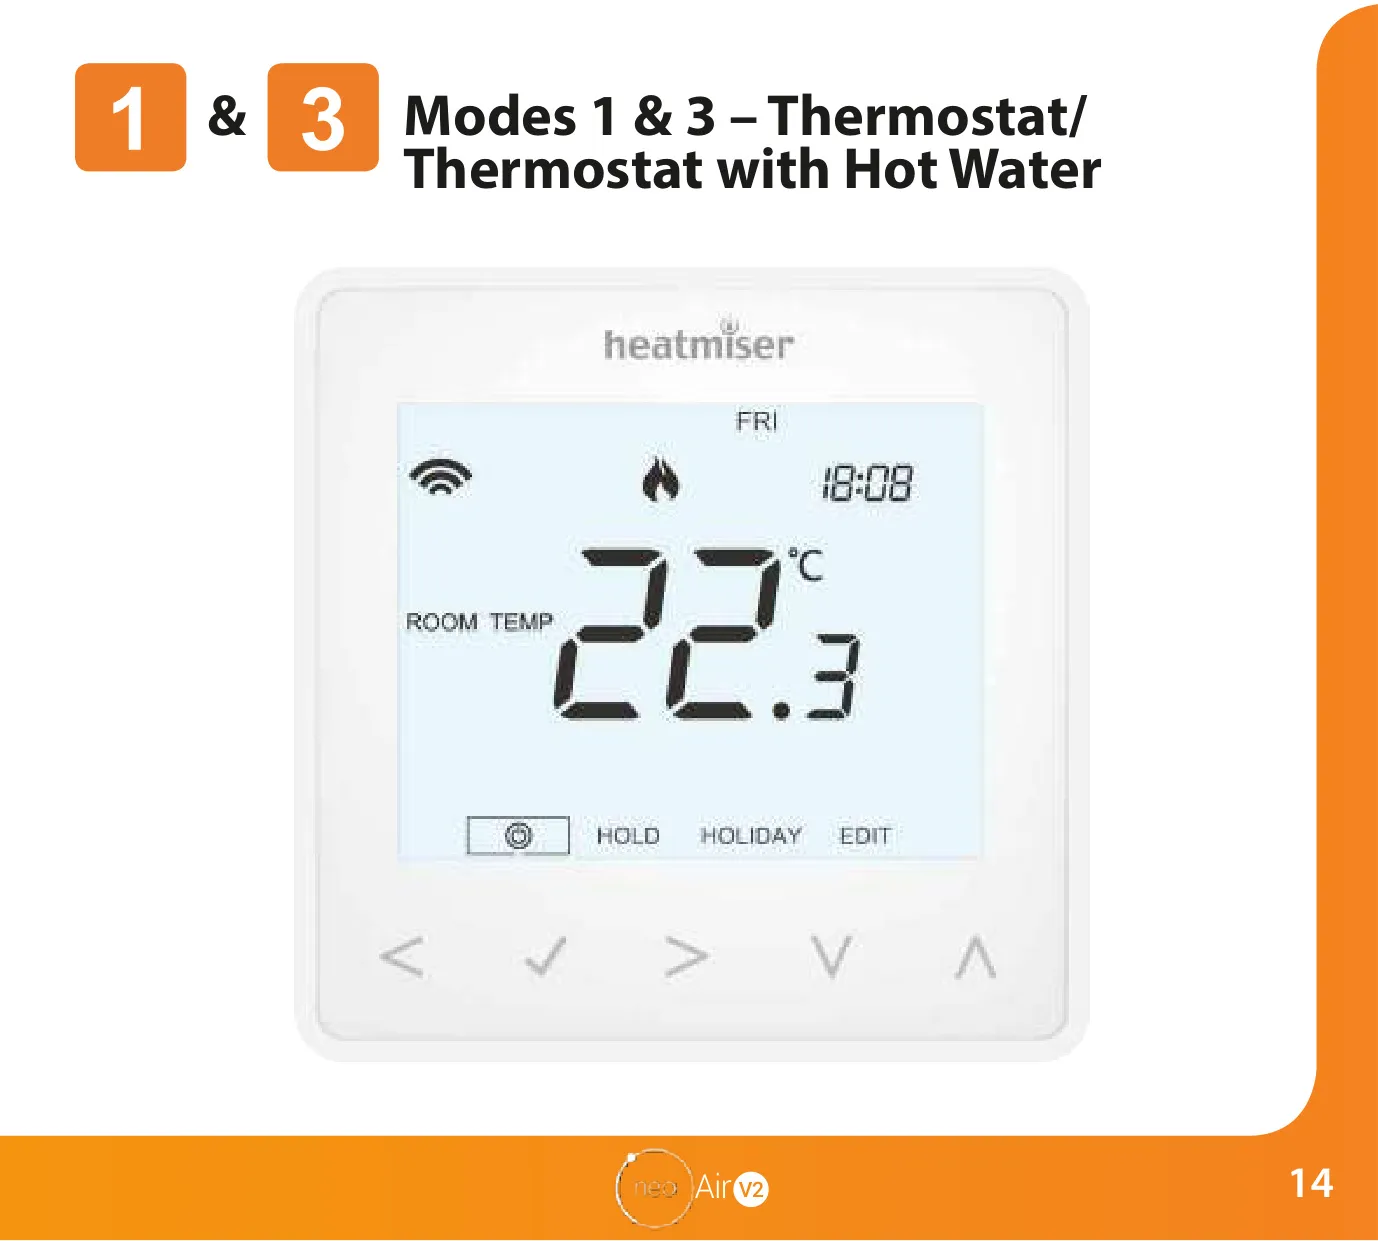
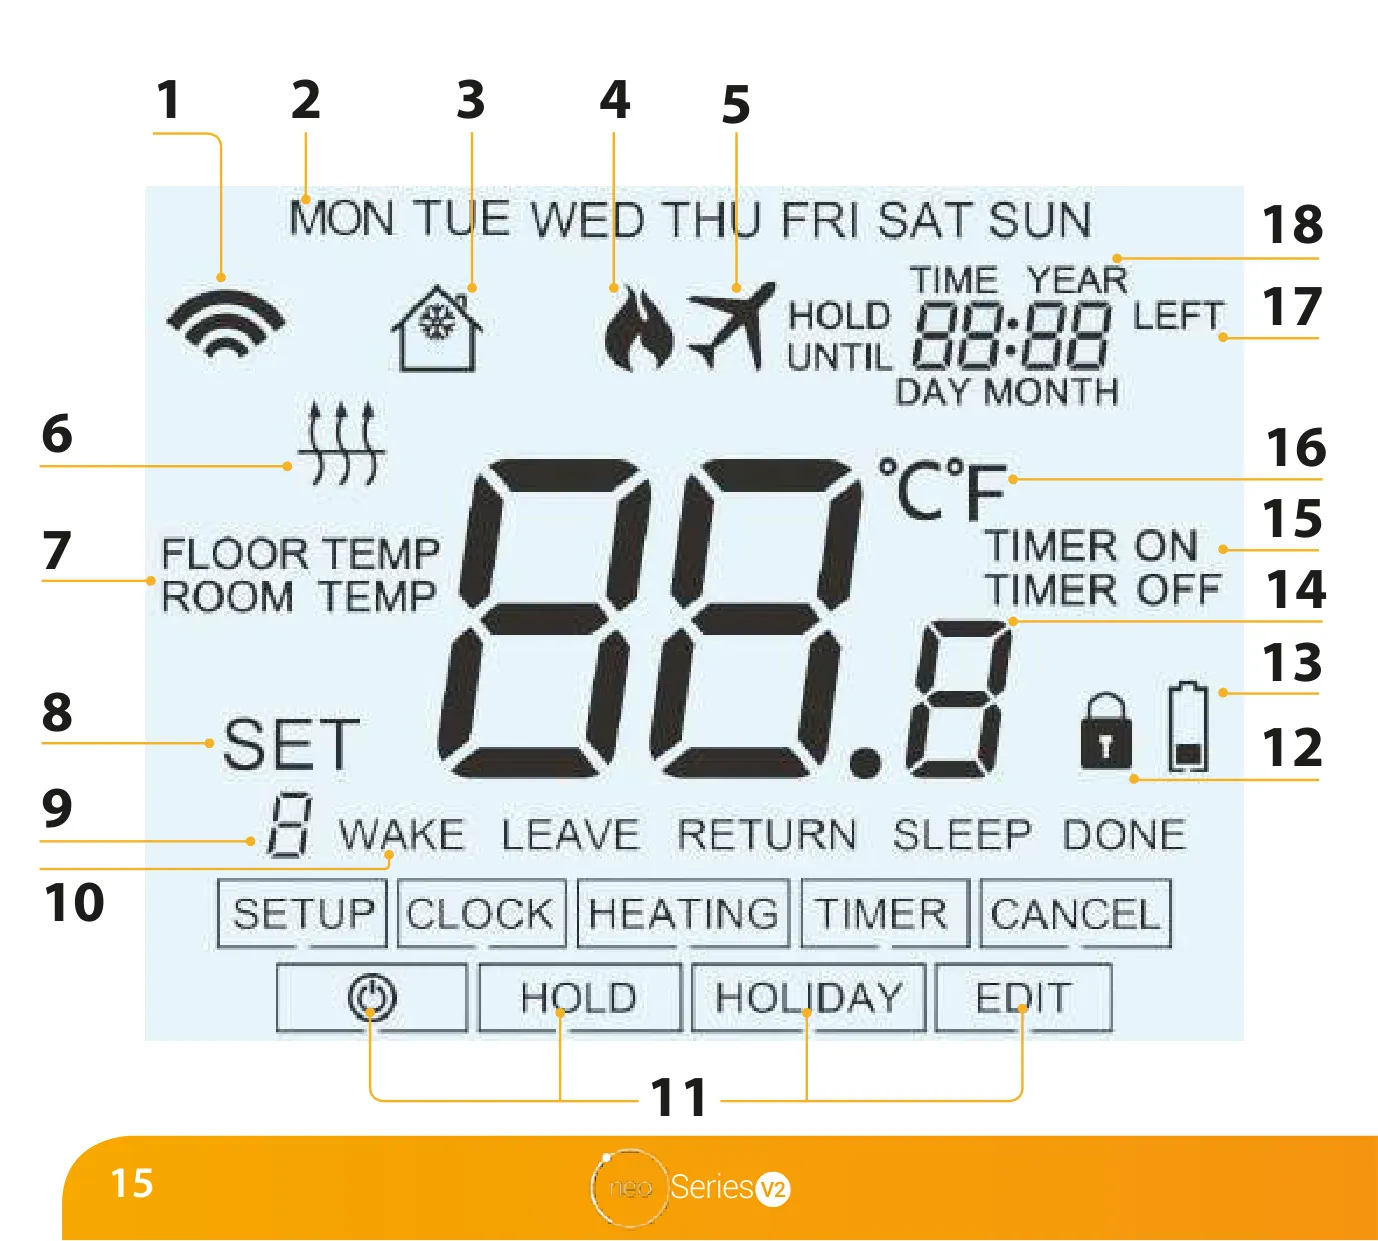
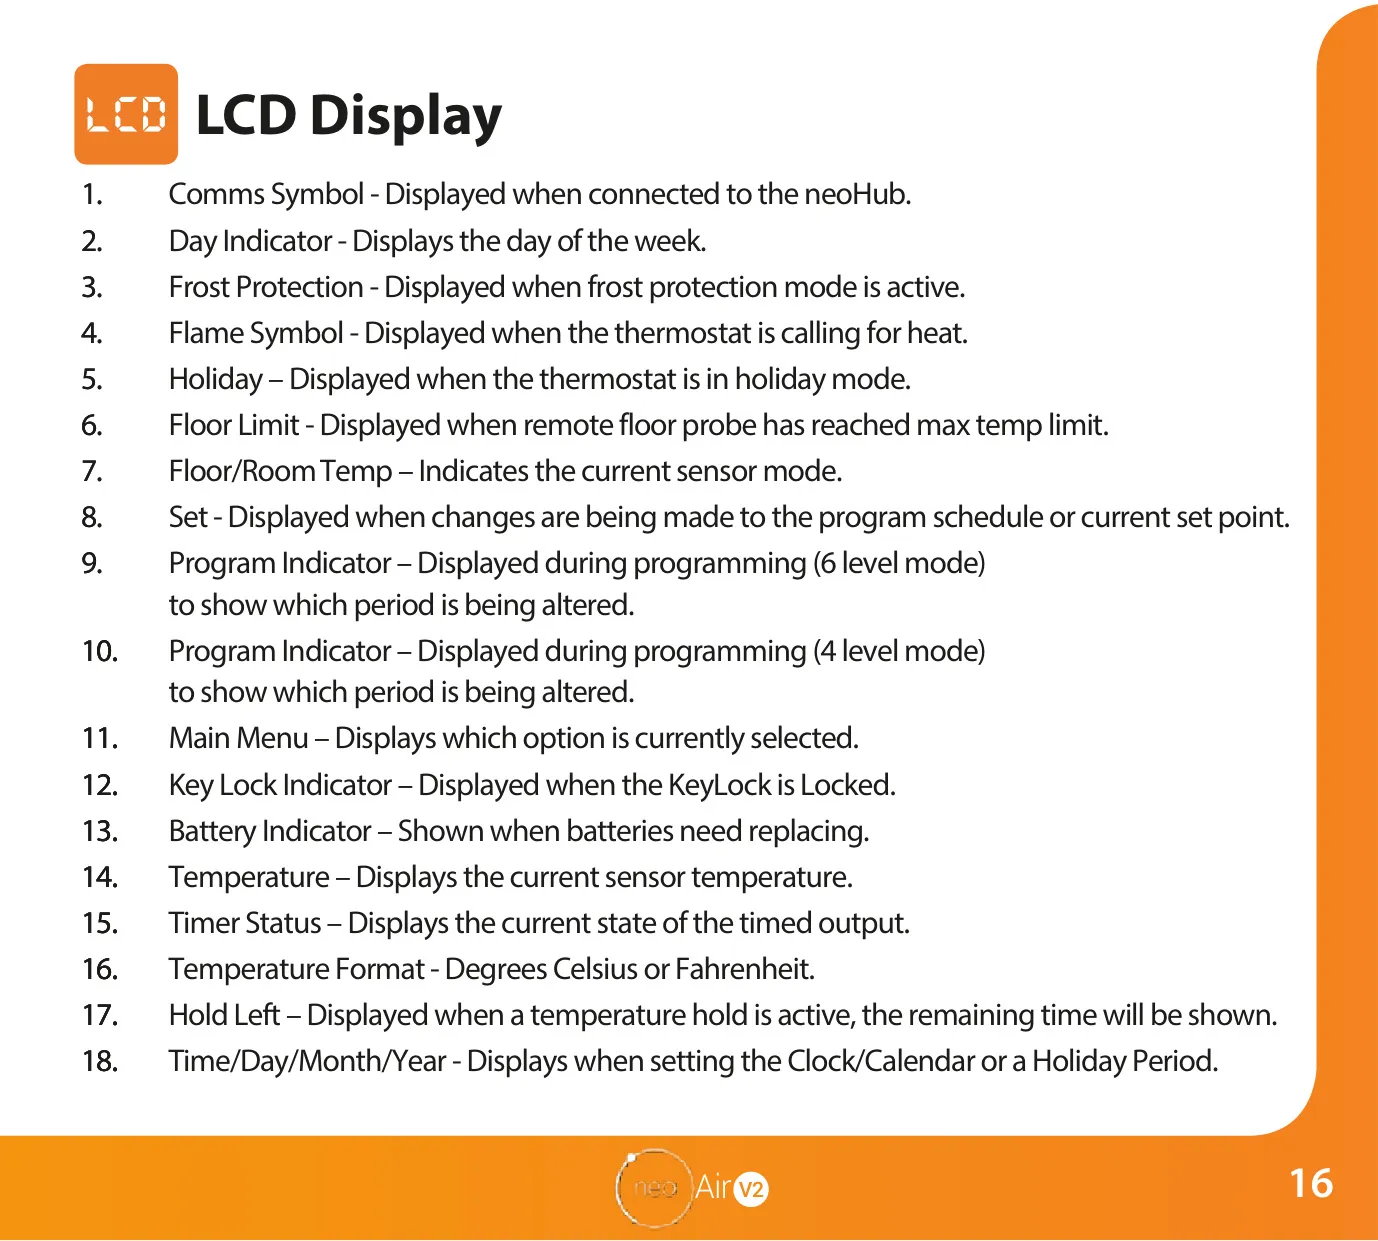
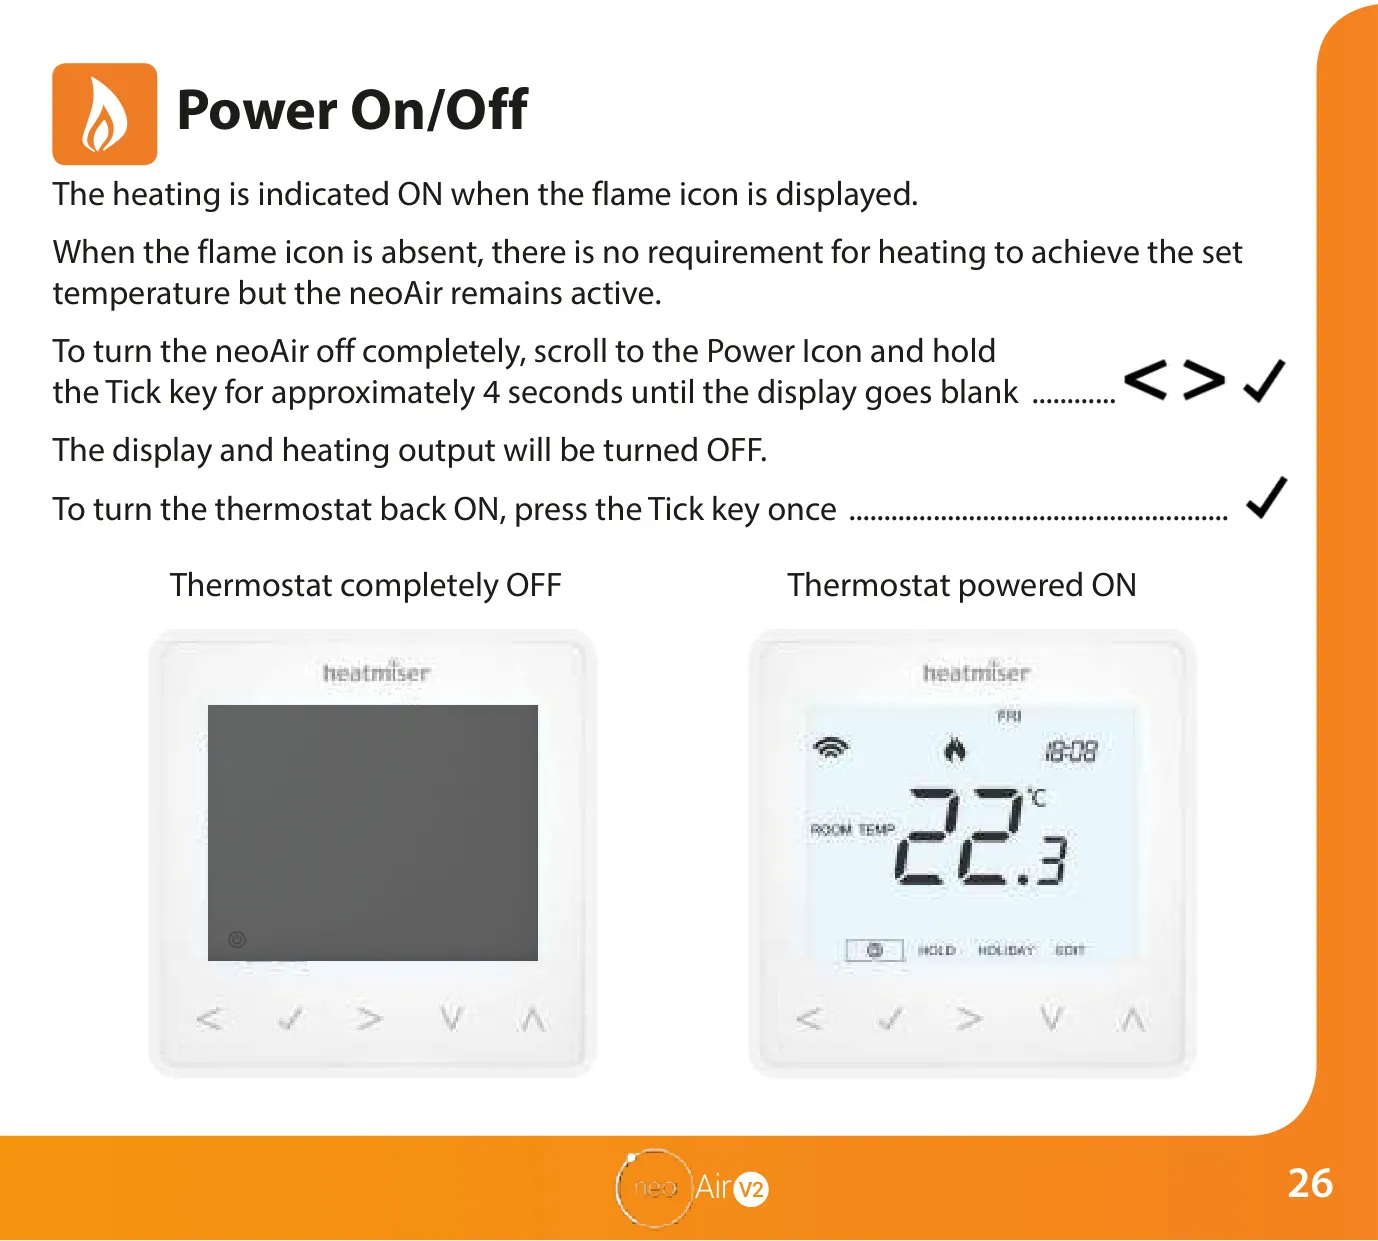
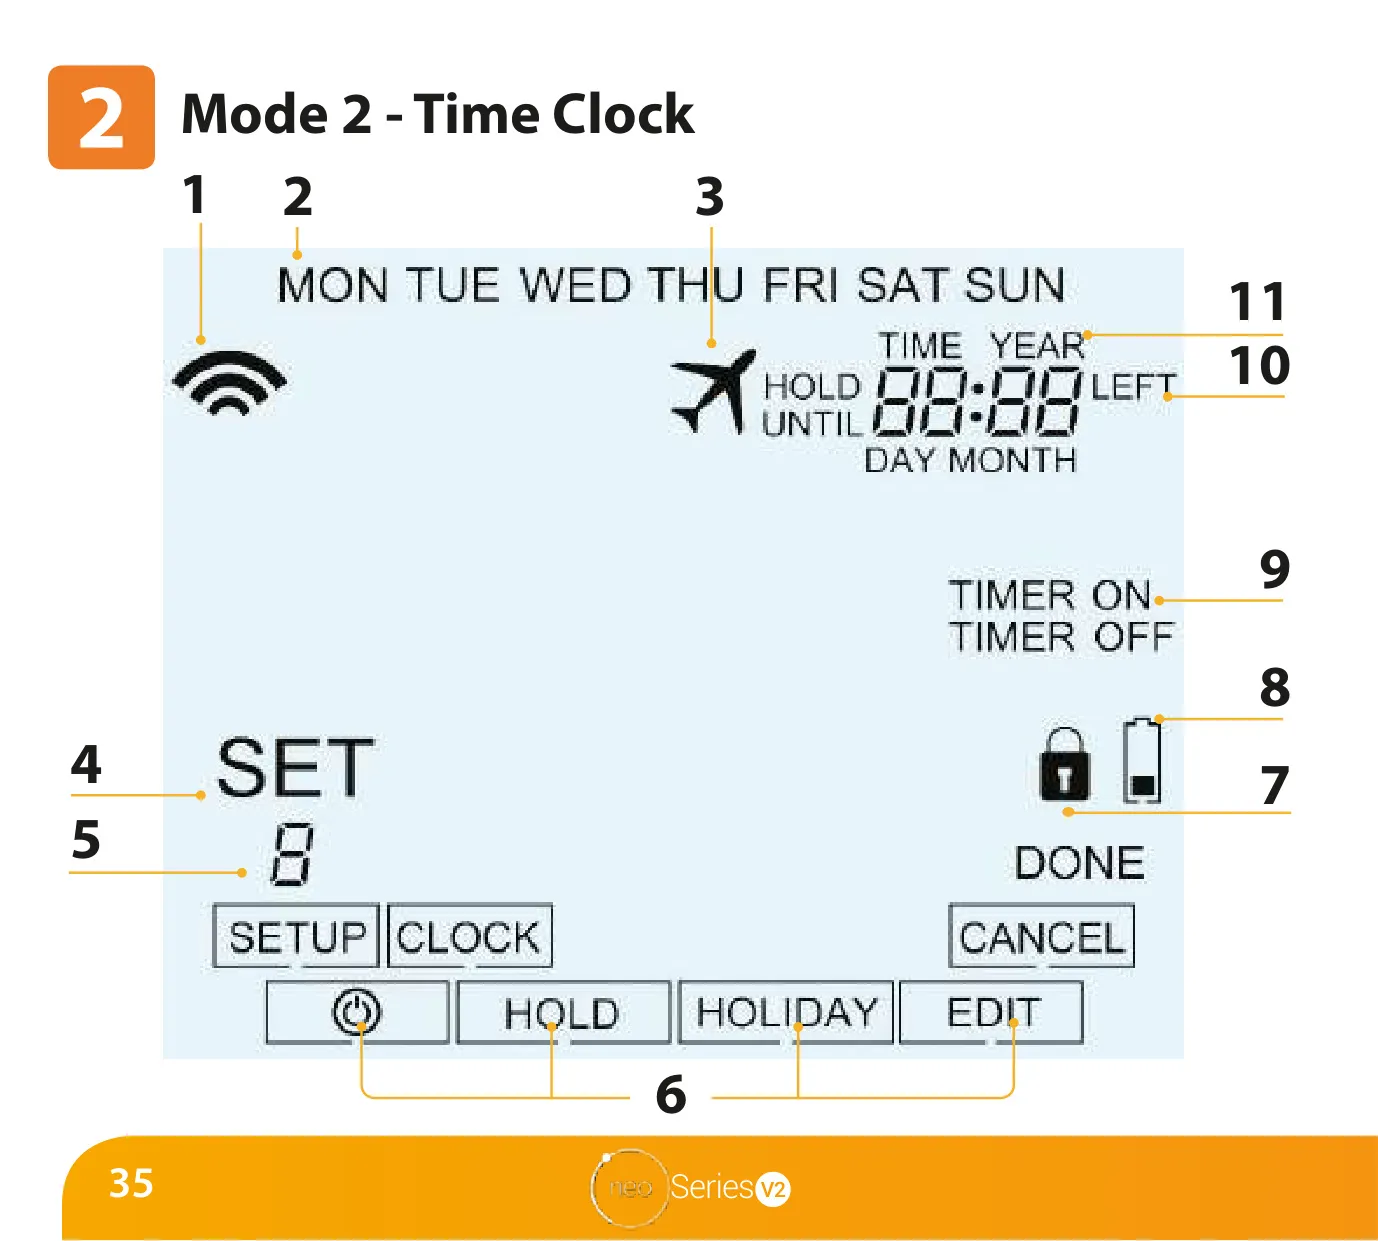
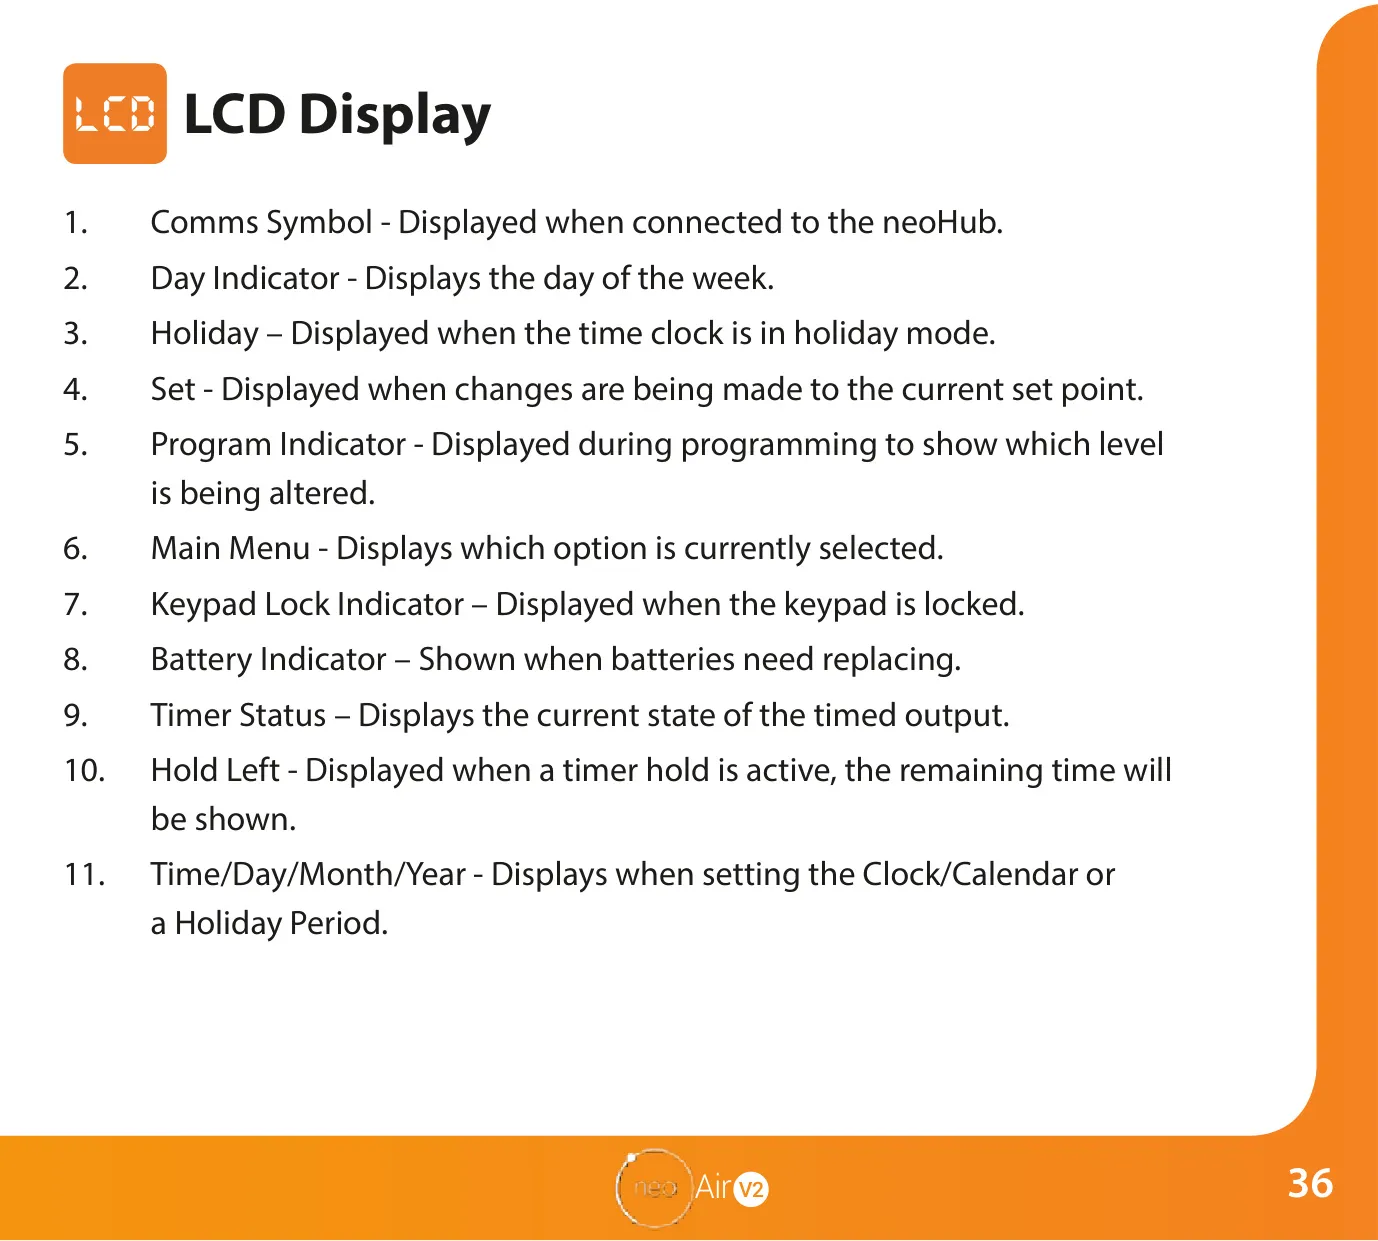
Installation of the neoAir V2 is designed for surface mounting, requiring 4 x AAA batteries for power; rechargeable batteries are expressly discouraged. The thermostat features a clear LCD display that provides essential information, including day indicators, frost protection status, flame symbol (when heating is active), holiday mode, and battery level.
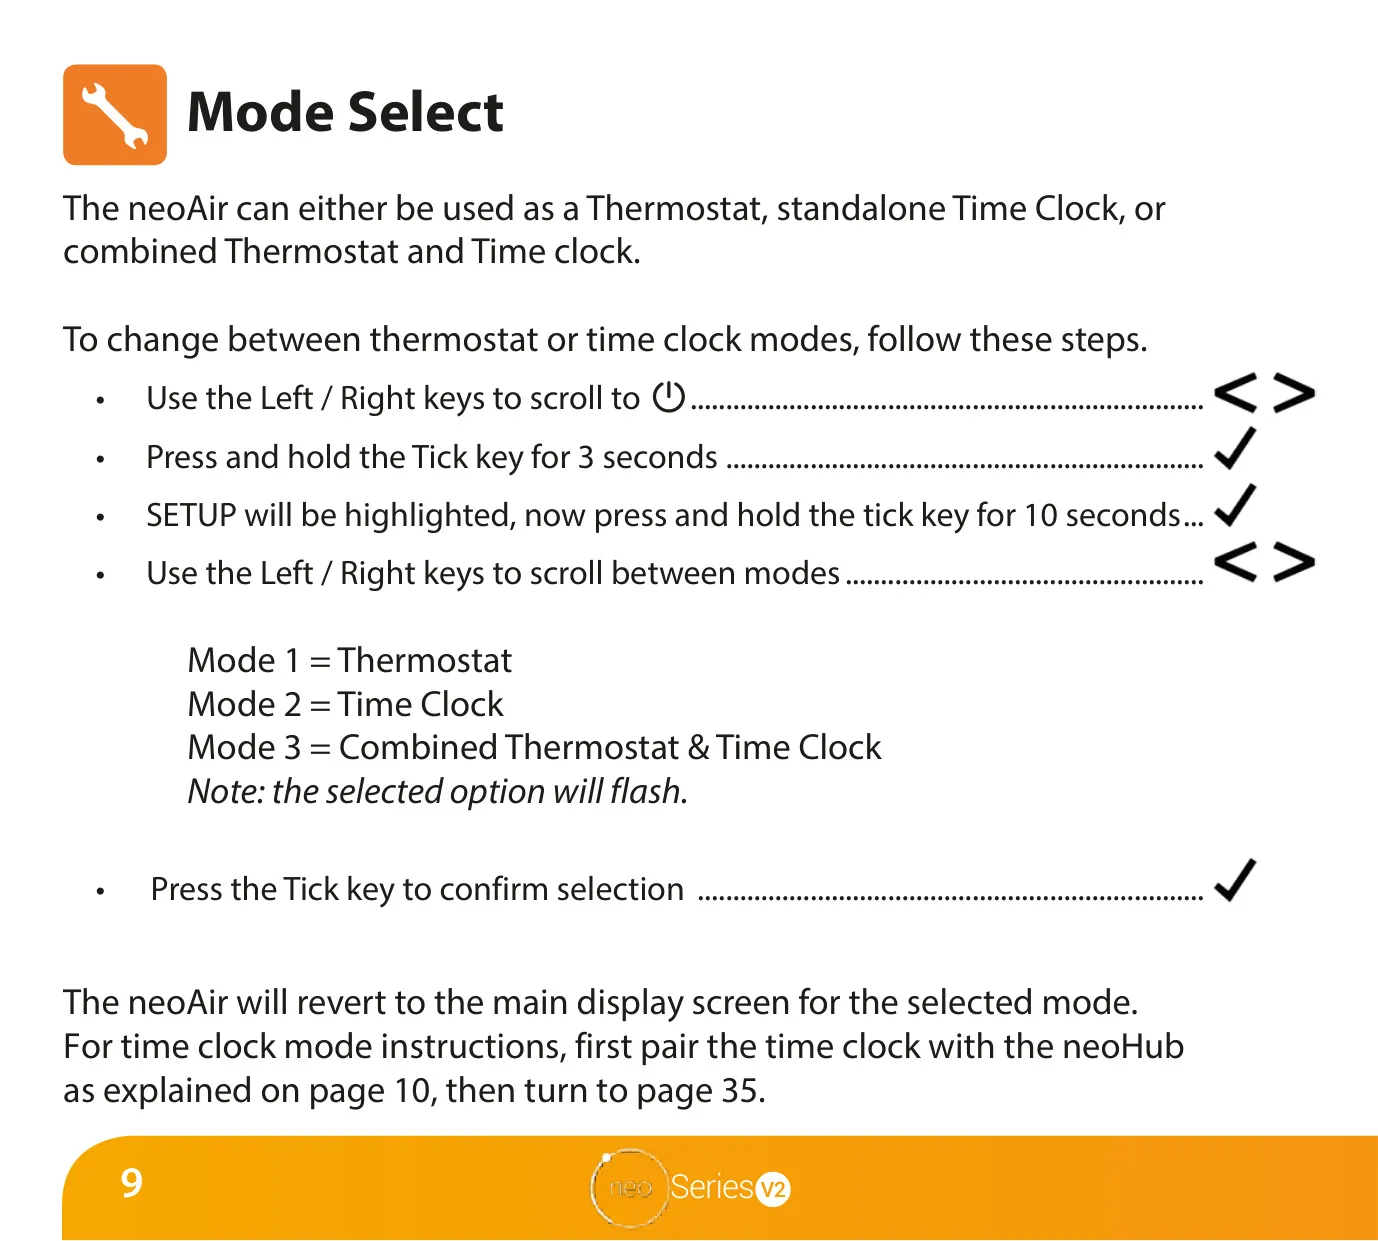
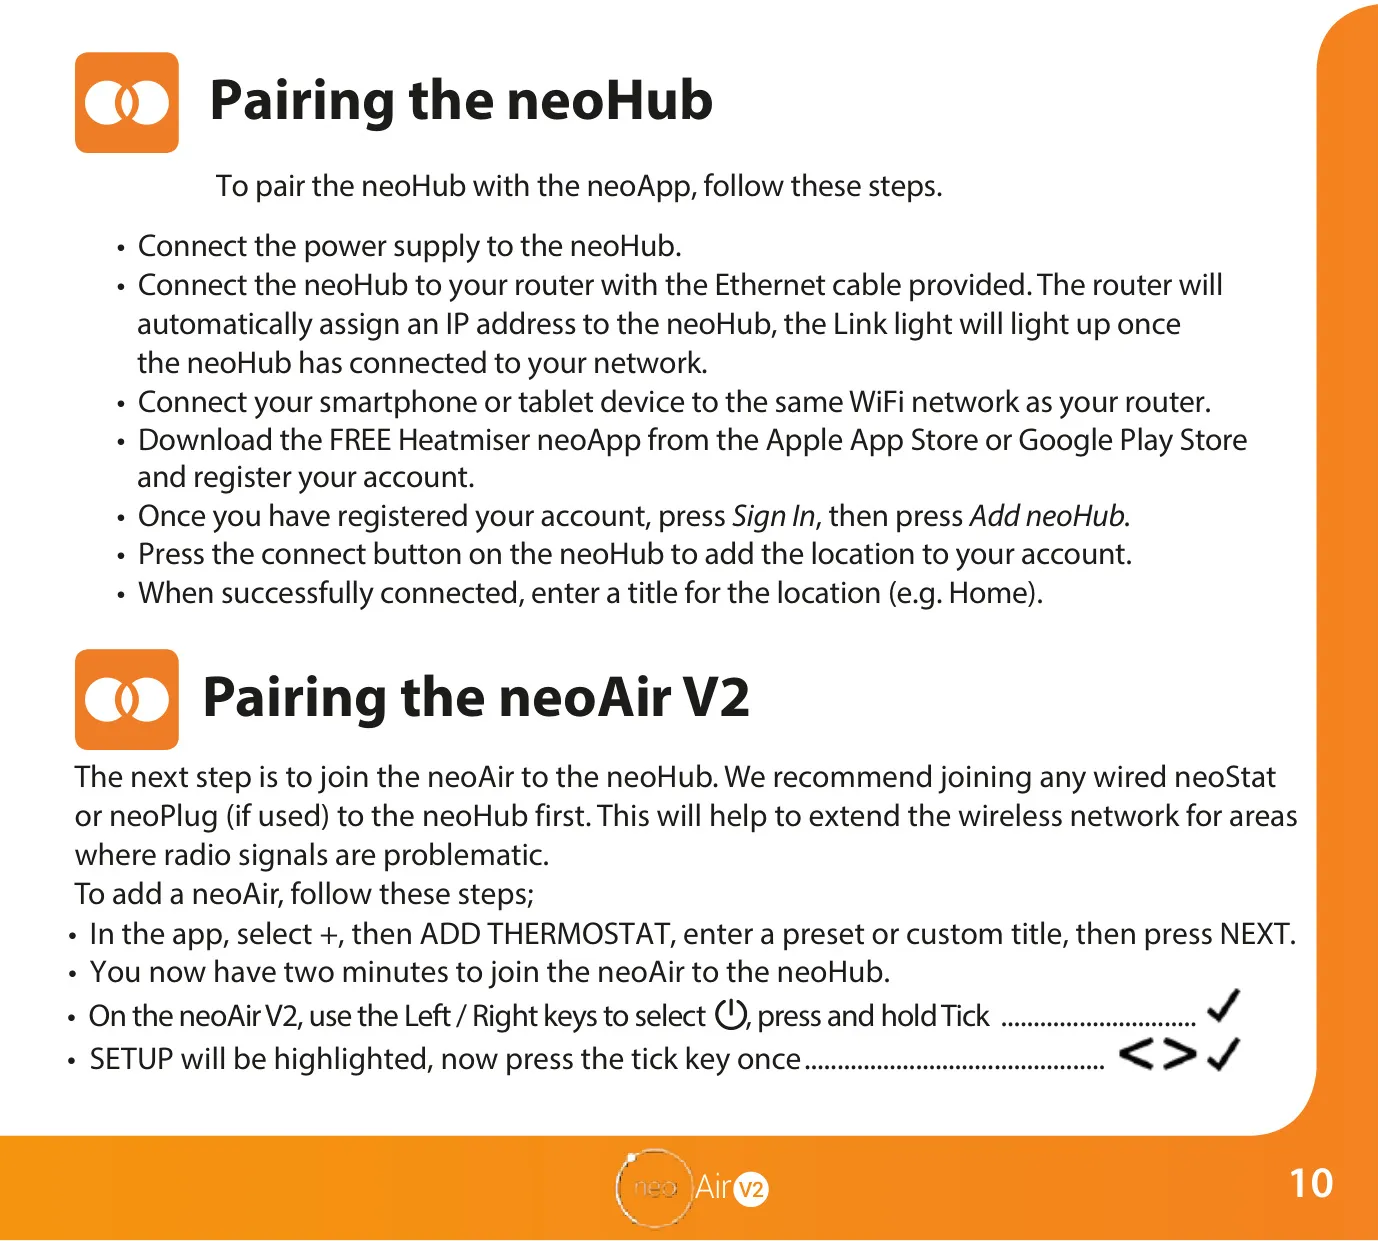
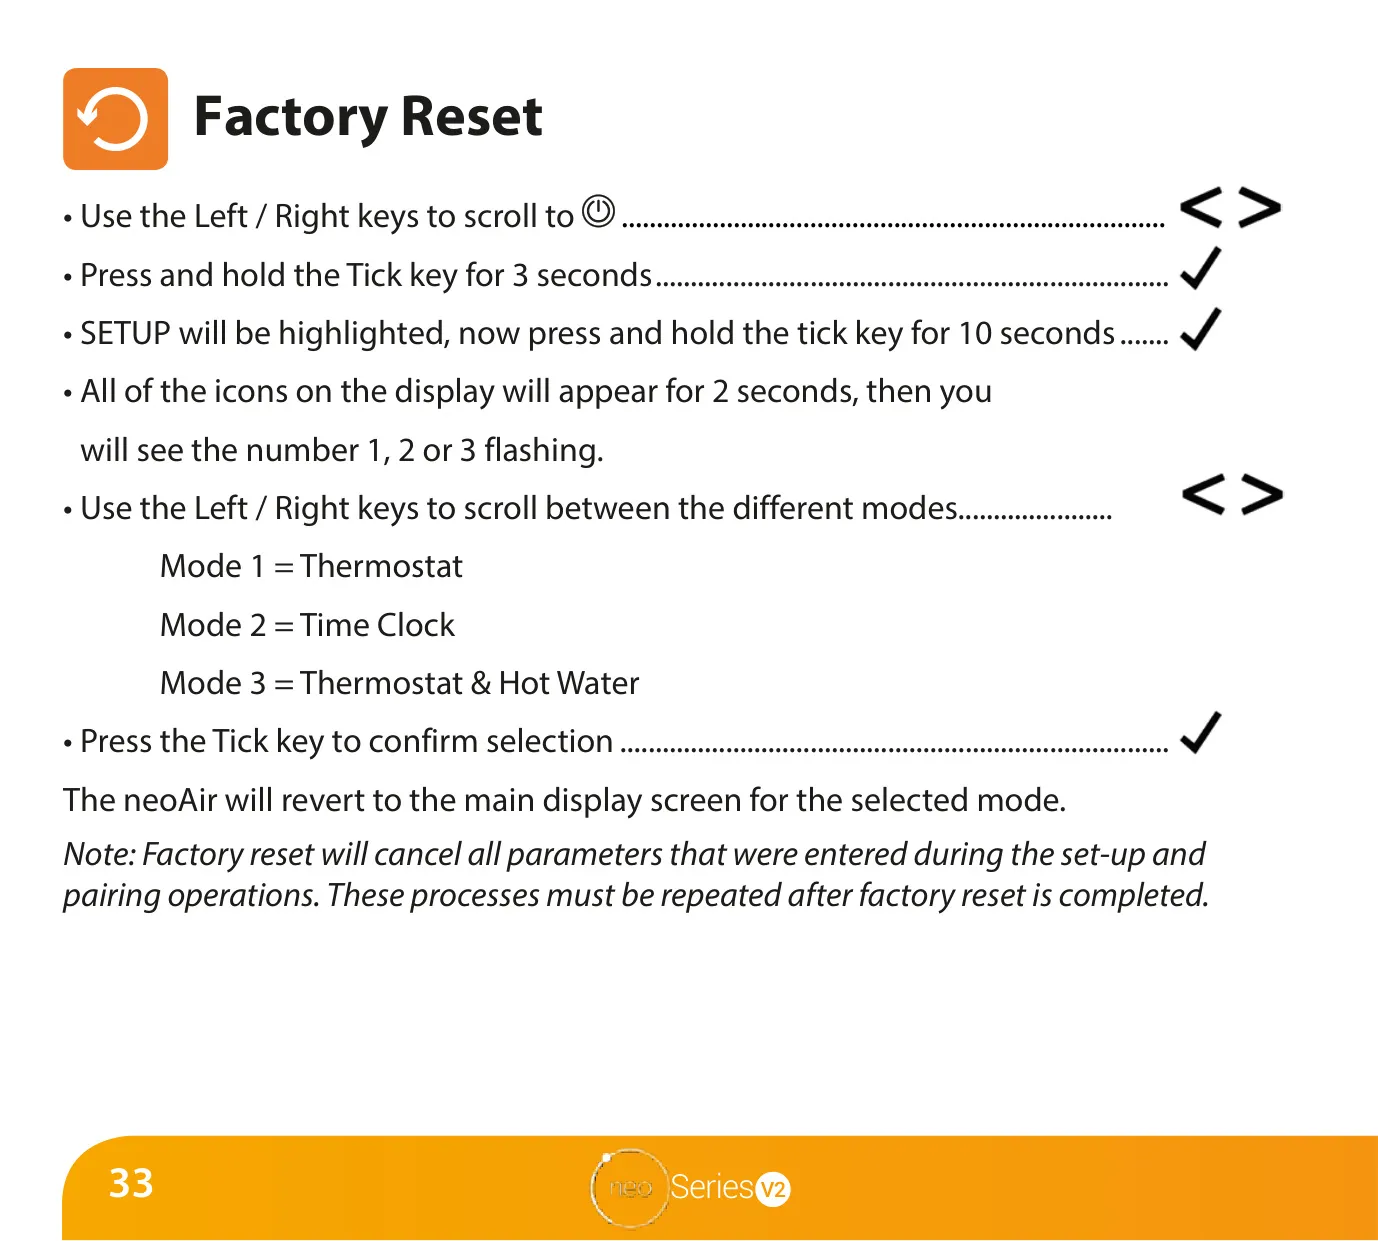
This intelligent device offers three distinct operating modes: a dedicated Thermostat Mode, a standalone Time Clock Mode, or a combined Thermostat and Time Clock Mode. Users can easily switch between these configurations via the thermostat's setup menu. A crucial aspect of its functionality is seamless integration with the Heatmiser neoHub, enabling advanced control and monitoring through the dedicated neoApp.
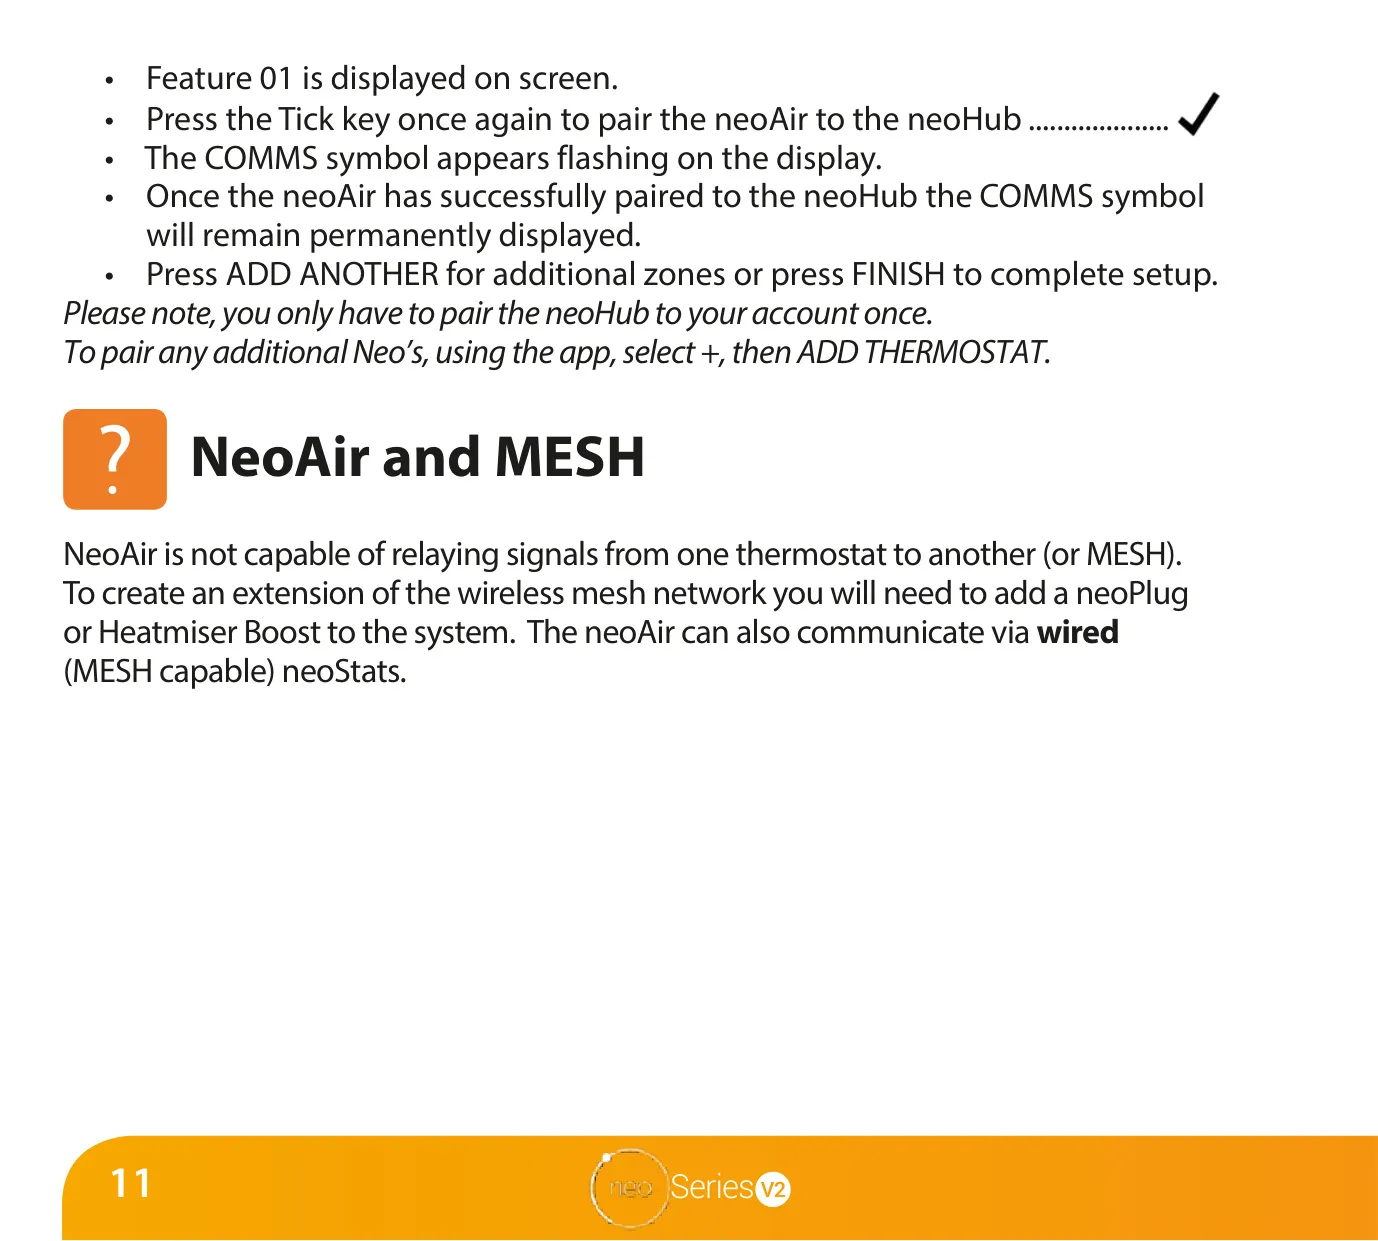
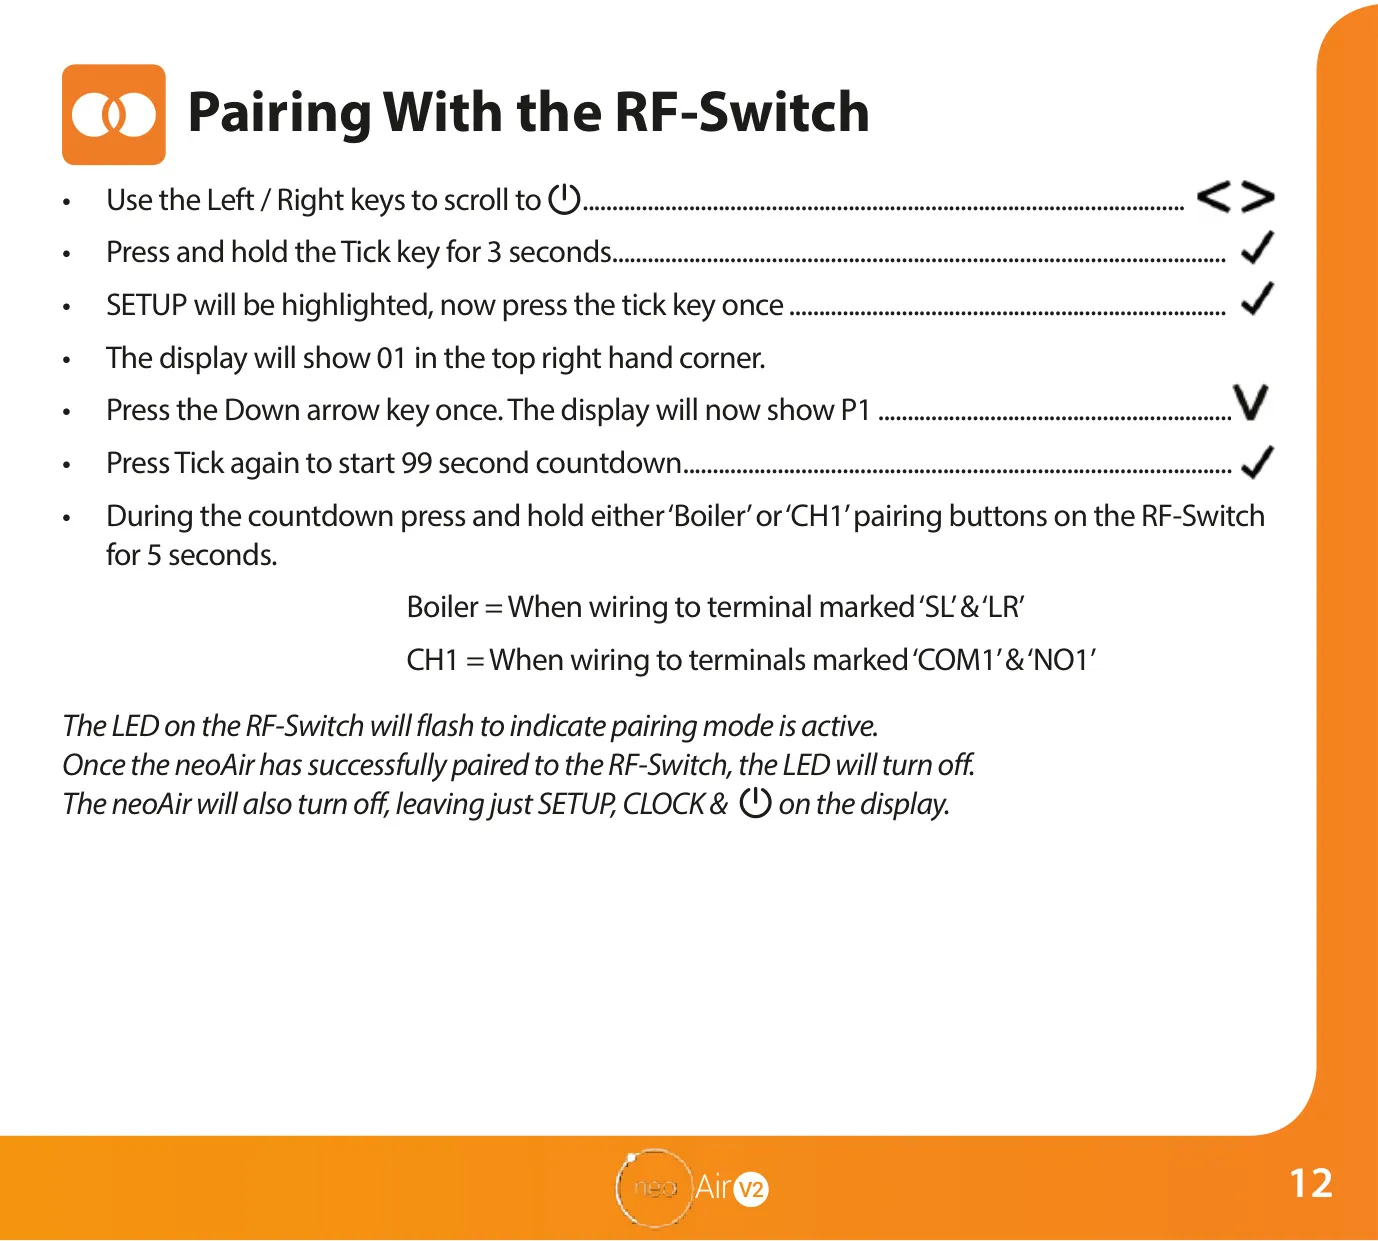
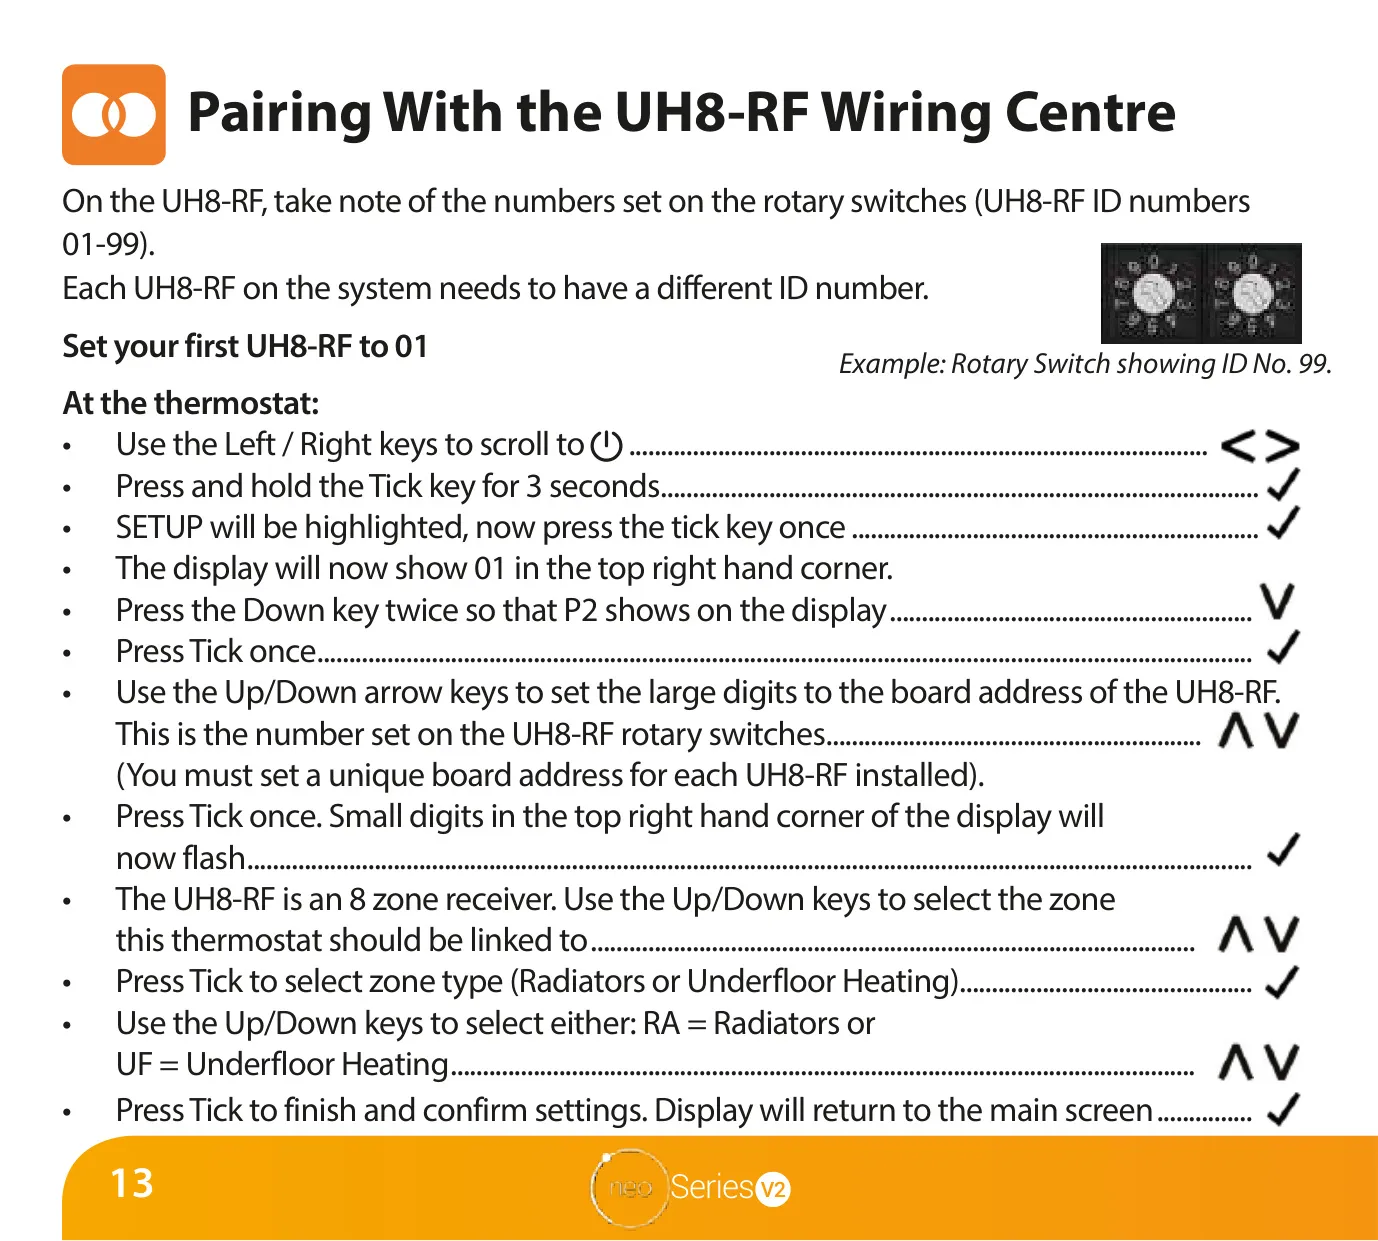
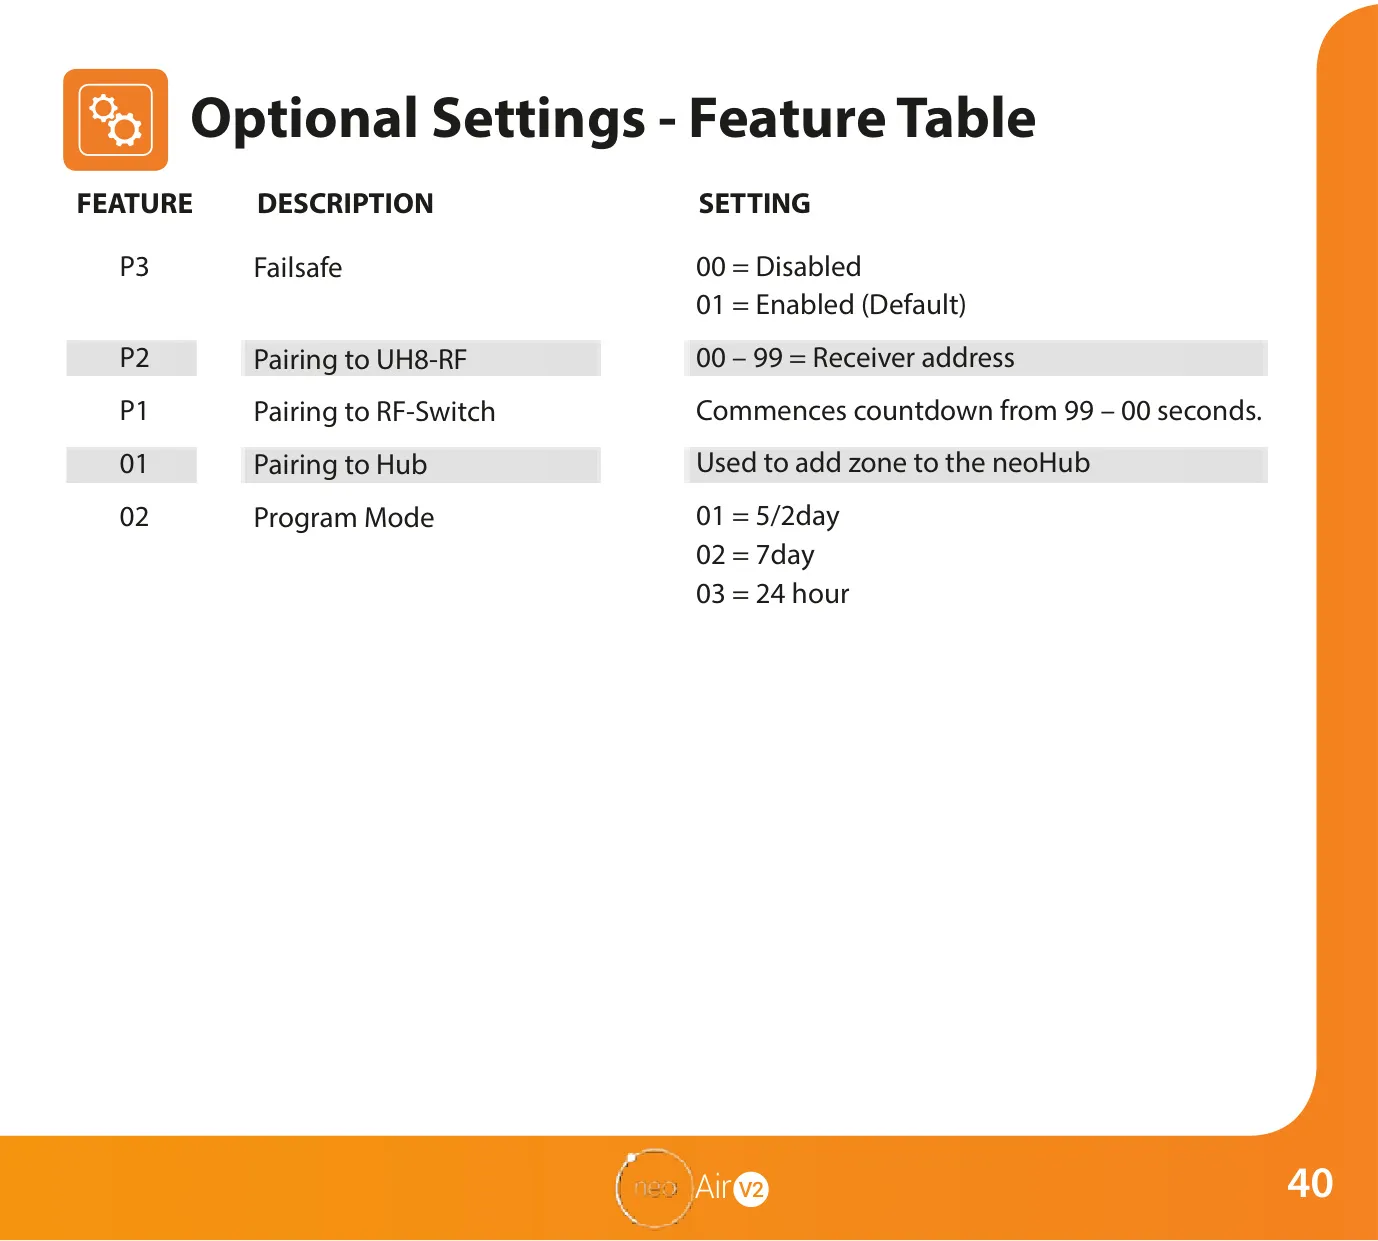
For system expansion and enhanced signal reliability, the neoAir V2 can be paired with an RF-Switch or the UH8-RF Wiring Centre. It's important to note that while the neoAir V2 itself is not capable of MESH networking, it can leverage a wider wireless network by communicating through MESH-capable devices like neoPlug, Heatmiser Boost, or wired neoStats.
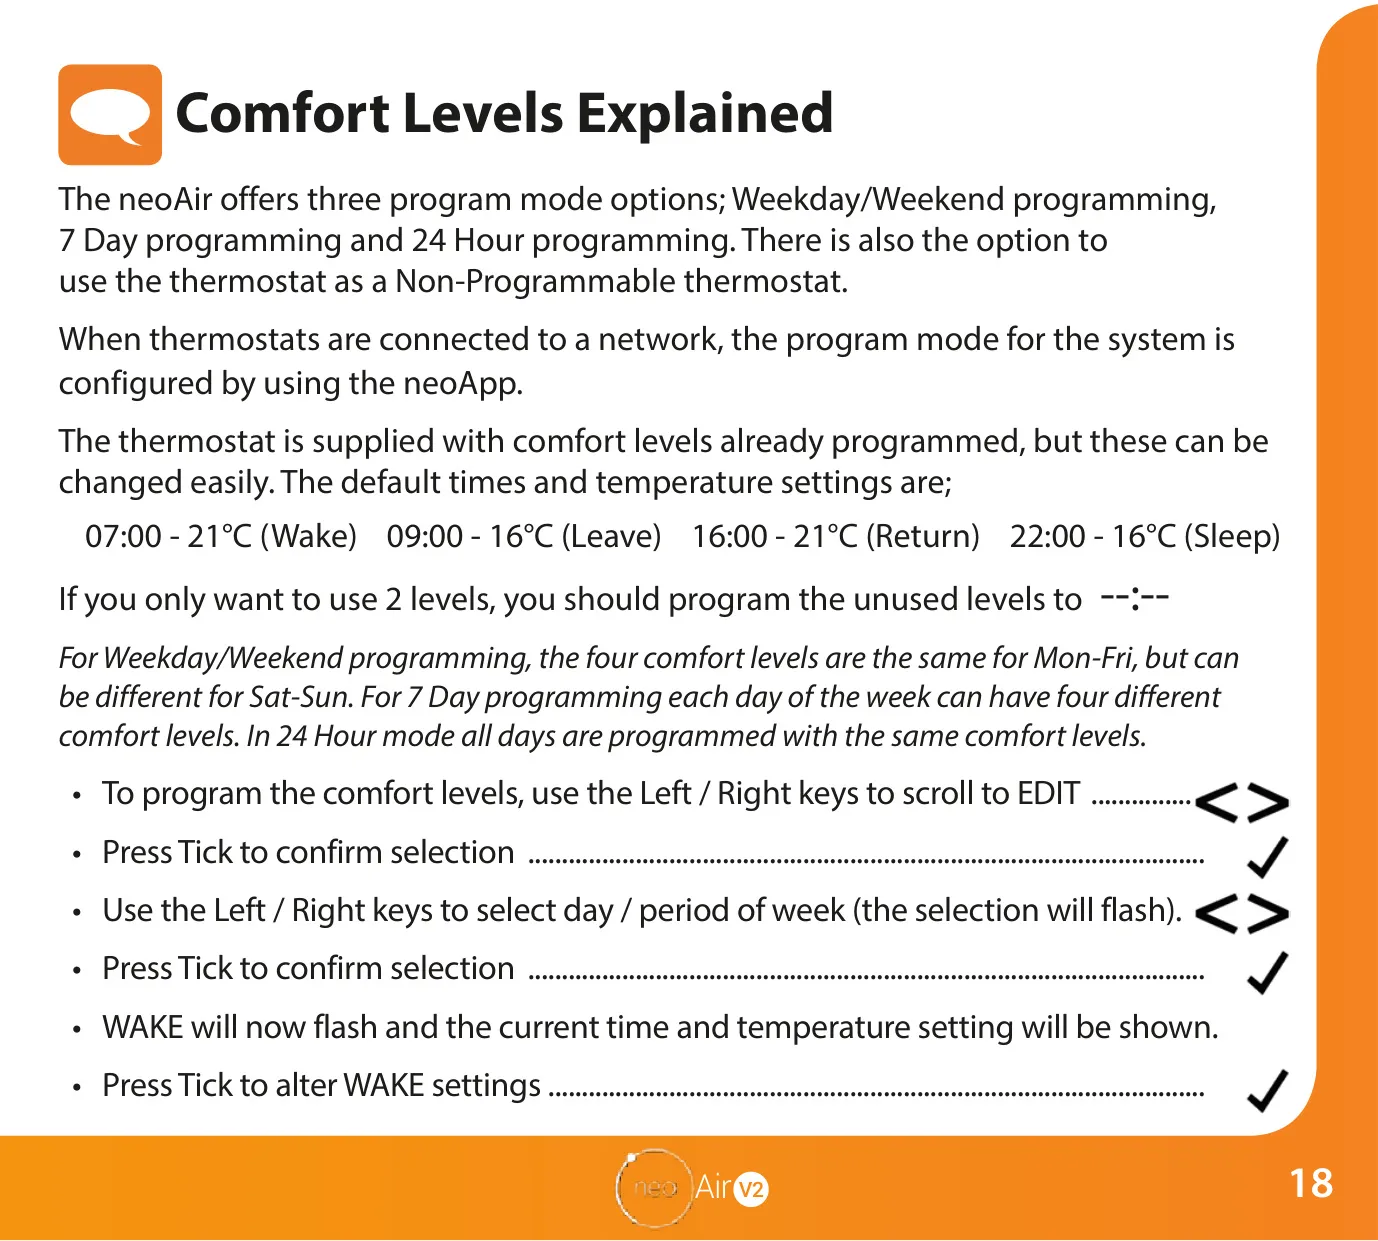
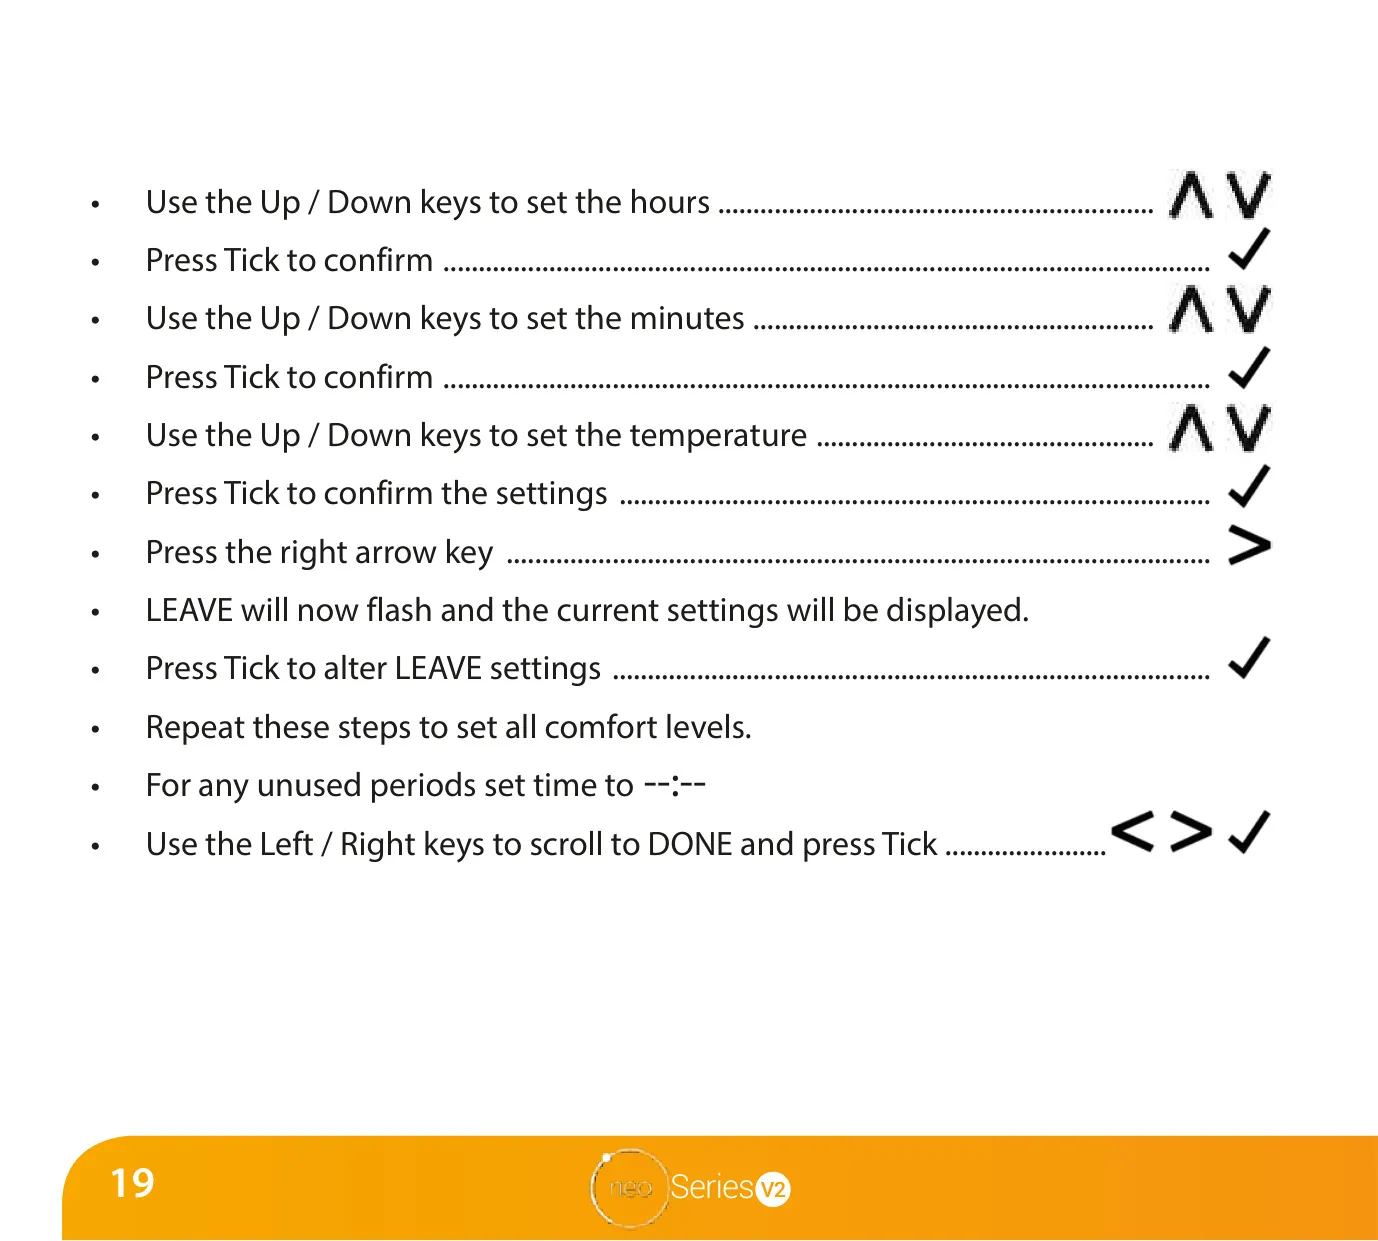
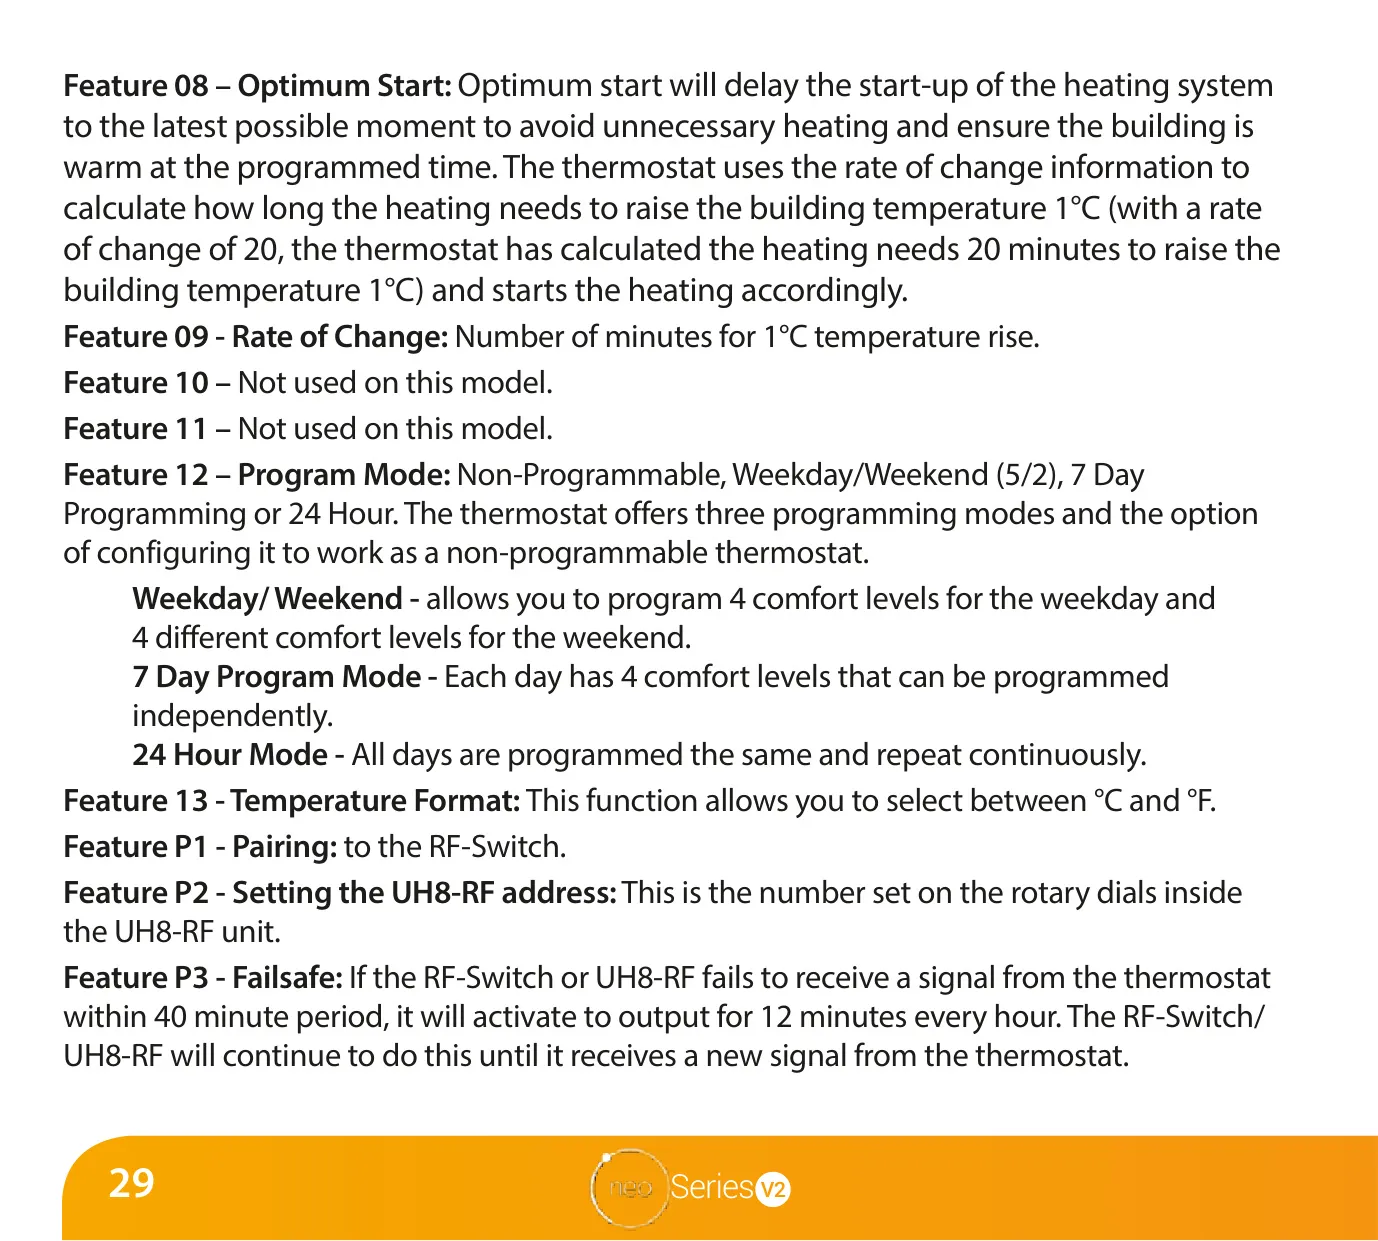
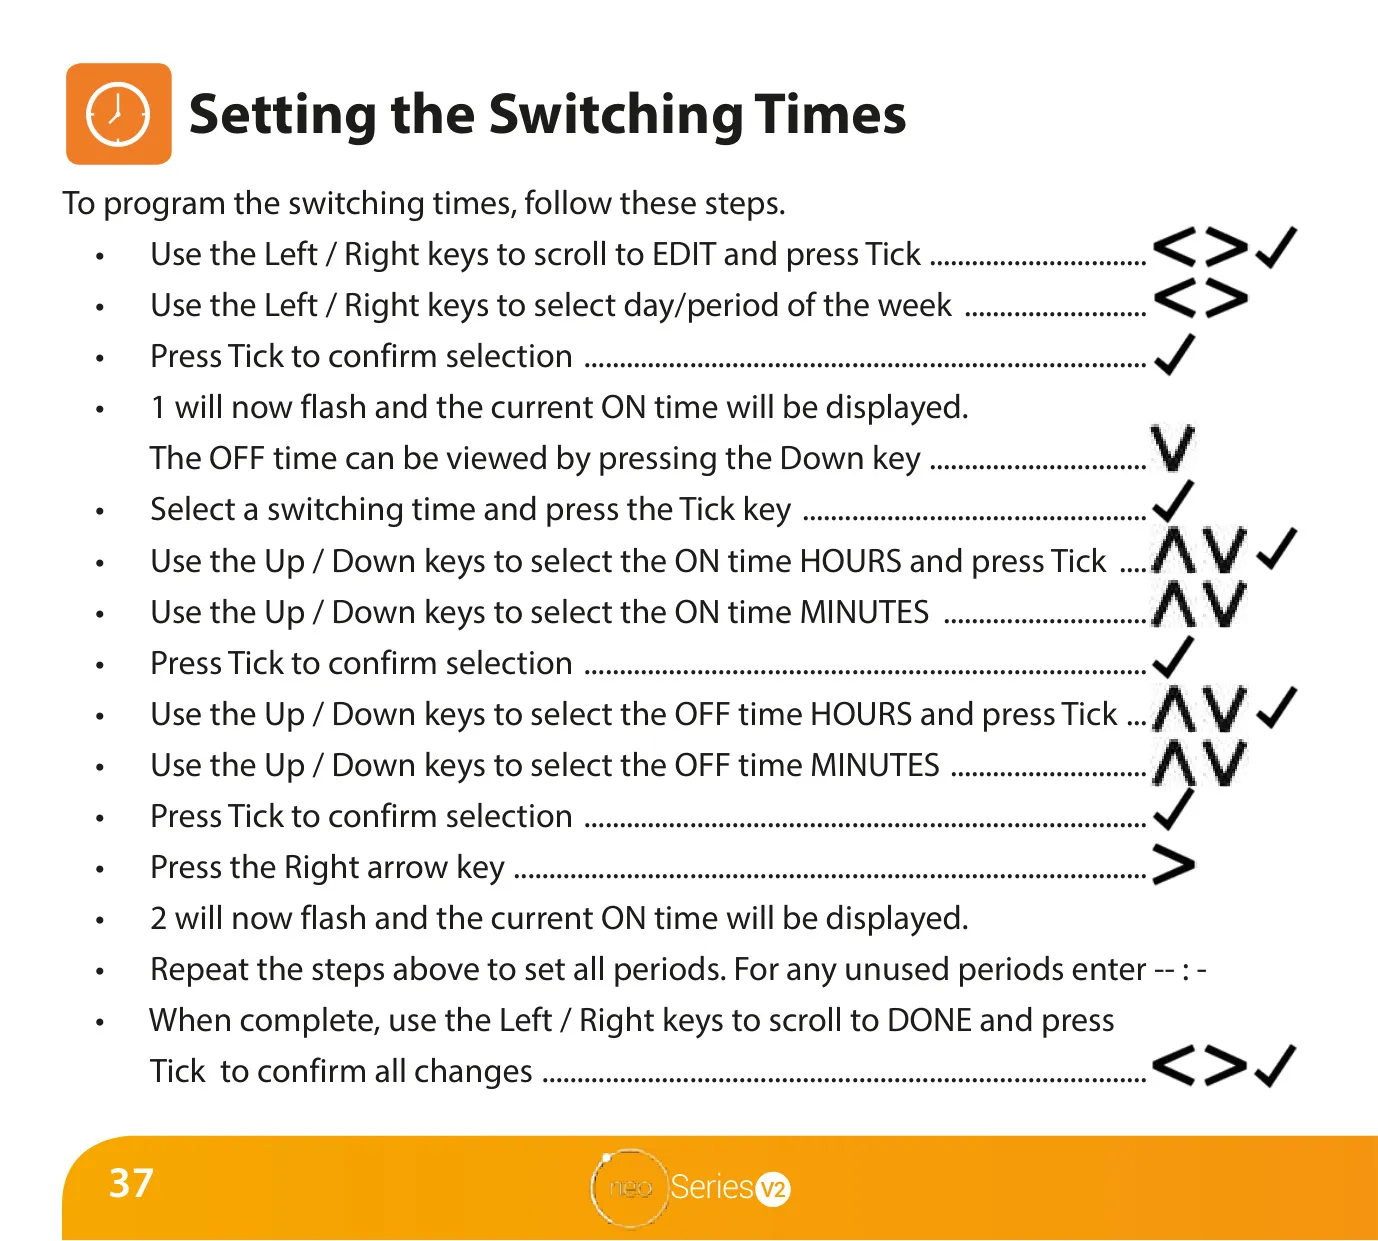
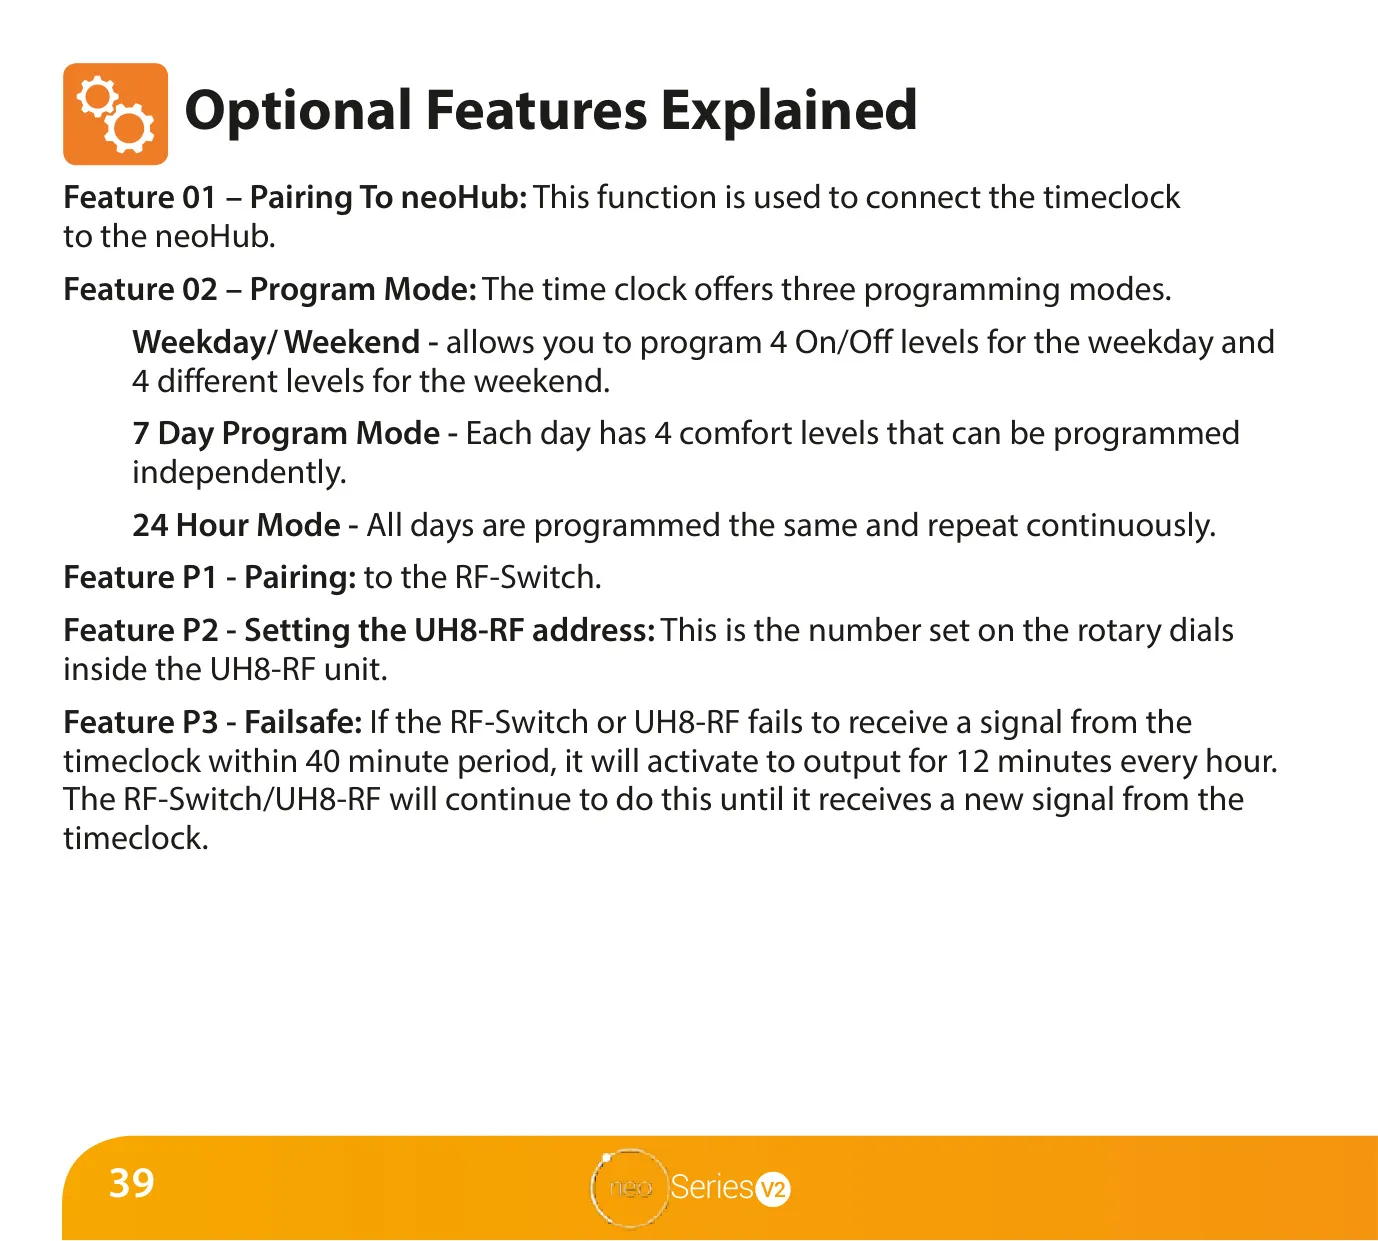
The thermostat provides flexible programming with three main options: Weekday/Weekend (5/2 day), 7 Day, or 24 Hour programming, alongside a non-programmable mode. Each mode allows for up to four comfort levels (Wake, Leave, Return, Sleep) to be set, with the neoApp offering up to six levels. These comfort levels define specific times and temperatures throughout the day, ensuring optimal heating efficiency.
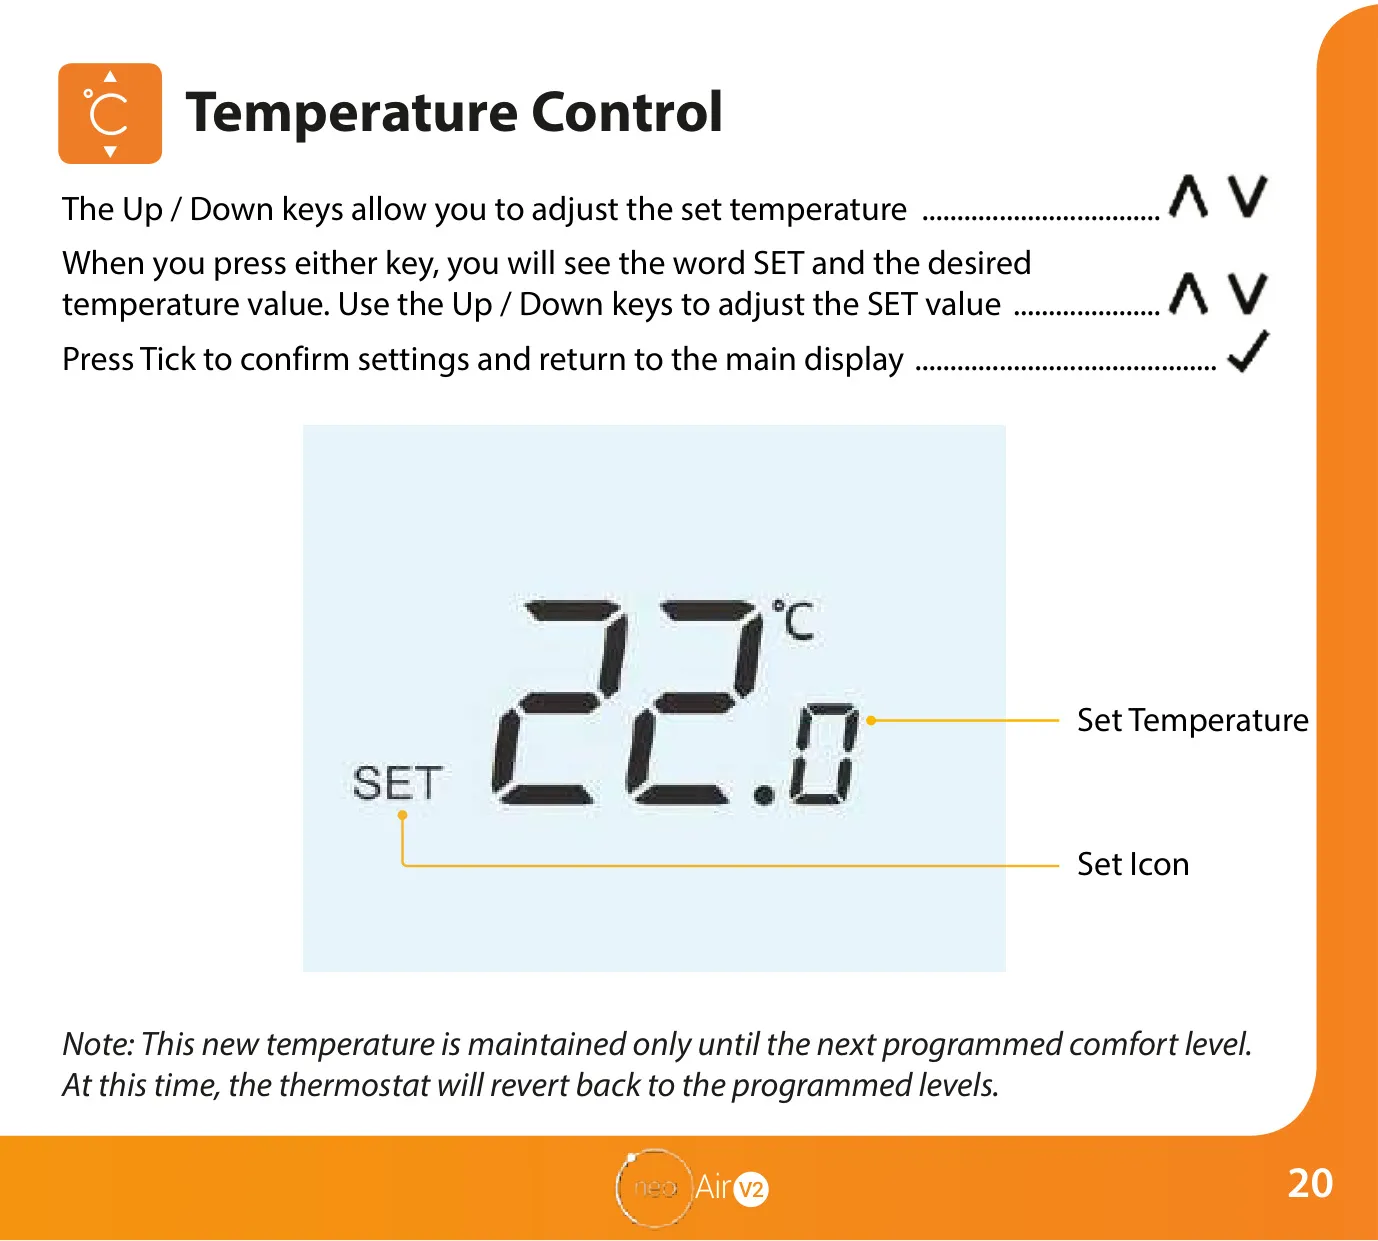
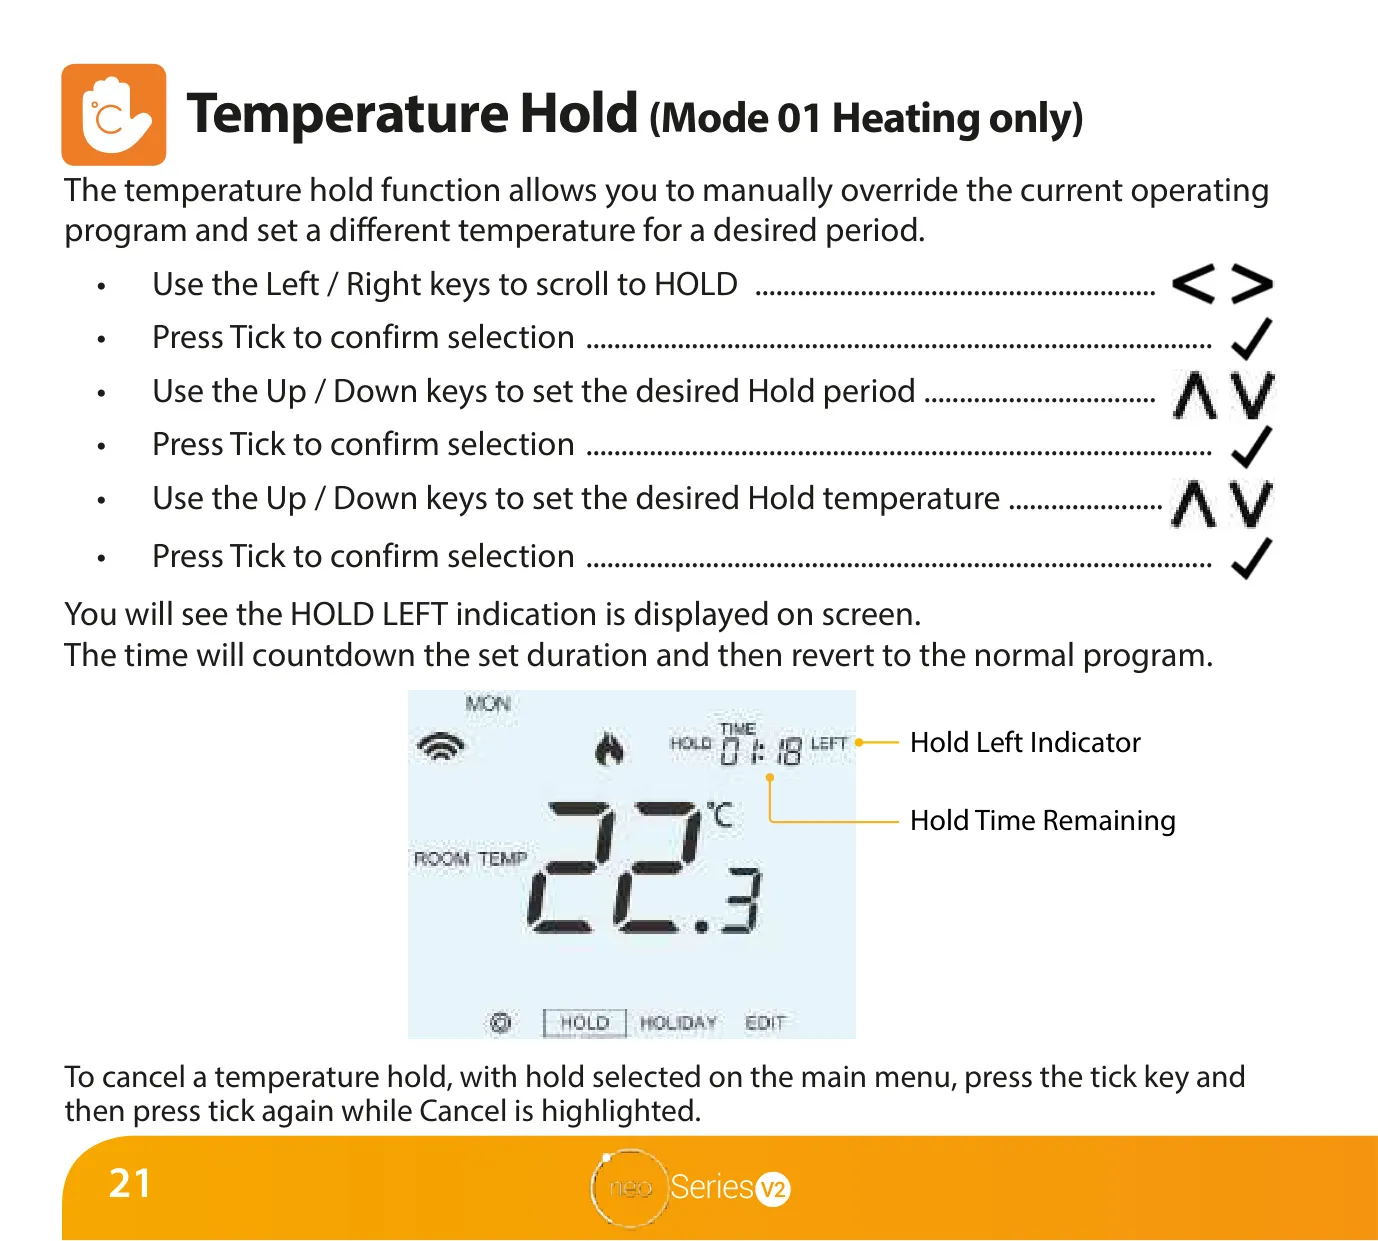
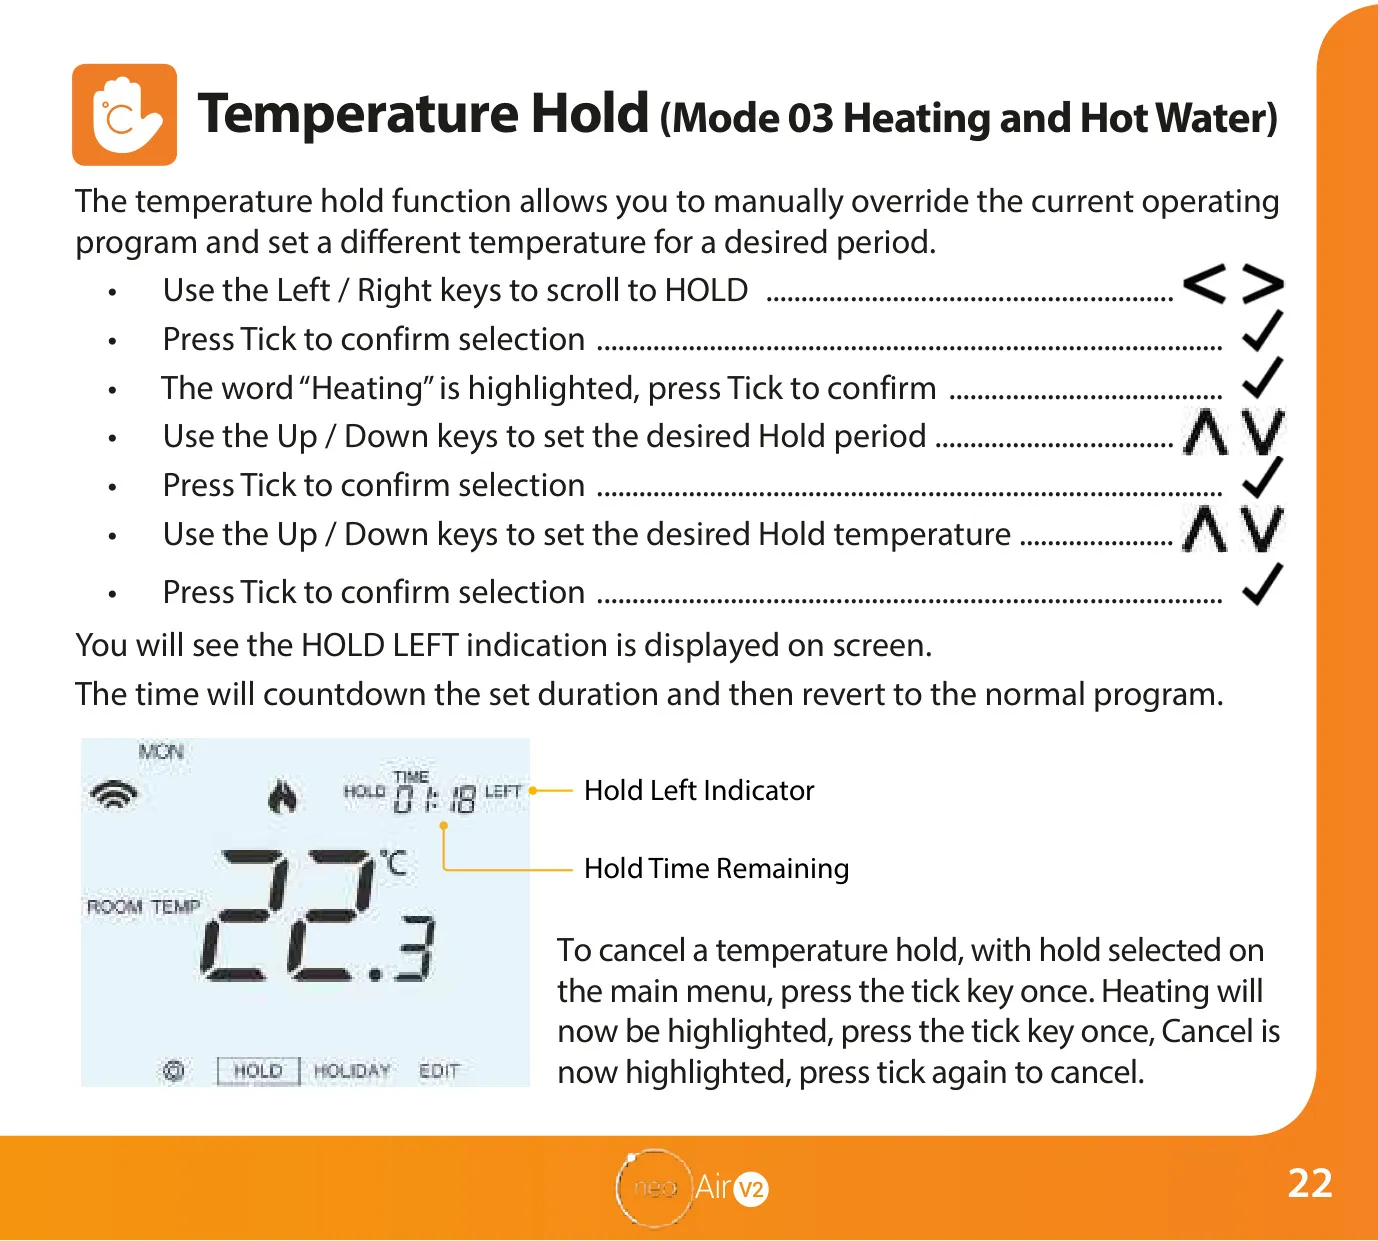
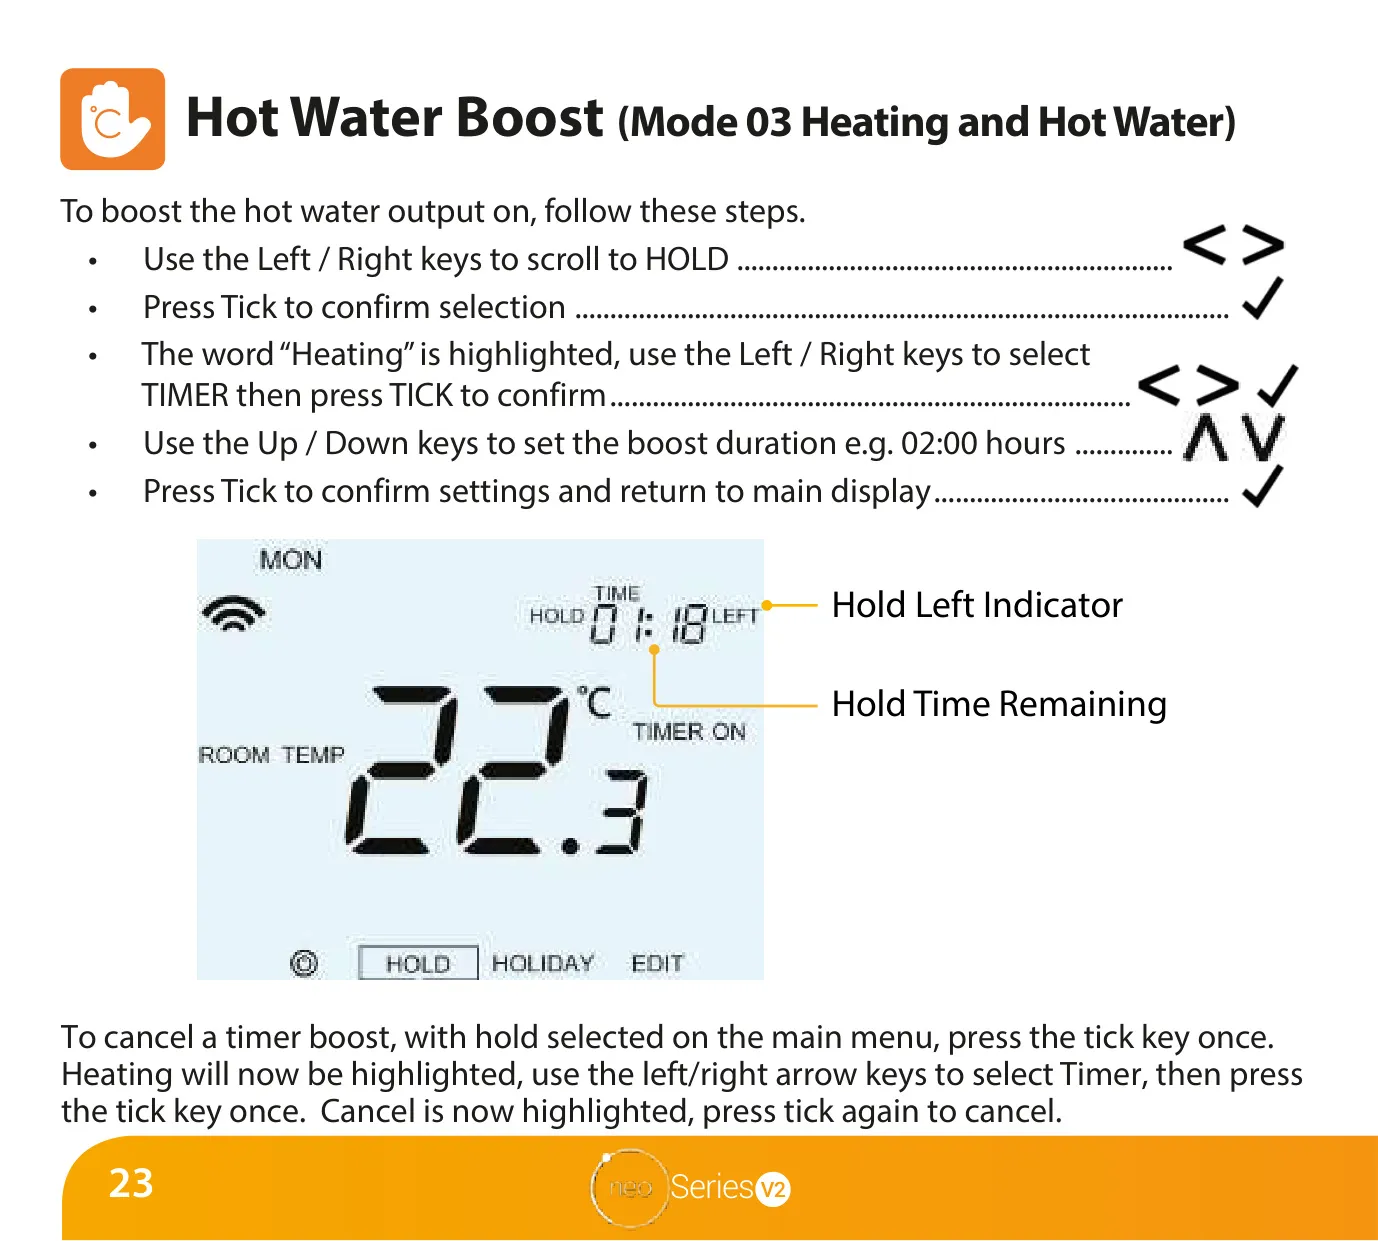
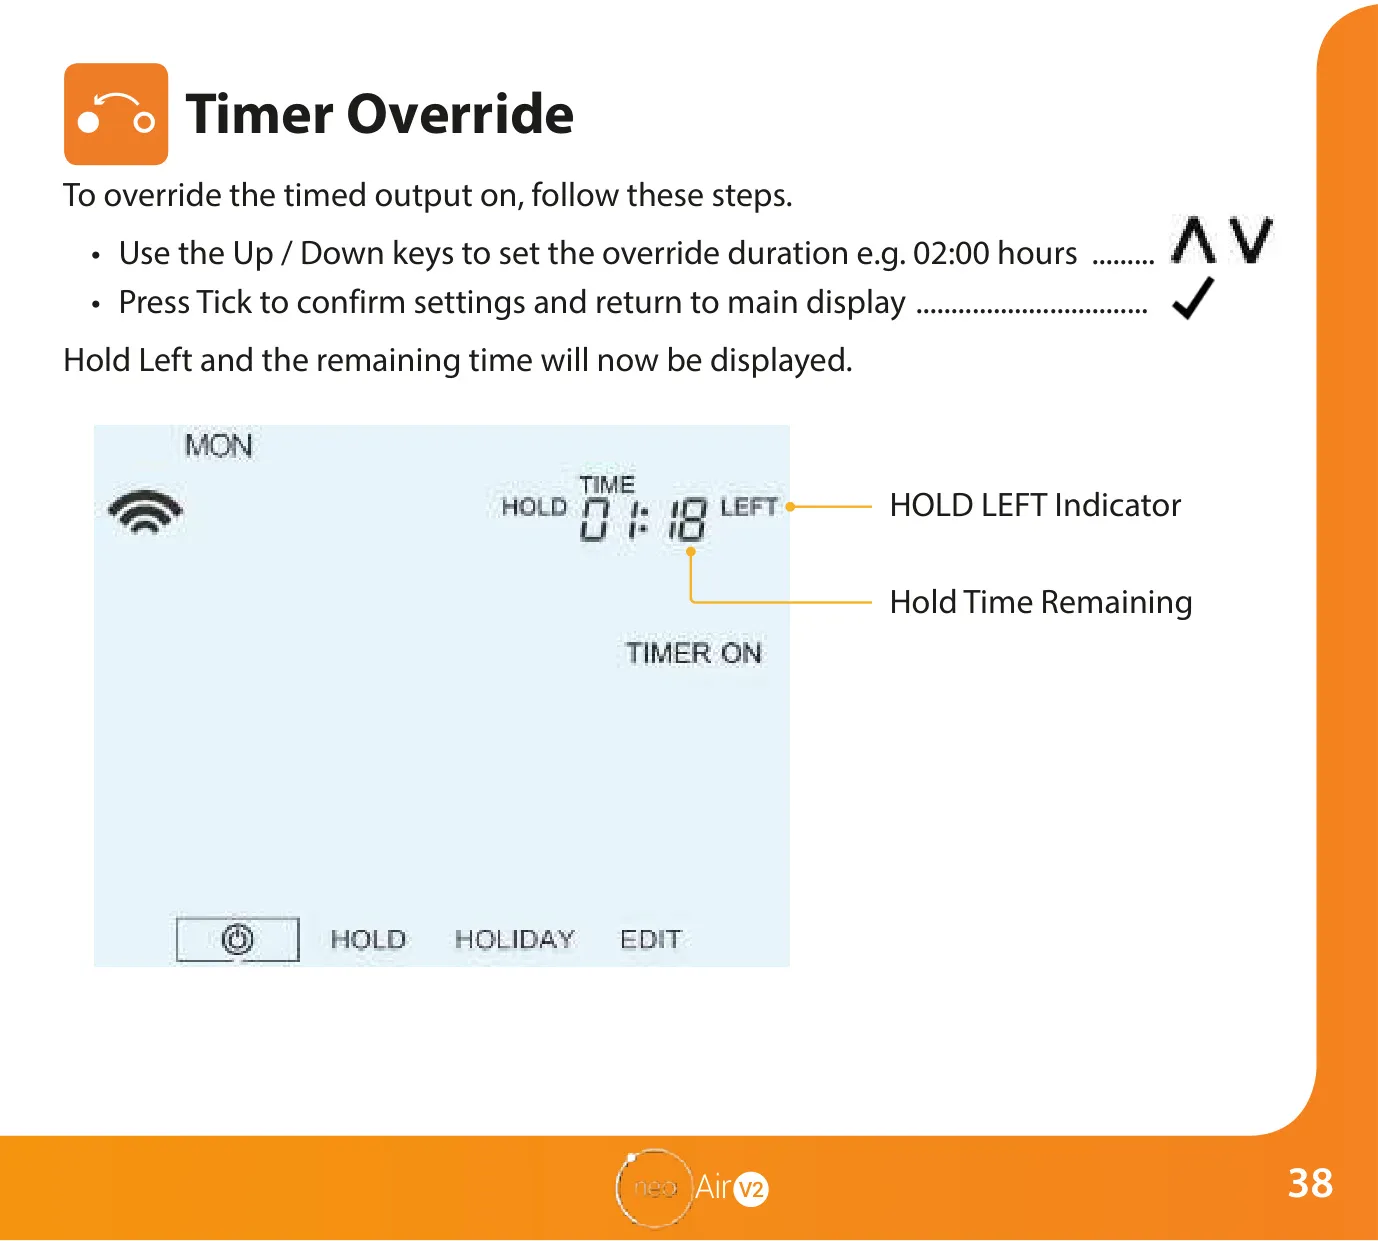
Beyond scheduled programming, the neoAir V2 includes practical override functions. The temperature control allows for immediate adjustments to the set temperature, which will be maintained until the next programmed comfort level. The temperature hold feature offers a more extended manual override, maintaining a user-defined temperature for a specified duration.
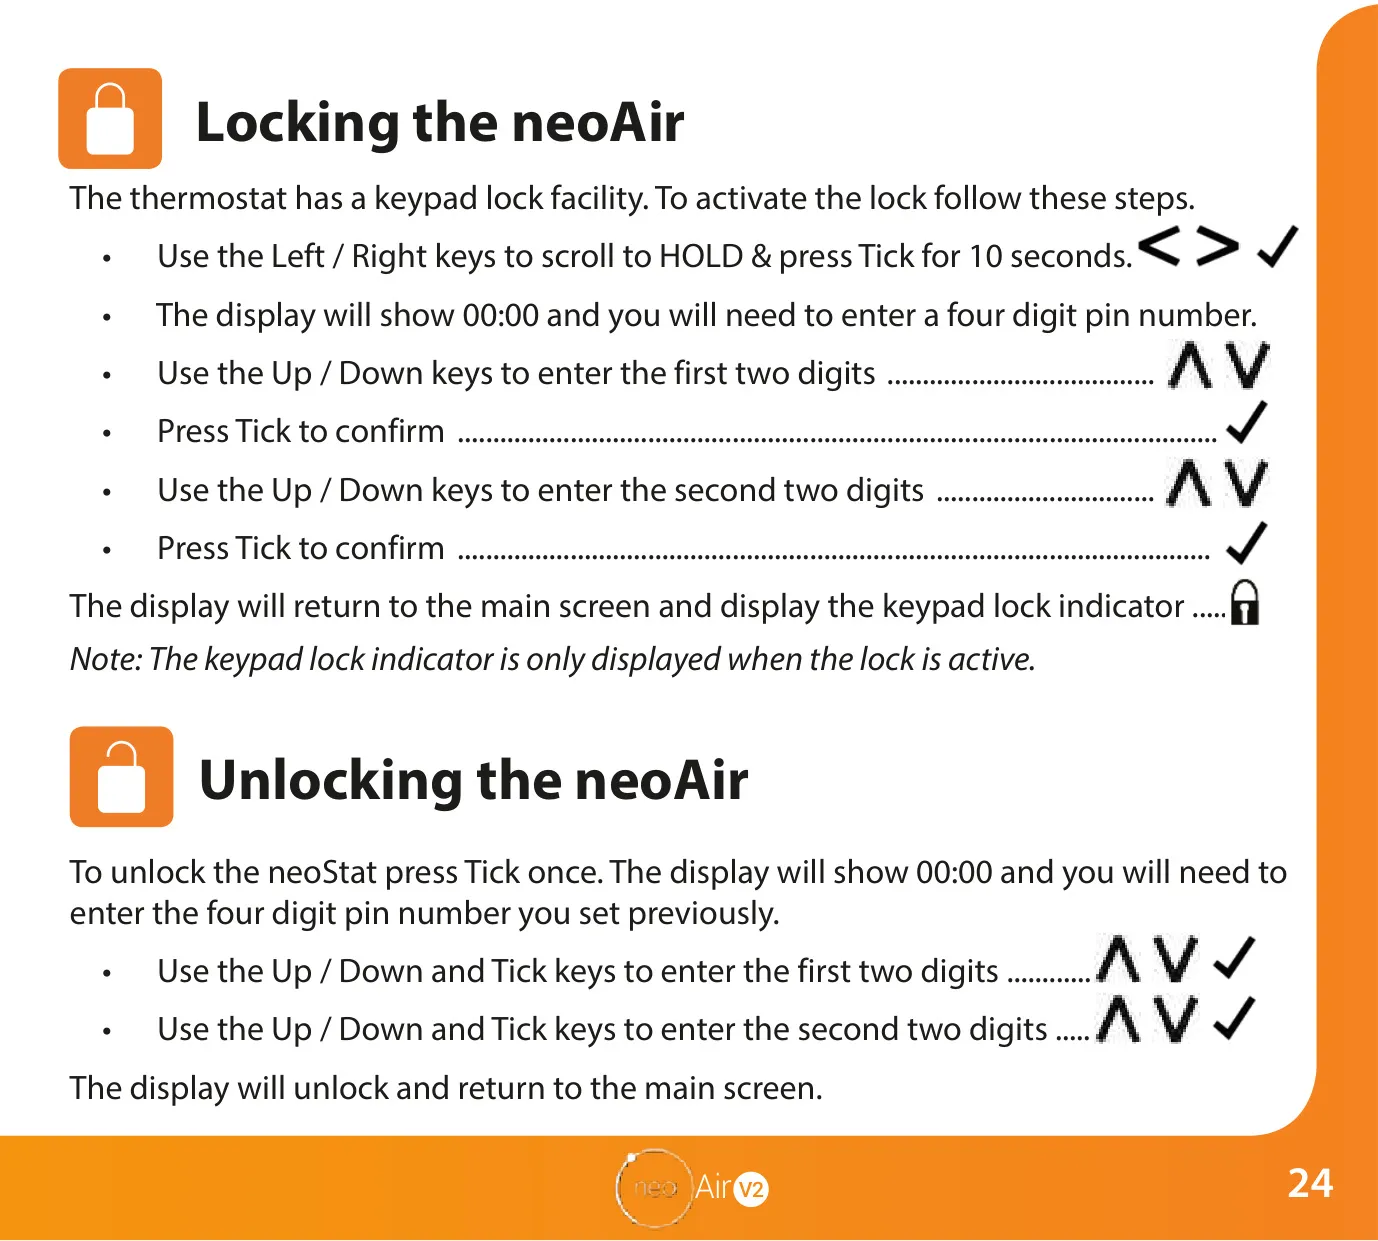
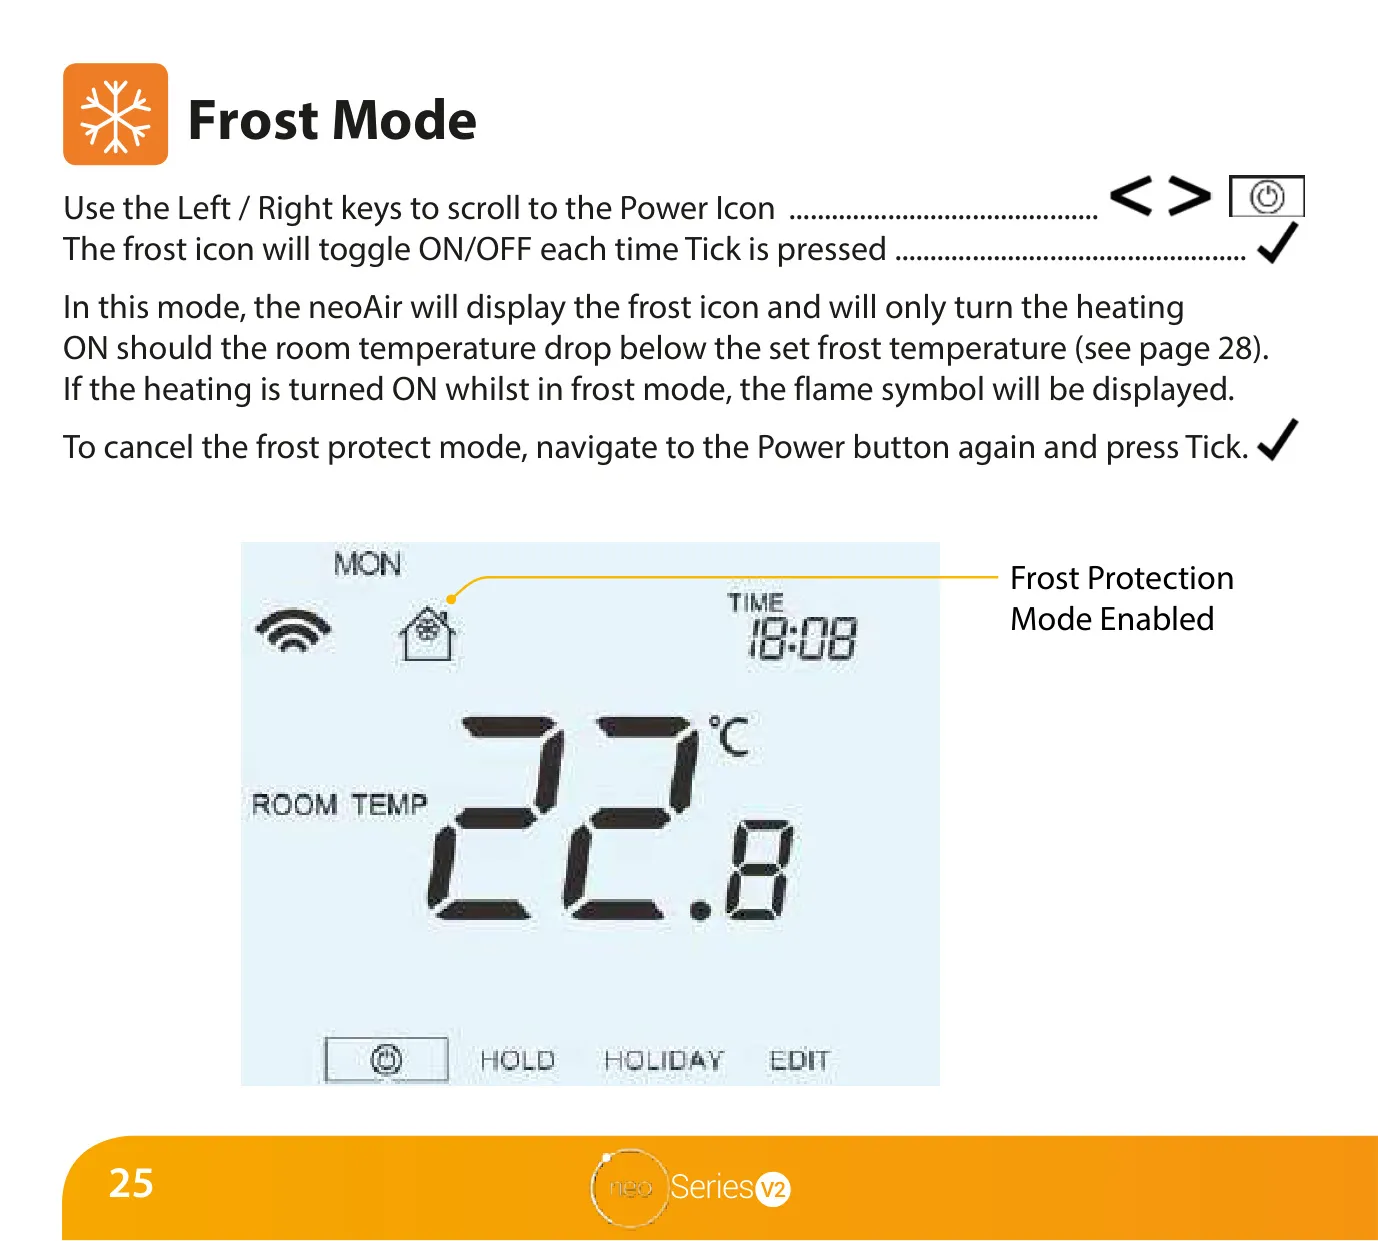
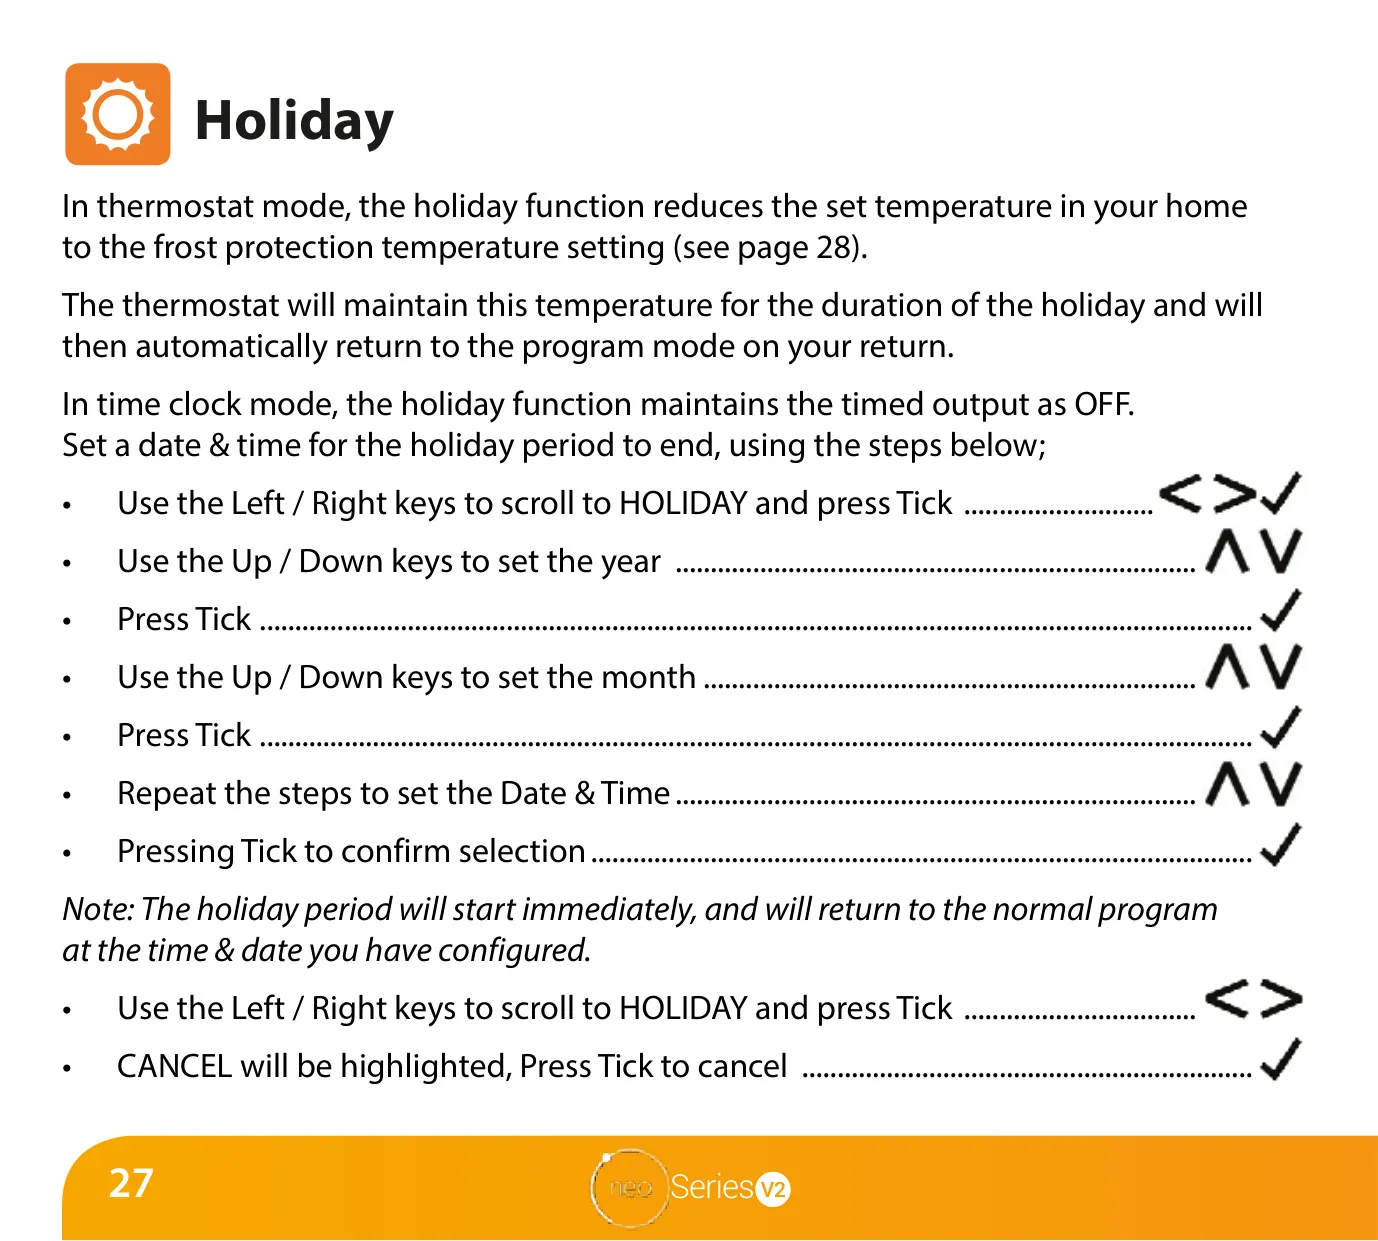
Security and energy-saving features are also integrated. A keypad lock function, secured by a four-digit PIN, prevents unauthorized tampering. Frost protection mode ensures the heating activates if the room temperature drops below a configurable minimum (default 12°C). Furthermore, holiday mode maintains the frost protection temperature for a set period, automatically returning to the regular program upon the user's return.
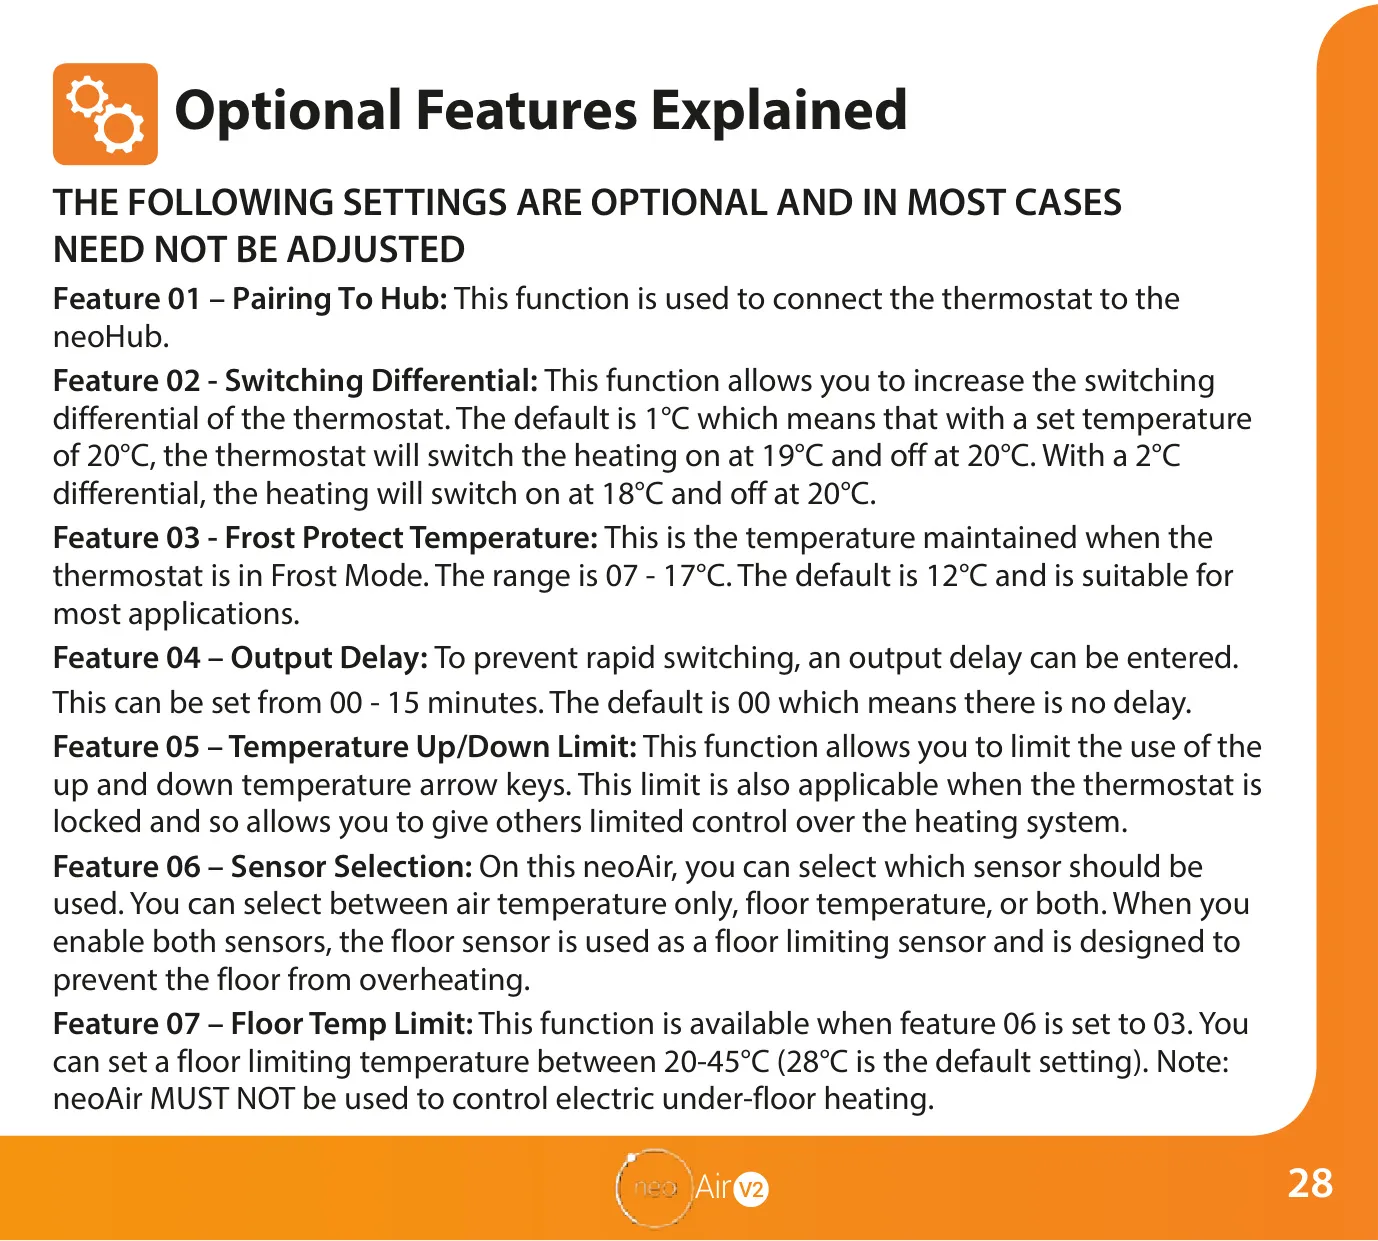
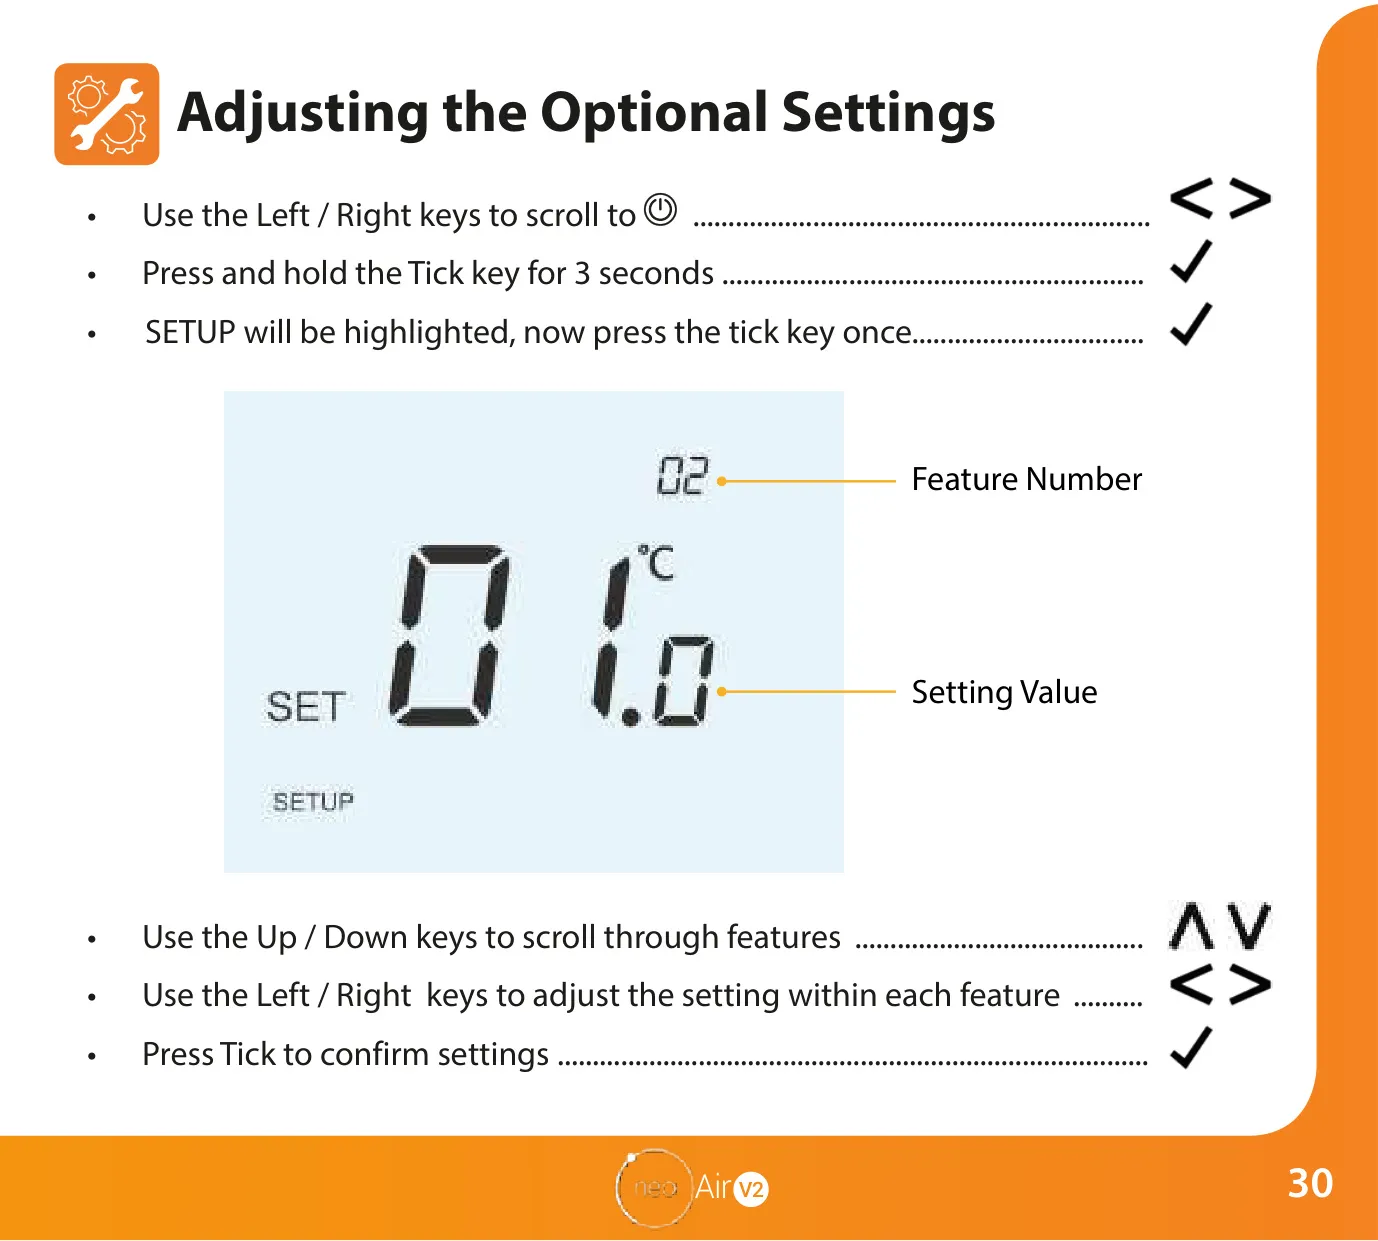
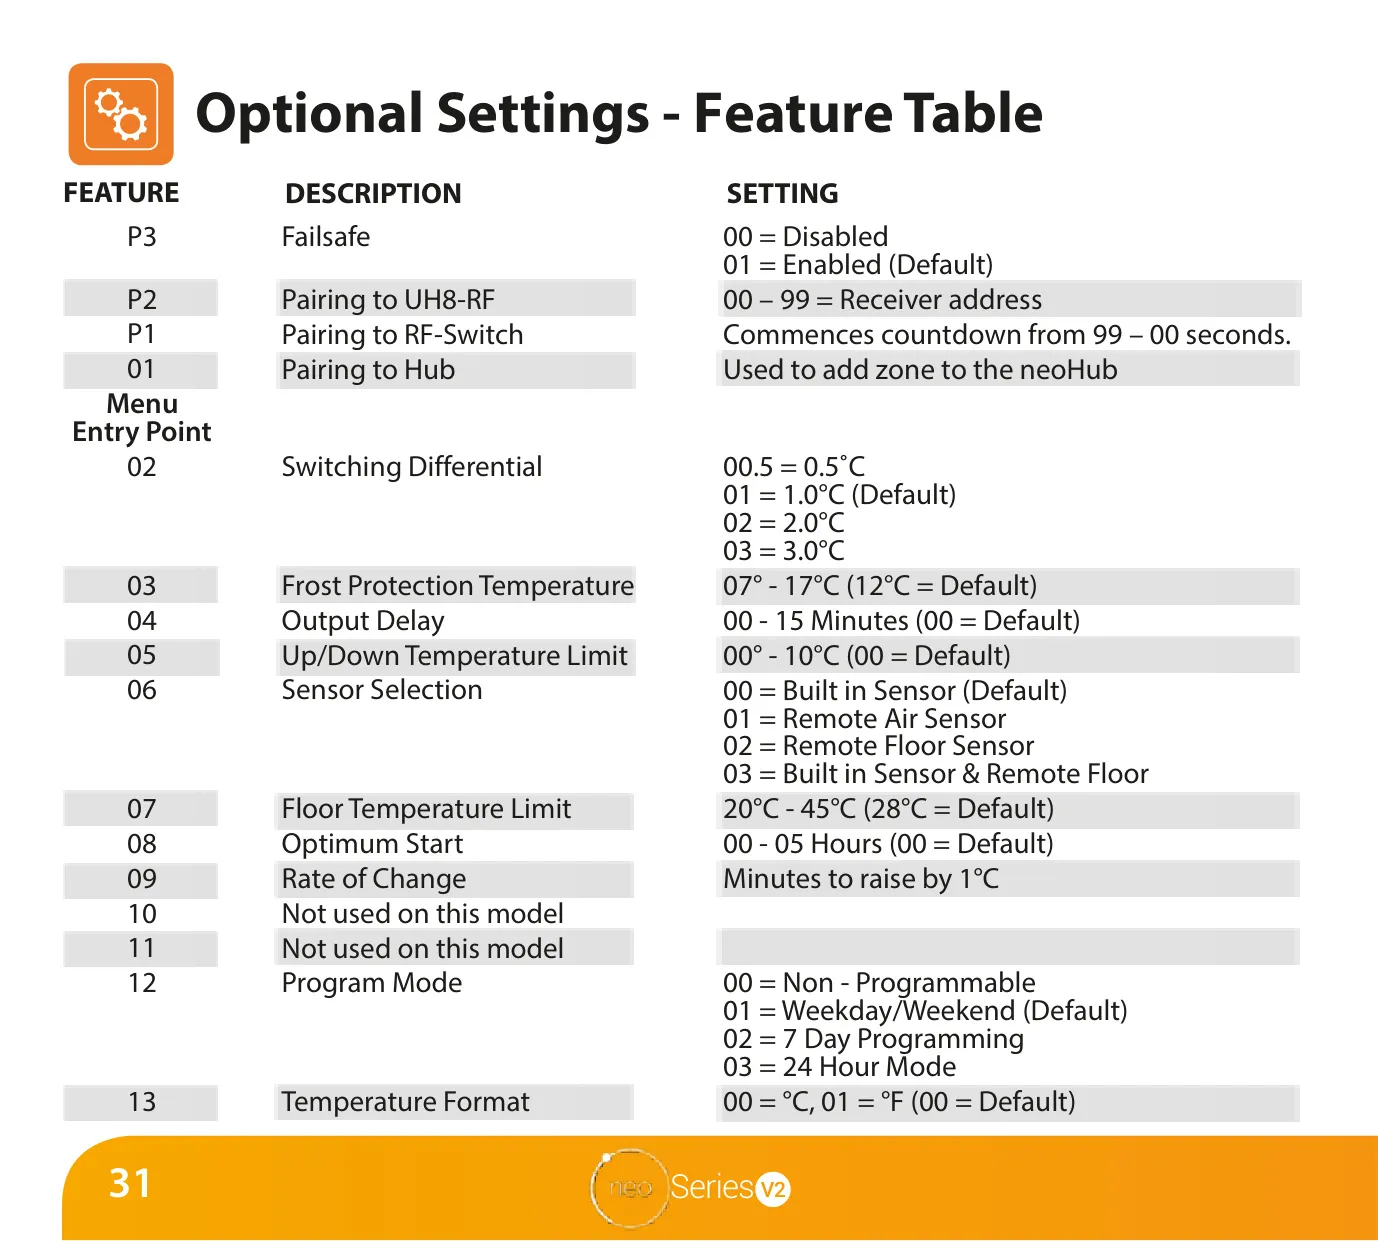
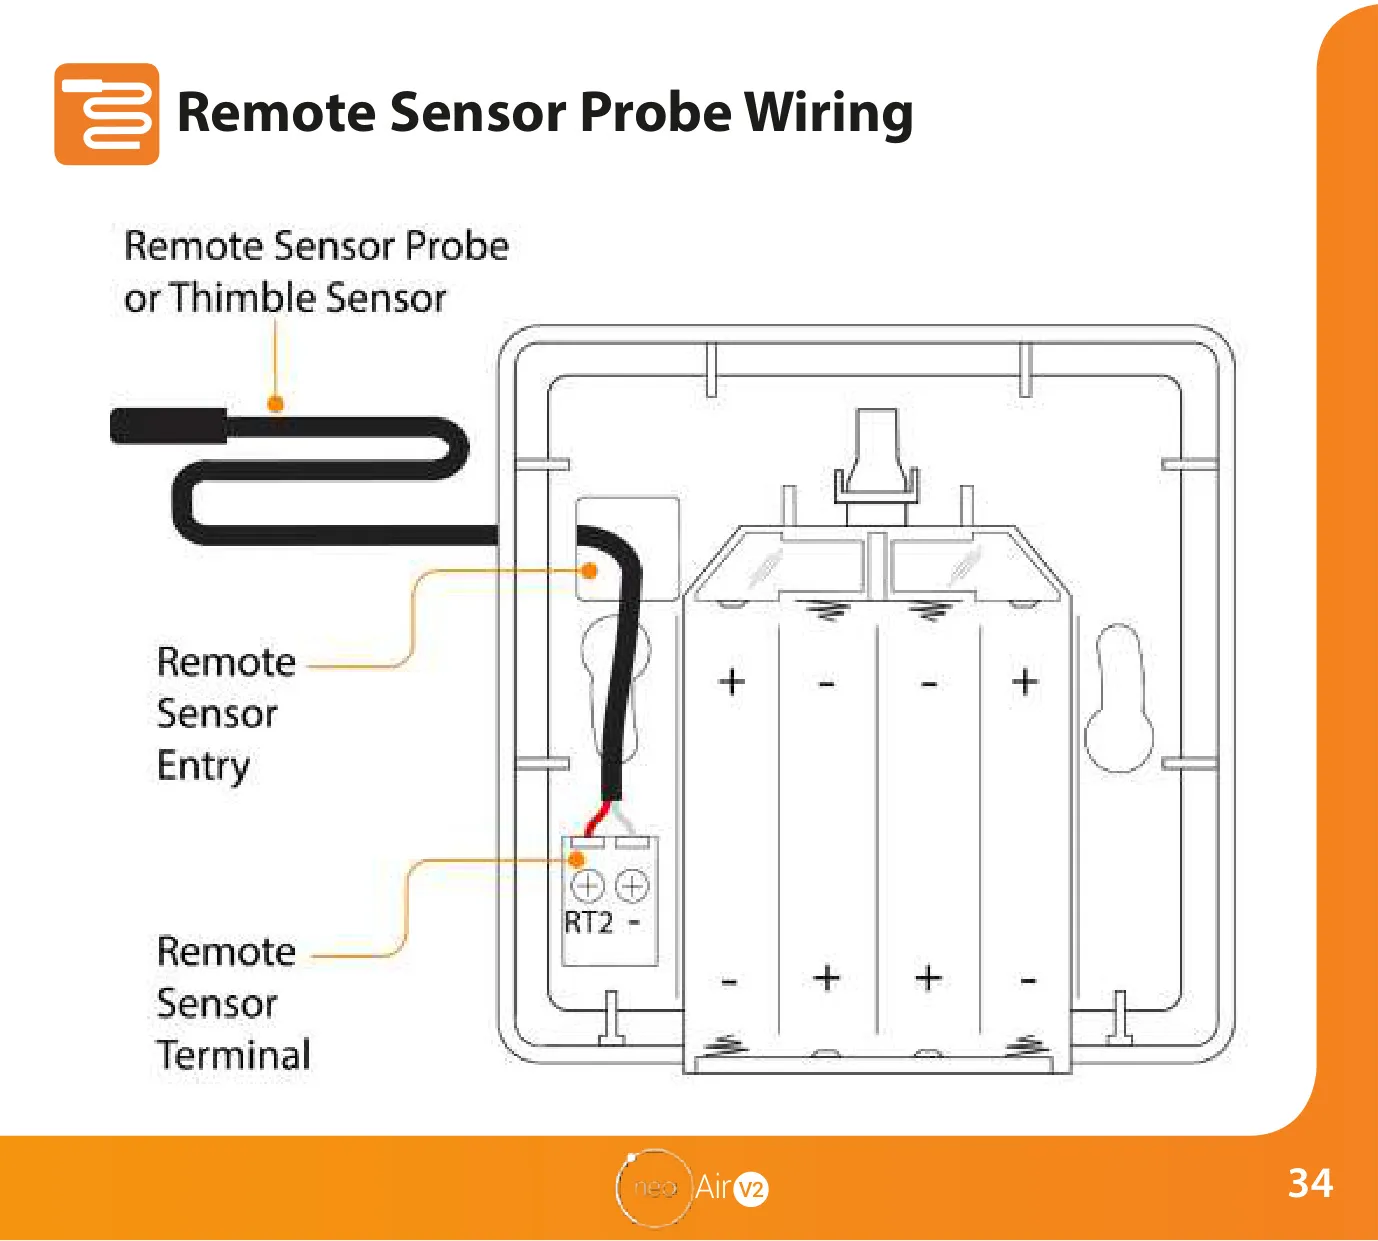
Advanced optional settings provide granular control over the heating system. These include an adjustable switching differential (0.5°C to 3°C), an output delay to prevent rapid switching, and temperature up/down limits for restricted control. The sensor selection allows choosing between the built-in air sensor, a remote air sensor, a remote floor sensor, or a combination, with floor limiting functionality to prevent overheating (though the neoAir V2 must not be used for electric underfloor heating). The Optimum Start feature intelligently calculates the ideal heating start time, ensuring comfort at the programmed time while minimizing energy waste.
Frequently Asked Questions (FAQs)
Can't find the answer you need? Here are some frequently asked questions about the Heatmiser Neo Air V2 Thermostat, and we answer them below.