
Nurture Right 360 Digital Incubator Instruction Manual

Nurture Right 360 Digital Incubator




Nurture Right 360 Instructions
Here we offer the Nurture Right 360 Digital Incubator manual completely free and in English. We have cataloged this manual in the Egg Incubators section on Manualverse, and it has been rated by 1 users with an average rating of 5. If you have any specific questions about Nurture Right 360 Digital Incubator, we suggest checking the Frequently Asked Questions (FAQs) section of this manual.
Product Images
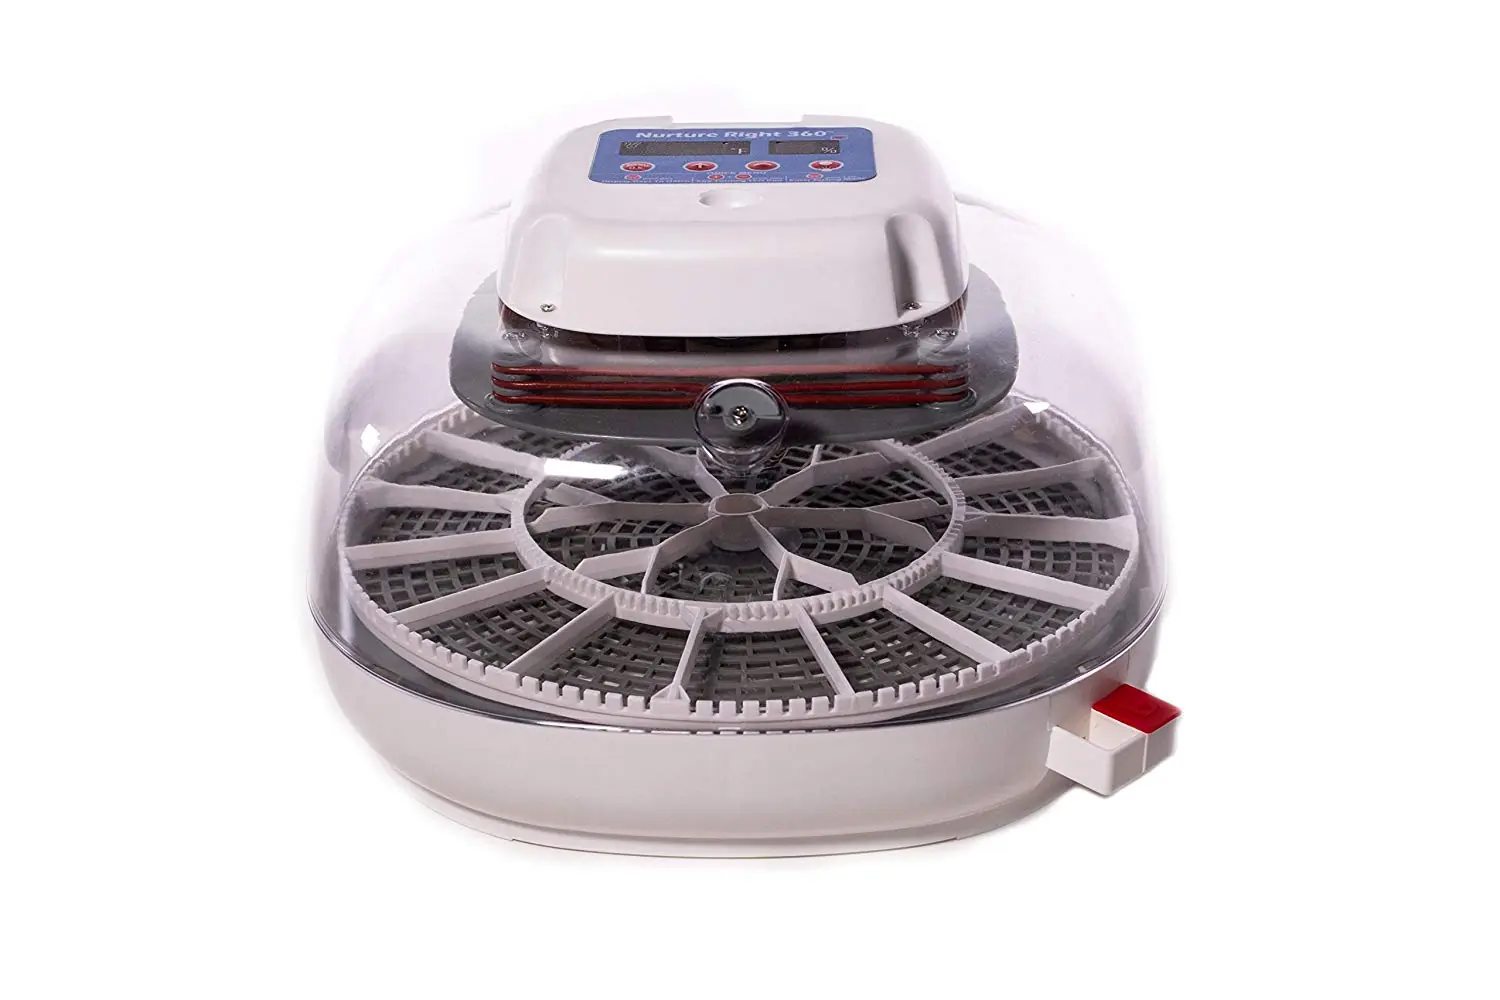

Nurture Right 360 Digital Incubator Specifications
| Specification | Value/Setting |
|---|---|
| Factory Pre-set Temperature | 99.5°F |
| Factory Pre-set Hatch Days | 21 Days (for chicken eggs) |
| Recommended Room Temperature | 74°-80°F (not below 72°F) |
| First Stage Humidity (Days 1 to 3 Before Hatch) | Around 50% (48-55% acceptable) |
| Final Stage Humidity (Last 3 Days Before Hatch) | Around 70% (65-75% acceptable) |
| First Stage Air Vent Position | Halfway Open (minimum 1/3 open) |
| Final Stage Air Vent Position | Fully Open |
| Recommended Water Temperature for Refill | 80-90°F (warm distilled water) |
| Incubator Warm-up Time Before Setting Eggs | 4-5 Hours (with water in pot A) |
| Egg Warm-up Time Before Setting | 6-8 Hours (to room temperature) |
| Egg Candling Duration Limit | Within 8 Minutes |
| Chick Removal Time After Hatching | After 24 hours (when dry/fluffed), up to 2 days after hatching |
| Unhatched Egg Removal Limit | Up to 2 extra days (until end of day 23) |
| Cleaning Dry Run Time Before Storage | 24 Hours (without water) |
Nurture Right 360 Digital Incubator Details
The Nurture Right 360 Digital Incubator features a sophisticated digital control function, displaying "d-##" to indicate the remaining days until hatch day. An auto-turner mechanism is active during incubation, indicated by "ON" on the screen, and automatically stops three days before hatch, with its indicator blinking then turning OFF. The built-in lamp, useful for candling, conveniently turns off automatically after five minutes to conserve energy and prevent overheating.
Choosing the right environment for your incubator is crucial for success. The unit performs optimally in a room with a stable temperature, ideally between 74° and 80°F, ensuring it never drops below 72°F, especially at night. It's important to avoid placing the incubator near windows to prevent direct sunlight exposure and drafts, which can cause temperature fluctuations. Additionally, the manual advises against using the incubator on the floor due to higher CO2 concentration and insufficient fresh air.
Assembly of the incubator is straightforward, involving connecting the egg turner cord from the base to the incubator top, then attaching the power supply unit. Proper alignment of the clear window's two notches with the sockets on the base is essential to create a secure air seal. This seal is critical for maintaining stable internal temperature and humidity, preventing warm air from leaking out. The egg tray is placed onto the base, followed by fitting the egg turner onto the D-shaped shaft of the motor.
Adjusting temperature and hatch days is intuitive. While factory pre-set to 99.5°F and 21 days for chicken eggs, these settings can be changed by pressing and holding the "MENU" button for three seconds, then using the "+" or "-" buttons. During initial warm-up, the heater indicator light will blink, which is normal. The incubator may trigger a "Low Temperature" alarm during this period or during operations like candling; this can be easily disabled by pressing the "MENU" button once.
Humidity control is a key feature, managed by adding water to one or both designated water pots, A and B, via an external filling port. Further adjustments can be made using the grey air vent knob. For the first stage of incubation, filling pot A and setting the vent halfway open aims for around 50% humidity. For the final three days before hatch, pot B is also filled, and the vent fully opened to achieve about 70% humidity. The red plug on water pot B prevents warm air leakage until it's time to increase humidity.
When inserting eggs, ensure they lie flat with pointed ends facing inwards and have a slight gap for smooth turning. A turning test can be performed by pressing the "+" and "-" buttons simultaneously; marking eggs with an "X" can aid observation. After eggs are set, the incubator's timer should be reset to the full incubation period (21 days for chickens) to ensure accurate auto-turning. Resetting to factory settings (Menu + - for 5 seconds) is simple for subsequent hatches.
The built-in egg candler allows for convenient monitoring of embryonic development. To use, remove the lid carefully, place the large end of an egg on the candling zone, and press the candling button. Dimming room lights enhances visibility. It's important to handle eggs gently during candling to avoid stress and complete the process within eight minutes to minimize temperature loss inside the incubator.
Preparing for hatching involves several critical steps. Three days before hatch, the egg turner automatically stops, and its indicator light turns off. At this point, the egg turner must be gently removed from the base to provide chicks with ample space to exit their shells. Simultaneously, both water pots A and B are filled, and the air vent is fully opened to elevate humidity to the 70% range, creating optimal conditions for hatching.
During the hatch, it's crucial to avoid frequent lid opening, as this dramatically drops humidity, which takes time to recover. Chicks can remain in the incubator for up to two days after hatching, once they are fully dry and fluffed. Unhatched eggs can also stay for an additional two days (until day 23) in case of late hatchers. After the hatch is complete, thorough cleaning with disinfectant and a 24-hour dry run without water is recommended before storage.
Frequently Asked Questions (FAQs)
Can't find the answer you need? Here are some frequently asked questions about the Nurture Right 360 Digital Incubator, and we answer them below.